 |
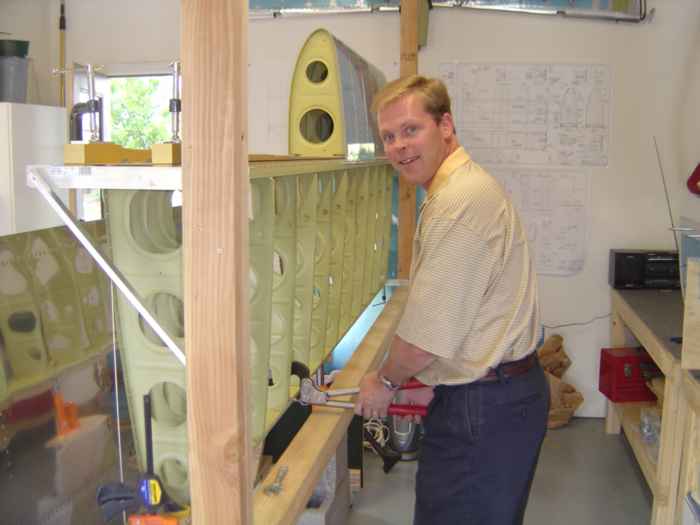
June 26, 2005: (0.5 hrs.) Today was mostly spent working on the left fuel tank, however the left wing ribs and rear spar did manage to get dimpled. A friend of mine, Dan Olsen (in the picture), came by to help out on the project. Dan completed his Lancair project a year back and was interested to learn some of nuances of metal aircraft construction. I put him to work deburring and dimpling :) He also helped out with prepping and riveting the left tank stiffeners. Dan lives in the neighborhood and I hope he will be willing able to help out in the future when I need an extra set of hands. |
 |
.August 6, 2005:
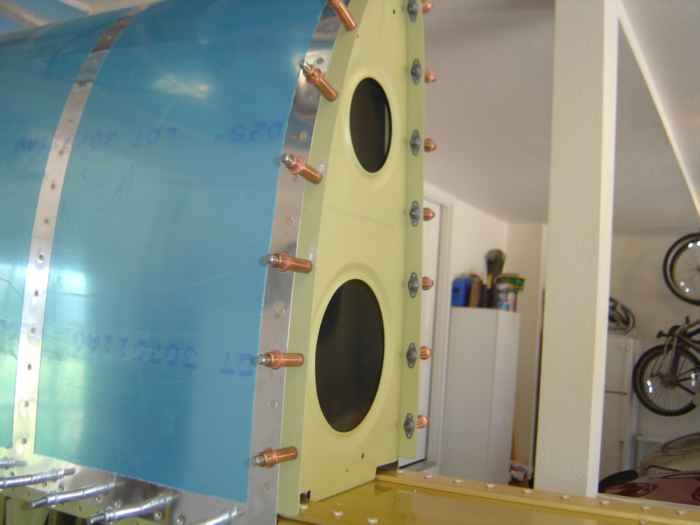
(2.0 hrs.) When trial fitting my completed left tank, I
realized that I still had to install the nut-plates in the leading edge
joint plate. I pulled the tank off and began to address that task.
Here are the nut-plates cleco'd in position on the joint plate. I then match drilled the rivet holes from the back side of the nut-plates using my 12" #40 drill bit. |
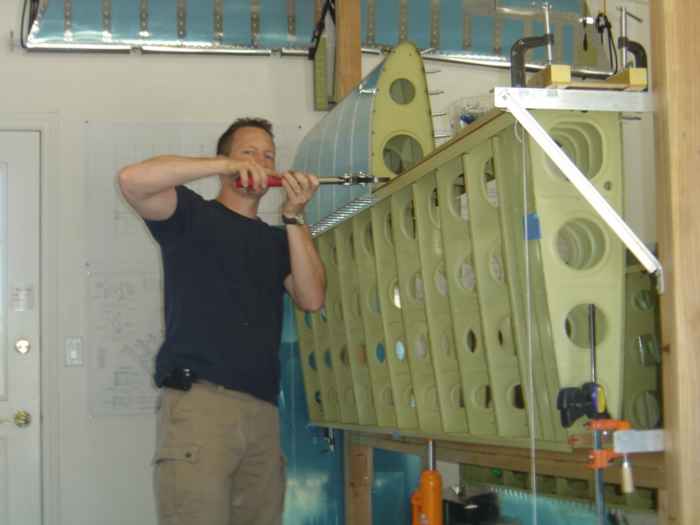 |
After drilling the rivet holes for the
nut-plates, I deburred and dimpled the holes.
Here I am setting the nut-plate rivets using my hand squeezer. |
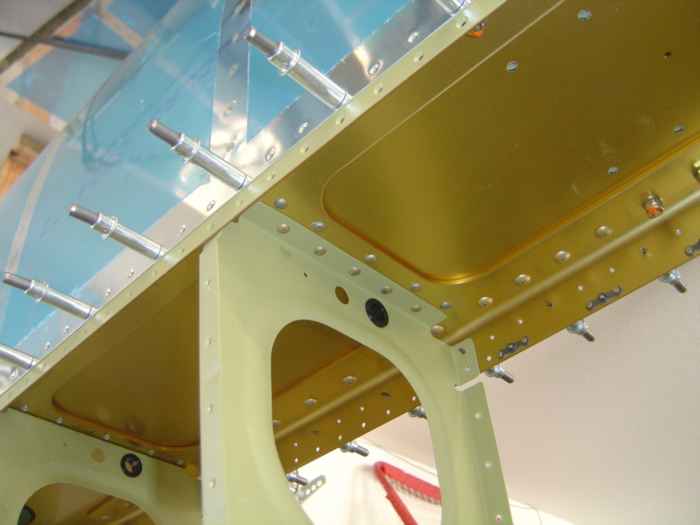 |
Next, I realized that I never finished
riveting the leading edge nose ribs to the main spar. Even though
I did not have a helper to buck these hard to reach rivets, I tackled
the job anyway. I really wanted to get the leading edge attached
so I could put the tank on.
Setting these rivets alone was not easy, but very doable. Here is a picture of the finished product. Pretty good. |
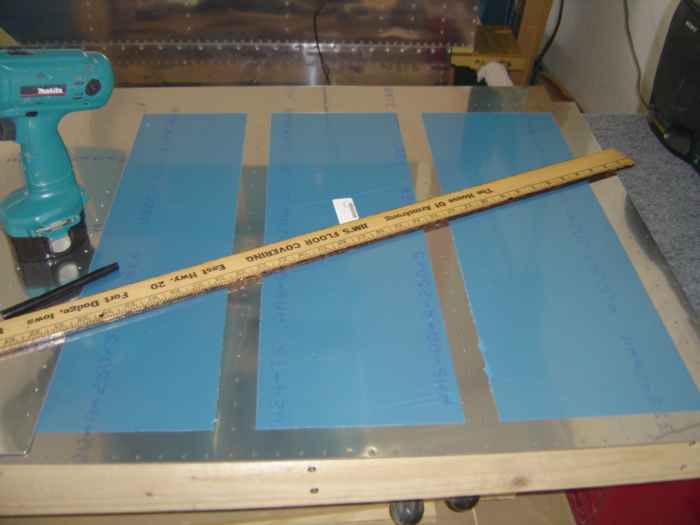 |
August 7, 2005: (2.0 hrs.) Used the soldering iron trick to remove the blue plastic from the rivet lines on the top skins. |
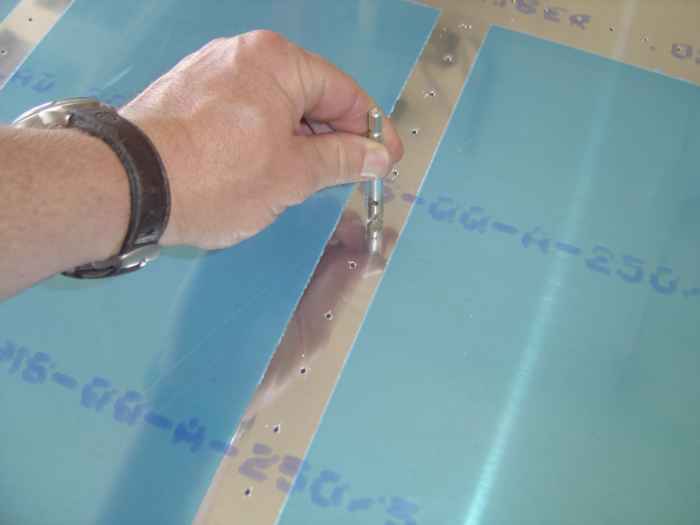 |
Deburred each hole (both sides) on the top skins. |
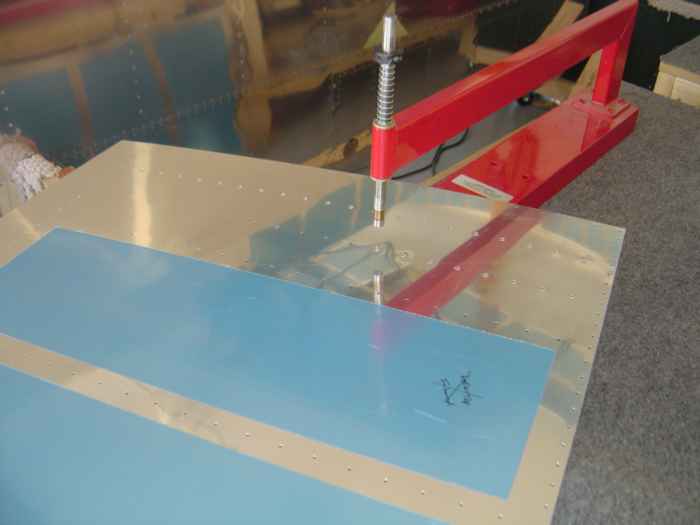 |
Started dimpling the skins. Here I am using the C-Frame to dimple the inboard top skin. |
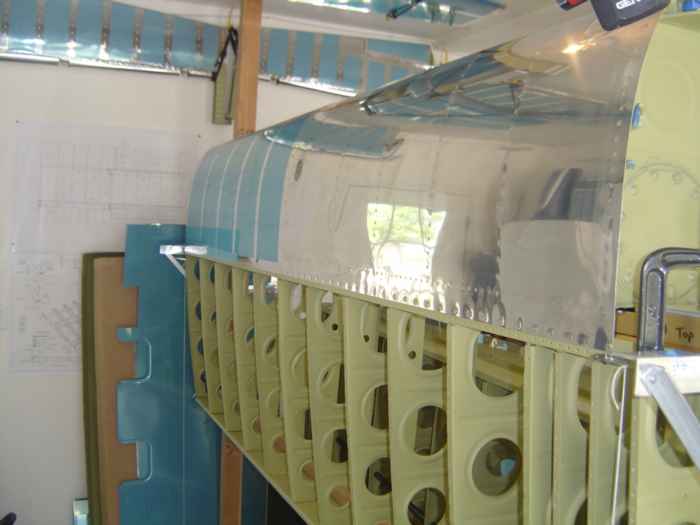 |
August 9, 2005: (2.0 hrs.) Finished up the leading edge by riveting the skin to main spar ribs. |
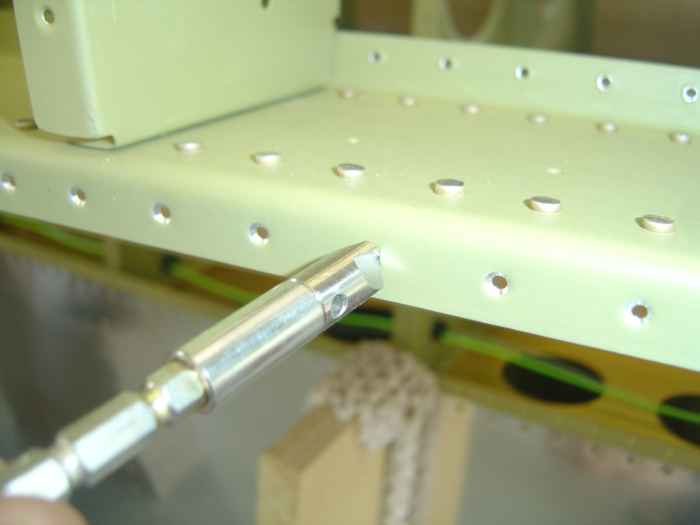 |
Touched up the rear spar dimples with a deburring bit in preparations for attaching the skins. This procedure is recommended by Vans to help the dimples in the skin fit a little bit better with the thick material of the spar. |
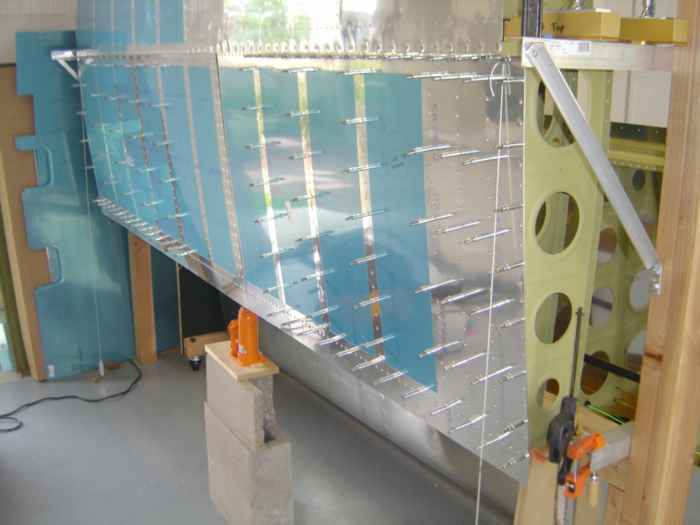 |
Completed dimpling the top skins and cleco'd them in place on the skeleton. |