 |
February 18, 2005:
(2.0 hrs.) I am taking off for the weekend with the family so I
thought I would try to get a few hours in this Friday evening.
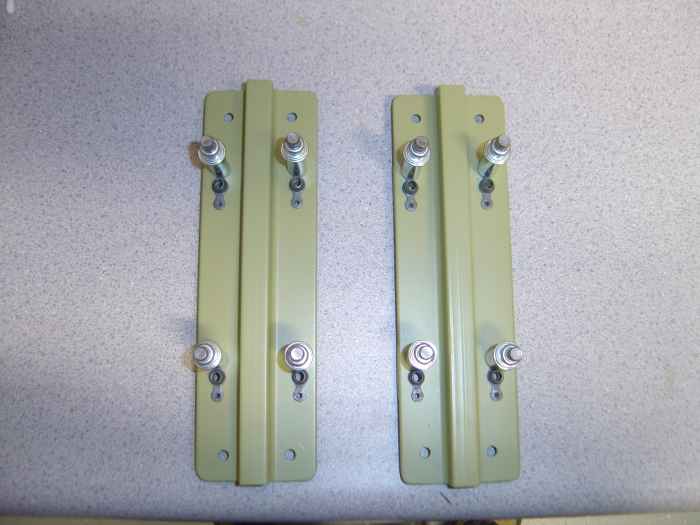
I began by cleco'ing together the tie-down assemblies.
|
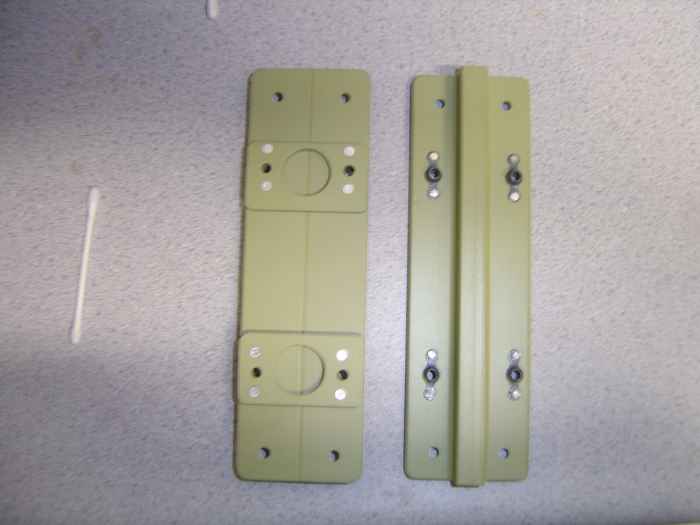 |
Here is the front and back of the riveted tie-down assemblies. Now they just need to be bolted to the main wing spar. That will have to wait since the bolts I need to do this are in a bag of hardware on back order from Van's. |
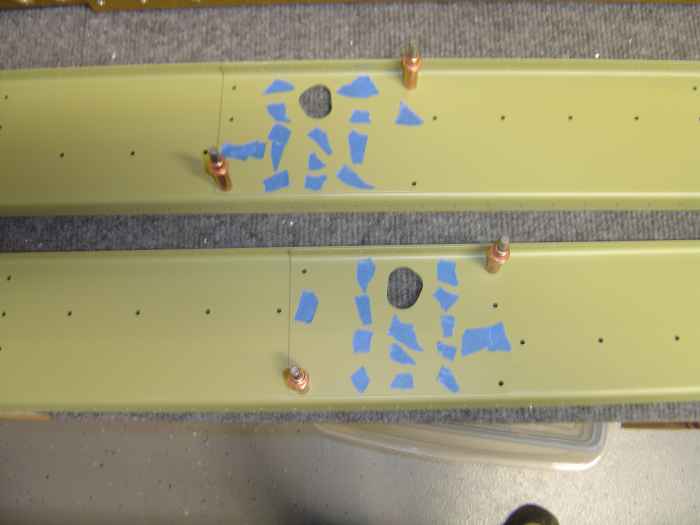 |
I proceeded to cleco on the reinforcement
plates and stiffeners to the left and right rear spars. There are
a bunch of holes in these parts that you need to be careful not to rivet
yet because these are used to later attach ribs and such. I used
blue painters tape to cover the holes I did not want to rivet yet.
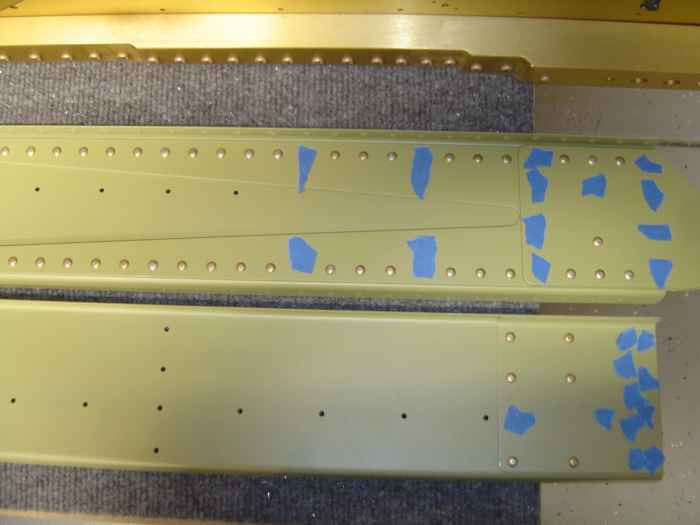
This is the center reinforcement plate on the the left and right rear wing spar. |
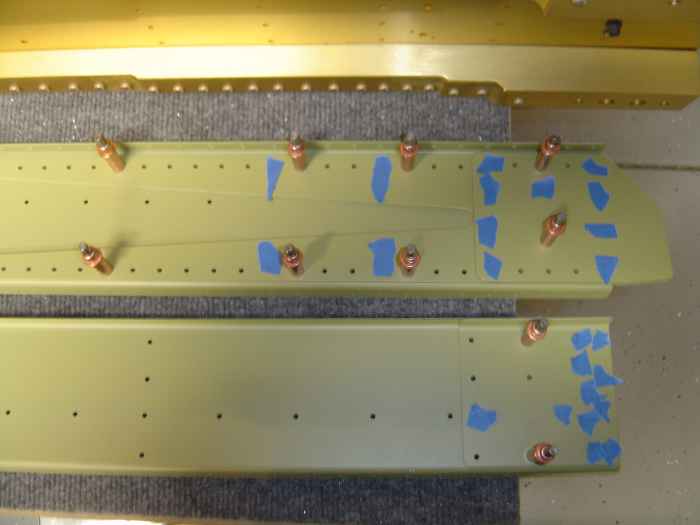 |
This is a picture of the left rear spar inboard stiffeners (top) and the right rear spar outboard reinforcement plate (bottom) cleco'd in place. |
 |
My hands are killing me after squeezing
all these rivets! However, I am still not ready to shell out the
$450 bucks for a pneumatic squeezer.
Turned out pretty didn't it? |
 |
February 22, 2005:
(1.0 hrs.) Received a shipment of various items today
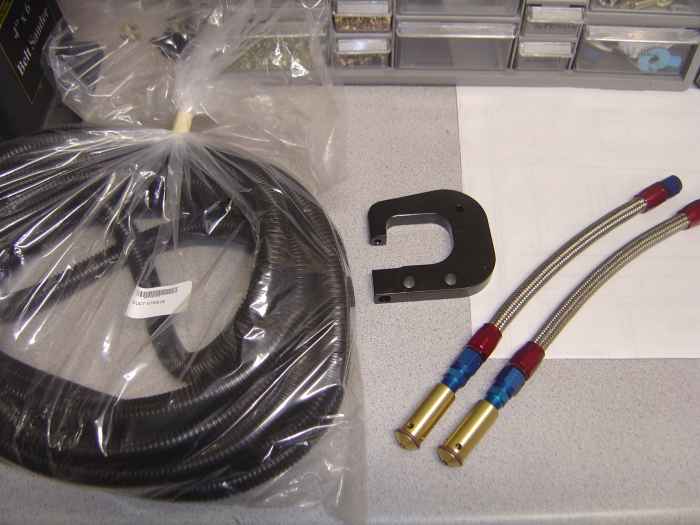
from Vans, Avery Tools, and Cleavland Tools.. The black coil in the bag is corrugated conduit from Vans I plan to use in the wings. The pair of red, blue, silver, and gold tubes are the fuel 'flop' tubes from Vans I will use in the tanks. These will help maintain fuel flow when the plane is inverted. The black 'C' is a longeron yoke I picked up from Avery's, this should help out on reaching some of those rivets my current hand squeezer yoke has problems reaching. Not shown in the picture is a Parker-Roller tube flaring tool from Avery's I picked up in preparation for installing the fuel lines. I also bought some special dimple dies from Cleavland tools that will help when building the tank (they dimple slightly deeper to account for the proseal that squeezes around the rivet). I also picked up a cheap pop rivet squeezer that I will grind the head down on for reaching in tight spots on the wing skeleton. |
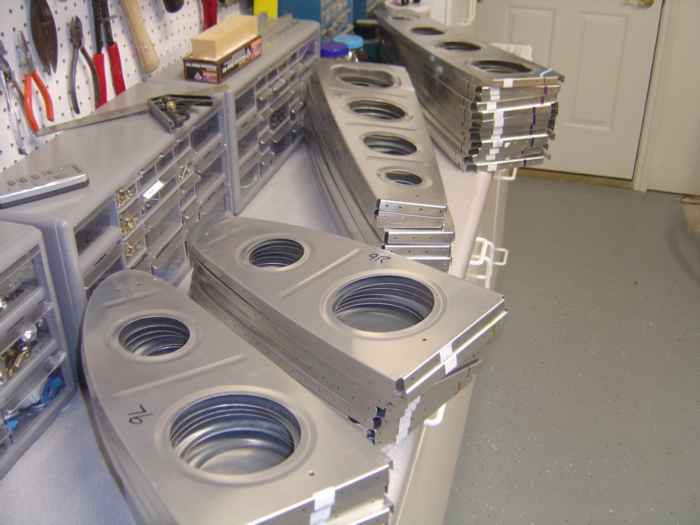 |
Tonight I was pretty tired... all I really accomplished was sorting through and labeling all the wing ribs in preparation for many, many, many hours deburring the edges and lightening holes. |
 |
February 27 & 28, 2005:
(3.0 hrs.) This weekend I began the tedious, but important, job
of deburring all the lightening holes and edges on all the wing
ribs. I am still working on both wings at the same time until I am
ready to jig them, then I will work on one at a time.
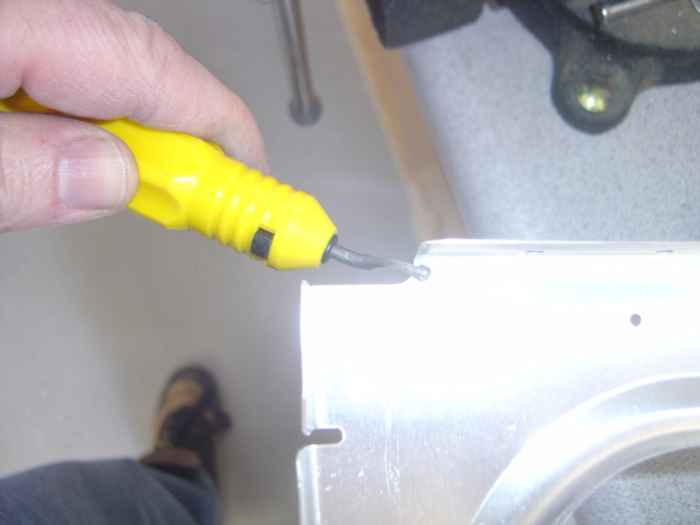
I used my small swivel debur knife to get the inside edges of the flanges. |
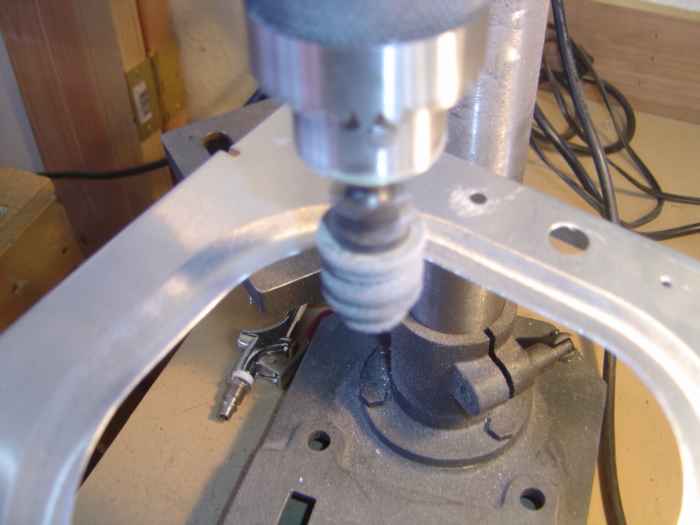 |
The 1" Scotchbrite wheel in my drill press was used to get the lightening holes |
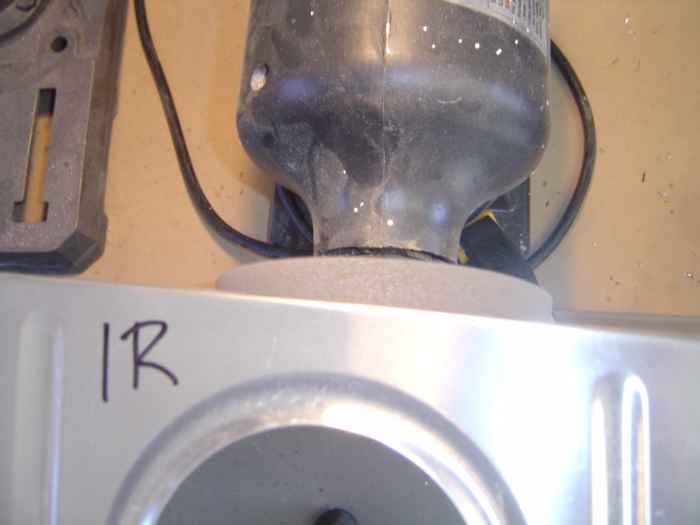 |
Next, I addressed the edges with the 6" Scotchbrite wheel on my grinder... All these steps and lots of ribs adds up to a lot of time. This is the type of work I do not enjoy because you really have nothing to show for all the hours worked. I am really looking forward to getting the deburring of these ribs completed. To date, I have completed the right wing and half of the left. I figure I have about another 1.5 hours of deburring, then I can move on to bending and fluting the flanges. To break up the monotony, I also spent a little bit of time (0.5 hrs.) building the leading edge jig and part of the wing stand. |