 |
June 18, 2005:
(3.0 hrs.) Today was a very product day, however, there was not
much visibly to show for it.
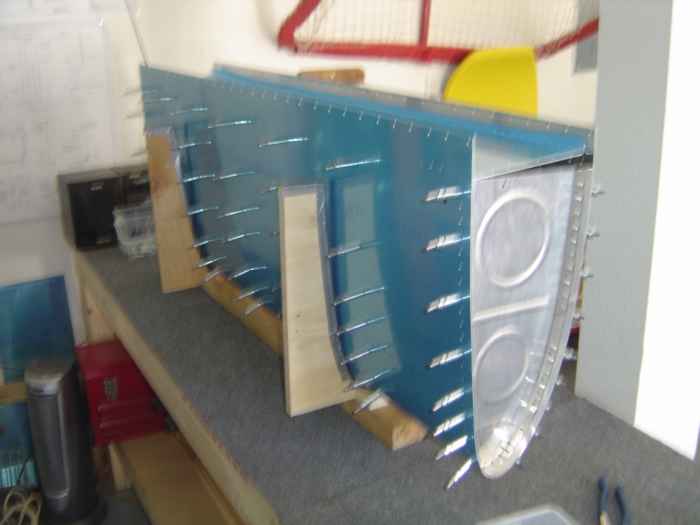
First things first... I needed to get the tank attach brackets fabricated and the tank mounted and fitted to the spar.. Here the left tank has been cleco'd together. I almost forgot how much of a pain it was to get the cleco's through the thick tank skin and into the nose ribs. |
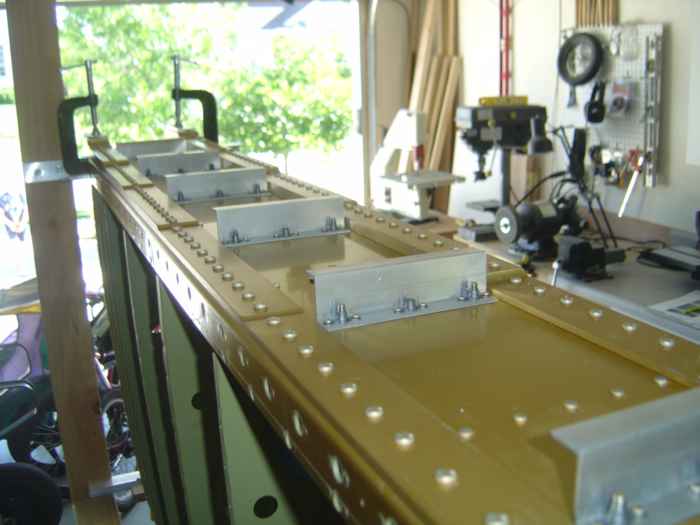 |
Spent quite a bit of time fabricating the
left tank z-brackets (refer to my log on the right wing for details).
Here the z-brackets are temporarily bolted to the main spar for fitting with the tank. |
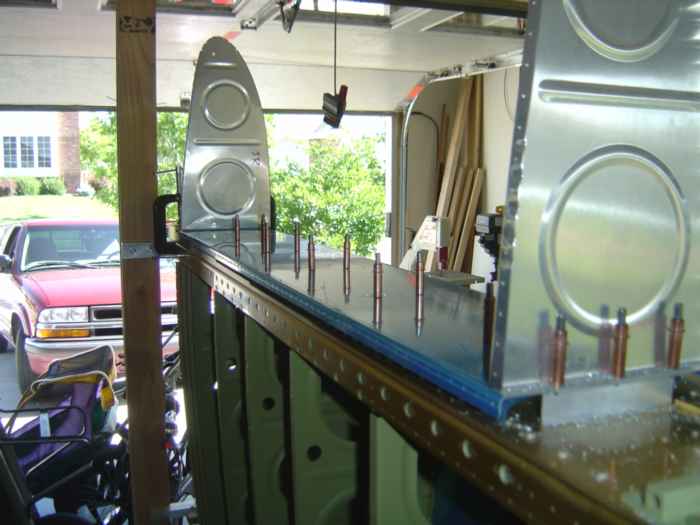 |
After the tank has been placed on the left wing and match drilled, the skin and inside ribs are removed leaving just the end ribs and rear baffle attached to the spar. Now the z-brackets can be match drilled with the rear baffle. |
 |
June 26, 2005:
(3.5 hrs.) With my friend and neighbor Dan over to help out
on the project, I decided the goal for the day would be to get the tank
stiffeners installed. There was a lot of work that needed to be
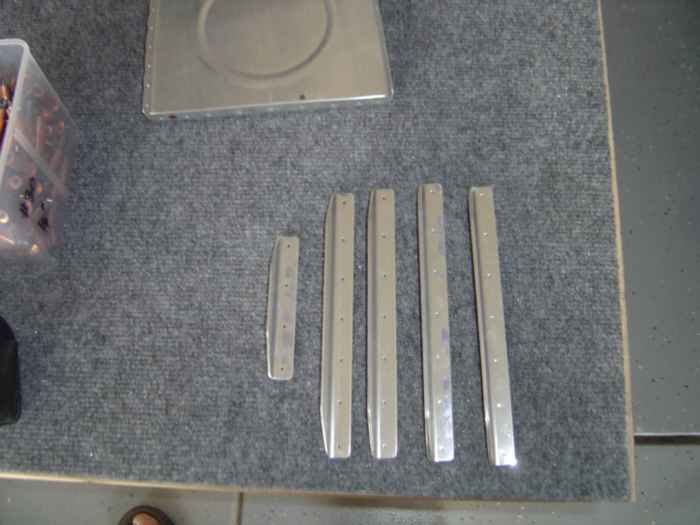
completed before any riveting could commence. The tank stiffeners (pictured) were cut to size and deburred on the ScotchBrite wheel in the bench grinder. While the tank was still cleco'd together I decided to machine countersink the skin to rear baffle attach holes. With that out of the way, the tank was disassembled and the stiffeners where then match drilled to the skin. Since I only have one deburring bit, Dan and I took turns deburring the tank skin holes while the other dimpled the left wing ribs. Dan also managed to debur the tank ribs and get a few dimpled. Once the skin holes where deburred, we worked together to using the c-frame to dimple all the holes using my tank dimple dies... |
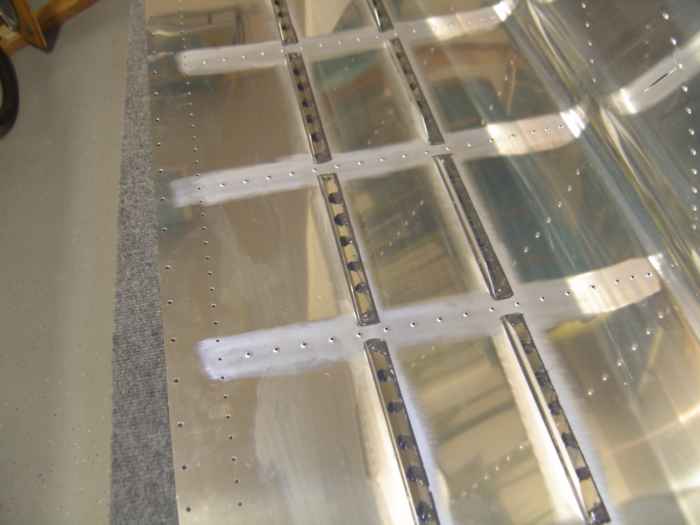 |
I etched the skin with a soft ScothBrite
wheel on my drill while Dan deburred and dimpled the stiffeners.
The mating surface on stiffeners was then etched with a soft ScothBrite
wheel in my drill press. All surfaces and rivets were then cleaned
with MEK.
Lastly, the stiffeners got back riveted to the skin with ProSeal in between. For more details on the process, refer to my previous work on the right fuel tank. |
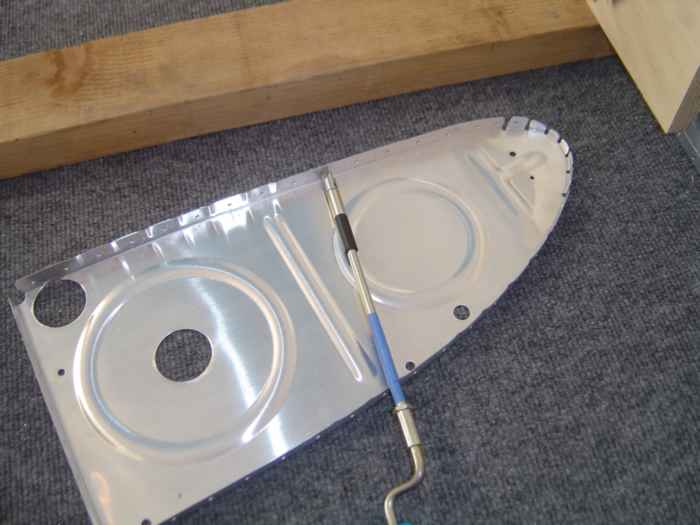 |
July 1, 2005: (1.0hrs.) Finished deburring the tank rib to skin rivet holes |
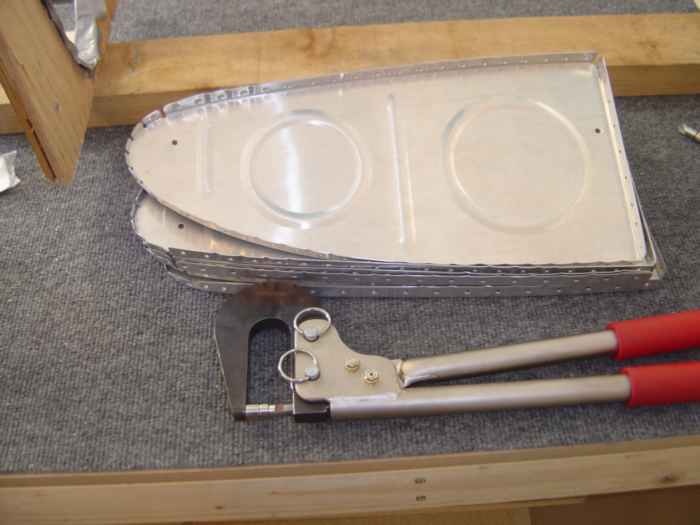 |
Used my 3/32" tank dimple dies to dimple the tank ribs. |
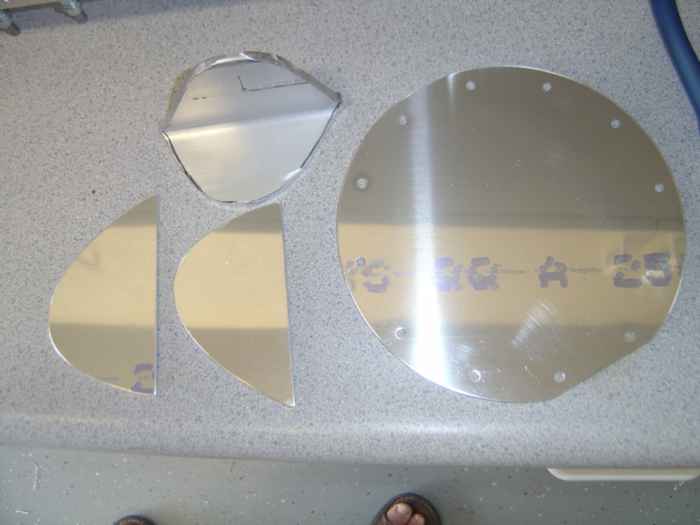 |
Cut the tank inboard rib attach angle to size and began to clean up its edges (still needs more work). I also spent some time cleaning up the edges of the tank root rib reinforcement plates, the access cover, and the access cover reinforcement ring. |
 |
July 2, 2005:
(2.0 hrs.) Using my fly cutter in the drill press, I cut
out the access hole in the inboard tank root rib and then match drilled
the reinforcement ring. All the parts were deburred. The
nut-plate rivet holes in the rib get dimpled and the reinforcement ring
is machine countersunk to accept the dimples.
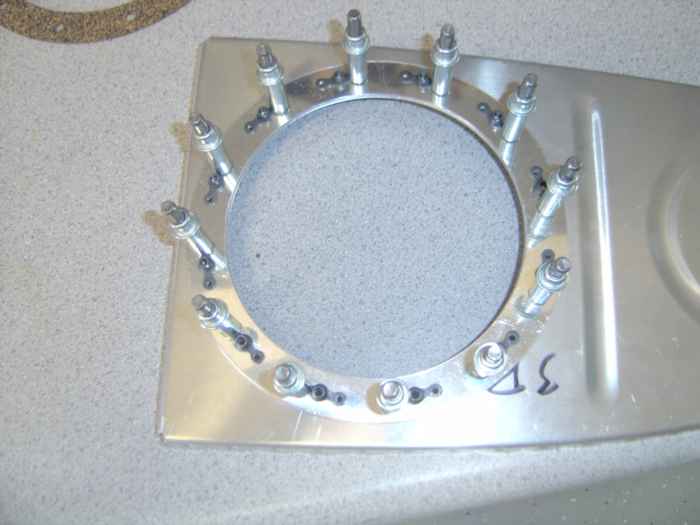
Here the reinforcement ring and nut-plates are cleco'd into place and ready to be riveted. |
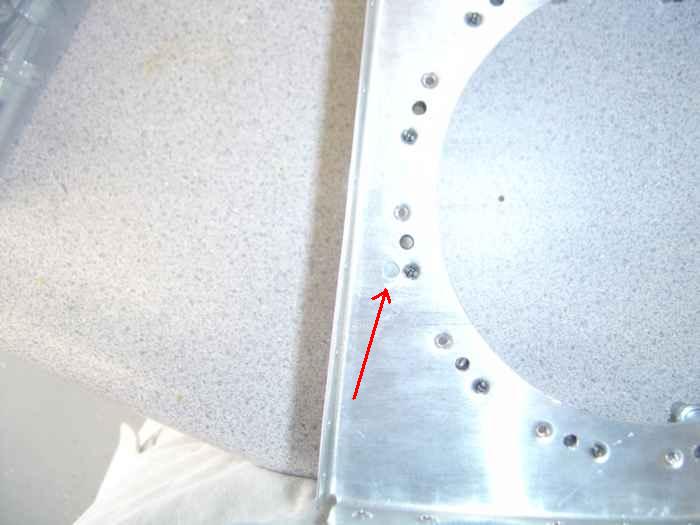 |
When I built the right tank, I did not cut
the access hole quite far enough aft. This caused the
reinforcement ring to not quite cover the tooling hole in the rib.
I then had to craft a special cover plate for that tooling hole so the
tank would not leak. This time around, I made sure that my
reinforcement plate covered the tooling hole (kinda hard to see in the
picture, but the arrow is pointing to it)
With the fit looking good, the reinforcement plate was riveted into place. |
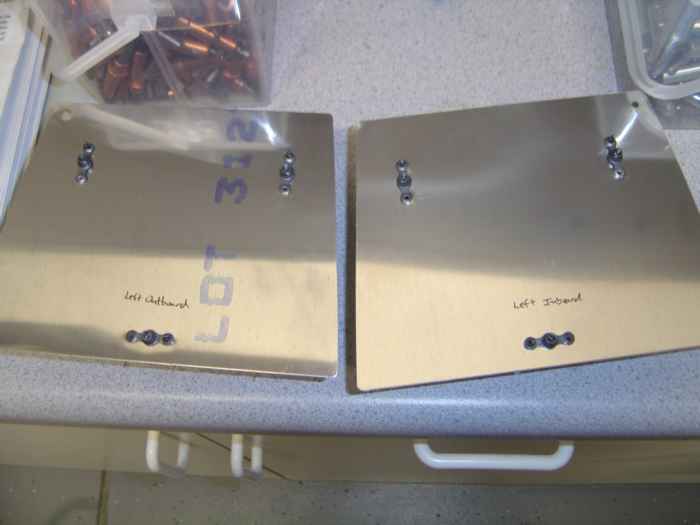 |
Assembled the capacitive fuel sender
plates. Edges were deburred and cleaned. Plates were match
drilled to their mated tank rib and then the nut-plates were installed.
|
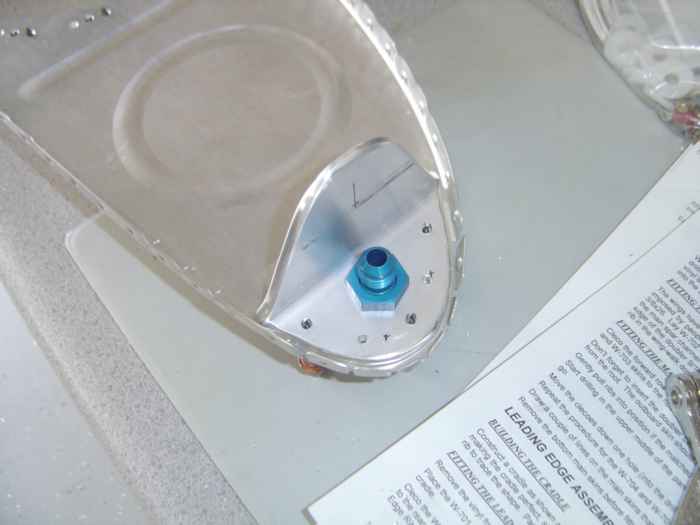 |
Worked some more on the inboard root rib tank attach angle. After getting the edges clean and smooth, the holes for the rivets and fuel pick bulk head fitting were drilled. The outboard root rib and reinforcement plate (not shown) were also drilled. All holes were then deburred. |
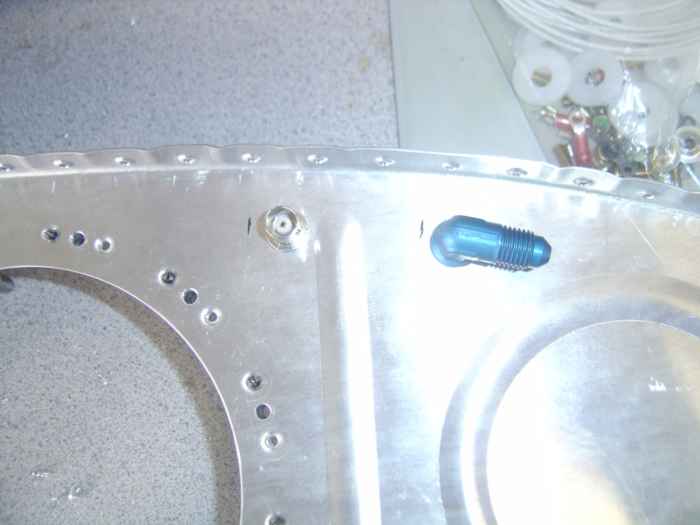 |
The holes for fuel sender BNC fitting and the fuel vent line bulk head fitting were located and drilled in the inboard root rib. I also soldered a 15" length of 18 gauge wire to the BNC fitting. |