 |
November 26-27, 2005:
(4.0 hrs.) Now that the ailerons are attached, I can mount
the flaps, using the ailerons as a reference for the trailing edge
distance.
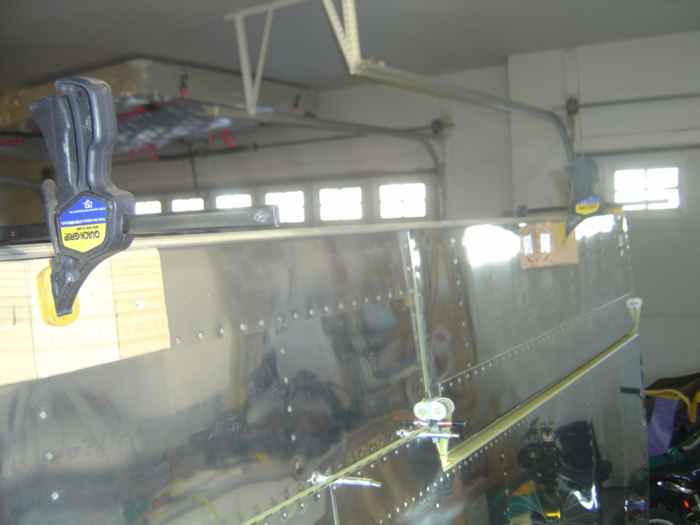
Here I have clamped a piece of aluminum angle to
the trailing edge of the aileron to give me a reference line for where
the trailing edge of the flap should be. |
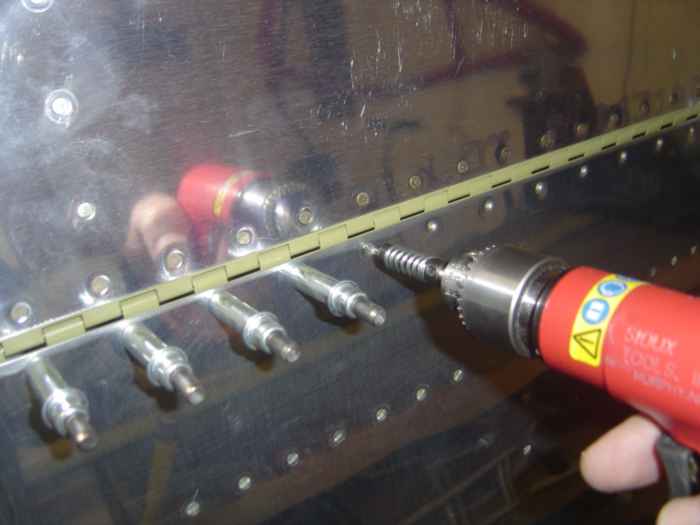 |
With the flap clamped in place, I match
drill and cleco the flap hinge to the wing skin and gap seal. The
tricky part here is getting started because the wing skin, gap seal and
aileron hinge all need to be held in place and drilled. Once you
have your first hole drilled, a cleco can be used to hold it all
together making drilling the the following holes much easier. |
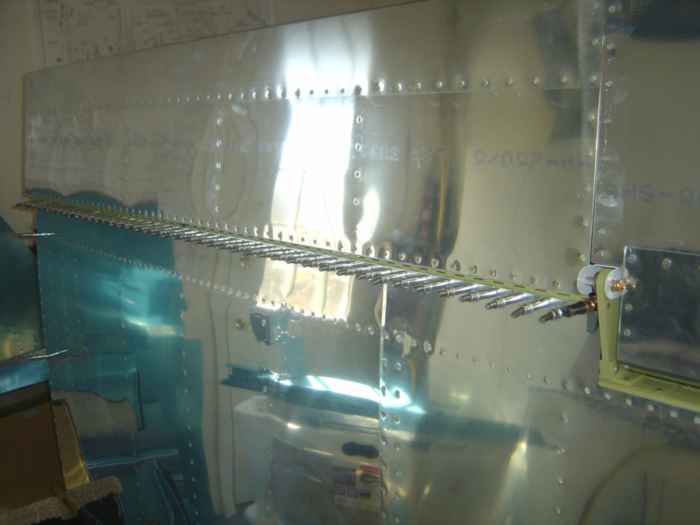 |
All the holes are drilled and cleco'd.
Next, all the clecos get removed, the parts get deburred, the parts get
cleco'd back into place, and the parts get riveted with the hand
squeezer. |
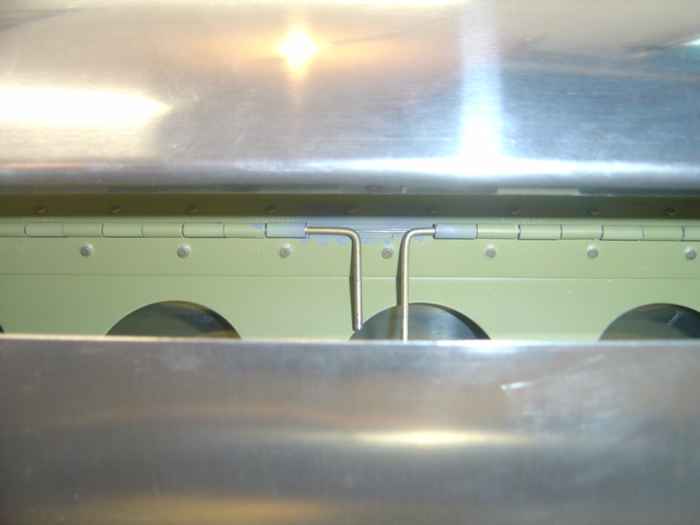 |
To make installation and removal of the
flap easy, I chose to remove a few sections of eyelets from the middle
of the flap hinge so that the hinge pin can be inserted in two pieces
from the middle. Here you can see the two ends of the bent hinge pins
meeting in the middle of the flap hinge. These will get safety
wired together at a later date. |
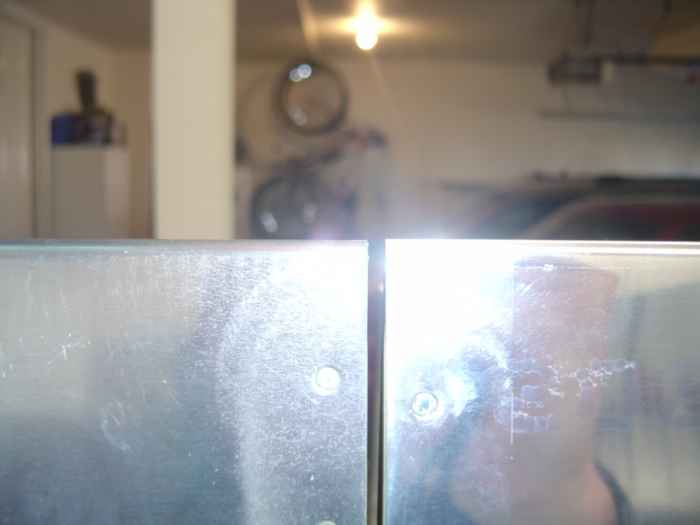 |
Here is a shot of the aileron and flap
trailing edge alignment. Its within 1/32". Certainly good
enough. |
 |
With the flaps now done, there are just a
few items to tend to the wings, one of which is installation of the
pitot tube.
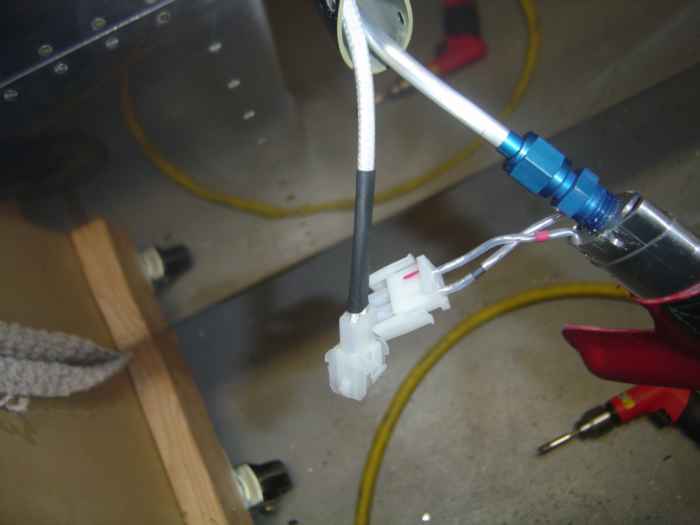
This picture shows the 1/4" aluminum tubing run and wiring harness to
the heated pitot tube. I used Molex connector on my wire harness
to make removal of the pitot tube easy. |
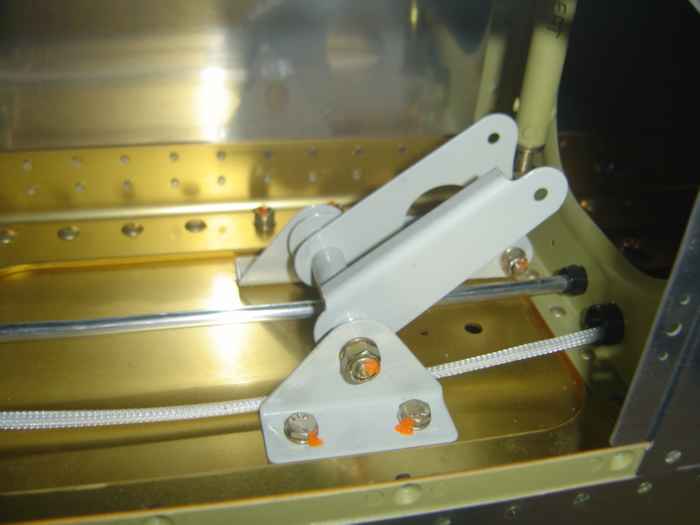 |
The pitot tube and wire harness runs go
right under the aileron bell-crank. |
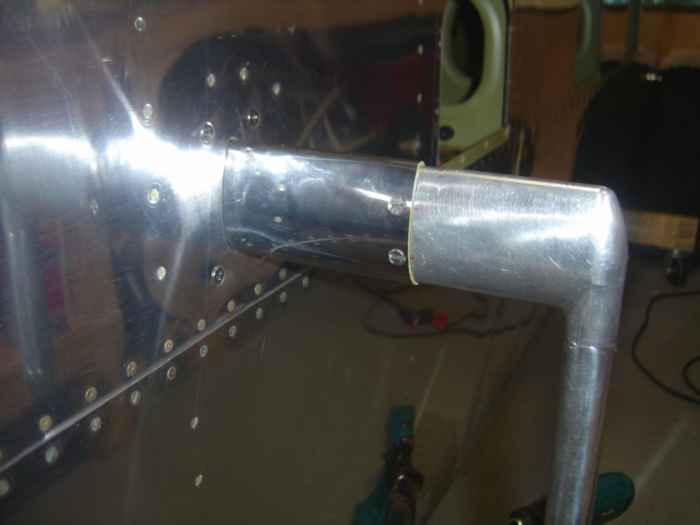 |
I picked up some #6 stainless screws at
Home Depot, drilled/tapped the pitot mount and tube, and installed the
pitot tube. Looks pretty good. |
 |
October 5 - 26, 2008:
(12.0 hrs.)
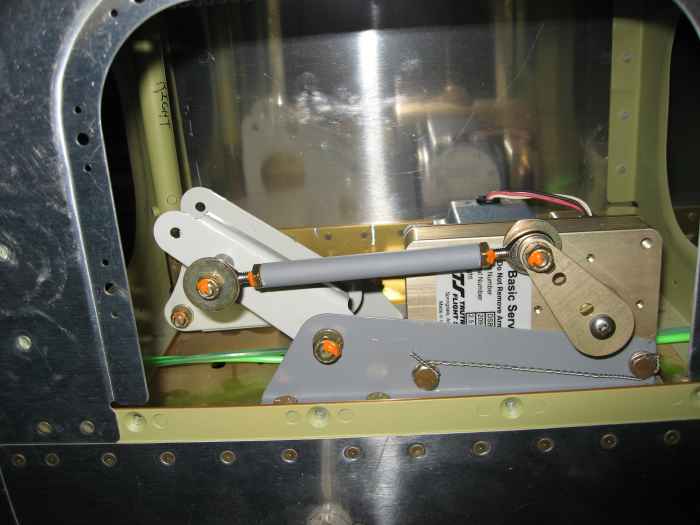
Installed the roll server for my TruTrak autopilot in the right wing.
Here it is all installed. Bolts torqued and safety wired. |
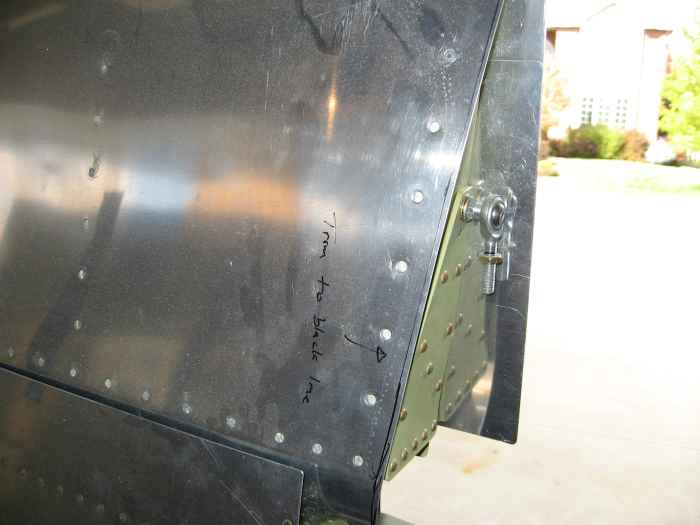 |
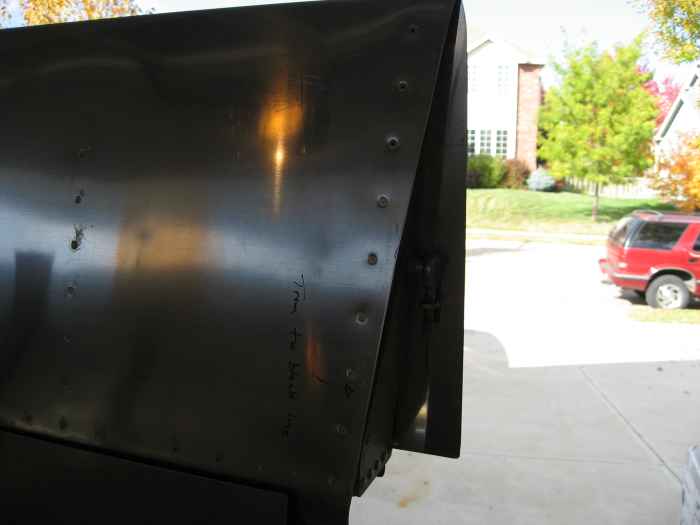
One thing I never got around to doing
after I initially fitted the wings, was trimming the flaps where they
meet the fuselage. I had marked the trim line (shown in the
picture), but never did the trimming. |
 |
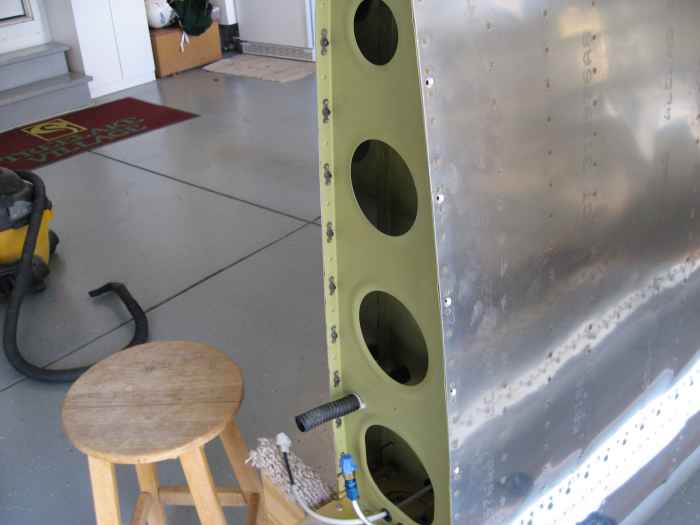
After some work with the felt sander,
file, and ScotchBrite wheel.. the flaps are trimmed. |
 |
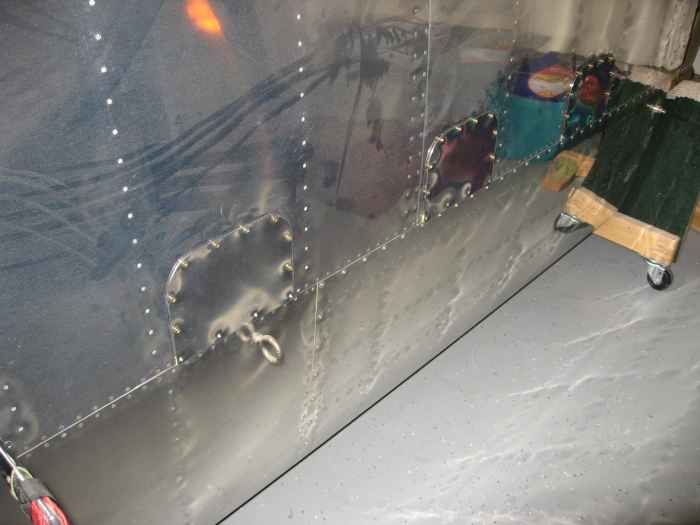
When I originally fit the wings to the
fuselage, I never got a chance to match drill the wing root fairings
because I did not have the wing root fairings! Van's for some
annoying reason does not provide those in the wing kit, but the finish
kit. Well, I decided that since the majority of holes in the fairing
and wing skin are pre-punched, that match drilling things while the
wings are mated to the fuselage is not that critical. So, I went
ahead and did it with the wings off and then installed the gizillion
nut-plates. I don't suspect this will be a problem later.
Worst case is that I need to trim the fairing down a bit during the wing
mating process. |
 |
Ah, the last thing I had to do was install
all the nut-plates in the wing access points. Did I mention how
sick I am of installing nut-plates? |