 |
August 10, 2005:
(2.0 hrs.) I still have not found someone to help me rivet
the top skins on the left wing so I moved on to other work. I
decided to work on the heated pitot tube mount. I purchased the
Gretz Aero mount for this which requires a few steps to install.
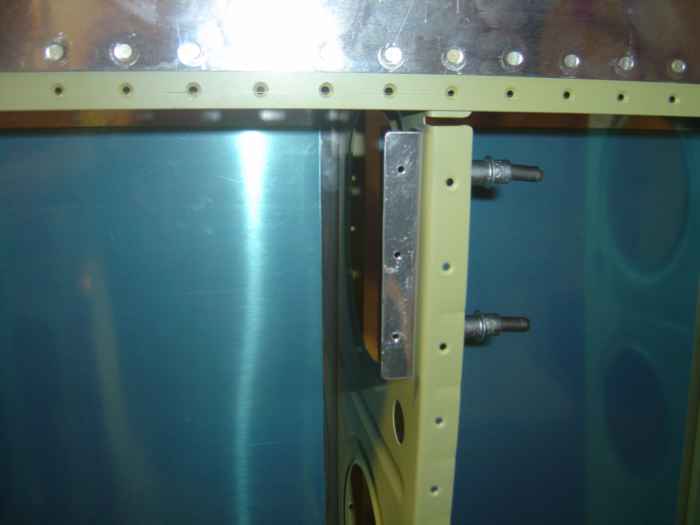
First, this angle bracket for needs to be fabricated to help support the mount. Here I have drilled and cleco'd it to the wing rib. If you are wondering where exactly I am mounting this pitot, it is on the left wing in the bay outboard of the aileron bracket assembly bay. |
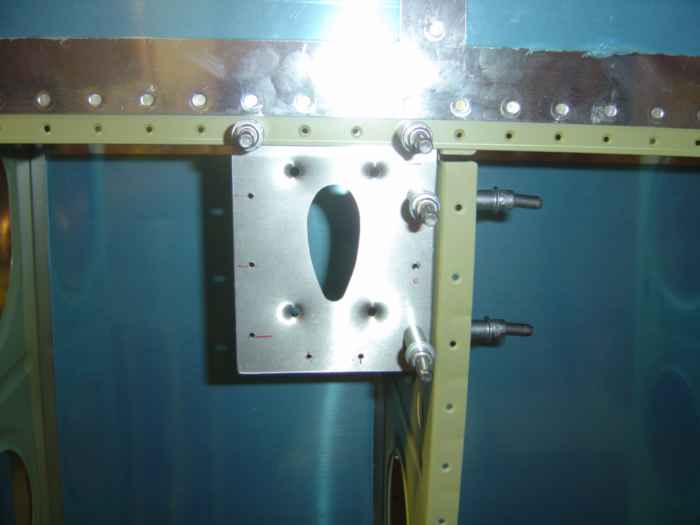 |
The mounting plate gets drilled to the angle bracket and main spar skin attach holes |
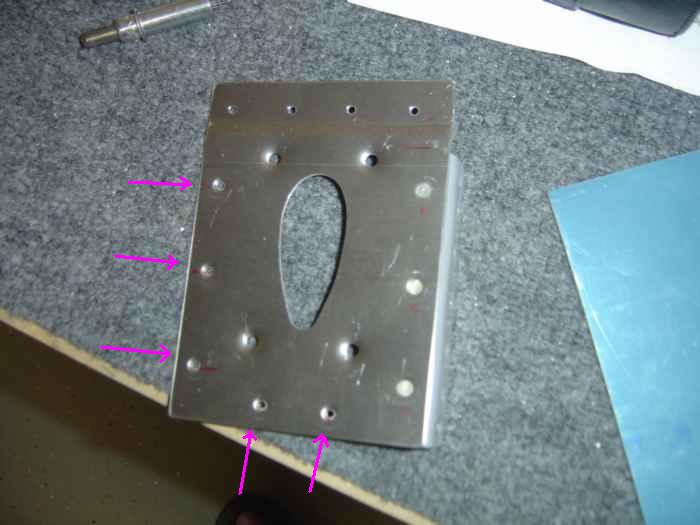 |
A rivet pattern needs to be created on the mounting plate for where it will attach to the skin (see arrows). Everything is then deburred and dimpled. I went ahead and riveted the mounting bracket to the angle bracket. |
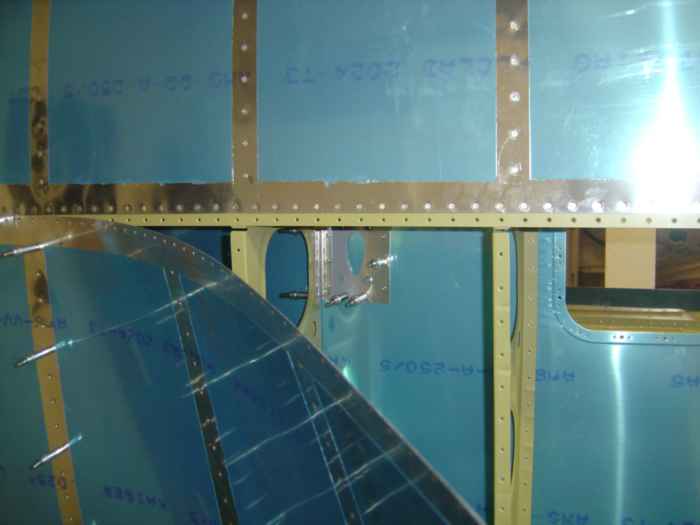 |
I then clecoed the angle bracket back to the rib and then put the bottom skin on. Pealing back the top skin I now had access to the mounting plate to match drill the mounting plate rivet holes to the skin. |
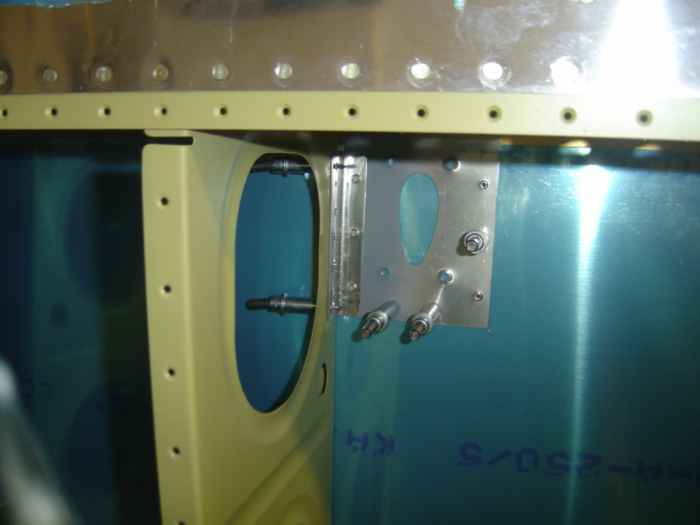 |
Here is a closer shot. |
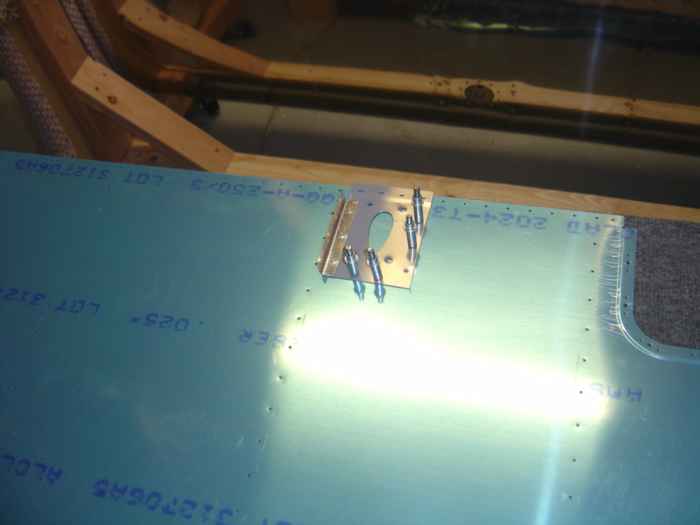 |
Keeping the mounting plate cleco'd in place, I removed the skins to provide easy access for cutting out the tear drop shape hole. |
 |
August 12, 2005:
(0.5 hrs.) I am leaving for a trip to Steamboat Springs for
the weekend and will not get a chance to work on the plane for another
week, so I managed to get a little time in the work shop Friday
afternoon.
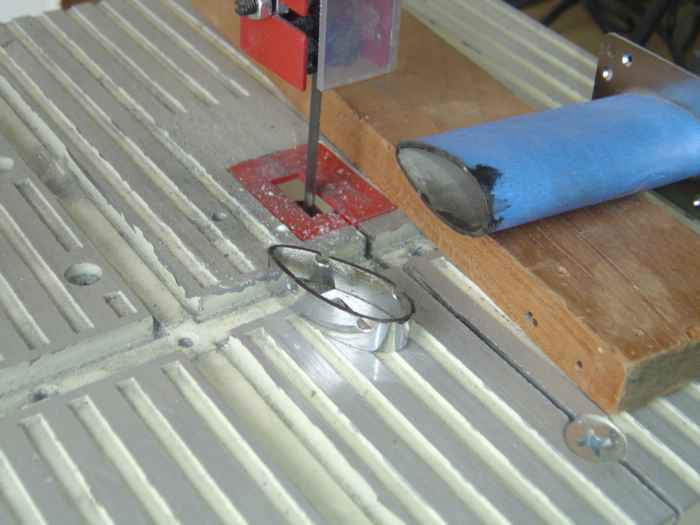
The pitot tube mount I got from Gretz Aero had mounting holes that did not fit my pitot. I decided the best solution was to cut the portion of the mount off that had the pre-drilled holes and then make my own holes. Here I am using the band saw to cut the mount down. The pitot mount is wrapped in blue tape to protect the chrome finish. |
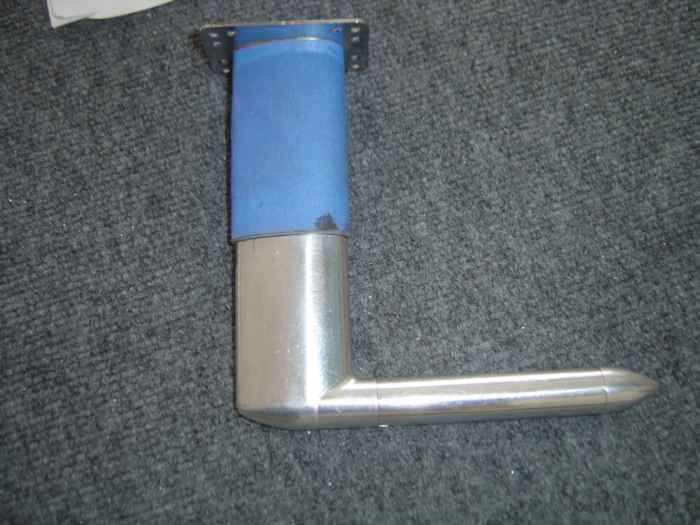 |
Perfect fit. |
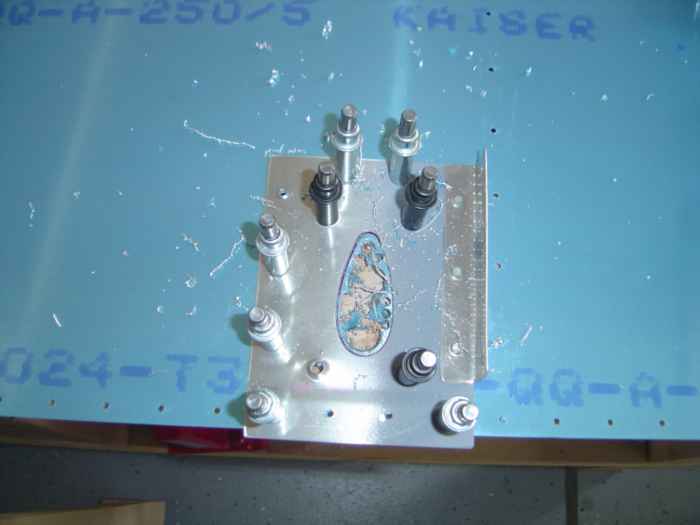 |
Next I moved on to cutting the tear drop
opening in the bottom skins that allow the pitot mount to poke through.
With the mounting plate cleco'd in place, I drilled much of the material out. |
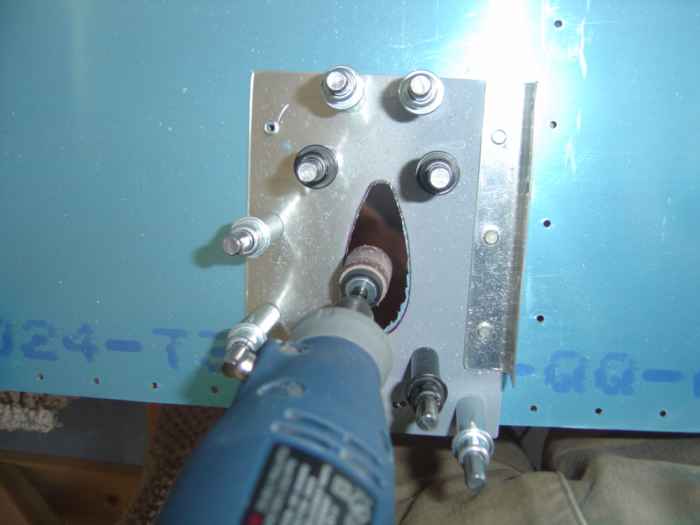 |
After snipping away much of the material, I used my Dremel tool with a drum sanding bit to clean up the edges. |
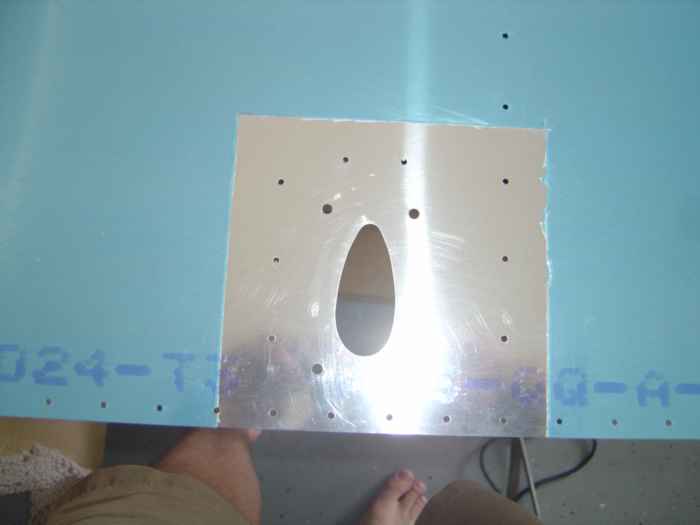 |
Here is the completed hole. Not perfect by any means but very acceptable. |