 |
February 12, 2005:
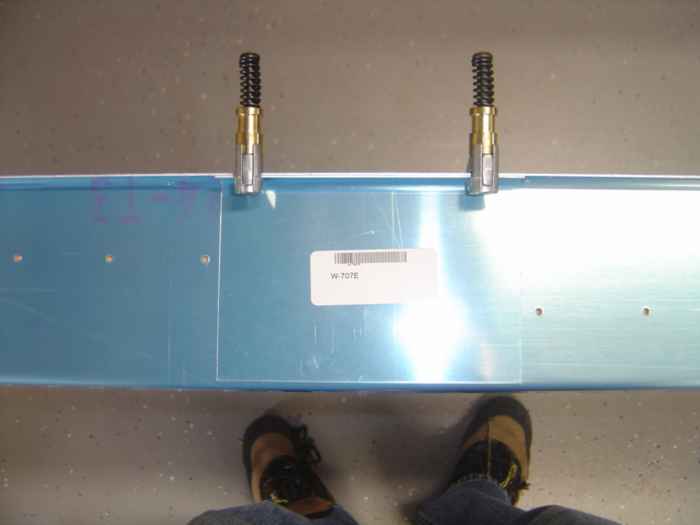
(6.0 hrs.) Clamped the rear spar doubler plates in place for
drilling. There are two doubler plates per spar (If I did not
mention it before, I am working on both wings at the same time...at
least for now0.
|
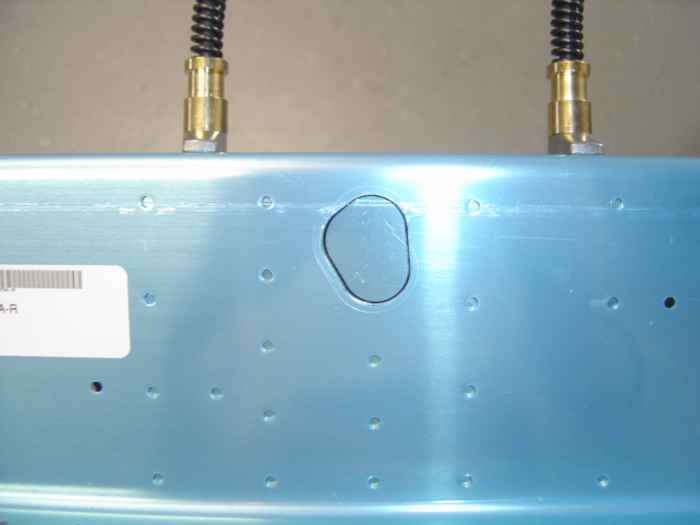 |
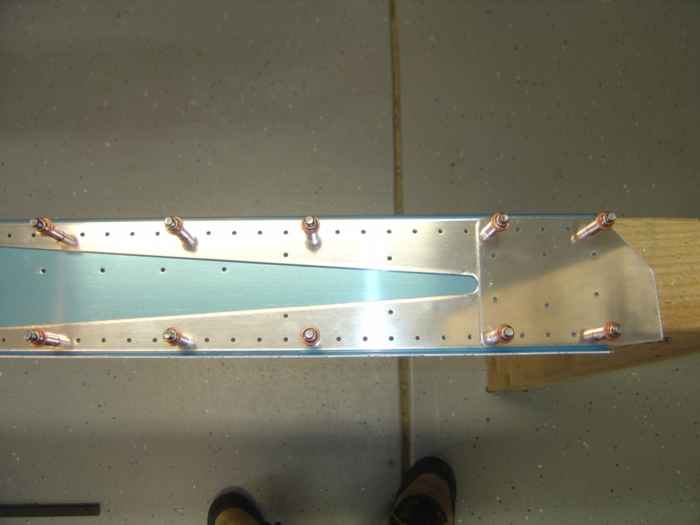
The center doubler plate needs to have
this strange shape hole on the rear spar for the aileron push rod
transferred and cut-out. |
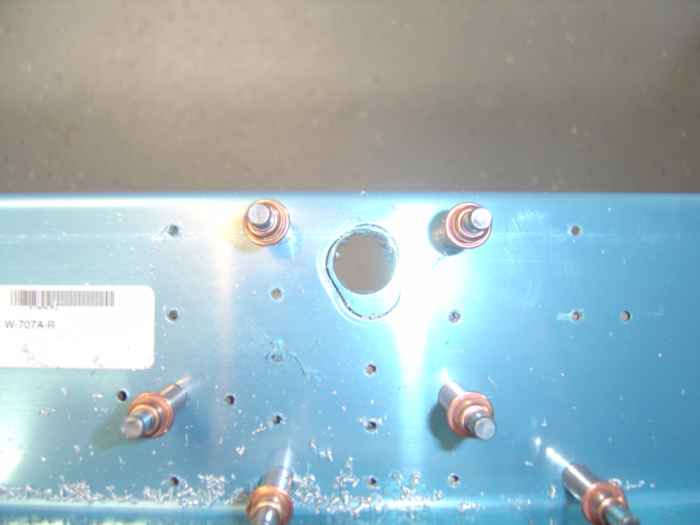 |
Here you can see that I have drilled out
all the holes in the doubler plate using the rear spar holes as a guide.
I have also used a step drill to remove a large portion of material for
the aileron push rod cut-out. |
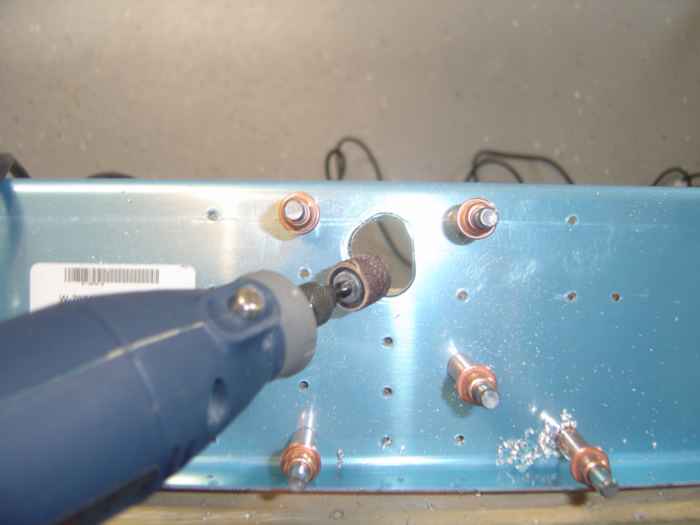 |
I then used my Dremel tool with a drum
sander to remove the remaining material and smooth the edges. |
 |
I also had to attach the spar stiffener
plates and match drill all the holes.
Next, I spent a large amount of time deburring all the holes and
edges of the rear spar components. |
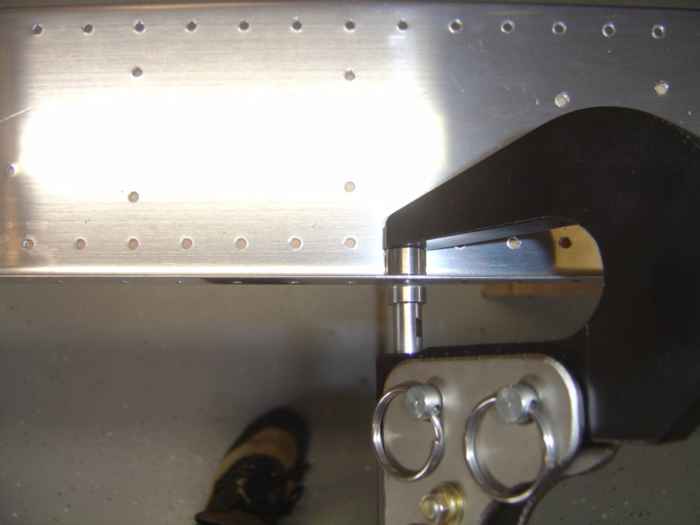 |
The rear spar flange that overhangs the
spar stiffeners should be dimpled now, prior to riveting the stiffeners
in place. If you wait until the stiffeners are attach you will not
have room for the hand squeezer.
|
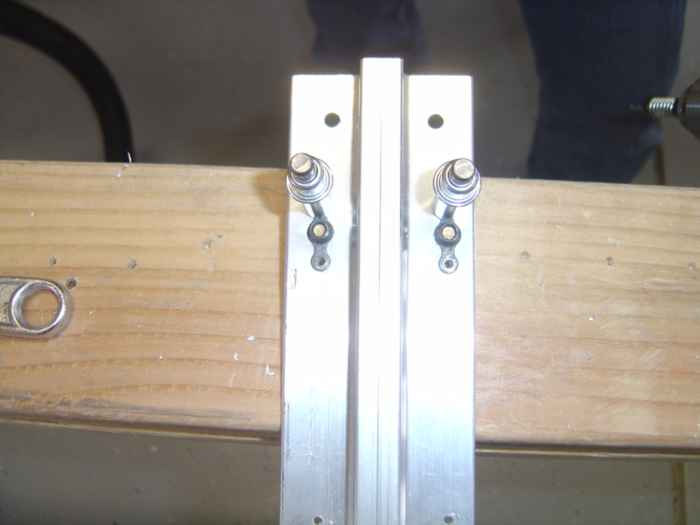 |
I did not like the way my tie down bracket
and spacers turned out from the other day, so I fabricated a new set.
My previous attempt did not have a neatly aligned set of holes in the
spacers. Not that that would have been an issue for the airframe,
or appearance (these are hidden inside the wings), but I want to a have
as near a perfect construction as possible :)
Here, I am match drilling for the nut-plates that attach to the tie
down bracket and spacers. |
 |
February 13, 2005:
(3.0 hrs.) Tonight I was resolved to finishing up a few
little items on the spars and then get things prepped and painted.
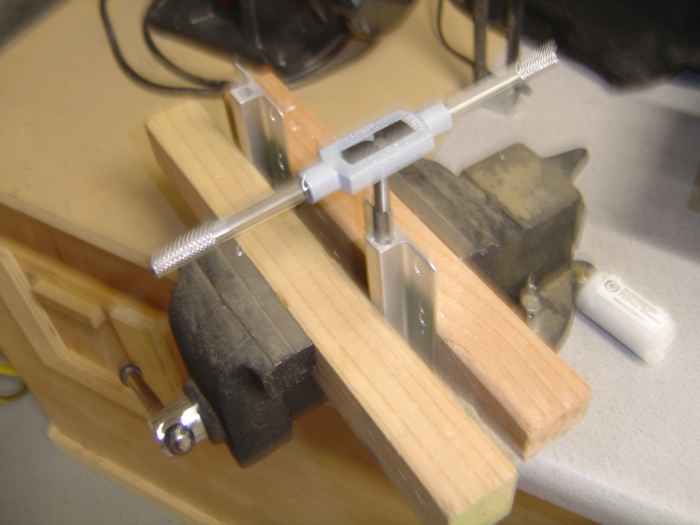
I drilled out to 5/16" and then I tapped the
tie-down brackets for a 3/8 x 16 thread. Sorry about the blurry
picture. |
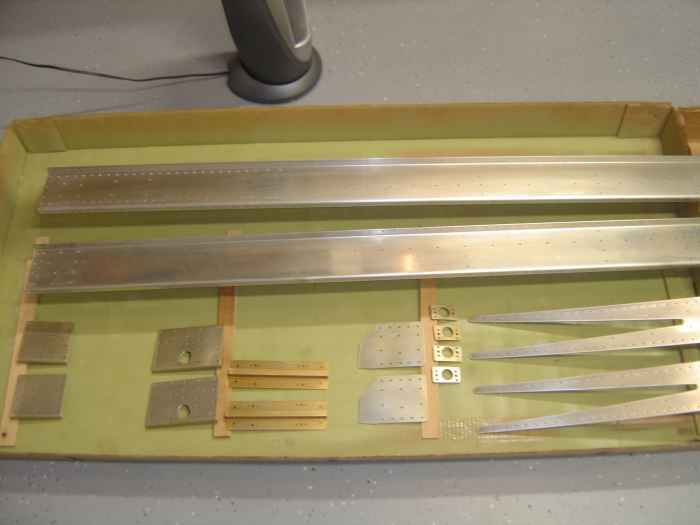 |
Next I spend a great deal of time prepping
for paint using my normal method. 1. Alumiprep 33 and a
scotchbrite pad, 2. Rinse and dry, 3. three minute Alodine batch, 4.
Rinse and dry, 5. Two part epoxy primer
Here the parts are ready to be sprayed with primer |
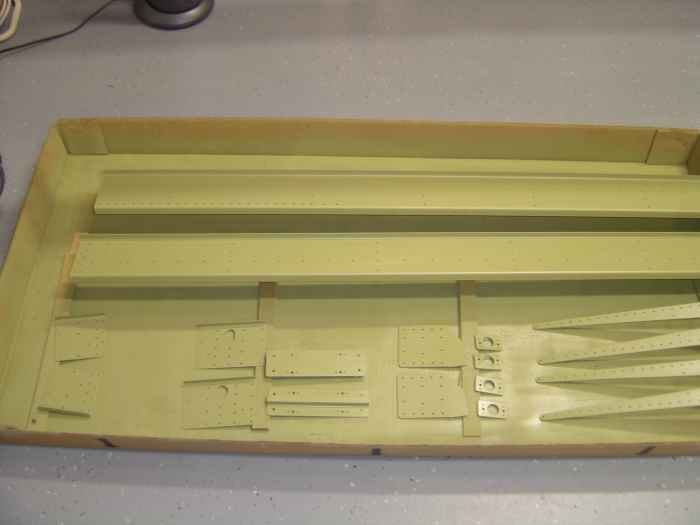 |
Primed parts...
While I was cleaning up for the night I accidentally kicked over a 1
gallon can of epoxy primer catalyst. 3/4 of the can covered my
garage floor! What a mess. It took me quite a while to get
it all cleaned up, but it eventually came up. Now I need to fork
out another $100 bucks for more paint. |