 |
August 28, 2005:
(4.5 hrs.) Today's mission: Complete the aileron and flap
gap seals for both wings. Now that a wing jig is no longer needed,
I am back to working on both wings simultaneously.
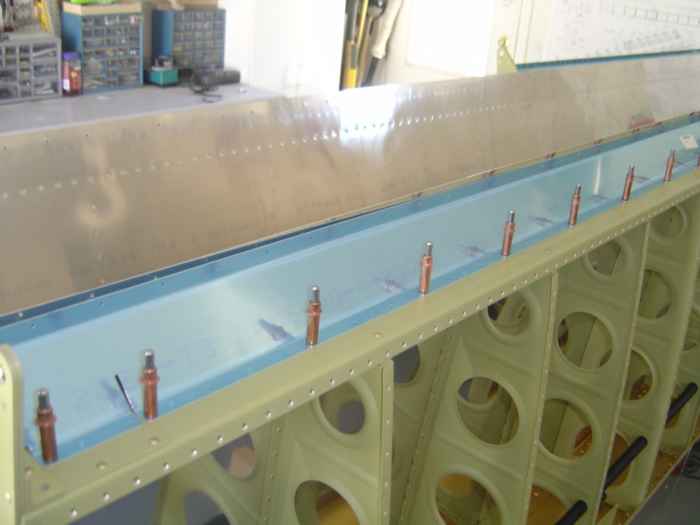
Here is the aileron gap seal cleco'd into position
for match drilling to the rear spar and top skin. |
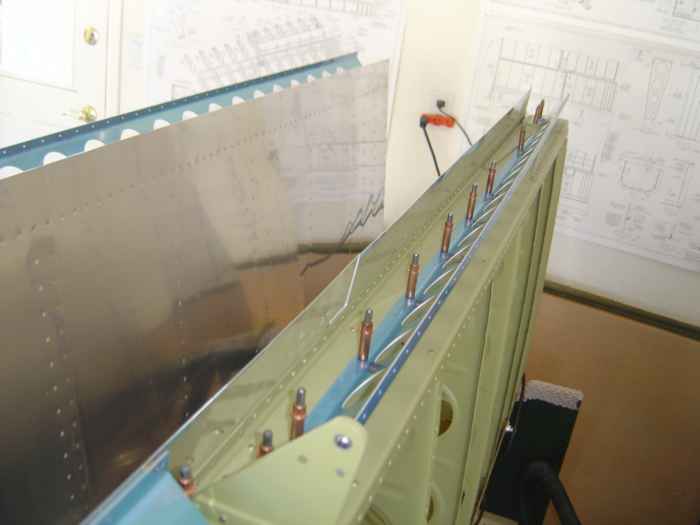 |
This is the flap gap seal/brace cleco'd to
the rear spar. You cant see it in this picture, but there is a 5
inch section along the flange that needs to be trimmed to get the gap
seal to fit next to the rear spar inboard doubler plates. The hand
shears were used to trim the parts. |
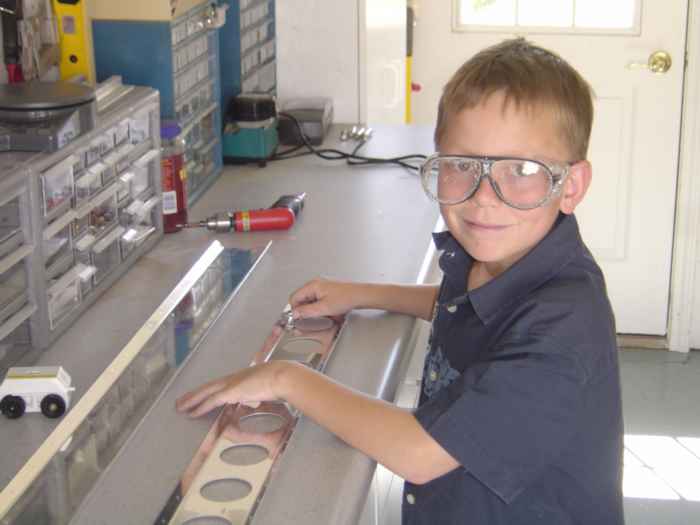 |
After match drilling all the parts, I
recruited my oldest son Mitchell to lend a hand deburring the rivet
holes. He enjoyed spending the time with Dad but quickly got bored
with deburring. While Mitchell deburred the rivet holes, I deburred
all the edges using the Scotchbrite wheel in the bench grinder.
|
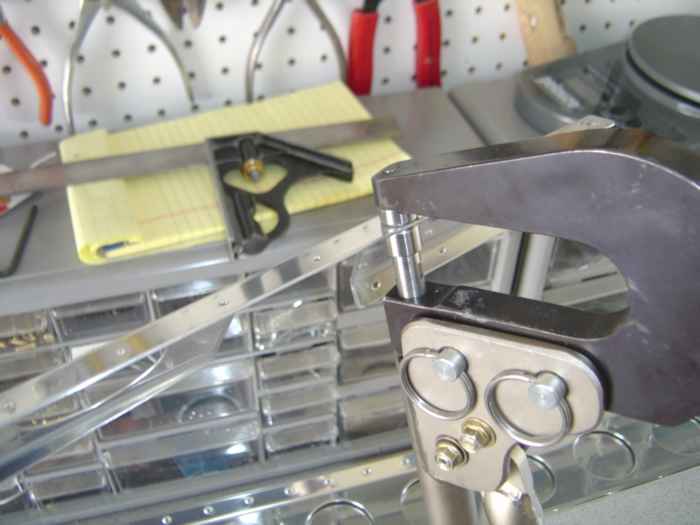 |
The holes where the aileron gap seals
attach to the top skins get dimpled, as do the flap gap seals attach
point to the bottom skins. |
 |
The parts are prepped for priming.
First I scuffed the surface of the parts with a maroon Scotchbrite pad.
Next, I washed the parts in Alumiprep and scuffed them some more.
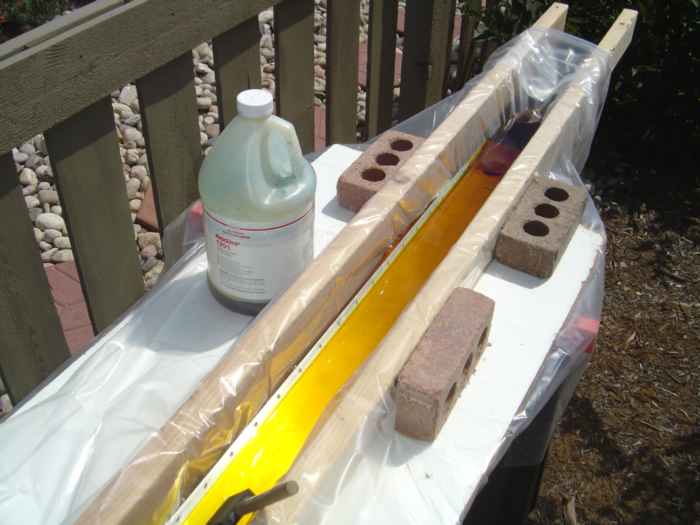
Here, the gap seals are soaking in a make-shift Alodine bath. I
used a couple 2x4s with a plastic drop cloth to make a trough to hold
the Alodine. |
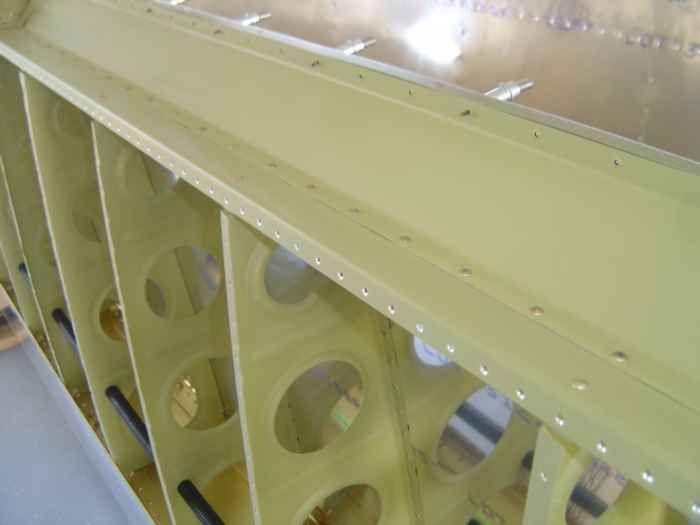 |
The parts were given a coat of primer and
then installed. I made quick work of the AN470AD4
rivets using my pneumatic rivet gun and bucking bar. There is
great access to these rivets, so setting these by yourself is no
problem. For many of the rivets along the aileron gap seal
(pictured), I could of used a hand squeezer, but using the rivet gun was
going so well that I just continued to use the gun all the rivets. |
 |
September 2, 2005:
(0.5 hrs.) Before moving on to building the ailerons, I
finished up the aileron gap seal by riveting it to the top skin. |