 |
June 10, 2005:
(4.0 hrs.) My goal today is to get the top skins on and the
wing out of the jig. First things first... I needed to create the
scarf joint where the top skins overlap and butt up against the tank
skin. I used an orbital sander to do this. I don't have any
pictures of the process, just the end results shown below.
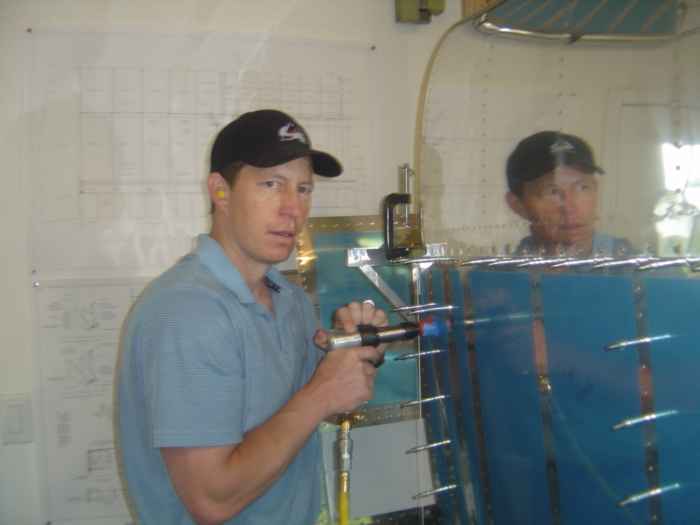
Here I am working the 3x rivet gun with flush set.
Oops, I forgot my eye protection. |
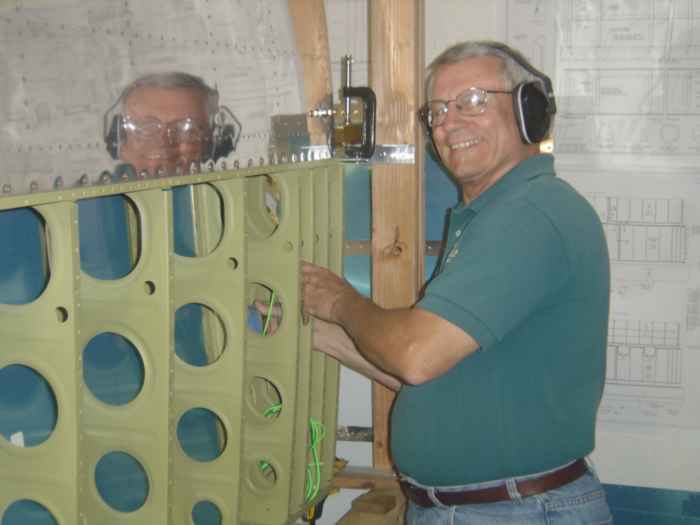 |
Here is Max bucking rivets for me.
With two people, we make quick work of all the rivets in the wing. |
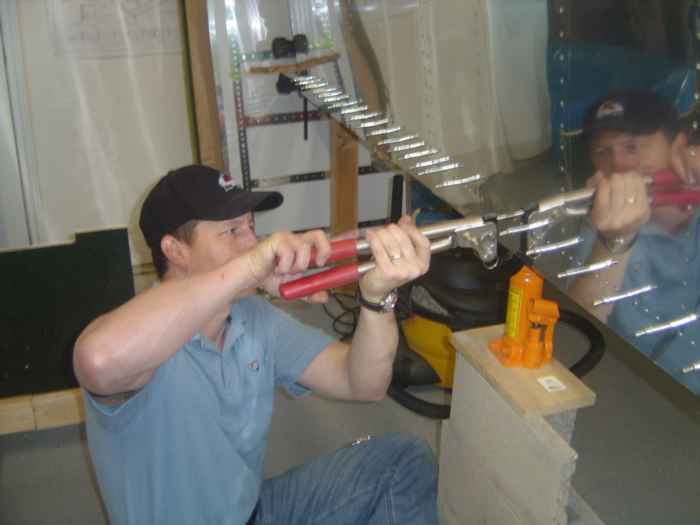 |
For the inboard rib and bottom edge rivets
used my hand squeezer on the rivets. |
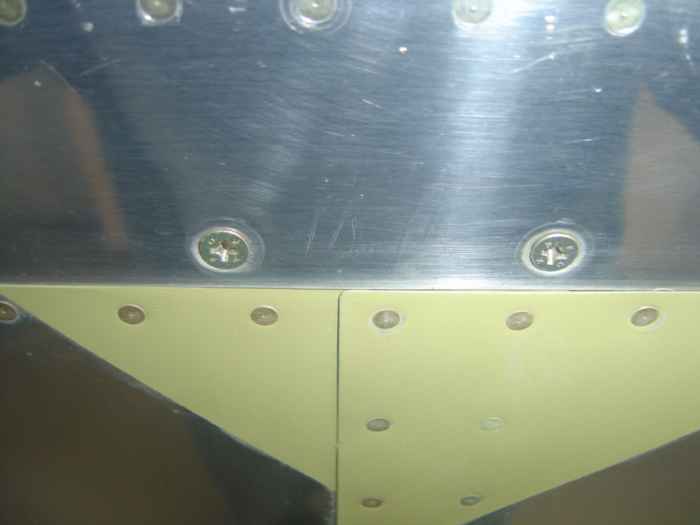 |
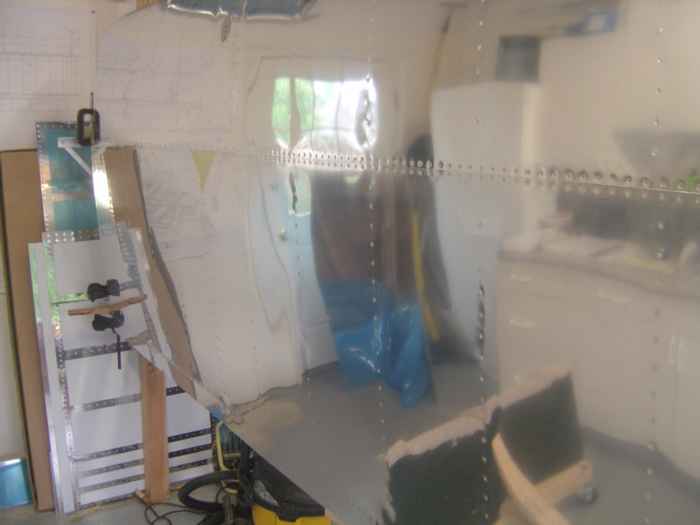
Here is a picture of the scarf joint.
The objective is to get the leading edge of the skins to sit as flush as
possible with the tank skin... You don't need to worry about the seam
cutting across the width of the wing. I think mine turned out
pretty nice... I made sure to prime all the sanded areas, hence
the green primer color. |
 |
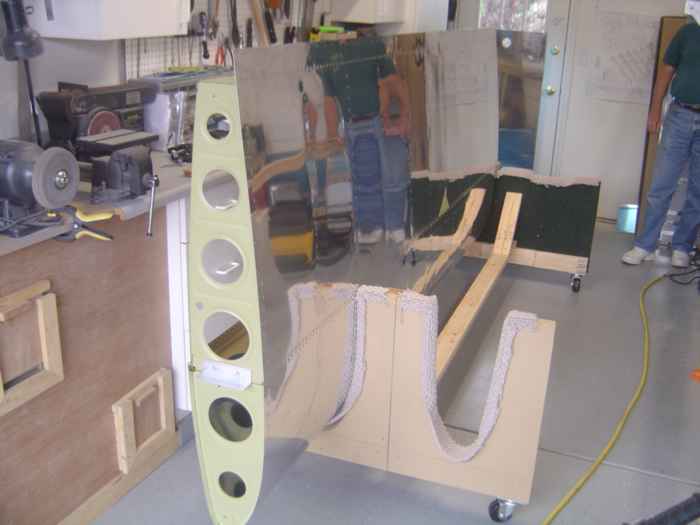
Here is the right wing with the top skins
installed. Nice! |
 |
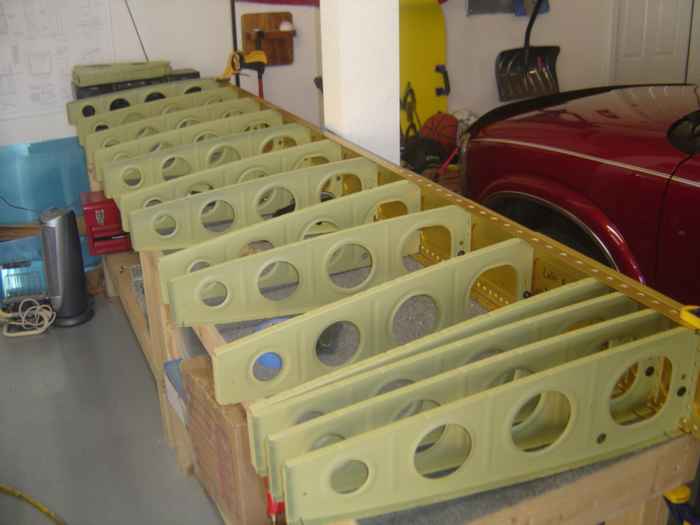
After building the wing cradle (about an
hour), the wing was removed from the jig and set into the cradle.
Another milestone reached. Next I will put together the left wing
skeleton and get it into the jig. |
 |
June 11, 2005:
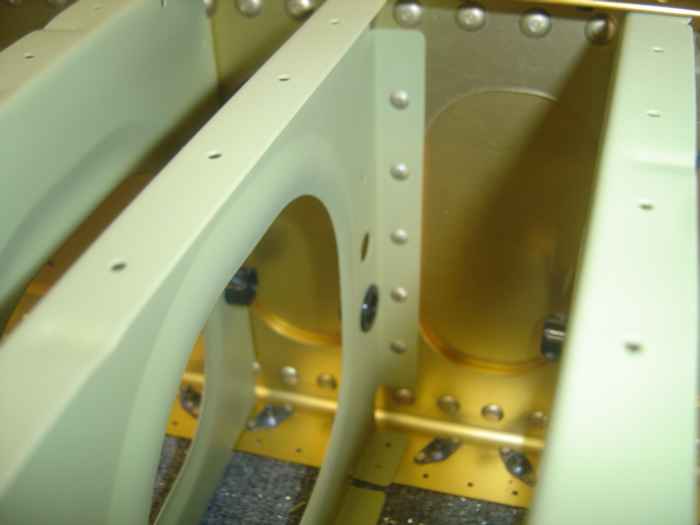
(1.0 hrs.) With the right wing out of the jig, it was time
to start assembly on the left wing. I had a little bit of
deburring to do on rib attach points to the spar. After that
was complete, all the ribs were clecoed to the main spar for riveting.
Boy am I glad that I spent all the time up front to flange, flute, debur,
prep, and prime all the ribs. It is really nice to be able to just
take the parts and start assembly. With Max
working the bucking bar, we quickly riveted the first 6 inboard ribs and
then had to quit for the day. |
 |
June 13, 2005:
(2.0 hrs.) I lost my bucking partner so I had to finish the
riveting on the main spar myself. As long as I keep the pressure
up to about 60 PSI on my 3x gun, these AN4 rivets are a breeze.
Here is a shot of the rivets on one of the inboard
ribs. |
 |
When all the rivets on the main spar were
set, I attached the rear spar using my hand squeezer to set the rivets.
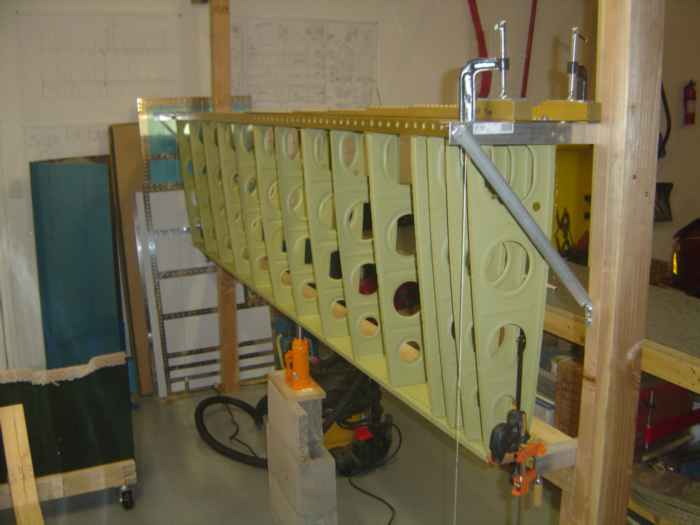
Next it was time to get the skeleton mounted in the jig. Having
done this already once, it was much faster the second time. Since
this is all repeat of what was done on the right wing, I will not go
into the details.... Check for level, plumb, sag, twist and then clamp.
|