 |
August 17, 2005:
(3.0 hrs.) Got back from a nice relaxing weekend in
Steamboat Springs and was eager to get back to working on the plane.
My brother-in-law Bob was visiting and I quickly introduced him to metal
aircraft construction. Today's objective, to get the top skins
riveted to the left wing.
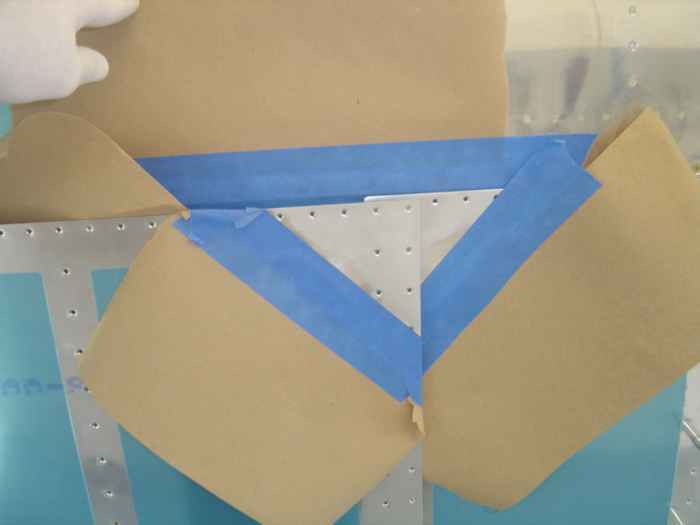
I just had to make the scarf joint on the leading
edge of the skin lap joint before the skins could go on permanently.
My rotary sander made quick work of the material. The idea is to
taper the metal from 3 - 4 inches in either direction of the corner so
that when the two overlap, there is no buldge in the skin where it butts
up against the tank skin. After sanding, I cleaned the metal and
shot it with primer. |
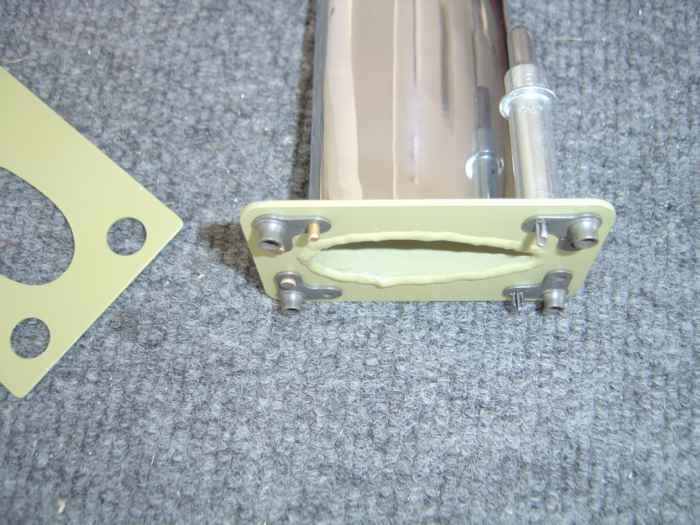 |
While I was priming the scarf joint, I
went ahead and primed the pitot mount and hardware. Here the
nut-plates are being attached to the pitot mount. |
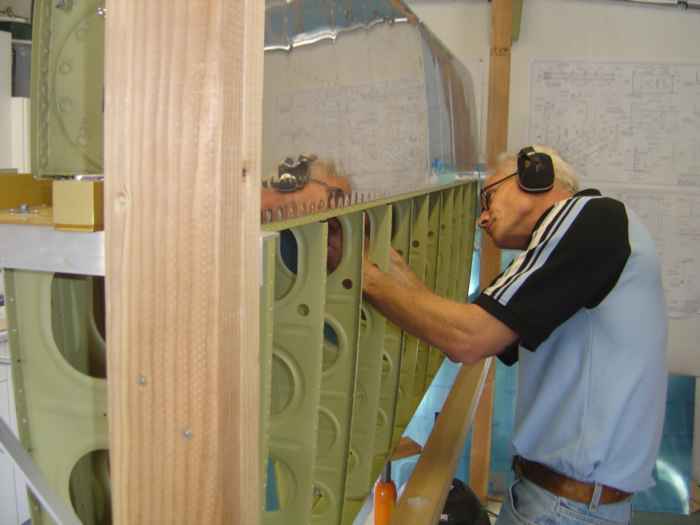 |
With the scarf joint done, it was time to
start shooting top skin rivets. This is Bob working the bucking
bar. |
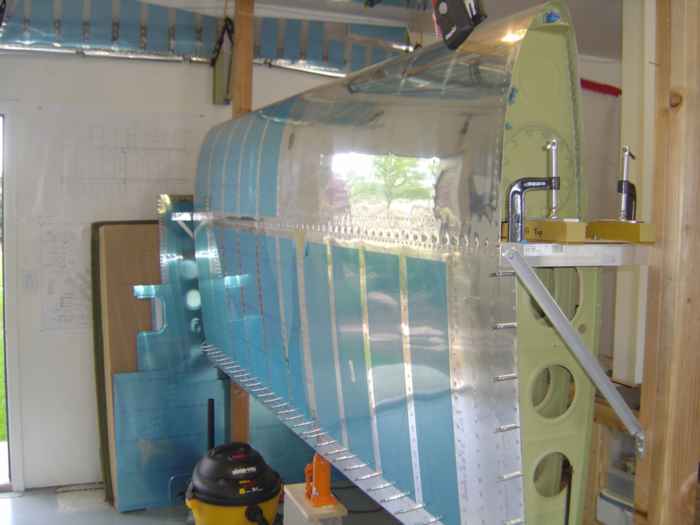 |
Top wing skin rivets shot. Thanks for all
your help Bob!
Now I just need to address the rivets along the root rib and rear
spar. These were easily handled with the hand squeezer. |
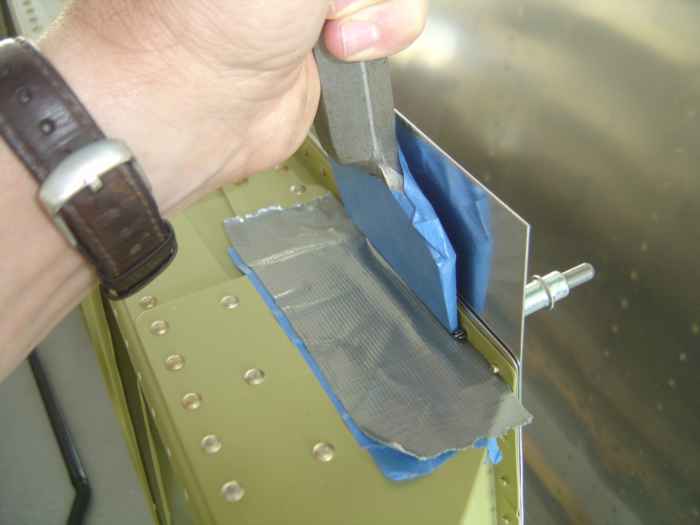 |
On the very inboard portion of the rear
spar there is a 'tripler' plate that gets in the way of the hand
squeezer and traditional bucking bars. I had to lay some tape down
on the spar to protect it while I slid a cold chisel into place to buck
these rivets. This is kind of a pain, but it works. |
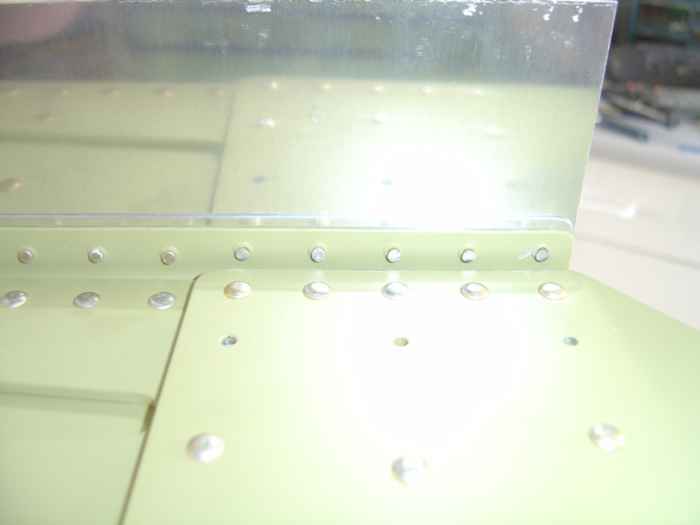 |
Here is a picture of the hard to get
rivets on the rear spar that I bucked with a cold chisel. Not bad. |
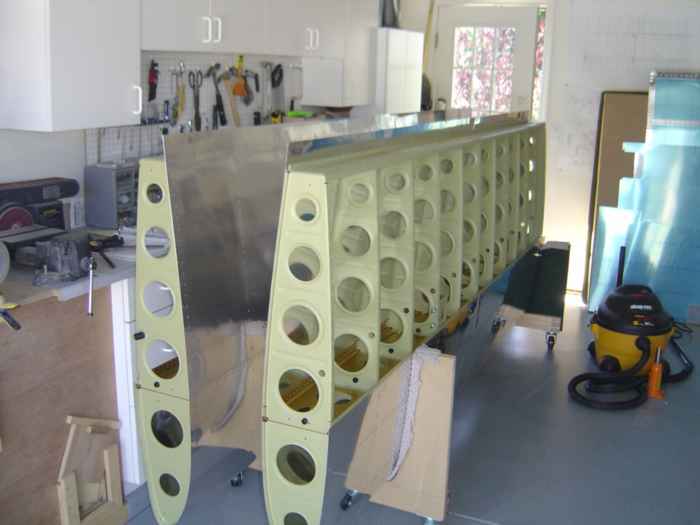 |
I have been anxious for some time now to
get the left wing out of the jig and into the wing cradle. I have
really wanted to get rid of the wing jig and free up some space in my
shop.
Here the jig has been removed and both wings are in the cradle. |
 |
August 21, 2005:
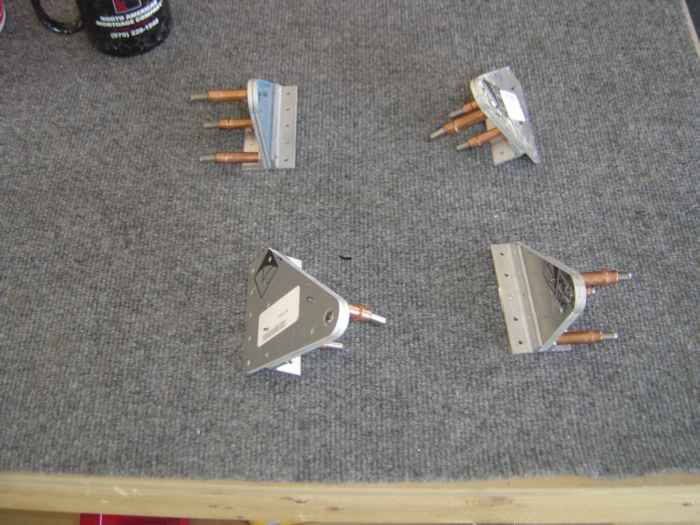
(3.0 hrs.) Worked on assembly of the aileron brackets.
Here the parts are temporarily assembled with
clecos. |
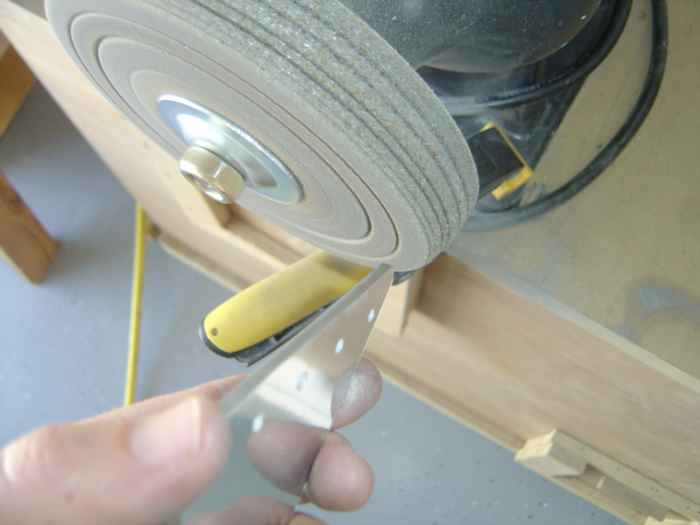 |
Used the Scotchbrite
wheel to clean and smooth the edges of the brackets. You can't see
it here, but I kept the bracket assemblies cleco'd together while I
ground the edges smooth. This assured that the sandwiched
materials were ground down evenly. After
using the grinding wheel, the parts were scuffed with a Scotchbrite pad
to etch the surface in preparation for primer.
|
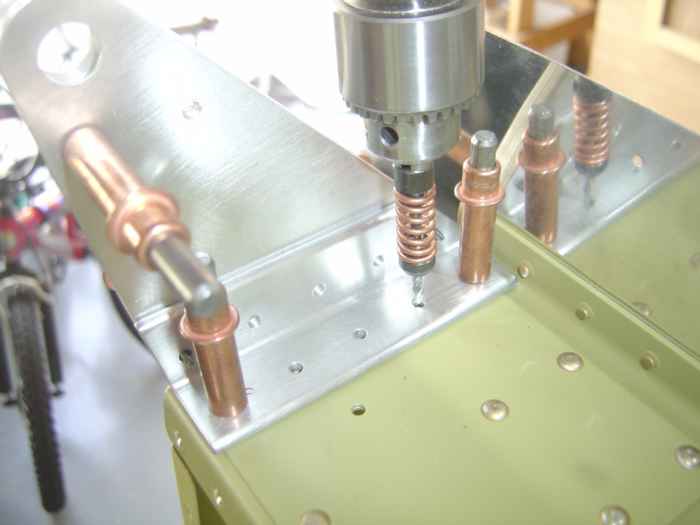 |
The brackets where match drilled to the
rear spar. Next all the holes where deburred. It is
important to look closely at the plans to determine which holes take
standard rivets and which take flush head rivets. Make darn sure
to counter sink for the flush heads on the correct parts and locations.
I had to keep checking the plans, but I think I got it right.
Guess I will find out when I later install the ailerons and flaps. |
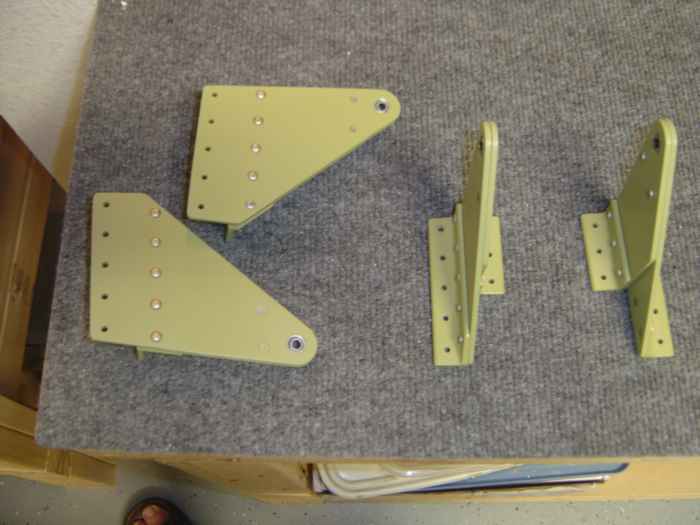 |
A good part of the afternoon was spent
prepping the parts with Alumiprep, Alodine, and finally primer.
Lastly, the brackets where assembled with rivets and attached to the
wings. |