 |
September 30, 2005:
(3.0 hrs.) I was planning on not closing up the wings until
I had made all my electrical runs, but I really wanted to get my flaps
mounted which requires the bottom skins be attached. When I
learned my father-in-law Max would be coming to town for a while, I
thought I would take advantage of having a helper around and get the
wings closed up. It should not be a problem to make the electrical
runs after the fact.
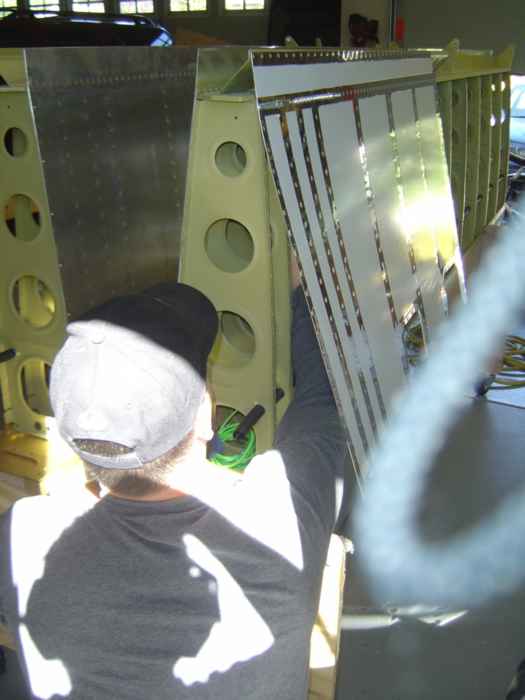
First things first. The inboard skin gets
installed. Here the skin is peeled back a bit and I am reaching up
to buck the rivets on the trailing edge between the wing walk ribs.
This is a real pain because there is not much room to get your hand up
in between these ribs. |
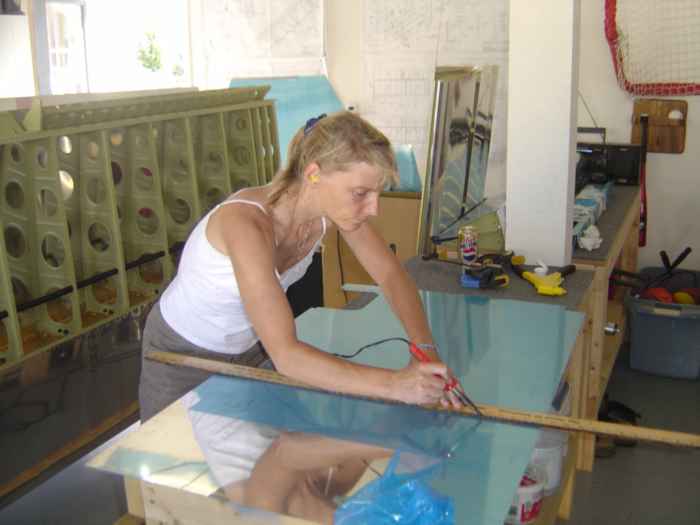 |
I convinced my sister-in-law, Kelley, to
burn-and-peel the blue plastic from the rivet lines on the left wing
bottom skins while Max and I were attaching the bottom skins to the
right wing. |
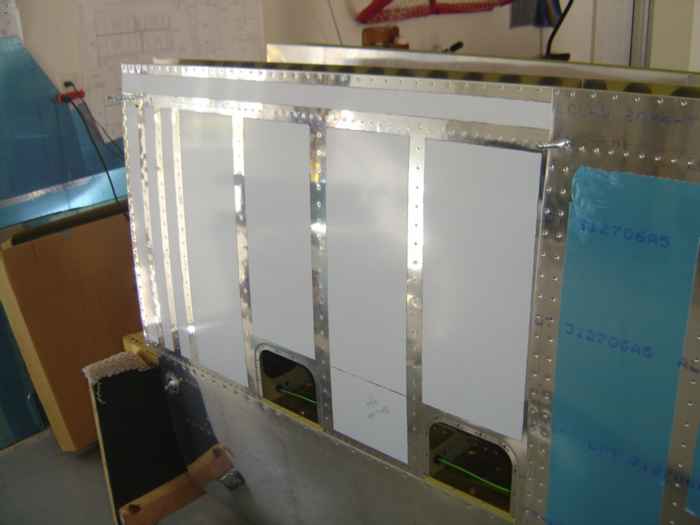 |
Right wing bottom inboard skin is
attached. We also managed to rivet the first bay for the outboard
skin before calling it quits for the afternoon. |
 |
October 1, 2005:
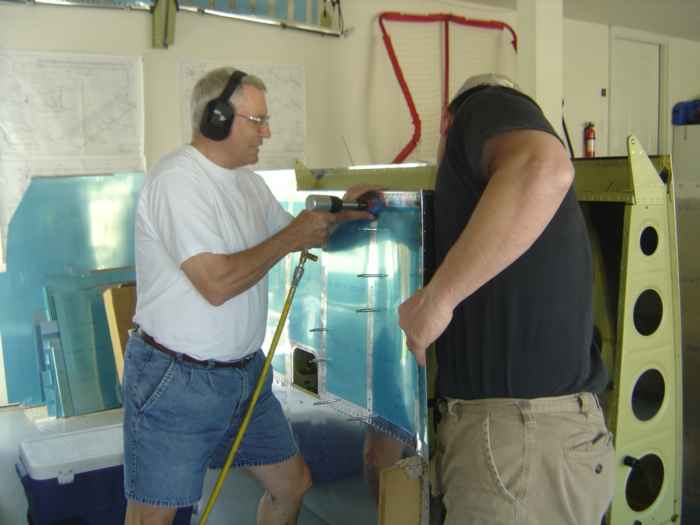
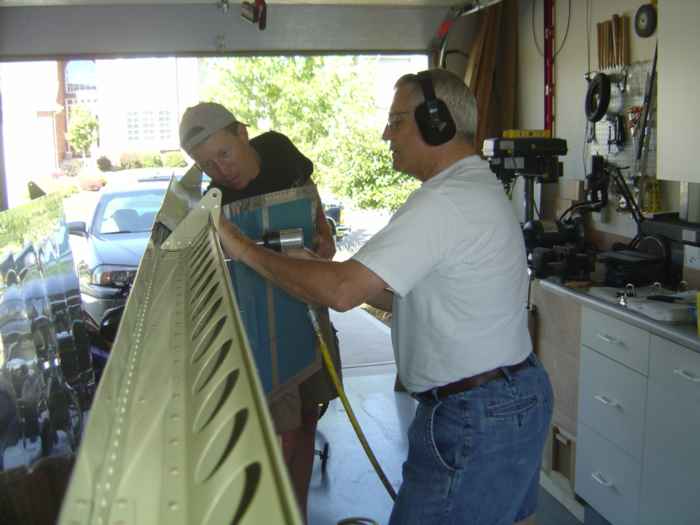
(2.0 hrs.) Worked on finishing up the outboard bottom skin
of the right wing. Here I have peeled back the skin to reach in
and buck the ribs of the 3rd bay from the outboard end. I pretty
much followed the recommended rivet pattern from Van's for attaching
these skins. |
 |
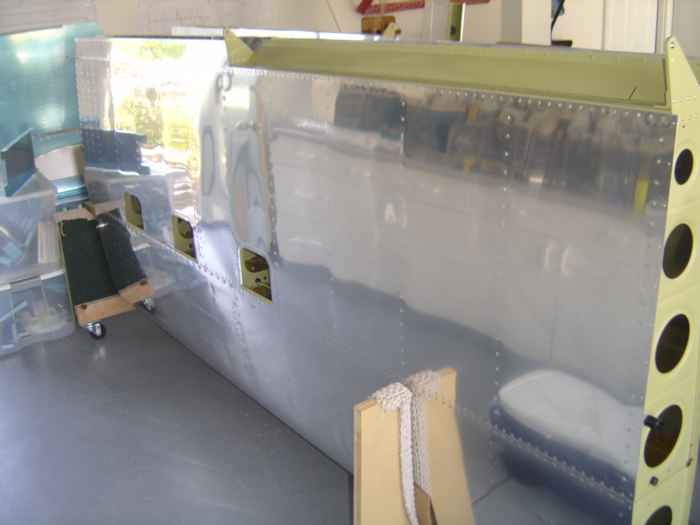
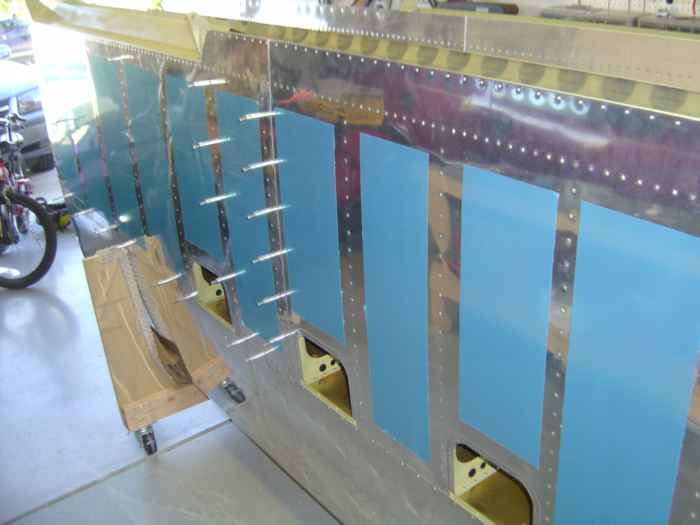
One more shot of working from behind the
peeled back skins. |
 |
Right wing closed! This thing is
starting to look like it might fly. |
|
|
|
 |
October 2, 2005:
(3.0 hrs.) Max is leaving town tomorrow, so I wanted to try
to get as much done on closing the left wing as possible. Who
knows when I will next have a helper around again.
The day started out with deburring and dimpling the
left inboard and outboard skins.
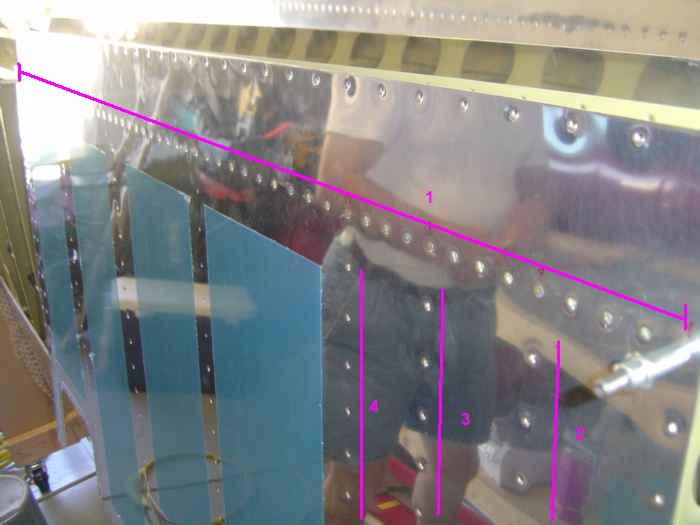
Here the inboard skin is being attached. I
found that riveting the entire line of rivets along the rear spar to be
the best first step. Next, starting at the inboard end, I would
rivet down (trailing edge to leading edge in my case) each rib by
reaching in from the root end with the bucking bar. In between
doing each rib, I would rivet along the bottom (leading edge spar)
towards the outboard wing tip. The last wing walk rib would get
bucked by reaching in from the first wing access opening and then
through the rib lightening holes of the adjacent rib. This rib
(labeled #4) is one of the more difficult ribs to reach. After
that, all ribs are easy to access via the wing access openings. |
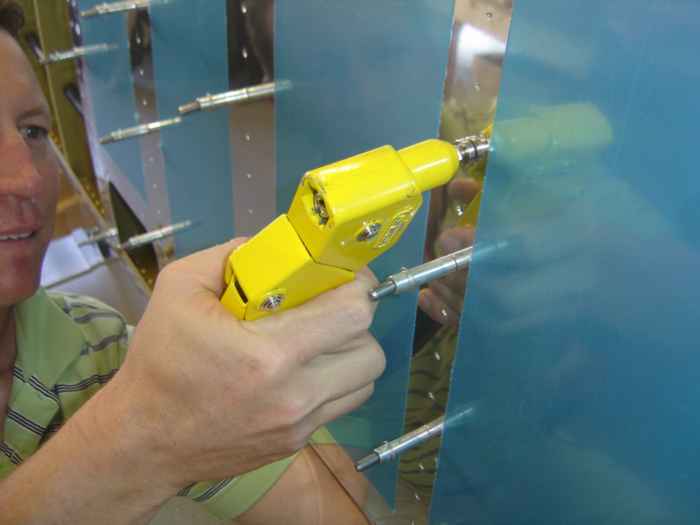 |
In my haste to dimple the skins I missed a
few rivet holes and did not realize this until the skin was already
riveted to the skeleton. I used my close quarters dimple set to
apply these dimple with the skins in place. This dimple die set
uses a pop rivet gun to set the dimple. |
 |
Managed to get the left wing inboard
bottom skin completed and part of the outboard skin. |