 |
February 6, 2005:
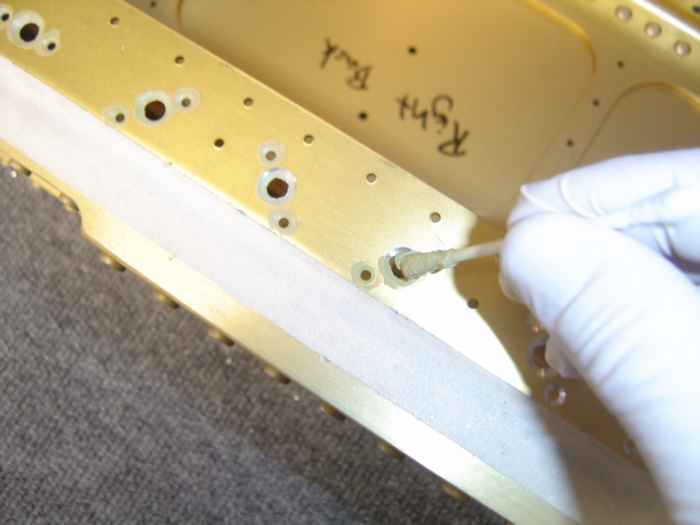
(3.0 hrs.) After countersinking all the holes in the spars
yesterday, I wanted to get that fresh aluminum exposed by the cuts
covered up. I used a q-Tip to apply primer to the countersunk
holes.
|
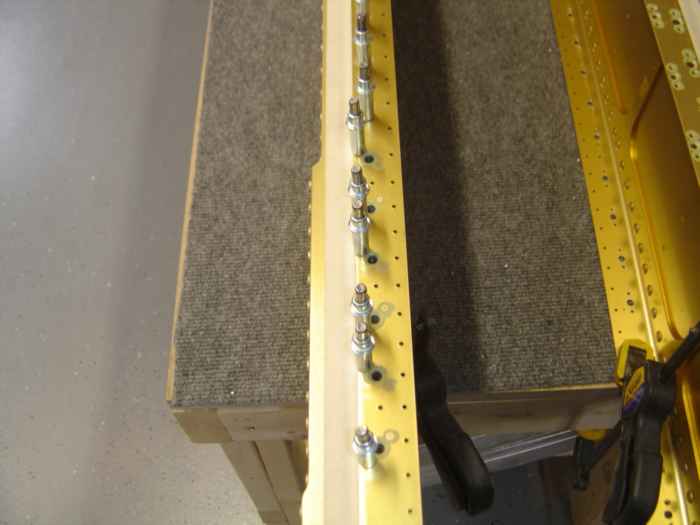 |
Once the primer was dry I cleco'd in one
side of the nut-plates to hold them in place while flush riveted the
other side of the nut-plate with my hand squeezer. Next I removed
the cleco's and riveted the second side of the nut-plates |
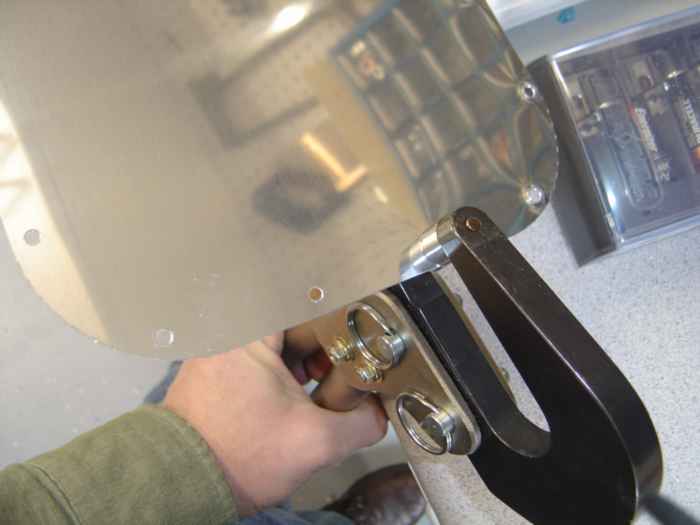 |
Since I had installed the attach point nut
plates for one side of the wing access covers (there are six of them), I
decided to go ahead and drill, debur, and dimple them at this point.
The access plates take a #8 screw and dimple on all sides except the one
that attaches to the main spar. A #6 screw and dimple are used at
the spar attach point. |
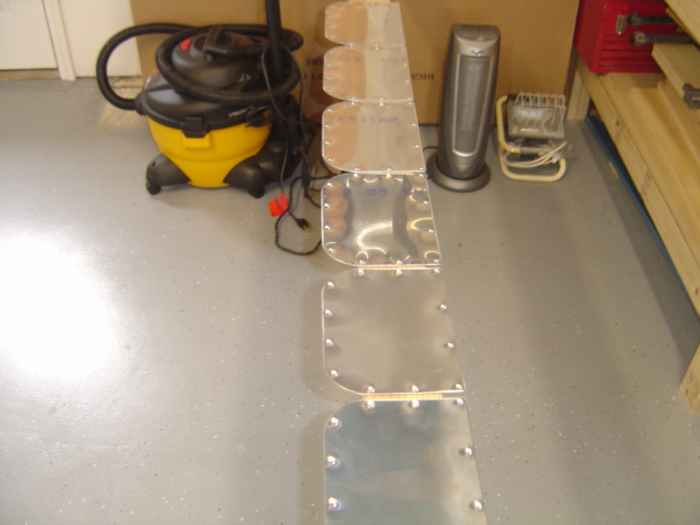 |
Here are the completed wing access plates. |
 |
The last part of the spar assembly is
attaching the wing tie-down points. Four spacers need to be
fabricated that wedge behind the tie-down assembly and the wing spar.
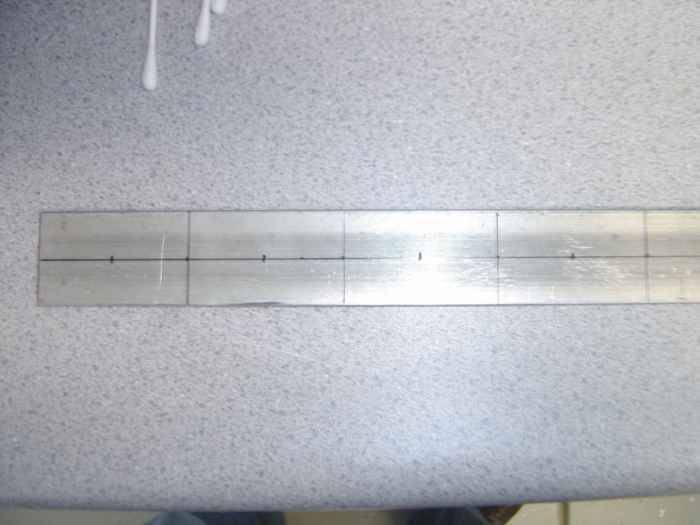
Here is the aluminum stock used to make the spaces marked for
drilling and cutting according to the plans. |
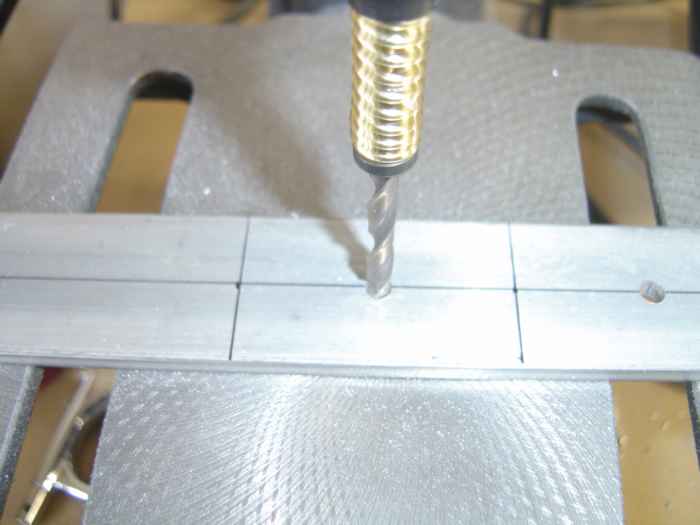 |
Each spacer has a lightening hold drilled
in it for weight reduction. Using my drill press i drilled a pilot
hole for each spacer. |
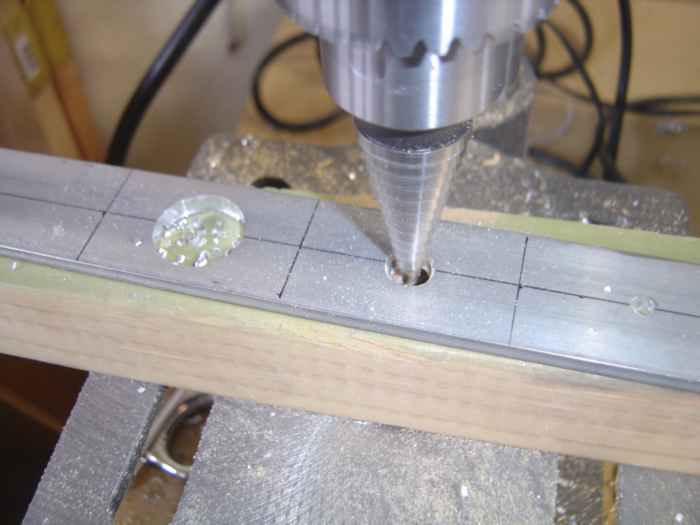 |
Next, I used my step drill to enlarge the
holes to 7/8". The plans call for 1" lightening holes, but my step
drill only went up to 7/8". Not a big deal as the only purpose of
this hole is to reduce the weight of the assembly. |
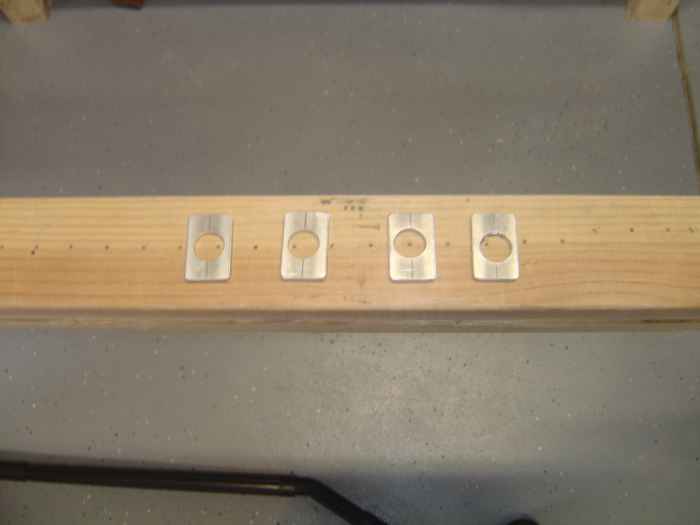 |
Here are the spacers drilled and cut to
length. Tomorrow I will try to find time to match drill the
tie-down point and spacers to the main spar. |
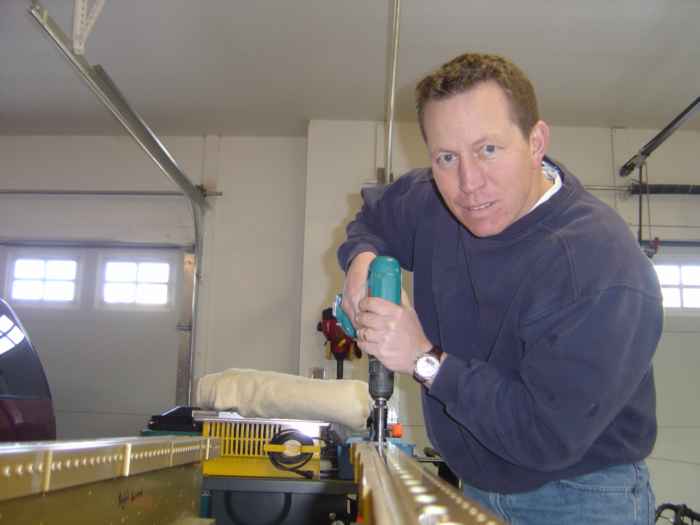 |
February 11, 2005:
(2.0 hrs.) Decided that I wanted to make my tank countersinks a
little deeper so I ran my micro-stop countersink cutter on all the
center holes again. Since I had already set all the nut-plates I
could not use the same jig I used earlier for countersinking these
holes. Instead, I just countersunk with the nut-plates in place.
This worked remarkably well, the pilot of the countersink would align
with the bottom of the nut-plate resulting in a perfectly centered hole. |
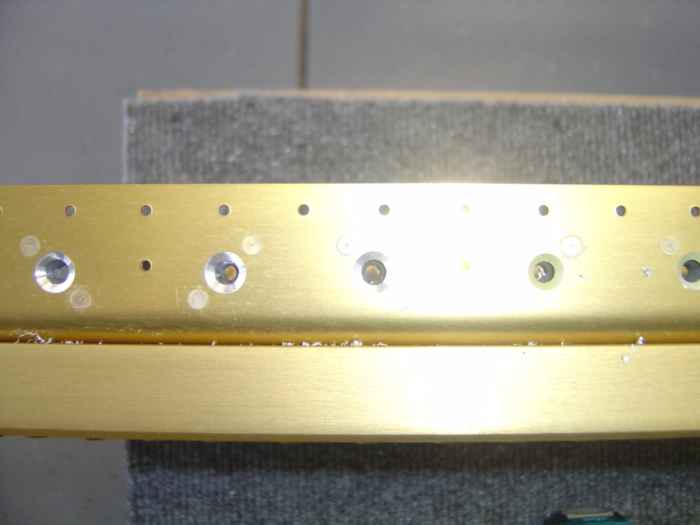 |
Here is a picture of the holes countersunk
a second time. You can see some shavings in the joint on the
spar... shame on me, I forgot to cover it with tape prior to
countersinking. I got them all out with the Shop Vac. Next
time I have the paint out I will need to touch up these countersunk
holes. |
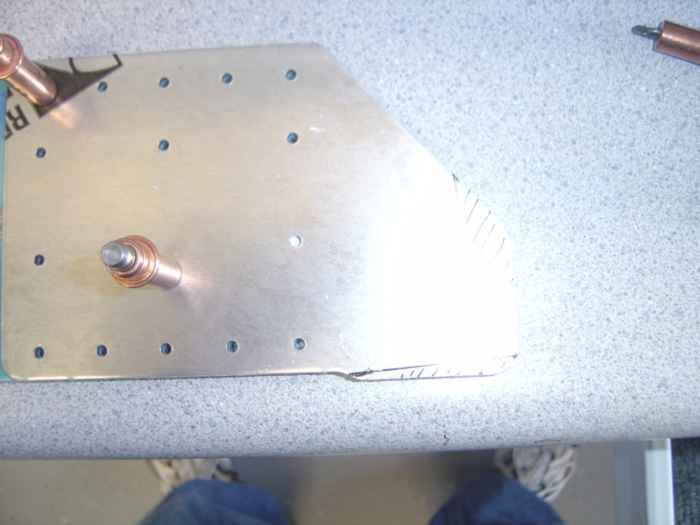 |
Decided to try and get started on the rear
spars. The inboard stiffener plats need to be trimmed. The
light makes it kind of hard to see in the picture, but if you look
carefully you can see where I have marked the stiffeners for cutting
(bottom right corner). |
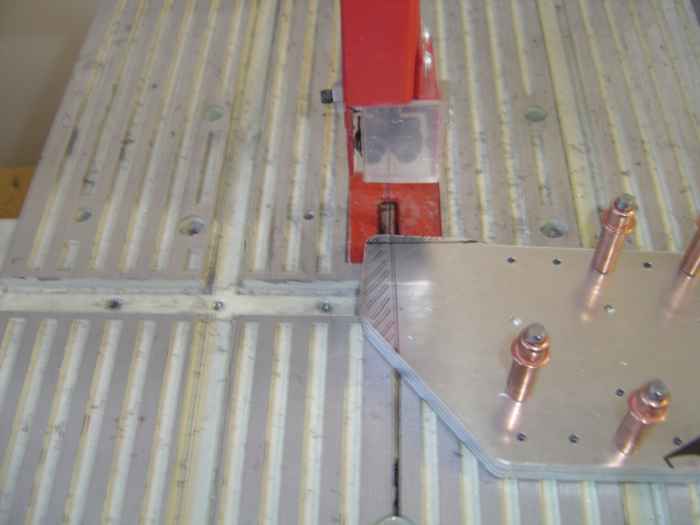 |
I cleco'd all four stiffener plates
together and cut them in one pass on the bandsaw. |
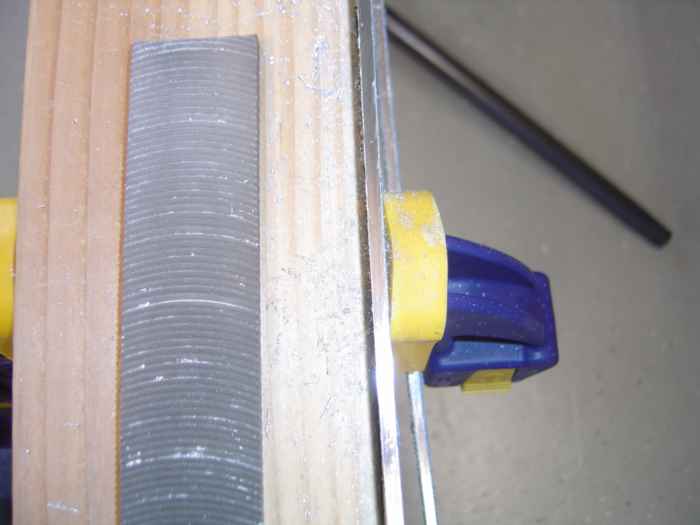 |
Next, I radiused all the corners and then
deburred all the edges of the stiffeners. Here I have clamped one
of the stiffeners in place and used my file to remove all the milling
marks from the edges. |