 |
June 14, 2005:
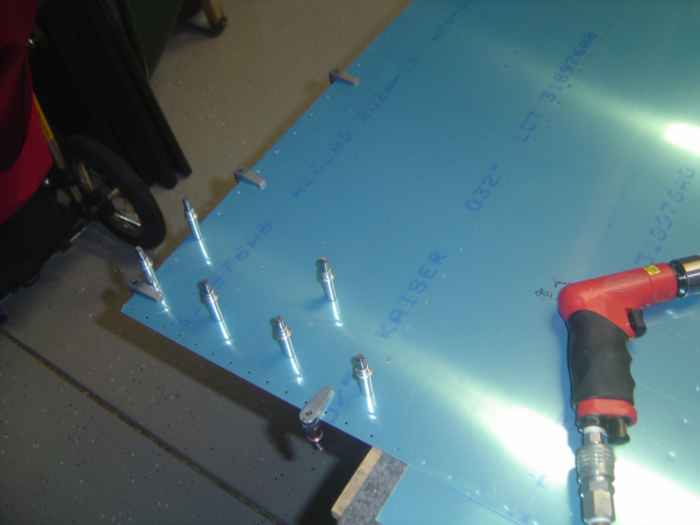
(2.0 hrs.) Fabricated the wing walk doubler for the left
wing. Here it is clamped to the underside of the top inboard skin
and being match drilled. |
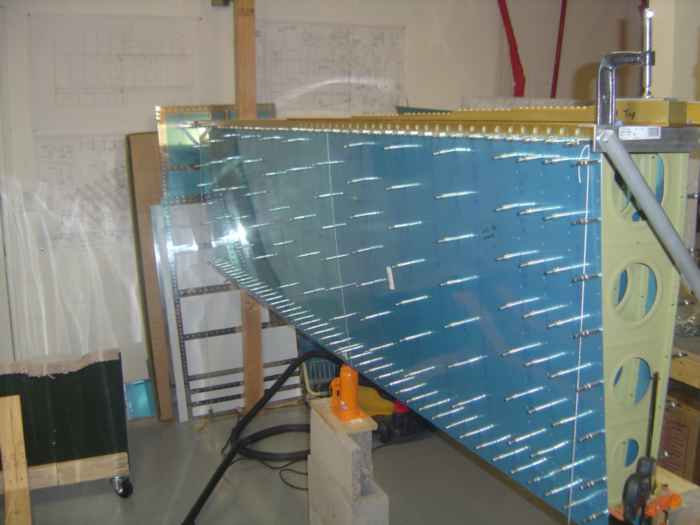 |
Once the wing walk doubler was created,
the top skins were cleco'd to the skeleton. I then spent some time
adjusting the jig to make sure there was no twist in the wing. |
 |
June 16, 2005:
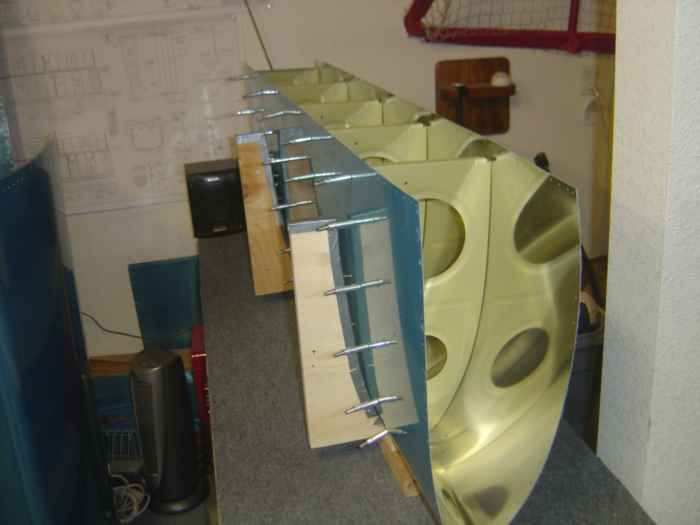
(2.0 hrs.) Installed the bottom skins this evening. I also
spent some time cleco'ing the leading edge ribs to the leading edge
skin. |
 |
June 17, 2005:
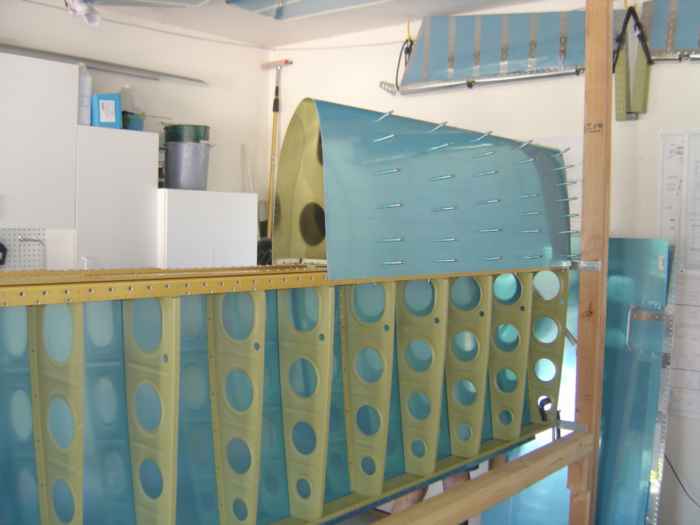
(3.0 hrs.) Matched drilled the bottom skins and then removed them
from the wing. Next, the leading edge was installed and match
drilled. |
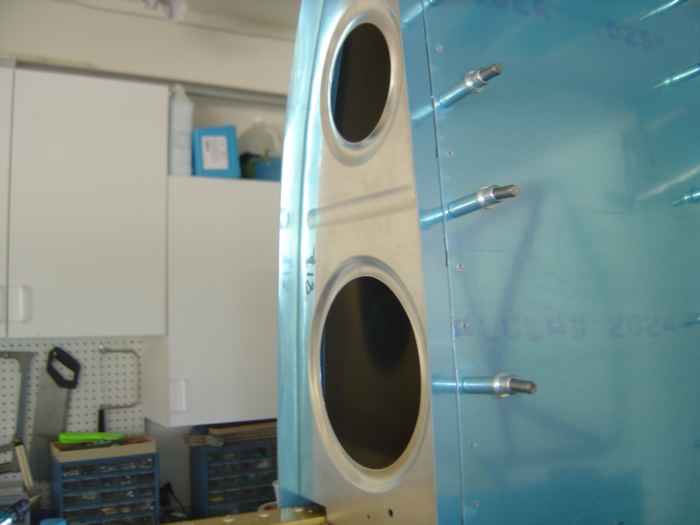 |
Fabricated the left leading edge joint
plate and match drilled it with the end rib. I also started on
fabricating the tank z-brackets. |
|
|
|
 |
June 18:
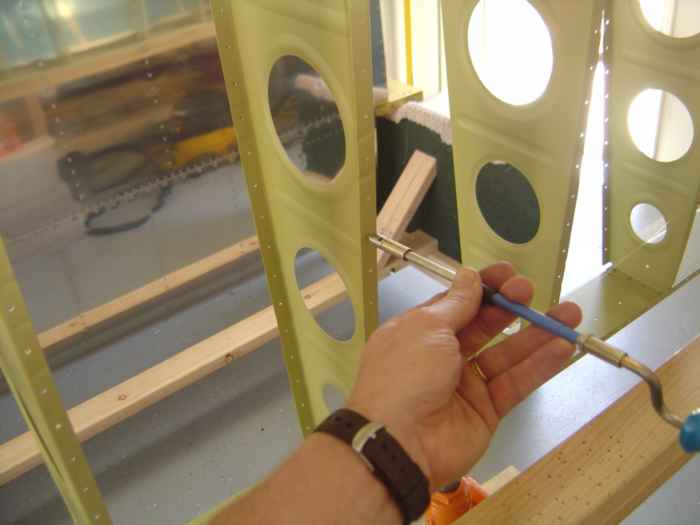
(5.0 hrs.) Besides starting on the left tank today, I went
ahead and match drilled the top skins and then removed them. Next,
I moved on to deburring the left wing skeleton. |
 |
I needed to paint the leading edge joint
plate, end rib, and z-brackets, but felt I needed a larger number of
parts to paint to make it worth while to mix primer. I decided
that I would machine counter sink all the skin attach holes in the main
spar and then prime those at the same time as the other parts. |
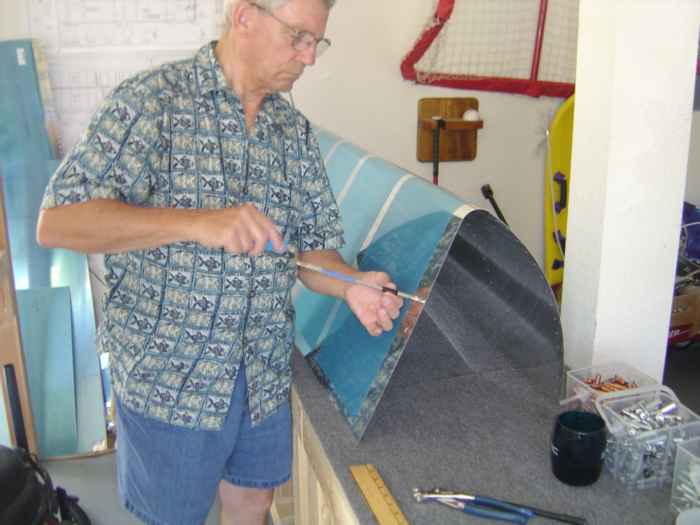 |
Max was hear today and helped quite a bit.
Here he is deburring the leading edge skin. The leading edge ribs
were also deburred. |
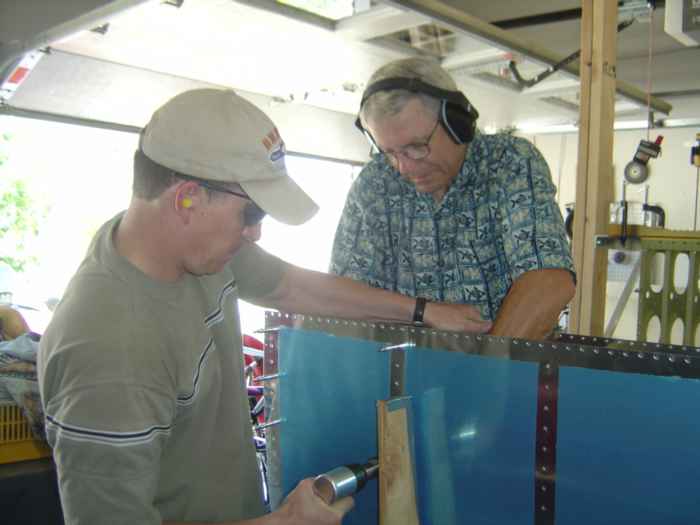 |
After dimpling the leading edge skin and
ribs, the parts were riveted together. This is the point I really
wanted to get to today while Max was around to help buck rivets. |
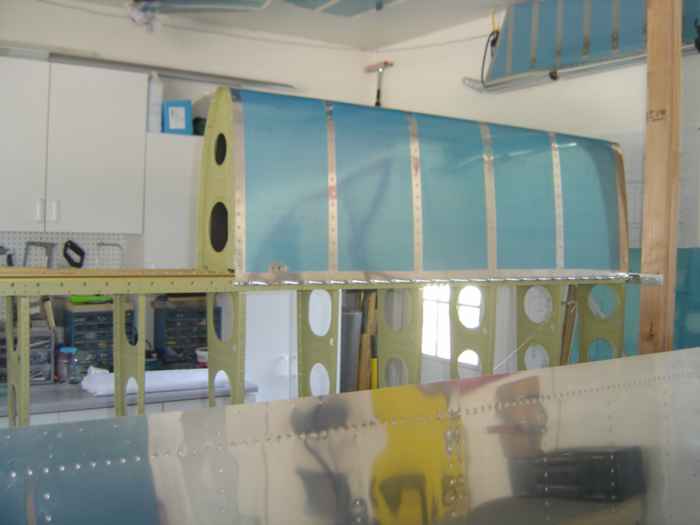 |
Leading edge riveted together and placed
on the main spar. Maybe tomorrow I can rivet it to the spar. |