 |
March 13, 2005:
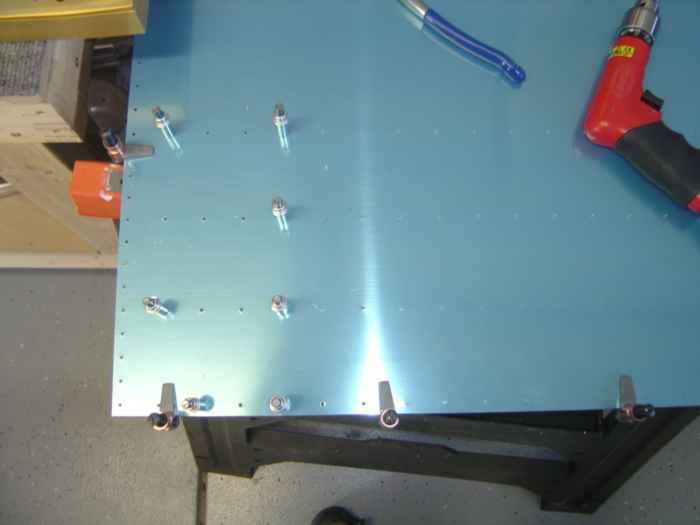
(2.0 hrs.) Cut the wing walk doubler skin to the correct
dimensions and then match drilled it to the top inboard skin for the
right wing. |
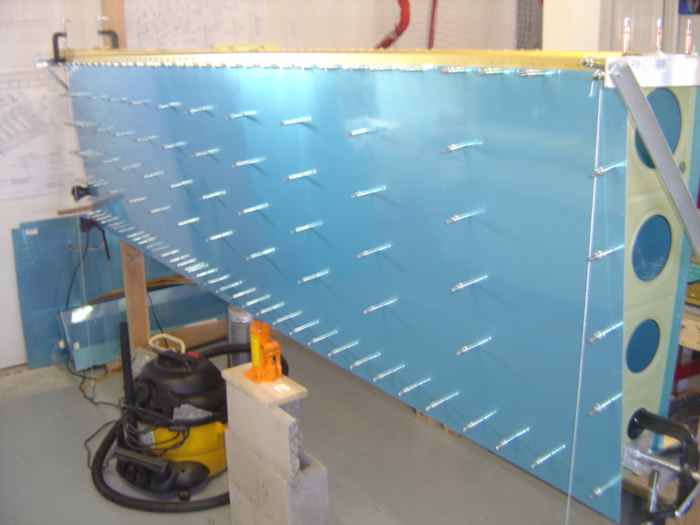 |
Hung the top right wing skins in place.
I noticed that I had to adjust the position of the rear spar slightly to
facilitate aligning some of the holes. After both the inboard and
outboard top skins were attached, I then checked my plumb lines for any
wing twist. I think I had about 1/8" twist from end to end.
I removed the twist by adjusting the rear spar position and clamping
every thing down tightly. When I was satisfied with the positioning of
everything, I match drilled the skin to the ribs and spars. |
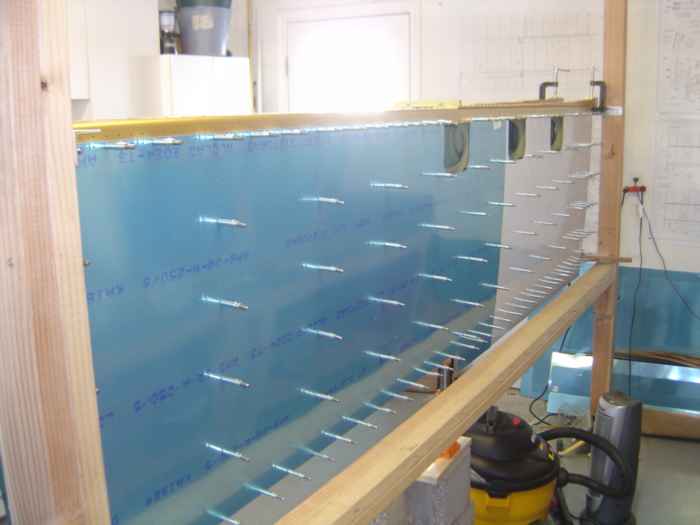 |
Next, I attached the bottom skins.
Where the skins overlap the inboard and outboard ribs, I had to cut a
small notch in the jig's aluminum angle hangers to allow the skin to fit
properly (sorry no pictures of that). |
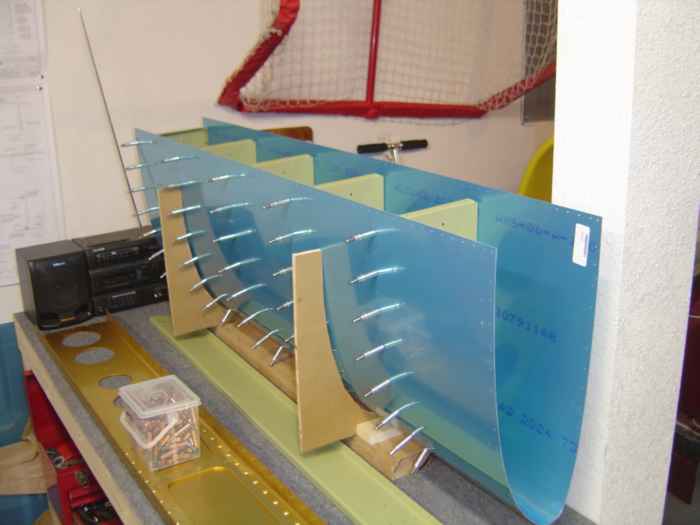 |
Placed the leading edge skin in its jig
and cleco'd the nose ribs in position. Notice that these ribs are
already primed. I took care of these at the same time I did the
main ribs.
The plans call out removing the interior blue film from the leading
edge prior to fitting... oops, guess I got carried away. I am
really not sure why they call this out. Any extra thickness the
film adds would be minimal. I would not expect that to effect my initial
fitting to the main wing. |
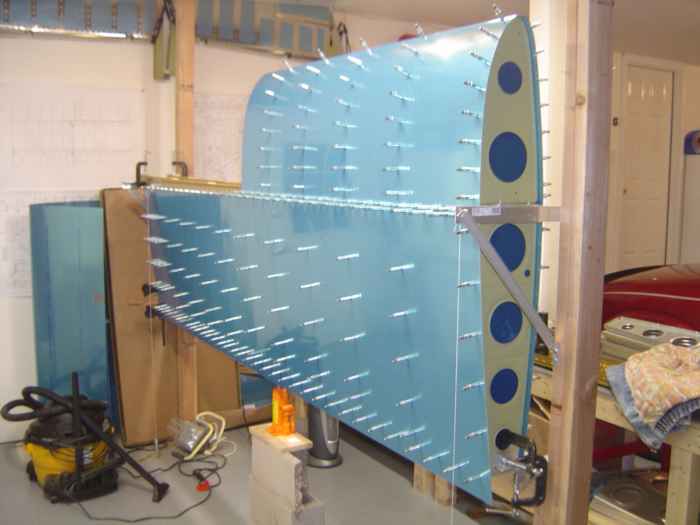 |
Here is the leading edge attached to the
wing. |
 |
March 26, 2005:
(2.0 hrs.) Finally got back to work on the plane after having
been out traveling for a week and then home sick for a week.
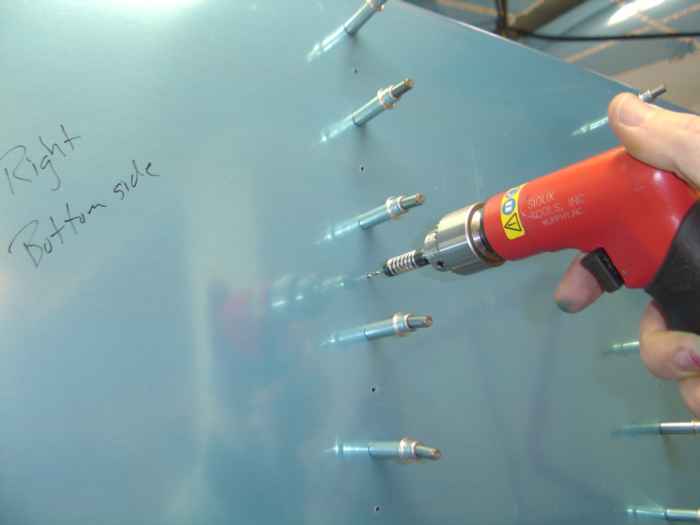
I had to finish match drilling the leading edge
skins and also the bottom skins. |
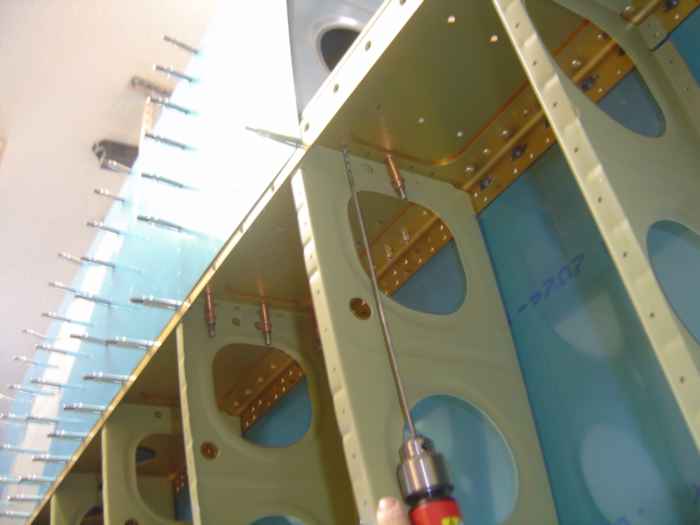 |
Inserted the inboard rib of the leading
edge and match drilled the back flange through the pre-drilled holes in
the main spar. I used a 12" bit with a little flex held in it to
get these drilled out. |
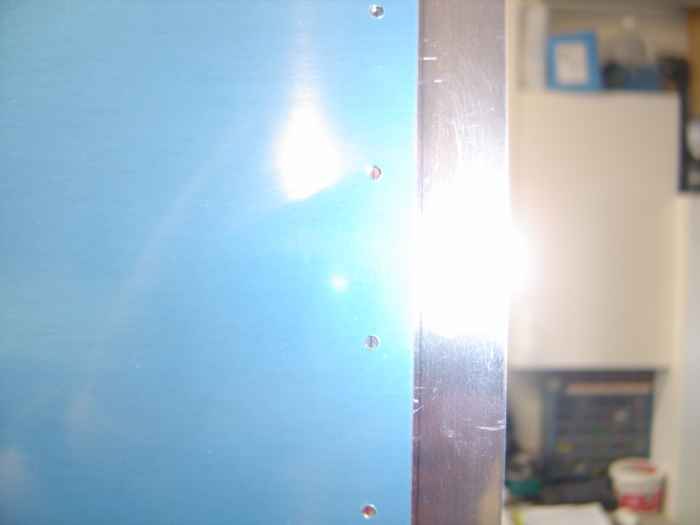 |
After cleco'ing the end rib in place, I
was able to insert the leading edge joint plate (W-423) between the skin
and the end rib. The joint plate and the end rib are not
pre-drilled, so it is important that everything is perfectly aligned
measurement wise before match drilling with the skin.
I drew a line 1/2" in from the outboard end of the joint plate.
When the plate is inserted correctly, this line will appear through the
pre-drilled skin holes. I also had to measure to make sure the rib
stayed positioned correctly after having shoved the joint plate in
place. I had to move the rib around a bit after measuring its
distance from the outside edge of the joint plate all around the
assembly. |
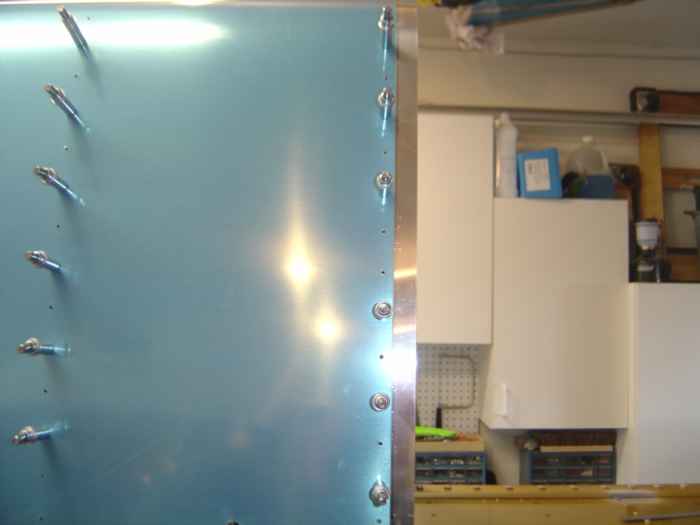 |
With things all positioned, I drilled the
assembly using the skin holes as a guide and cleco'ing along the way. |
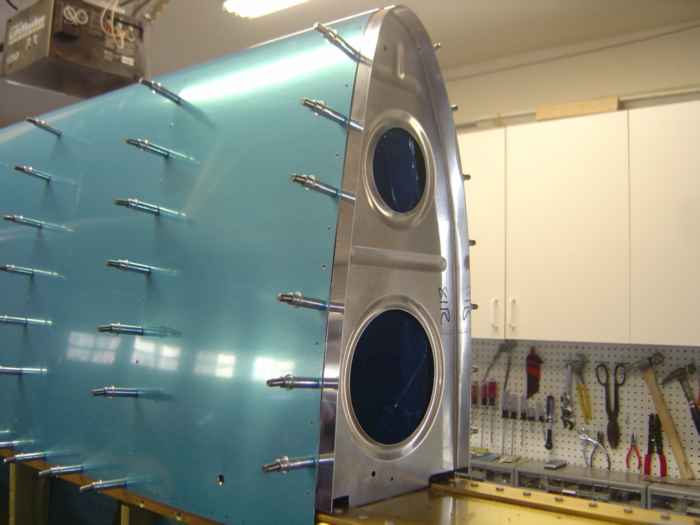 |
Joint plate attached. |
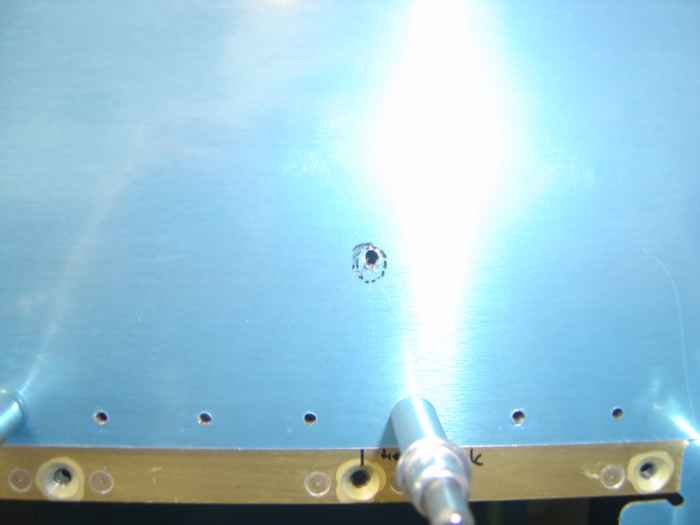 |
The bottom of the leading edge skin has a
pre-drilled hole marking the location of the tie-down which needs to be
enlarged. I determined this guide hole was slightly off, so I
filed the hole so that it was positioned correctly. I then used a
step-drill to enlarge the hole. |
|
|
|
|
|
|
|
|
|
|
|
|