 |
September 5 - 8,
2006:
(6.0 hrs.)
I had been debating for some time if I was ready (and willing) to
mate the wings to the fuselage. Part of my concern was about how
long it might take and having keep the cars, bikes, etc out of the
garage to make room for the wing span. I did not want to start the
mating process and then run into problems that would require me to keep
the entire garage useless for the rest of my household.
Since Max was still in town, I decided it was best to proceed while I
had helping hands in the shop. It will be nice to have the wing
mating task behind me.
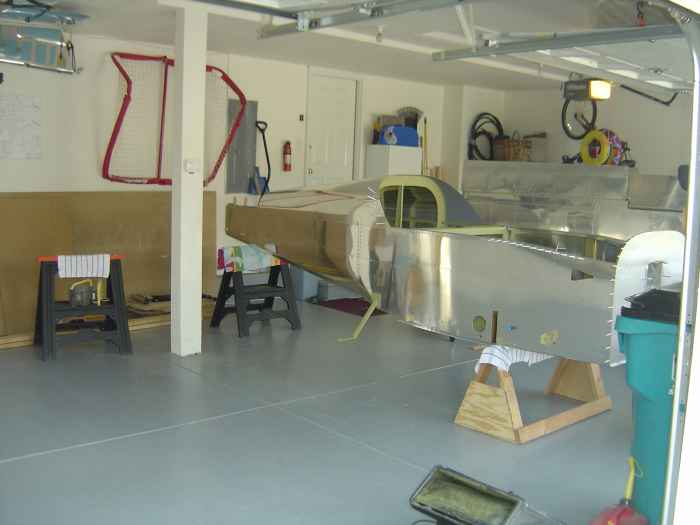
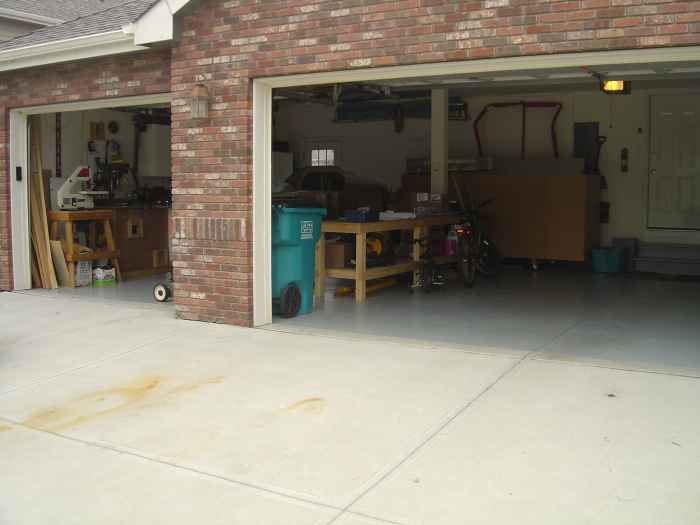
First thing was to rearrange the shop to accommodate mating both
wings. The cars were put outside and the fuselage was centered in my 3
car garage. This was done by lifting and carrying the fuselage. |
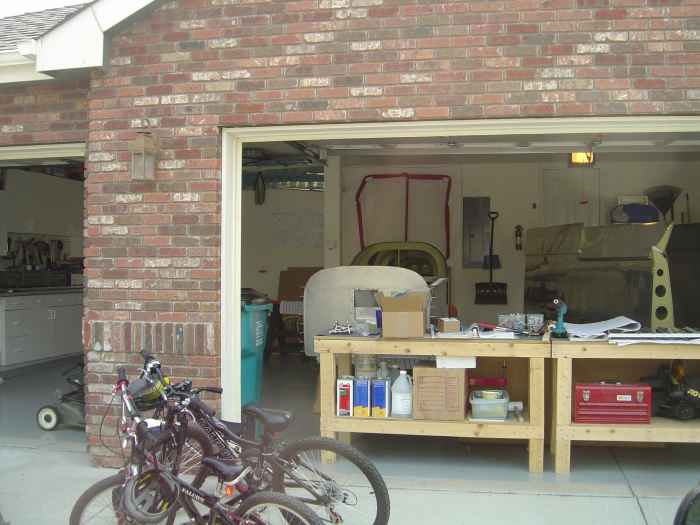 |
Here is a picture of the fuselage
placement from outside. I placed two of my work benches just
inside the double garage door. This gave me something close at
hand to lay tools on while I worked, and also served as a barrier for
keeping kids on bikes out! |
 |
First the left wing spar was slid into
position. It was a pretty tight fit, but we managed to wiggle it
in with much grunting and groaning during the process. The rear
spar attach point fork needed to be spread a bit to accept the rear spar
of the wing (screw driver comes in handy for that). Once the wing
spar bolt holes visually looked to be close to aligned, I inserted some
drift pins (hardware store bolts that had been ground down to a smooth
taper) with a rubber mallet to get the finally alignment. The
drift pins were removed and replaced with a couple hardware store
bolts and nuts.
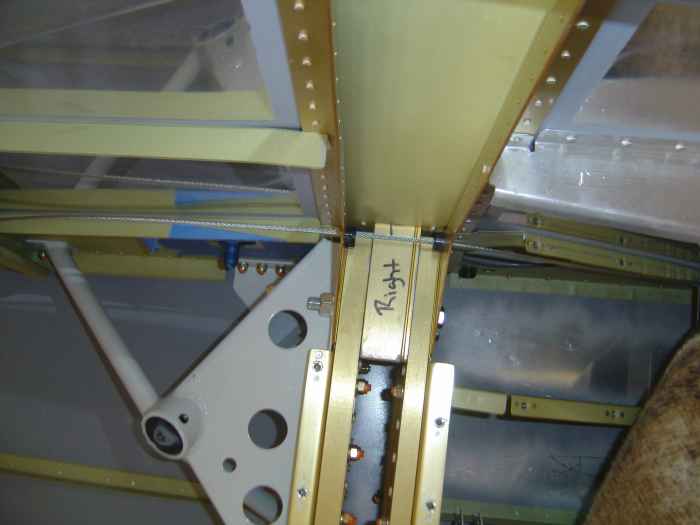
This is a shot of the right wing after it was mated and bolts
inserted. I only used one 7/16 hardware bolt on top and one 7/16
on the bottom. The right wing was a bit more difficult to get the
spar inserted. It turned out that a couple flush head rivets on
the center spar spacer block were not completely flush. These had
to be ground down with a Scotchbrite wheel in my die grinder. |
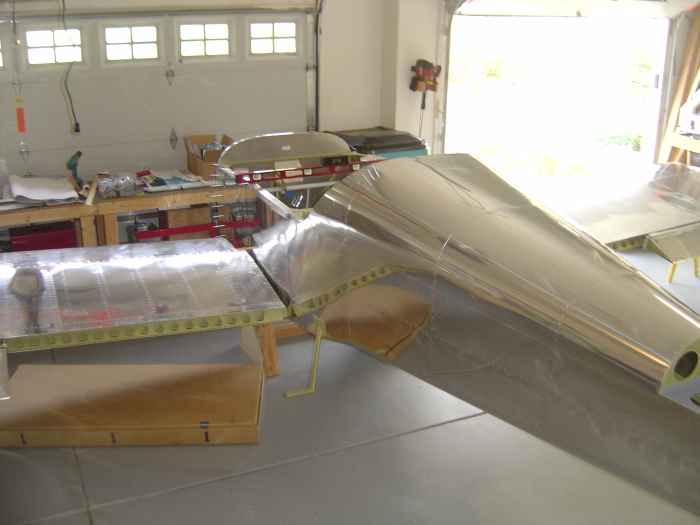 |
Here the wings are attached. Guess I
should point out that I removed the flaps for the mating process.
I left the ailerons attached, which did not present a problem.
Having the ailerons already on and aligned actually sped up the later
process of fitting the flaps. |
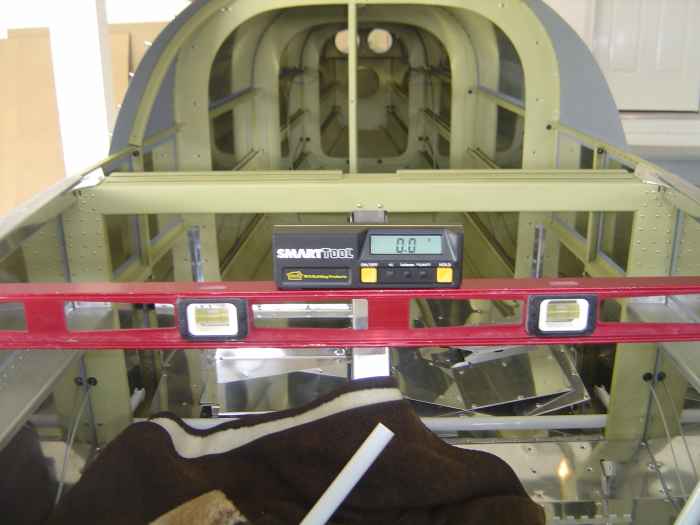 |
In preparation for setting the wing sweep
and incidence. The fuselage was leveled across its longerons |
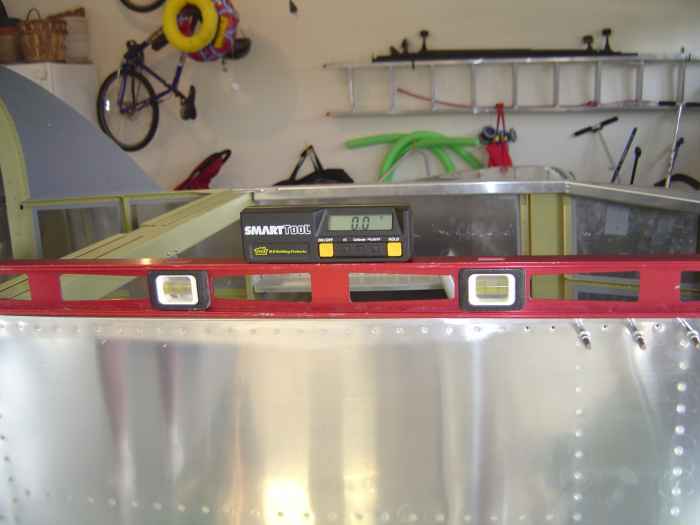 |
And leveled front-to-back along the
longerons |
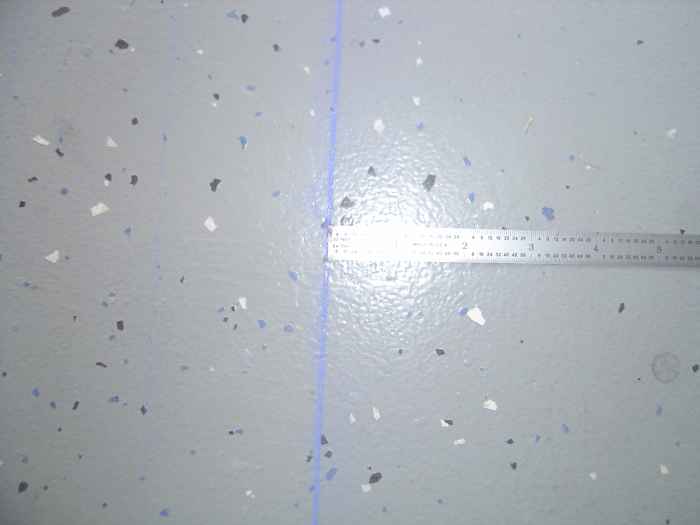 |
Wing sweep was measured by hanging a plumb
bob from the wing leading edge at the root and tip on both wings (that
is four plumb bobs). A chalk line is then snapped between the two
wing tip plumb bobs. If the chalk line lays along the points of
the wing root plumb bobs there is zero sweep, if it lays in front of the
wing root plumb bobs there is forward sweep. According Vans, 1/2"
of forward sweep is acceptable. The important thing is that if
there is any sweep, it is the same for both wings. I had about
3/16" of forward sweep on both wings (hard to see in the picture, but I
am measuring a spot I marked with a plumb bob to the chalk line).
3/16" is is well within tolerances, no need to mess around trying to get
things to zero if it will make no difference in how the plane flies
(according to Vans builder support). Next, I measured
from the rear of each wing tip to the aft fuselage to confirm the
distances were the same. They were! So far, so good. |
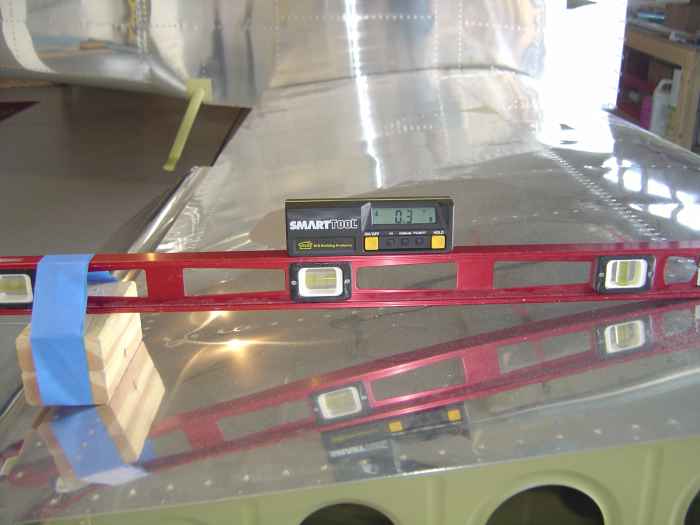 |
A key part of mating the wings is setting
the wing incidence. Vans indicates that 1 degree of incidence is
the goal. This angle of incidence can be obtained by placing a 3"
block on the rear spar and checking for level across the top of the
block and the forward flange of the main spar.
My wing showed a positive 3 degrees of incidence (actually 4 degrees,
because getting to a level reading across the 3 inch block will give you
a calculated 1 degree of incidence). I got the same incidence
reading at the wing tip, wing center, and wing root on both wings.
Guess that means I have zero wing twist. |
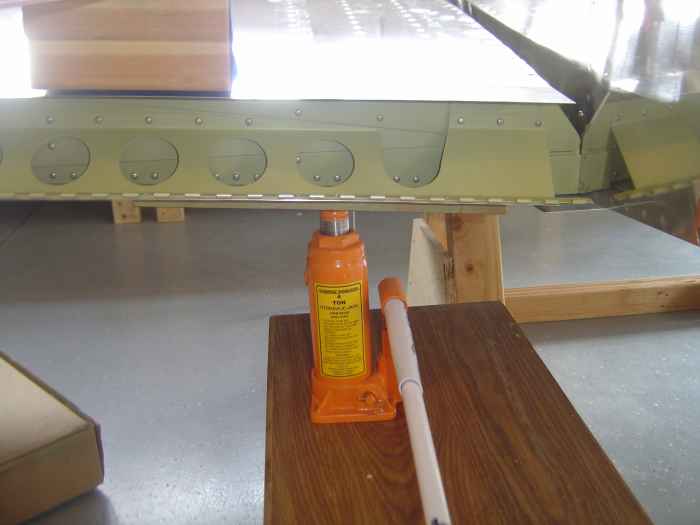 |
To get the desired incidence, I had to
raise the rear spar of the wing. I accomplished this using a jack
and a block of wood on the bottom of the rear spar to distribute the
load. I had to raise the spar about 3/16" to get a zero reading on
my smart level. |
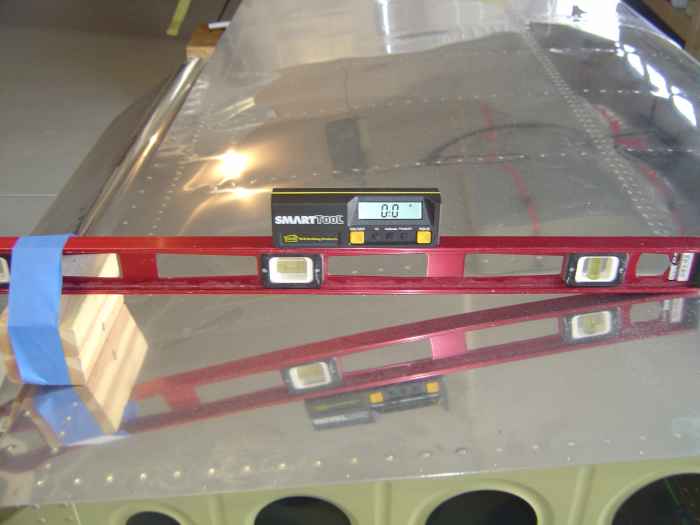 |
And here is the level reading zero!
Again, this correlates to 1 degree of incidence. |
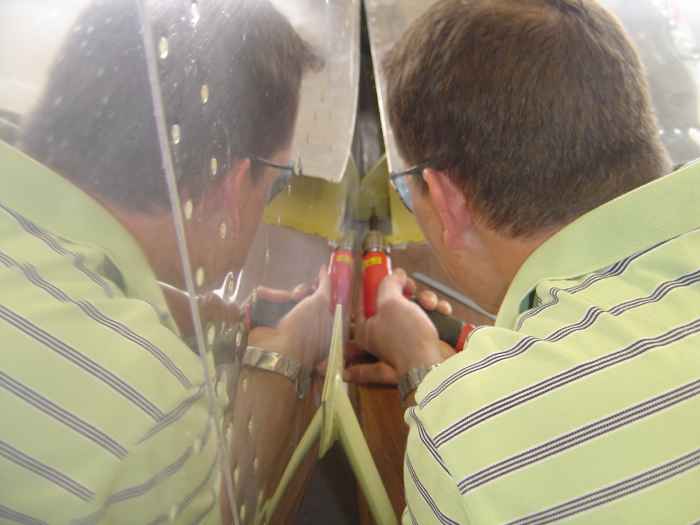 |
I re-checked fuselage level, wing sweep,
and wing incidence one more time and then drilled the rear spar after
checking I had 5/8" edge distance on all sides from the hole center.
I started with a number #20 drill bit and then worked my way up to
5/16". Once the hole was drilled, an AN5 bolt was slipped into
place. |
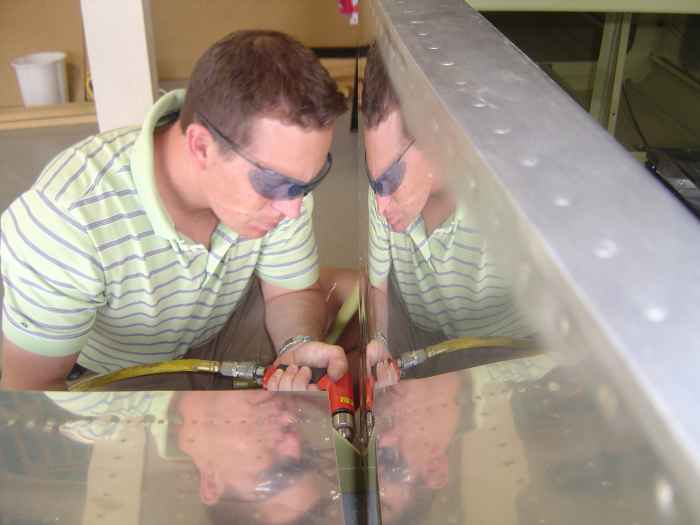 |
Another shot of me drilling the rear spar.
It is important to keep the drill level so you have a straight hole. |
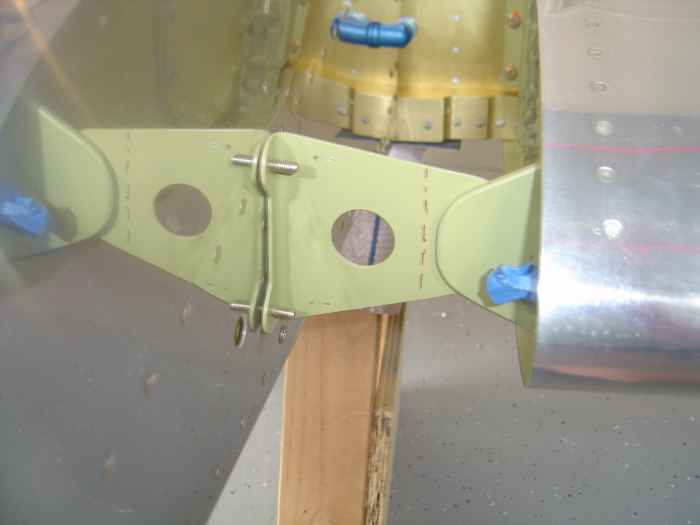 |
Next, I worked on the tank attach
brackets. Here I held them to the fuselage skin and marked a
reference line where I need to add a slight bend to the attach bracket. |
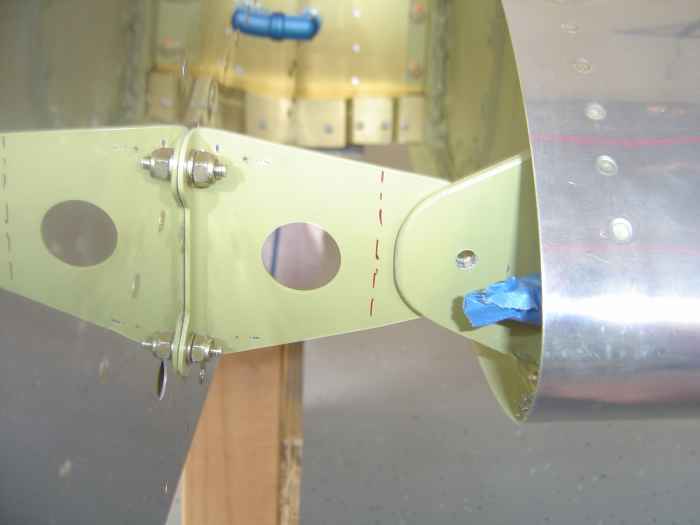 |
Bent the bracket (it did not need much),
attached it to the fuselage and drilled a 1/4" hole in the tank bracket.
Edge distance is not a problem here , there is plenty of room all around
the attach bracket. |
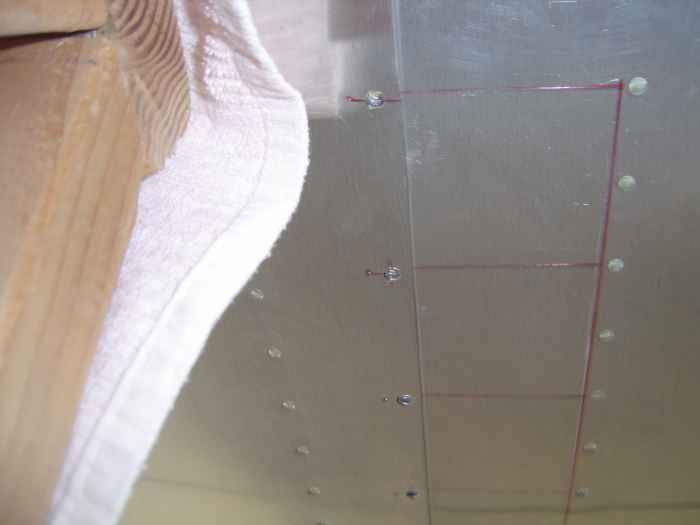 |
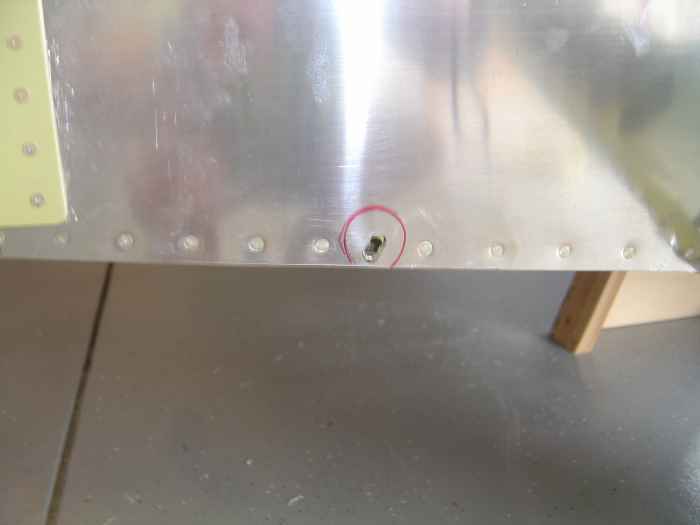
Prior to mating the wings, I had drawn out
3 inch long lines from each bottom wing skin to bottom fuselage skin
attach hole. Now I had to lay under the wing and mark 3 inches
back from these lines onto the fuselage skin to indicate where I needed
to drill. I then drilled these holes out. When the wings
come back off, I will need to install nut-plates at these locations on
the wing root rib. |
 |
Next, I mounted the flaps and started on
cutting the holes in the fuselage for the flap push rod. This is
kind of a funky shaped hole that goes through both the side and bottom
fuselage. The plans give no guidance here, so it is totally trial
and error.
I started by marking the outline of the rod end bearing on the side
skin and then drilling a 1/4 pilot hole, and then enlarging the hole to
5/8" using a step drill. |
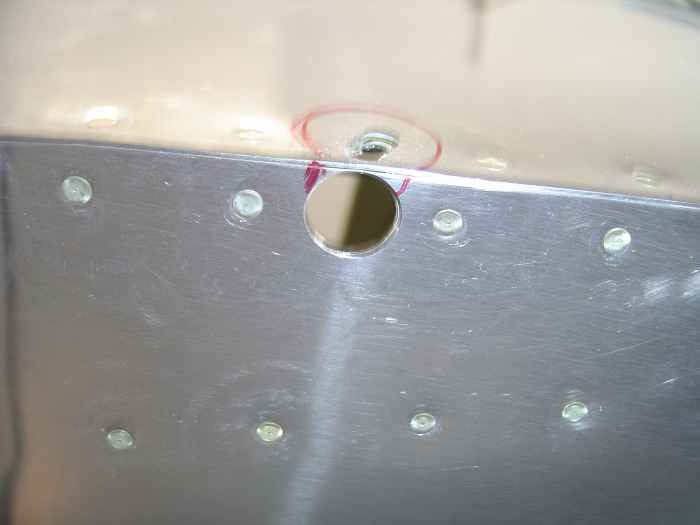 |
I enlarged the pre-punched pilot hole on
the bottom of the fuselage (pictured) with a step drill to 5/8".
Turns out this might be slightly larger than necessary. If you are
doing this, you might start with 1/2" |
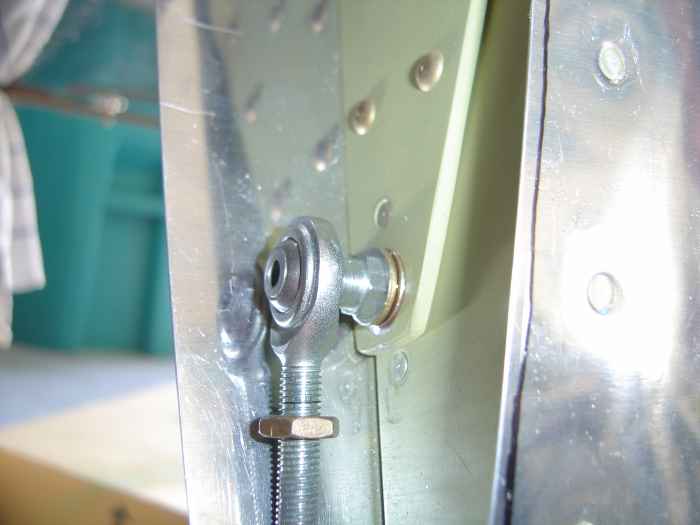 |
I installed the rod end bearing on the
flap. IMPORTANT: When I first installed this rod end bearing, I
did not use a washer where the rod end bearing threads into the flap.
This is needed to proved adequate clearance for the the jam nut on the
rod to pass though the hole in the fuselage. |
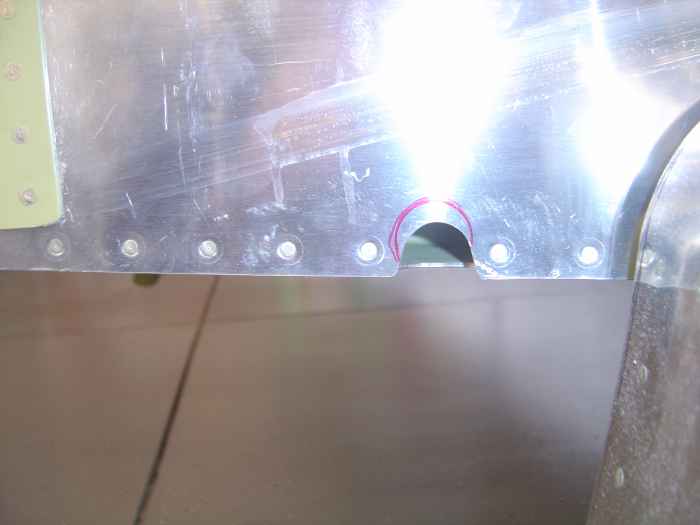 |
Used my dremel tool with slowly shape the
hole in the side of the fuselage so the flap rod and end bearing would
have not interference when traveling the full range. Note the
final hole ended up being smaller than my original mark. |
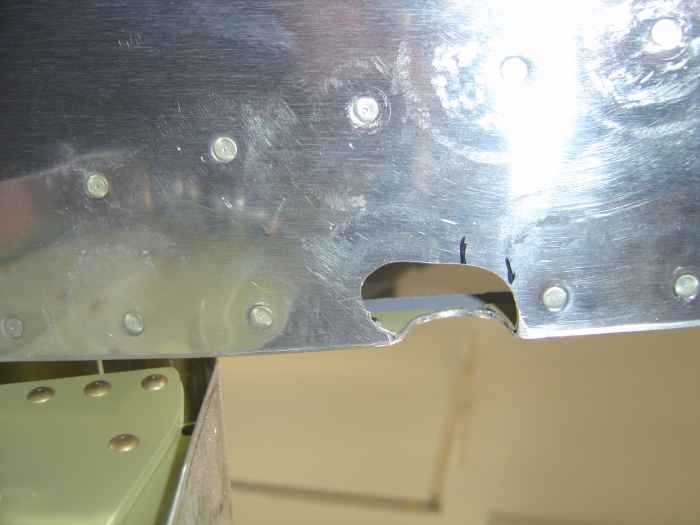 |
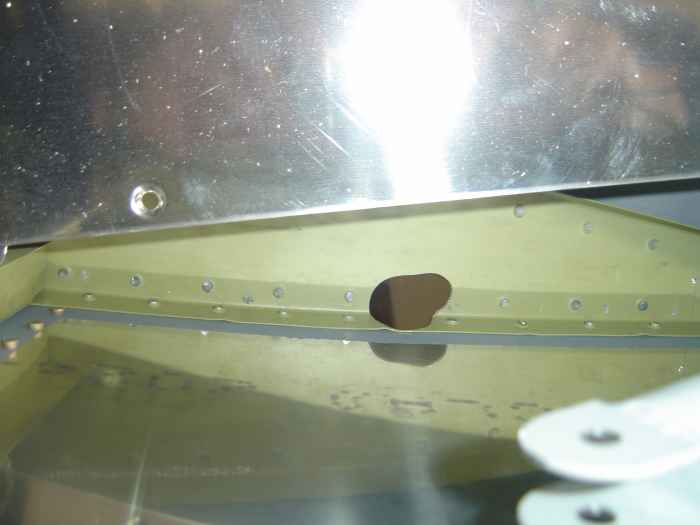
Here is the shape I ended up with on the
bottom (left of the picture is the forward end of the fuselage).
The flap hole actually extended forward of the pilot hole quite a bit
(an existing rivet had to be removed). |
 |
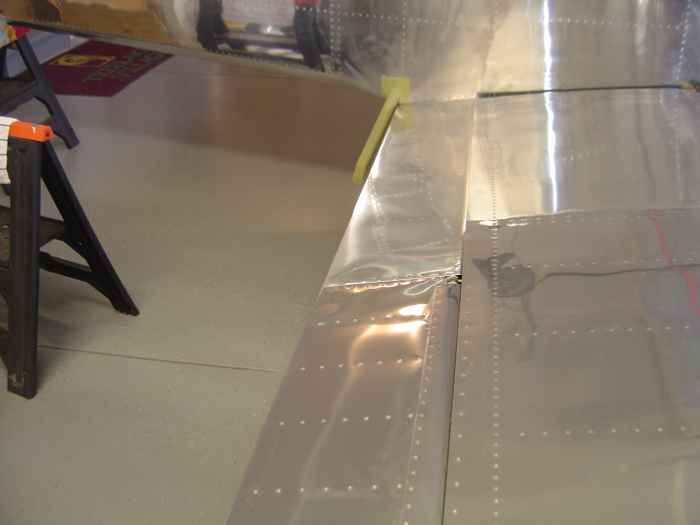
Here is a picture of the flap hole from
inside the baggage compartment. |
 |
Flap alignment to the aileron was very
nice. The trailing edges are perfectly even.
I did notice that the flap fit against the side of the fuselage will
require a bit of trimming to get a nice even 1/8" gap. I marked a
trim line and will tackle that job at a later date. |
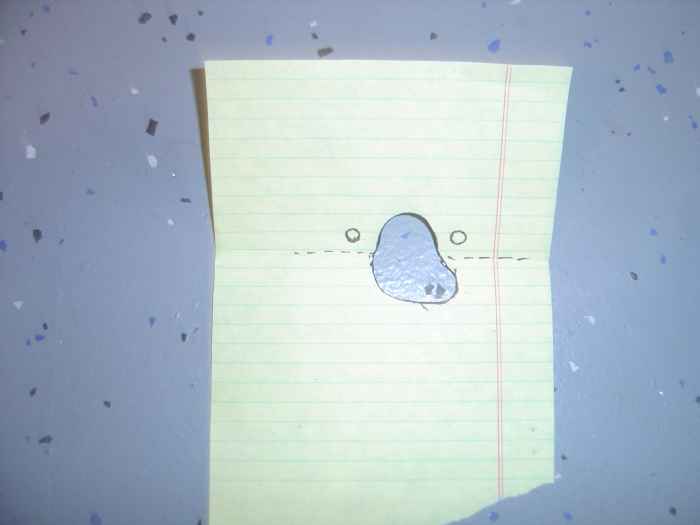 |
I used a piece of paper and traced my
first flap hole so I would have a template for the other side. |
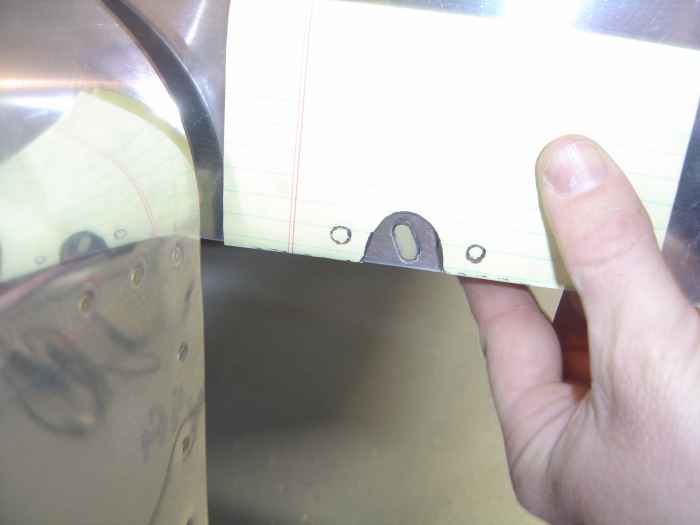 |
I turned the paper inside out to get the
mirror image and laid it against the fuselage using existing rivets for
proper alignment. I then traced the template cut out on both the
side and bottom of the fuselage |
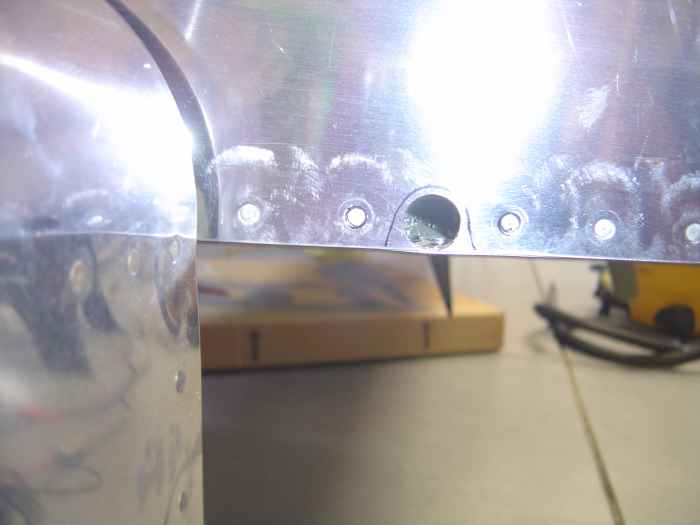 |
Drilled a 5/8" hole in the side skin. |
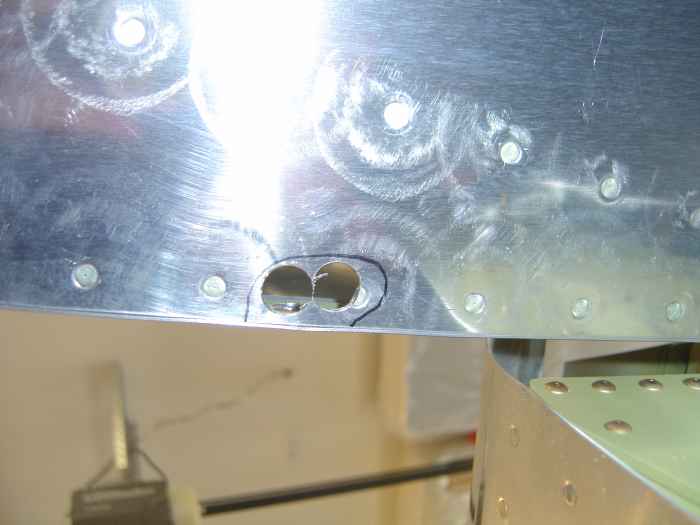 |
Drilled a couple holes in the bottom skin,
and then used the dremel tool to bring all the holes to the edge of my
marked line. Done deal, second flap hole done in about 10 minutes.
I ran the flaps up and down a few times. Pretty nice to those
working. I also measured flap range of travel and found it to be
about 43 degrees. Vans says you want 40. I will dial that in
when I mount the wings for the final time. |
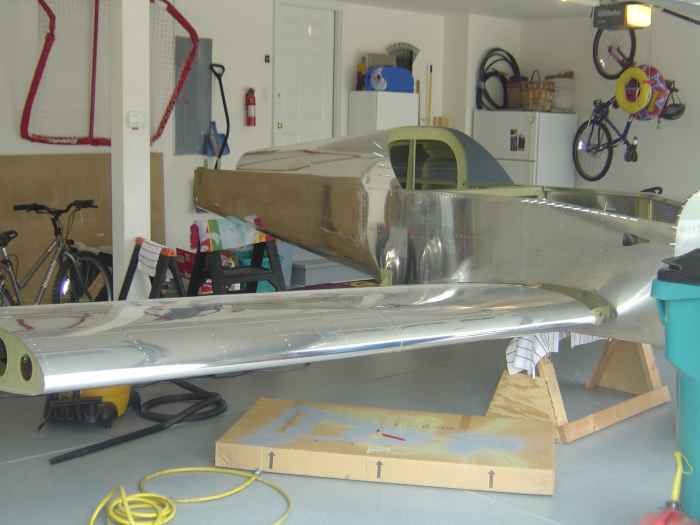 |
Here is another shot of the fuselage with
mated wings. |
 |
Typically, you would rig the aileron push
pull tubes now, but I figure I can do that just as easily the next time
the wings go on. Also, the wing root fairings get fitted now, but
I don't have those, so that will have to wait. One other
thing you can do with the wings on is run the fuel and fuel vent lines.
I don't see why I can't do that later. Guess its time to pull the
wings back off.
Fuselage and wings separated and the garage back in order.
While mating the wings was definitely a stressful job, it was not a
difficult one. It was very rewarding see everything fall into
place with no problems. |


