 |
July 14 - 16, 2006:
(12 hrs.)
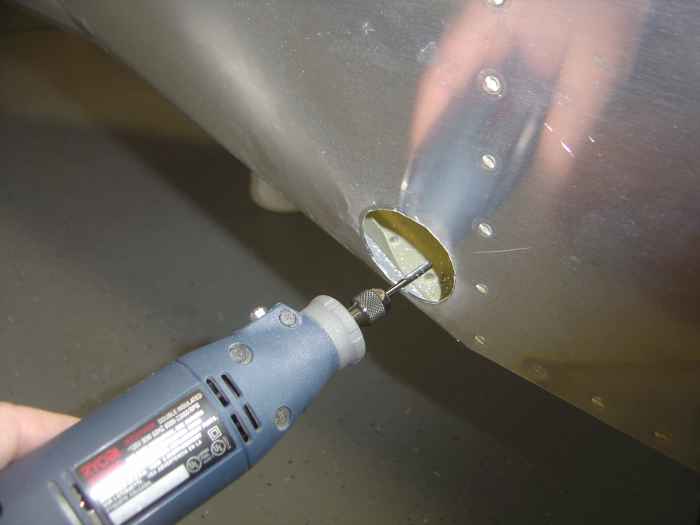
Even thought the holes for my steps were a perfect fit, they needed
to be enlarged to make room for the weld bead on the steel. I used
my dremel tool with a carbide tip cutter for this. I also enlarged
the holes in the baggage floor ribs to allow the step tube to move
forward a bit so that the step flange would fit flush against the side
skins. |
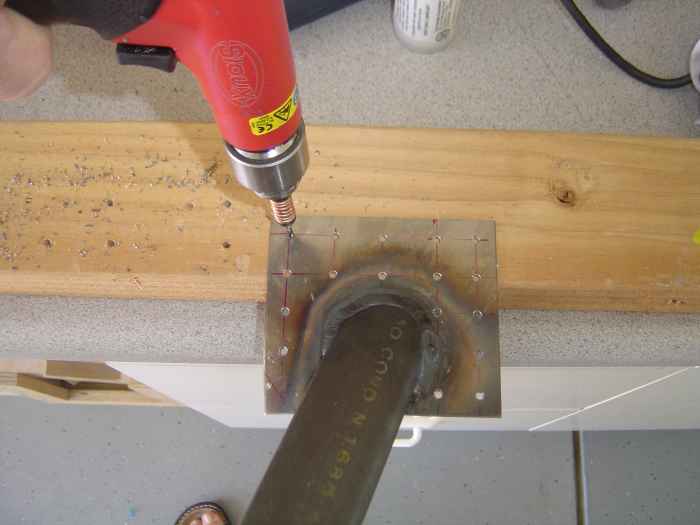 |
Marked and drilled the holes for the
rivets. One of the rivets came a bit close to the weld bead, so I
omitted that one. |
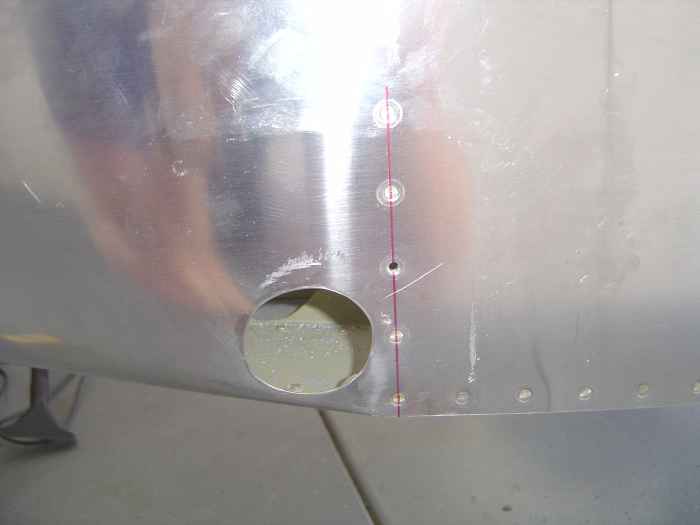 |
It is important that second set of forward
rivets on the step flange be centered and attached along the vertical
baggage compartment bulkhead. It turned out that one of the
existing skin rivets (drilled out in the picture) aligned nicely with
one of the rivet holes in the step flange. I drilled that rivet
out and used that hole to position the step. |
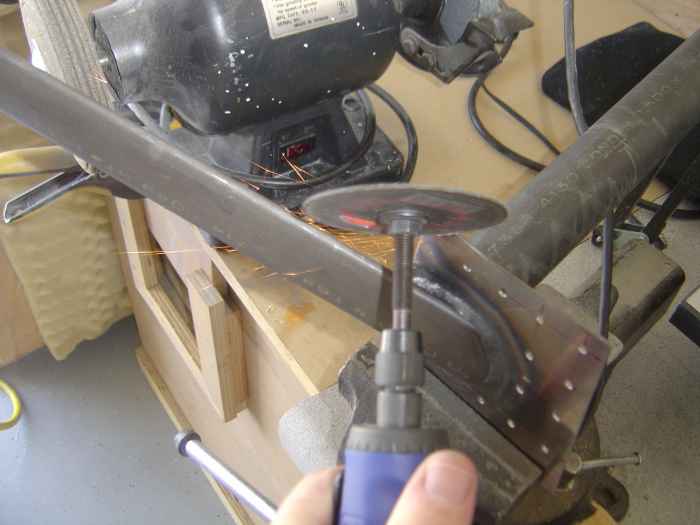 |
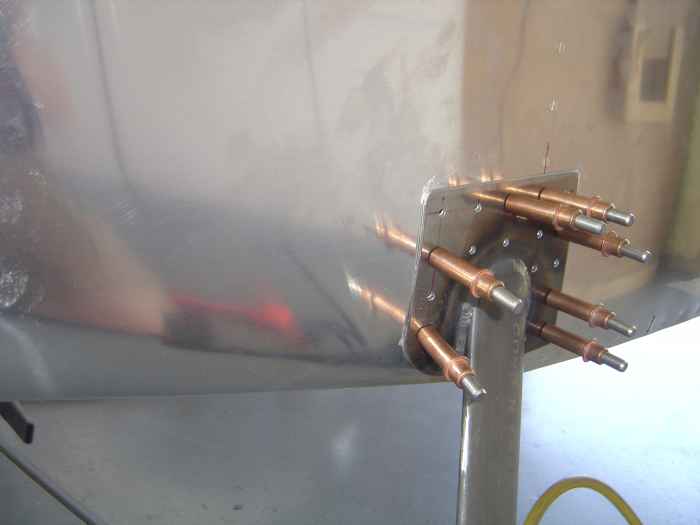
The aft bottom corner of the step flange
needs to be trimmed and bent to fit the curve of the side skin. I
used my cut-off wheel in the die grinder to trim the corner. |
 |
After much trial and error bending the
rear portion of the flange with a flanging tool and a hammer, a nice fit
is achieved. When looking from the underside, there is small gap
between the step flange and the skin due to the curve of the bottom skin
and the weld bead on the step. I will fill this void with a little
Proseal to keep any moisture out. |
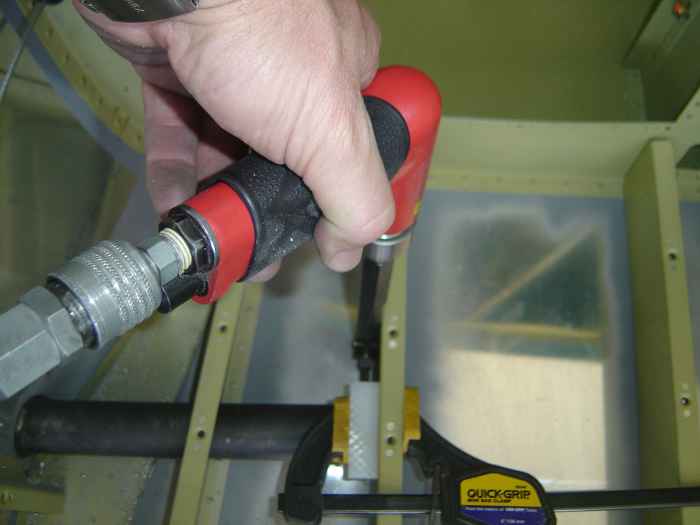 |
Here I am drilling the step tube
attachment block to the baggage ribs and to the step tube. I had
to use my right angle attachment for this. |
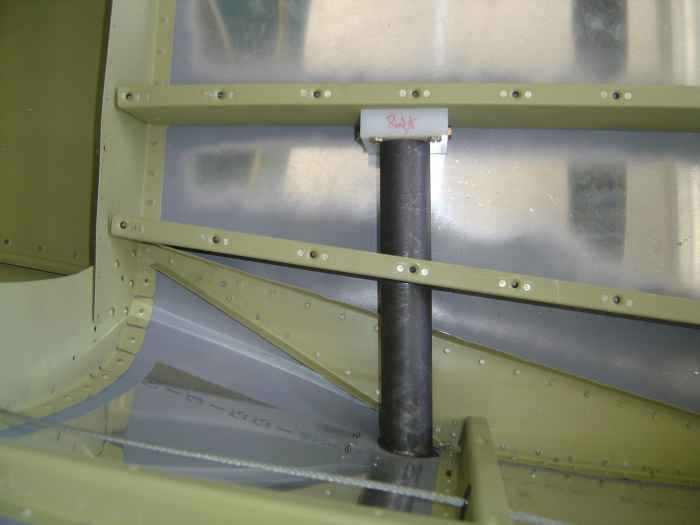 |
Here is the completed installation.
I will clean and prime the step hardware before I rivet this together. |
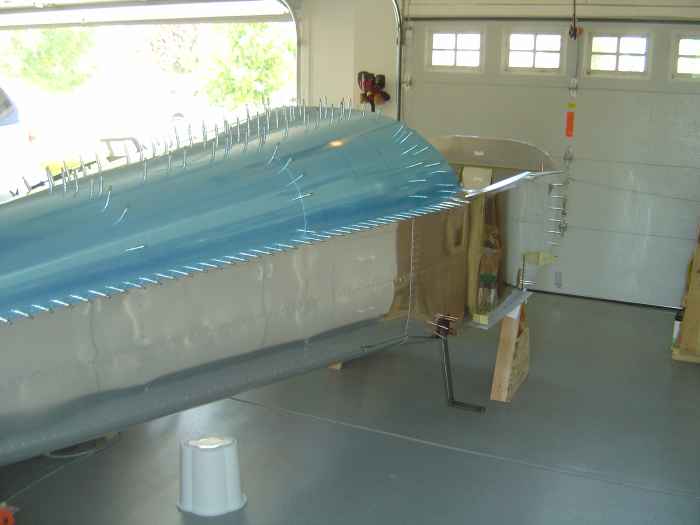 |
A view of the step from the rear. |
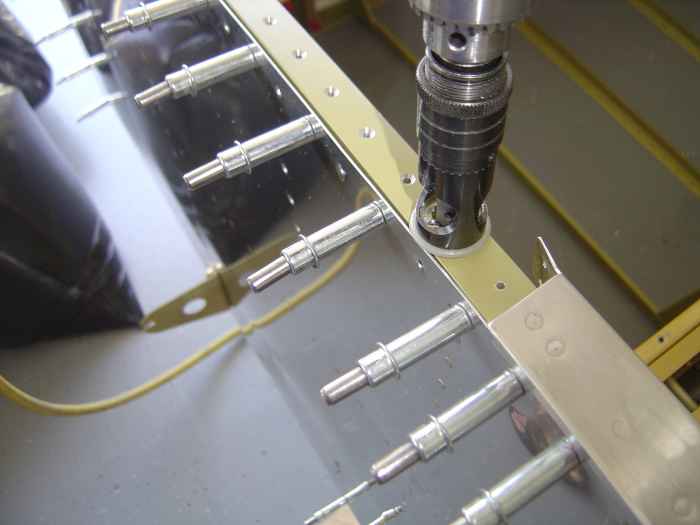 |
After completing both steps, I removed the
forward canopy deck, deburred the parts, dimpled the deck, and machine
counter-sunk the longerons. |
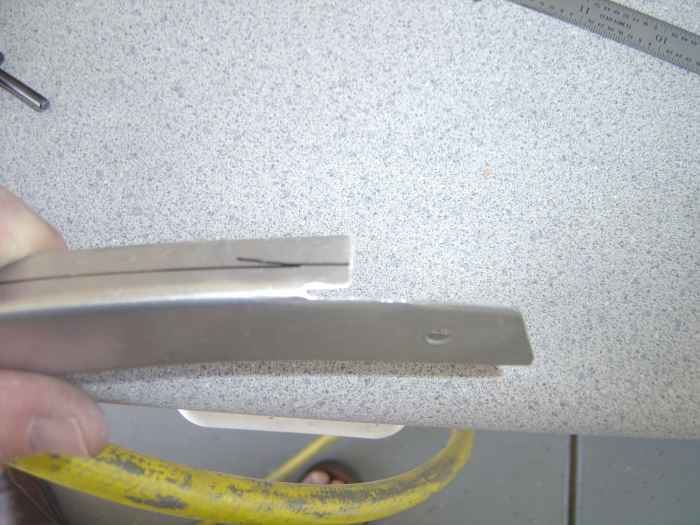 |
Decided I should fit the F-6111 ribs.
These ribs are used to help stiffen the top skin along the curve just
forward of the F-706 bulkhead. The directions give no details on
this rib should be installed.
I drew a centerline down the flange to aid as a guide when match
drilling the rib to the skin. I also ended up cutting a
portion of the top flange away and making a notch in the material.
This will allow the rib to rest flush with the F-706 bulkhead.
This cut was a trial and error process... and I had my share of errors.
I totally screwed the left side rib up, by cutting it too short. I
will need to order a new one. |
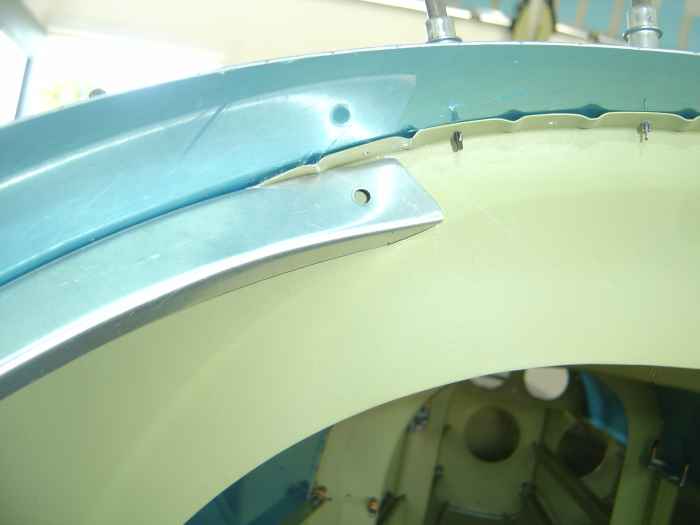 |
Here is the top section of the left side
rib drilled and cleco'd into place. |
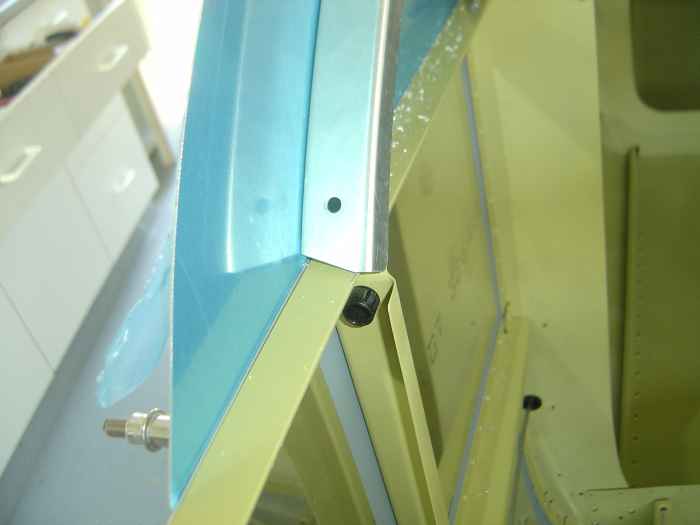 |
Here is the bottom portion of the left
side rib. It does not attach to the longeron, but rather just
rests slightly above it. |
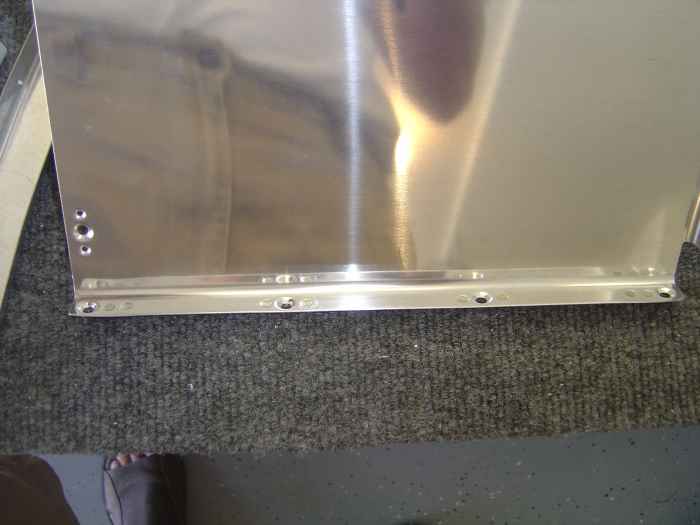 |
Installed nut-plates along the bottom of
the rear bottom side baggage compartment wall. This normally is
not required, but since I am putting in removable baggage floors,
nut-plates are needed here. |
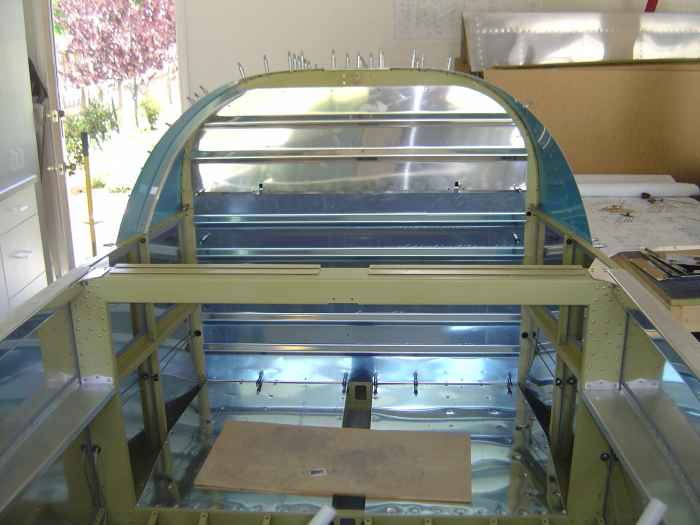 |
Temporarily put the baggage floors in and
then worked on fitting the rear baggage compartment wall. The
radiused edges along the top of the wall needed to be measured and cut.
Besides drilling for all the attachment holes, I also had to
measure and cut some slots for the seat belt shoulder harness cables. |
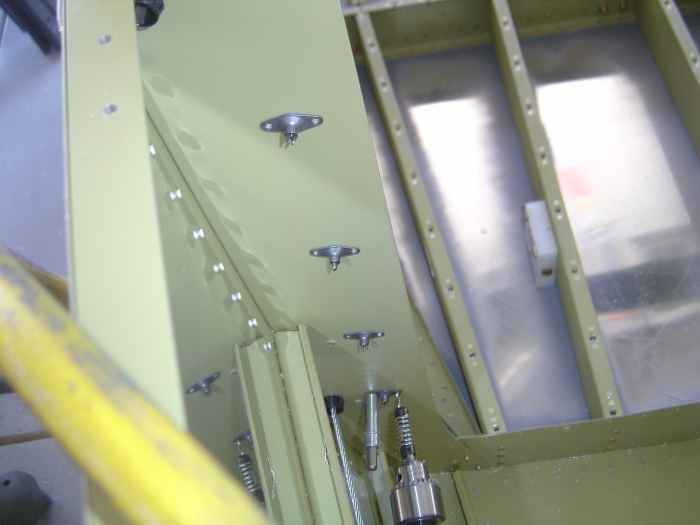 |
Match drilling nut-plates on the F-706
bulkhead. These will be used to hold the rear baggage compartment
wall in place. |
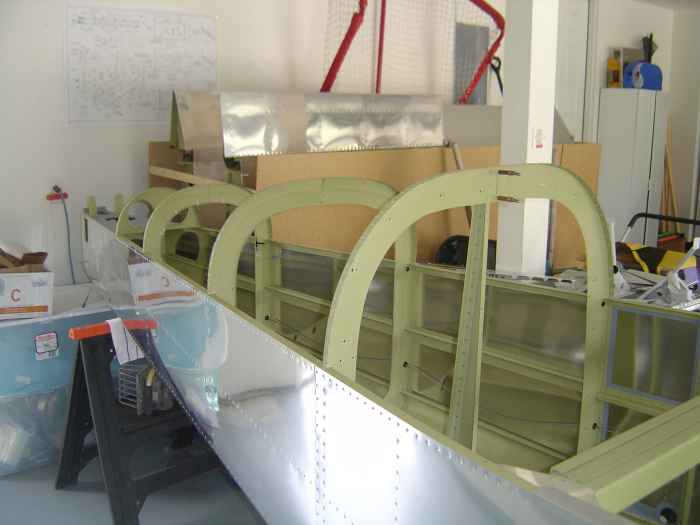 |
Next, I removed all the parts I had been
working on the last couple of weeks and began the arduous process of
deburring the holes, deburring the edges, and dimpling. |
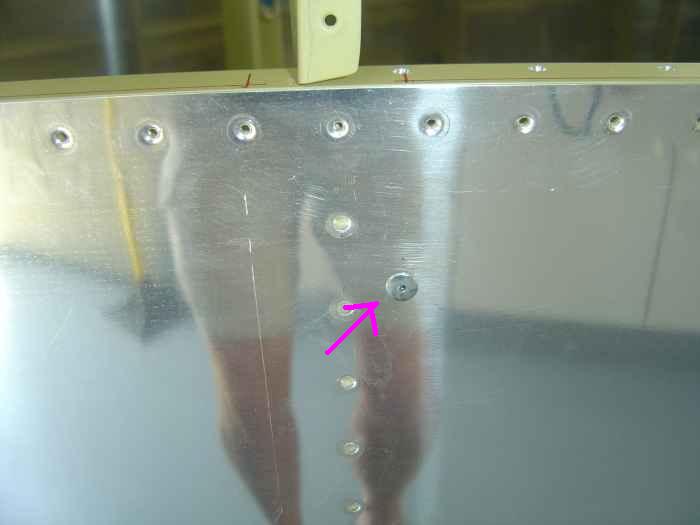 |
While the aft top skins are off, I decided
to install the static ports. These are just blind rivets that you
drill the mandrels out of. I installed one on the left and right
side. |
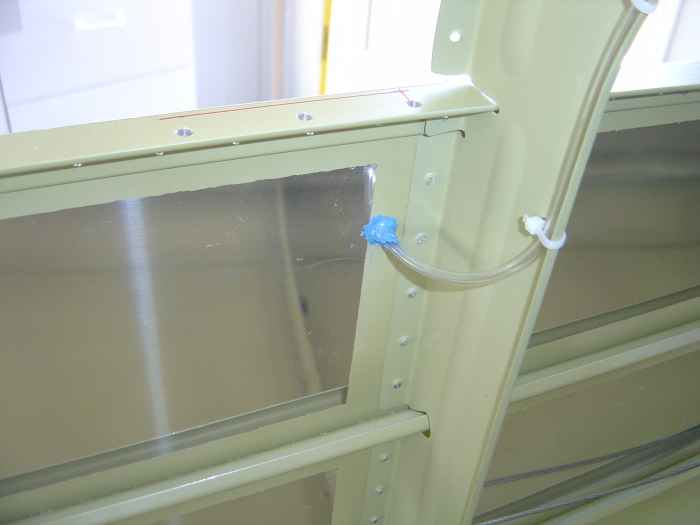 |
Tubing gets placed over the blind rivet
tail and RTV is used to seal everything up. |
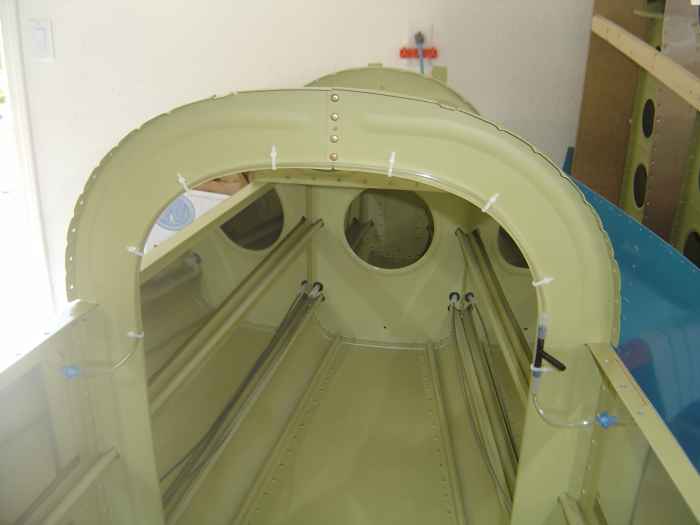 |
The tubing runs from the right static port
along the top of the bulkhead to left side where it meets up at a tee
where one end is attached to a short run to the right side static port.
This is all held in place along the bulkhead with some tie-wraps.
I will deal with the run to the forward fuselage at a later date. |
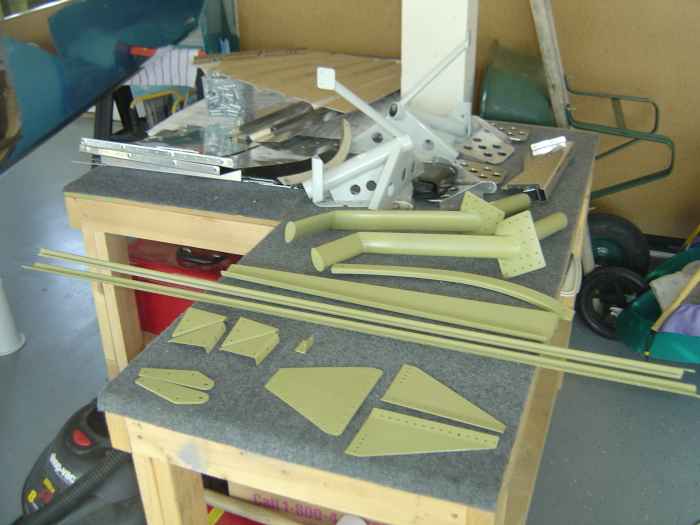 |
Prepped, cleaned, and primed all the
parts. |


