 |
November
17-19, 2006:
(10.0 hrs.) Decided I was going to finish all
the plumbing in the forward fuselage. I had been putting off
finishing up the plumbing on the Airflow Performance fuel pump because I
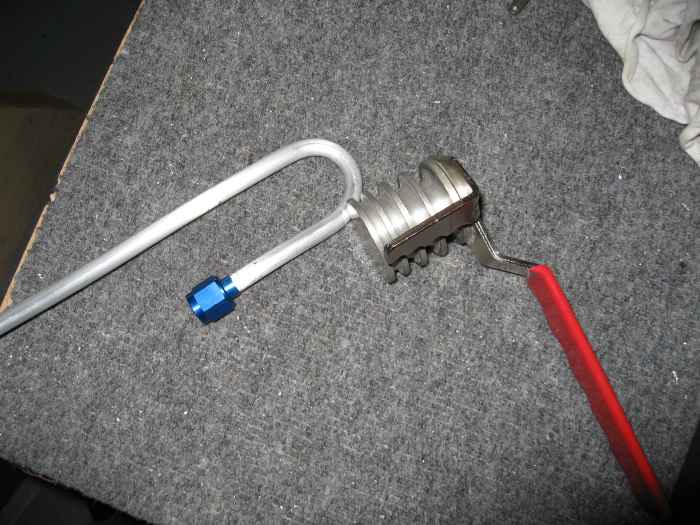
had still not found a tool that would make 180 degree bends in 3/8"
tubing. My friend Dan let me borrow a tubing bender that he used
on his Lancair project that just so happened to bend tubing 180 degrees.
Now I could finish the fuel pump! |
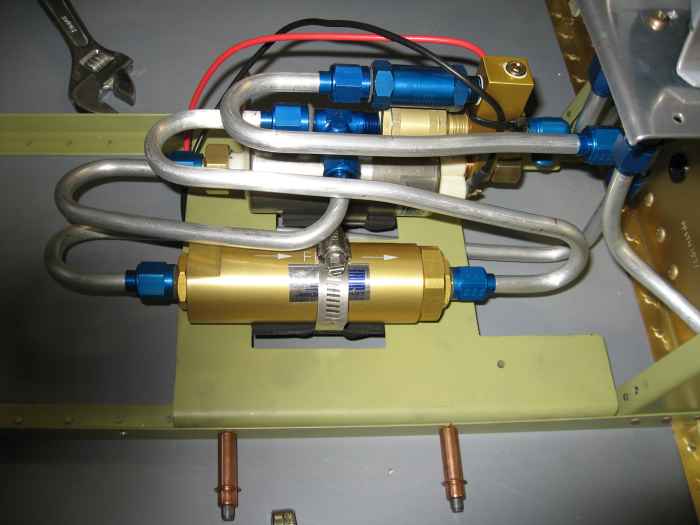 |
Here is the fuel pump installed with all
its lines plumbed except the engine supply line. I am going to
hold off on that line until I am sure where I will be running it through
the firewall. |
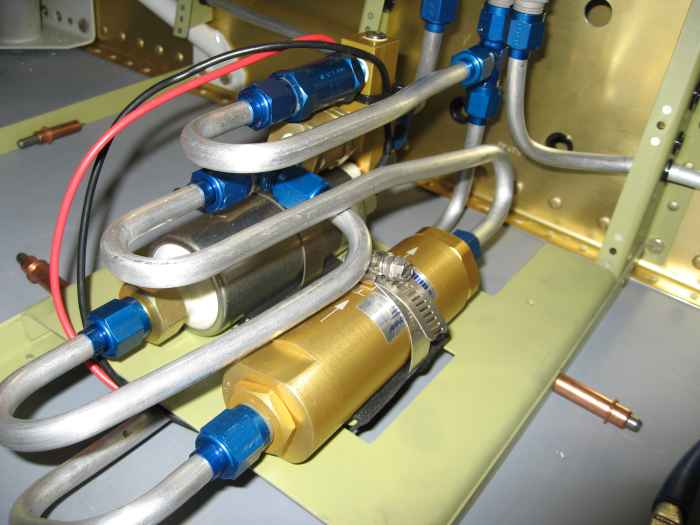 |
I like how these lines turned out. I
took another picture for prosperity. |
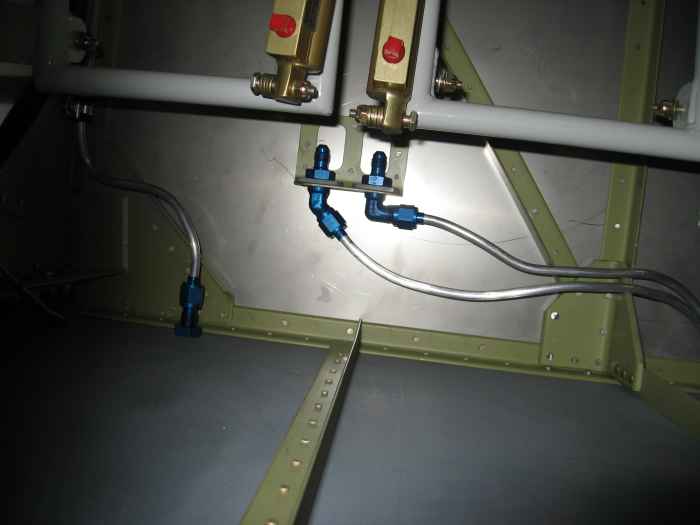 |
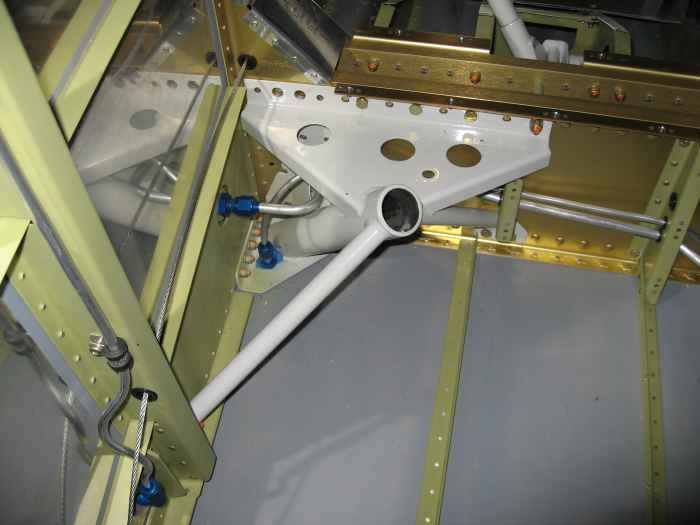
Now onto the brake lines. These use
the 1/4' tubing which is very easy to bend by hand. Here you can
see where the brake lines attach the firewall. |
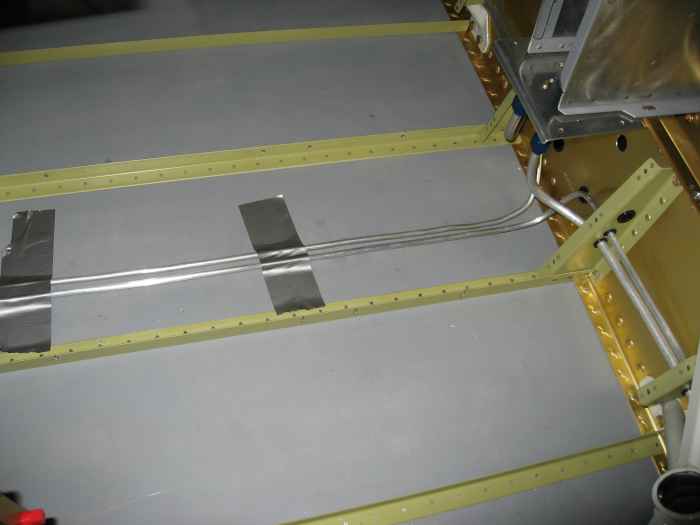 |
Here the brake lines run between the floor
stiffeners up to the center section. I am temporarily holding the
lines in place with duct tape. I plan to install sound proofing
under the carpet which will sandwich these lines and hold them in place. |
 |
And here you can see the brake line
snaking behind the right gear leg weld-mount and connecting to the AN
bulkhead fitting on the floor. |
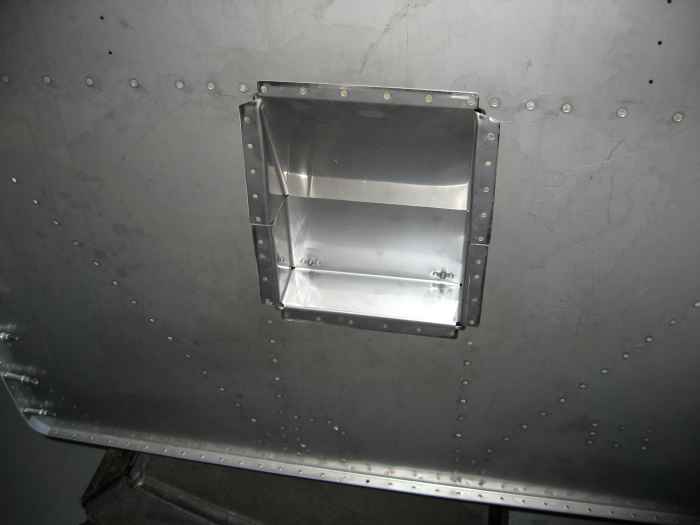 |
Next I moved onto some miscellaneous
items. I decided it was probably time to rivet the firewall recess
into place. The pneumatic gun and bucking bar made quick work of
these rivets. |
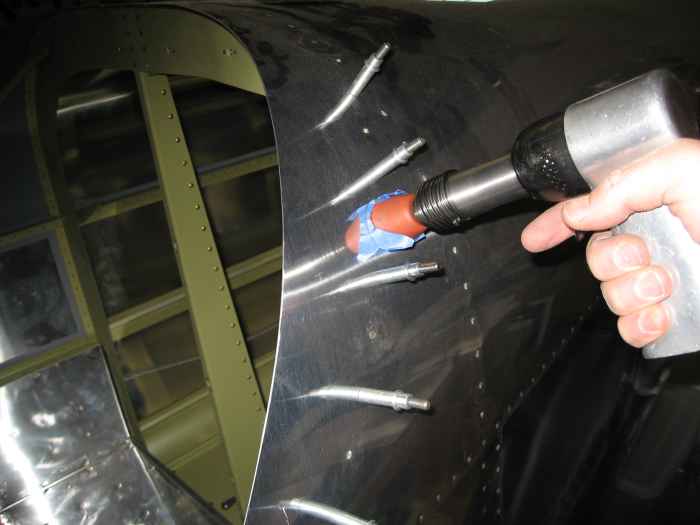 |
I also had to rivet these skin stiffeners
under the curvature of the top skin (just behind the canopy). |
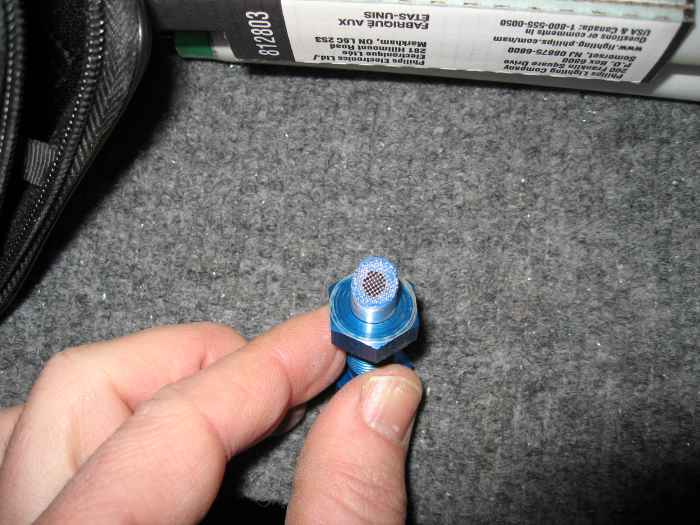 |
I used some RTV to attach some screens to
the fuel vent line fuselage exits. This helps prevent bugs from
climbing into the vent line an clogging it. For a screen I used
the screen material that is found in faucet tips. You can pick it
up in the plumbing section of Home Depot. |
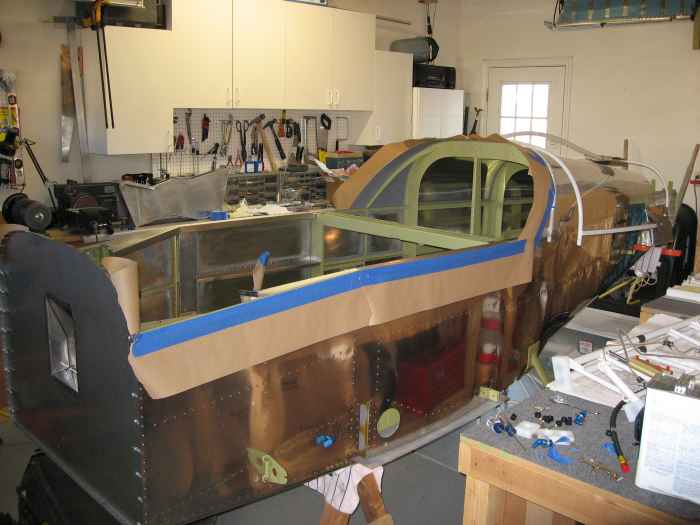 |
Next I pulled everything out of the cabin.
Floor panels, side panels, rudder pedals, vent lines, center console,
seat backs, seat bottoms, etc. These needed to be removed to get
ready for painting.
I used a medium Scotchbrite pad to clean all surfaces. That was
followed by a good vacuuming and wiping everything down with Acetone.
Here I have masked portions of the outside skins. |
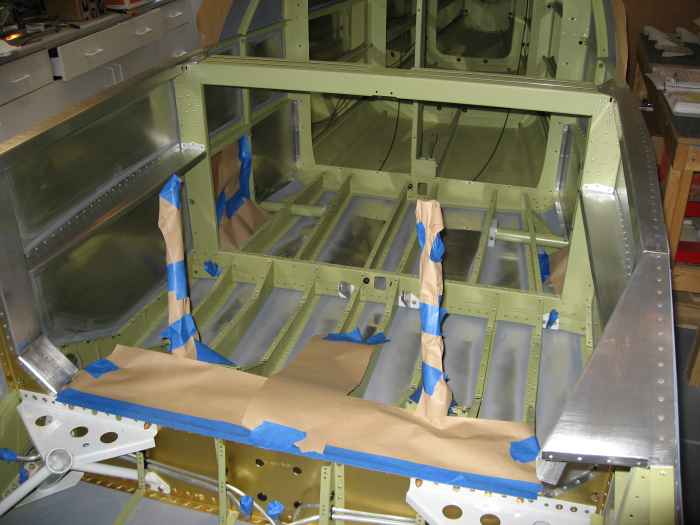 |
I did not remove the stick assembly, so
that had to be masked. |
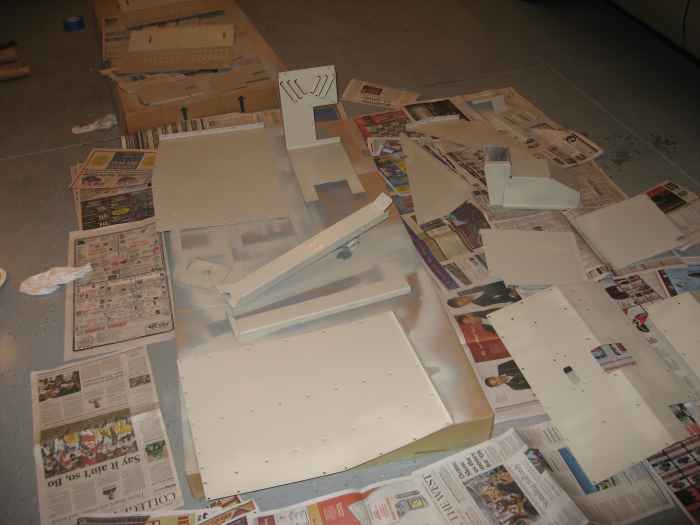 |
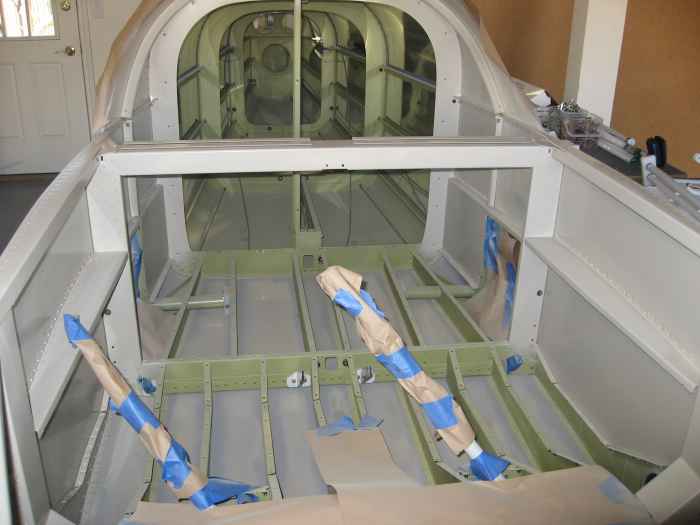
Most of the interior components got a
single coat of paint on the visible side. A lot of this will not
be visible after I install my interior, but I was not sure what would
and would not be seen, so everything got painted. |
 |
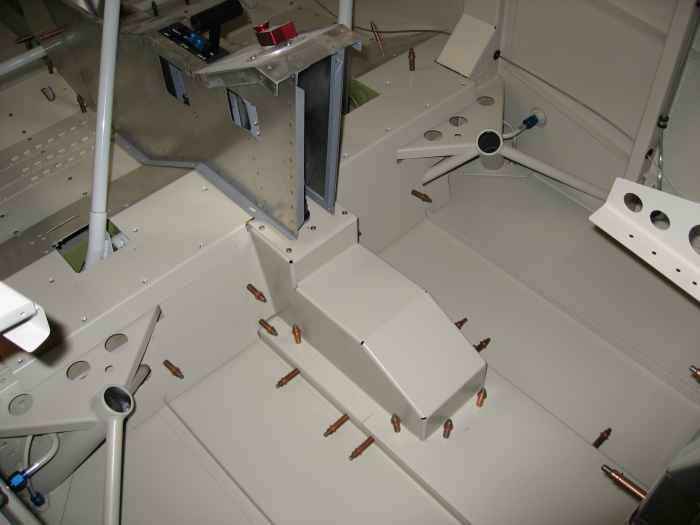
Of course the fuselage interior was also
painted |
 |
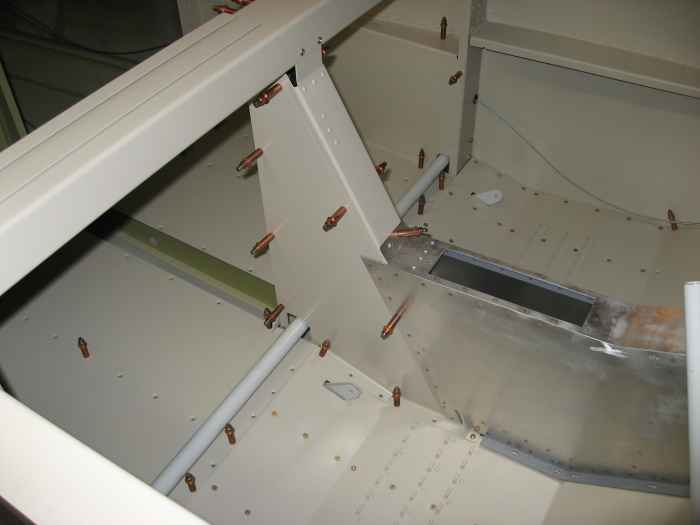
The next day, I began re-installing all
the cabin components. Some items, like the Airflow Performance
fuel pump cover will only be cleco'd into place. These will need
to come off and on several time while I work on wiring. |
 |
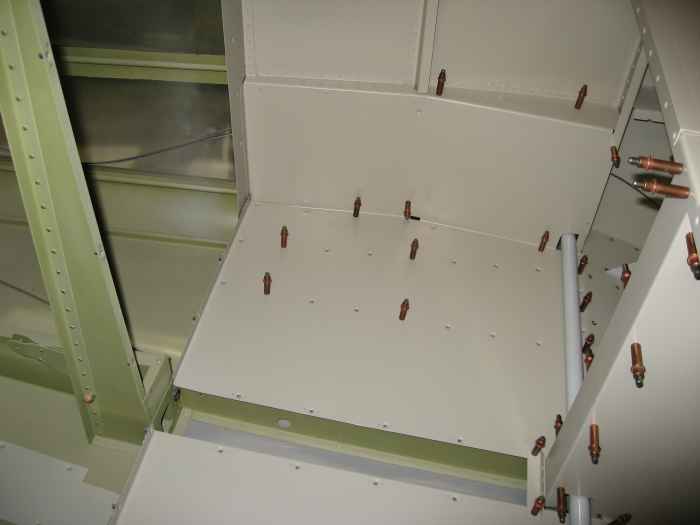
Here is the mid-section of the cabin.
Again, some covers are just cleco'd into place for convenience. |
 |
Finally, the baggage compartment. |
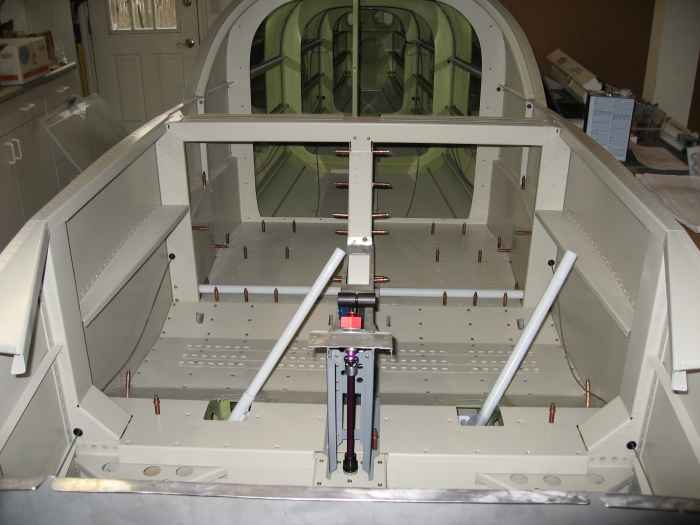 |
One last shot of the painted interior
looking from the firewall aft. The paint job turned out pretty
good. There are a few areas of slight orange pealing, but
considering most of this will be covered by upholstered panels, seats
and carpeting, it is definitely good enough. After this painting
experience, I think I have definitely made my mind up to have the
exterior professionally painted. |


