 |
December 17,
2006:
(1.0 hr)
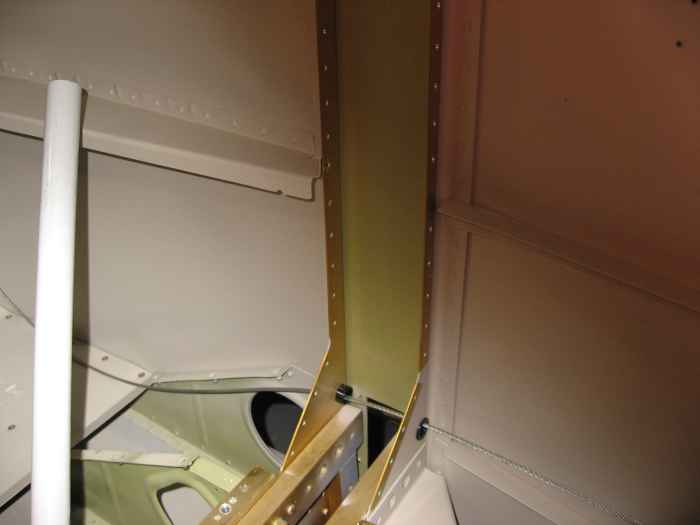
After reading ahead in the instructions for the finishing kit, I
realized that I should not have yet riveted on the center section side
covers. I will need access behind these and under the canopy rail
when I drill and mount the roll bar.
Today I decided to drill out all 30 rivets on each side and remove
the covers. |
 |
December 22-28,
2006:
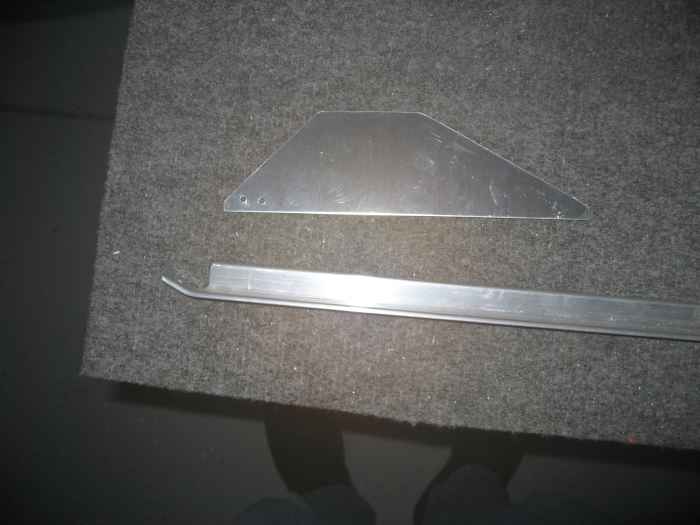
(6.0 hrs.) Decided I wanted to get
all the fabrication and prep work done on the top forward section.
I began by fabricating the supports for the center rib. One is
just a doubler plate, the other is a piece of aluminum angle with some
basic cuts and a small bent tab on one end. that will attach to the
firewall. |
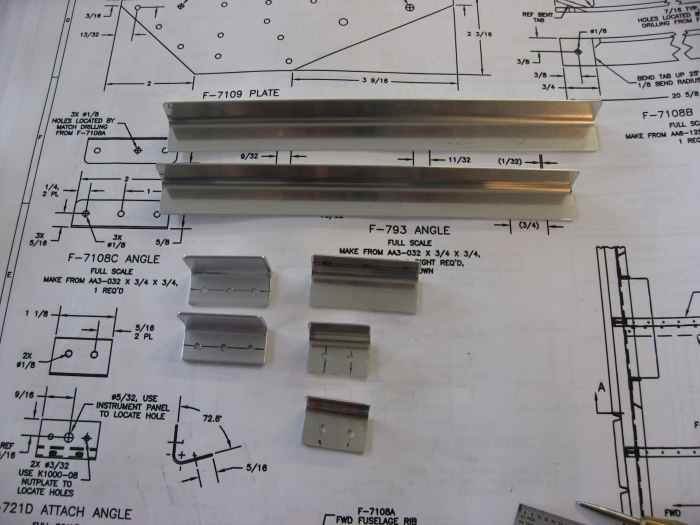 |
A few other items needed to be fabricated.
These pieces are used to help attach the panel. They will get a
bunch of nut-plates installed later. |
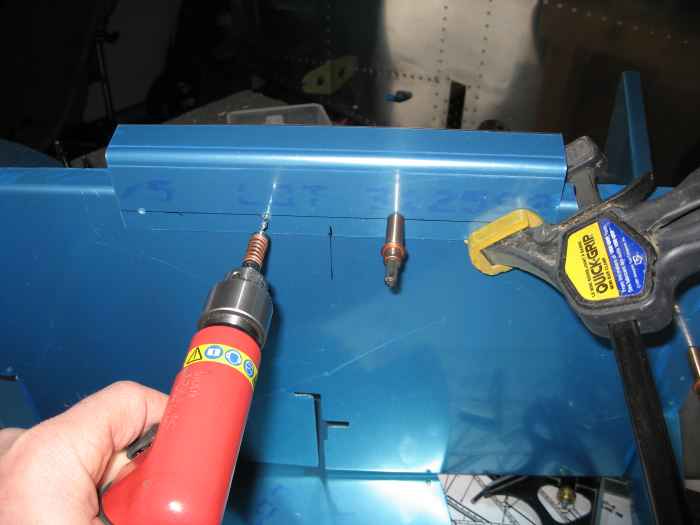 |
Here I am match drilling a piece of
aluminum to the bottom of the sub-panel. This will serve as a
mount point for the cables coming out of my throttle quadrant. |
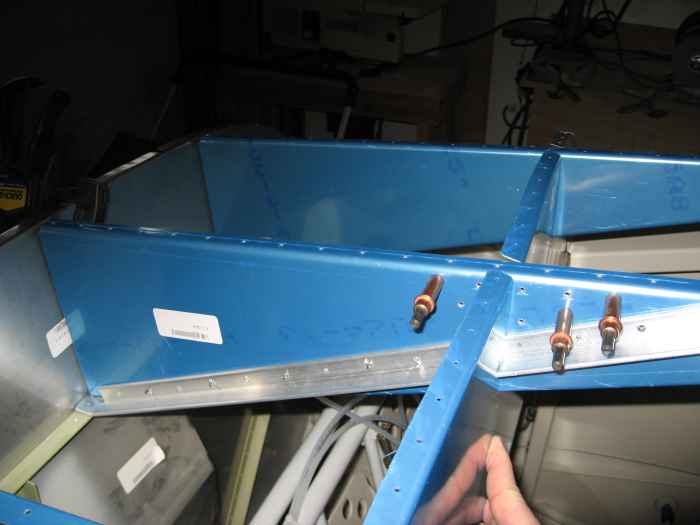 |
With all the parts fabricated, I began
assembly of the forward top section structure. The entire assembly
was match drilled. This is a picture of the structures center rib
with the reinforcement angle cleco'd into place. |
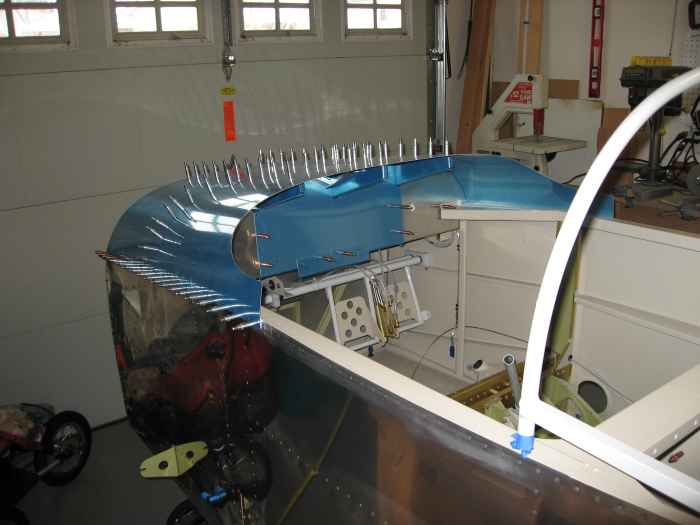 |
Next, I cleco'd on the top skin before I
had the panel attached. This was a mistake! It is very
difficult to slide the panel in once the skin is down. I ended up
removing a bunch of cleco's from the skin to get the panel in. |
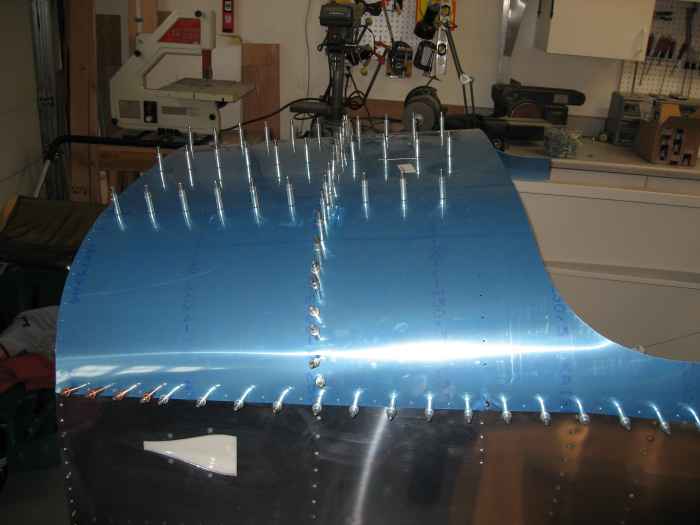 |
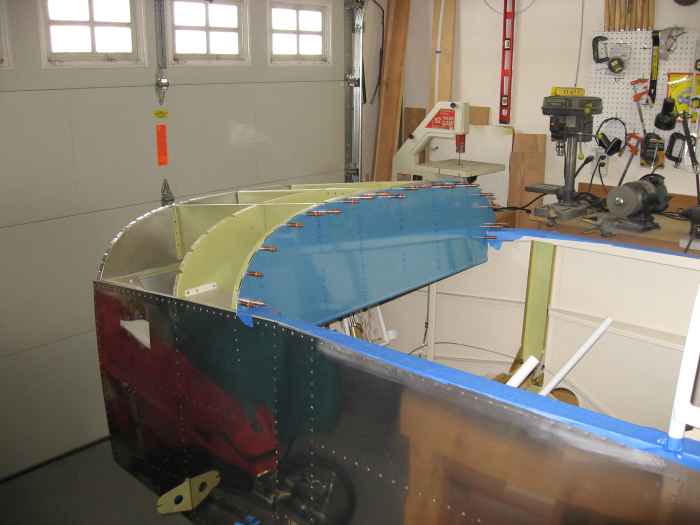
A picture of the top forward skin from the
left side.... |
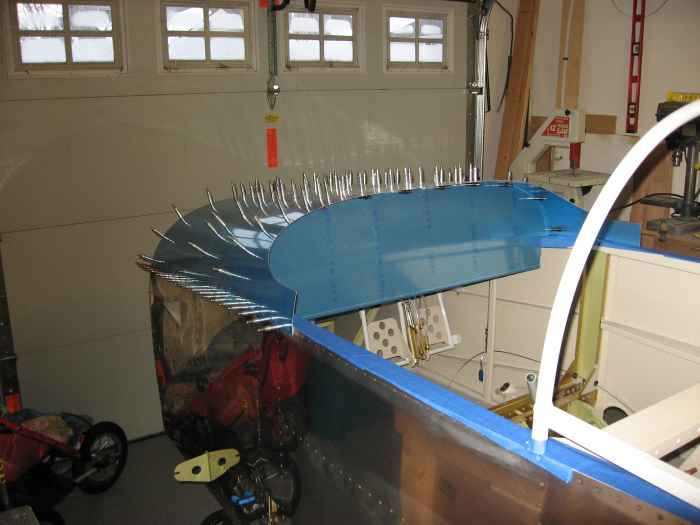 |
Here is the assembly with the panel in
position. With this all in place, I match drilled all the skin
holes to the under structure. |
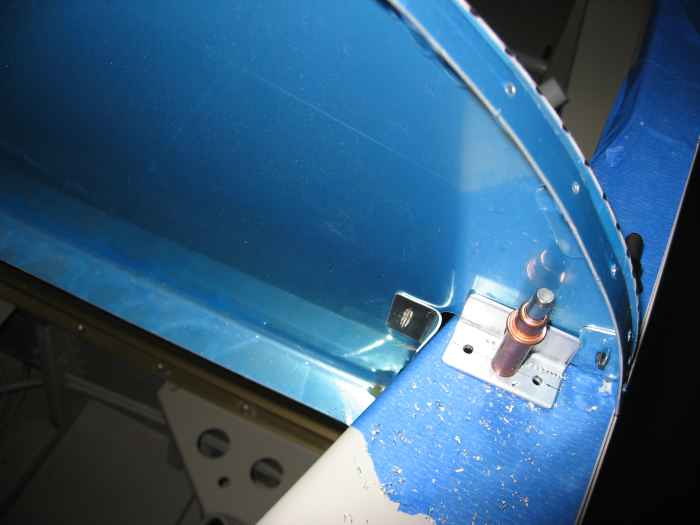 |
This is a shot behind the left side of the
panel. I had to install these panel braces that I fabricated
earlier. (NOTE: The blue painters tape is running along the
top of the canopy deck to help protect the paint).
These little buggers were a pain to match drill to the forward canopy
deck. |
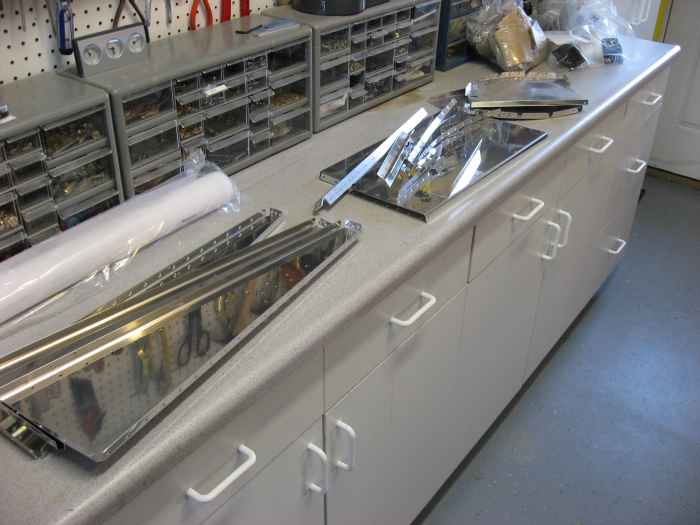 |
Removed all the parts. Deburred the
edges and holes, and then dimpled where necessary. This took some
time..... |
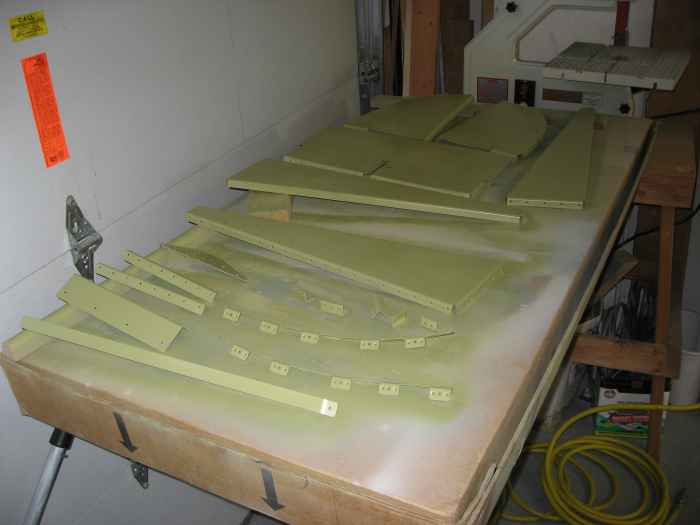 |
Cleaned, prepped and primed all the parts. |
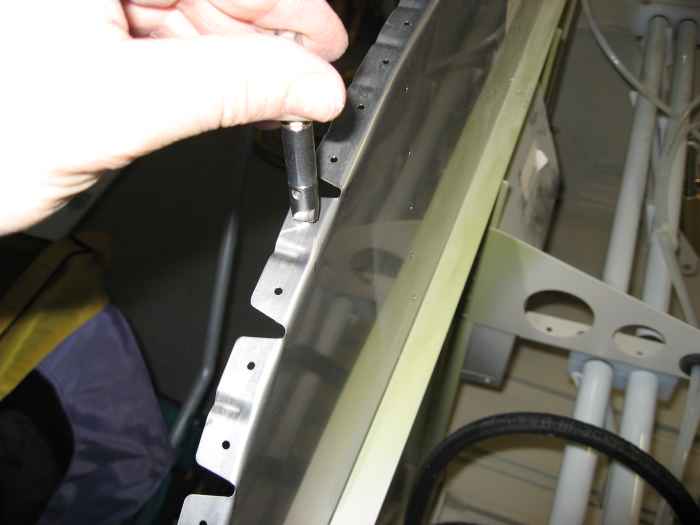 |
While the parts where drying, I deburred
the fuselage under structure (top of firewall pictured). I also
went ahead and dimpled the top flange of the firewall. |
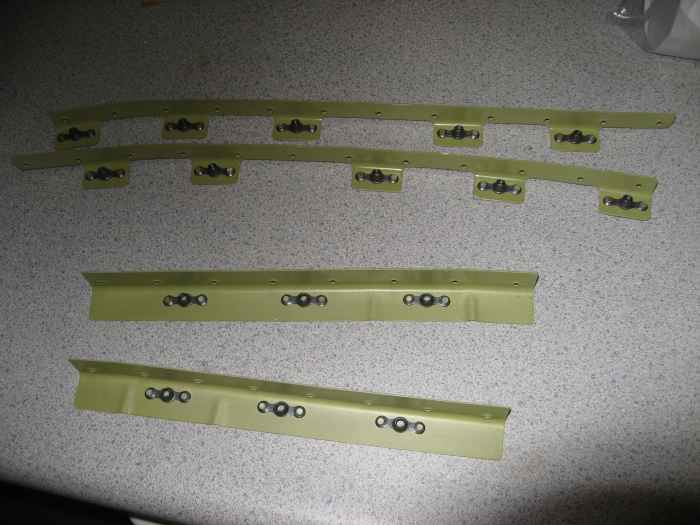 |
After the parts where dry, I began
installing all the nut-plates. Pictured here are just a few. |
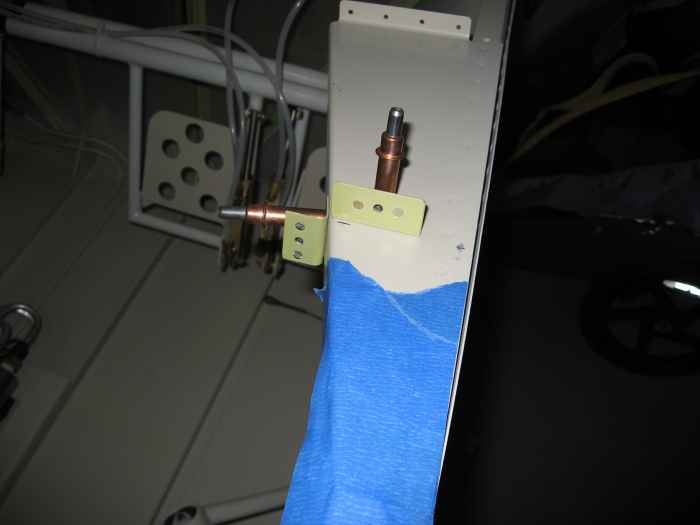 |
Cleco'd and riveted on the panel
attachment points to the forward canopy deck. These are kind of a
pain. You can't get a squeezer on them, and using a pneumatic gun
and bucking bar was troublesome because of the flange on the underside
of the canopy deck. I ended up using some blind rivets. |
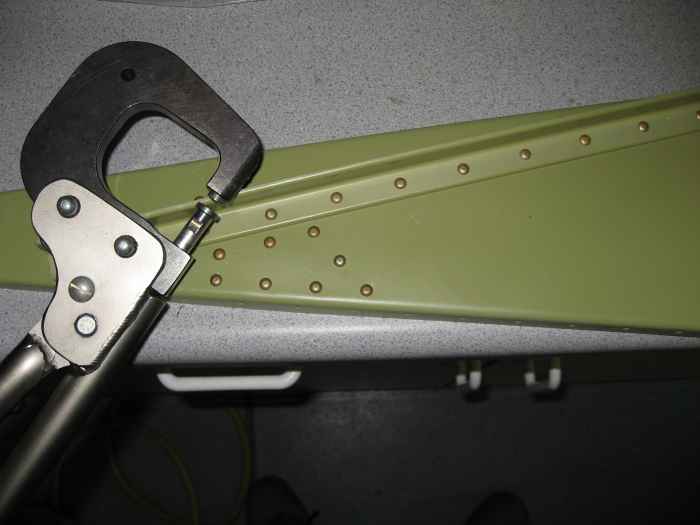 |
Used my hand squeezer to install the
reinforcement plate and angle on the center rib. |
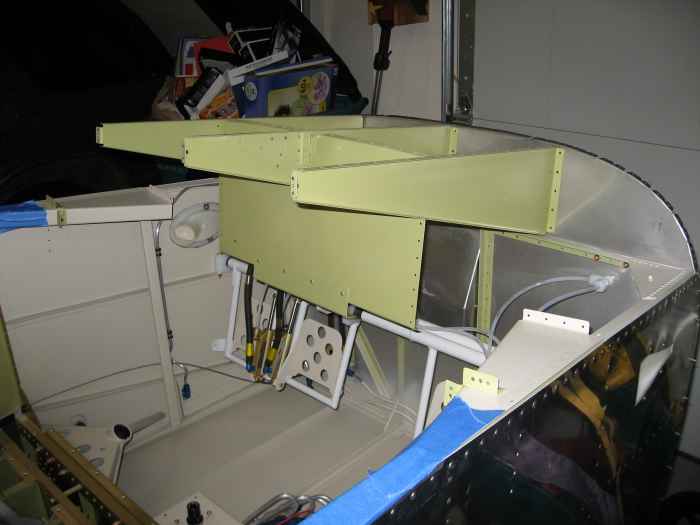 |
Starting cleco'ing in the structure.
I will hold off on riveting this until I decide on my panel layout.
I may need to move these ribs a bit to allow for the proper placement of
my instruments. |
 |
... and here is the panel cleco'd in place |


