 |
August 18 -
20, 2006:
(7.0 hrs.)
After being away from the plane for 3 weeks because of business
travel and a family vacation, it took a while to get back into the
project. I had to go back and study the plans and instructions to
figure out what I had already done and what I was going to do next.
This extra time can be avoided if you continuously work on the project
(like I typically do).
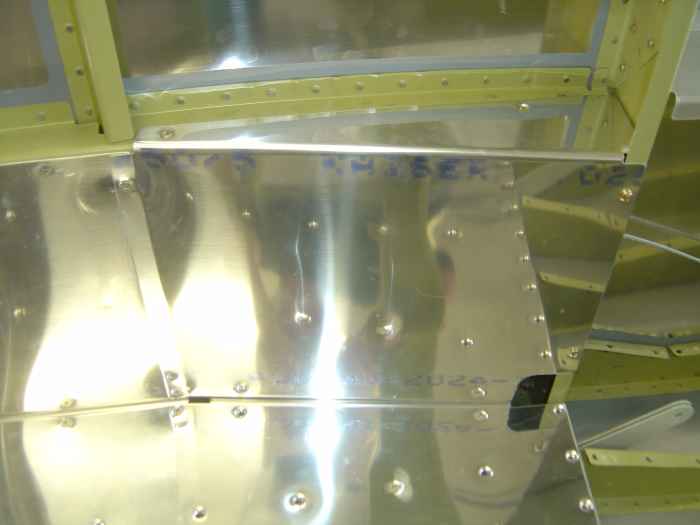
Anyway, I trimmed, fitted, edged, and deburred the forward side
sections of the baggage compartment. I also had to install a few
nut-plates on these sections where the baggage floor attaches to them. |
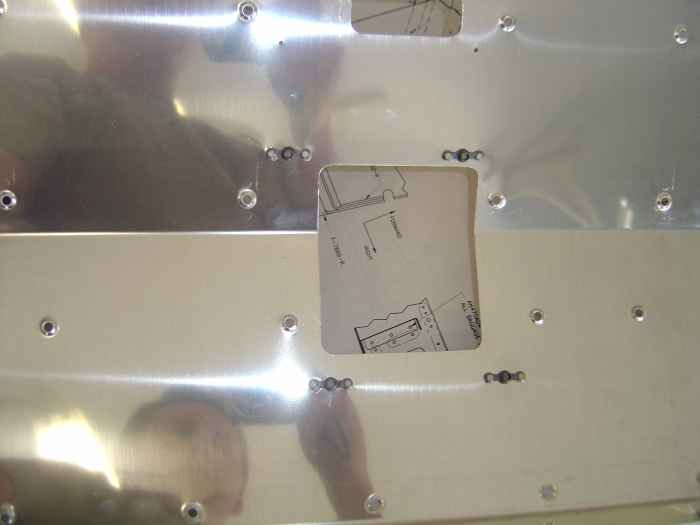 |
I installed the stick boot holder
nut-plants on the forward seat bottom skins. |
 |
The seats backs are made to be adjustable
by installing hinge material in several places on the seat bottoms.
The seat back itself will have hinge material that will attach to any
one of the hinge locations on the seat bottoms given you 3 recline
positions.
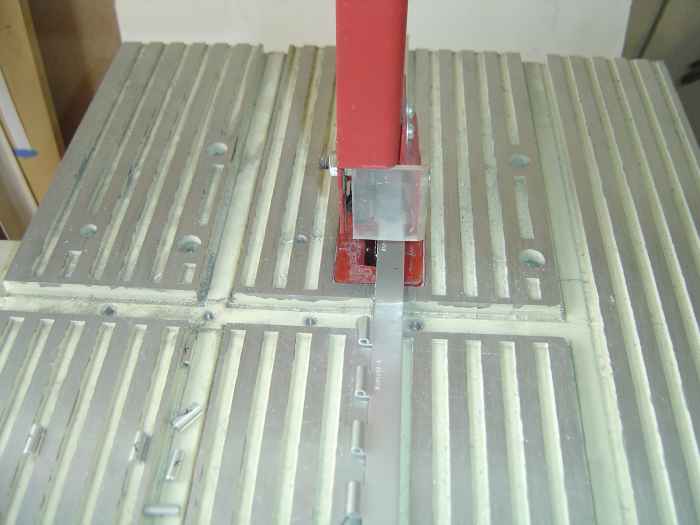
I cut all the hinge material to length, deburred the edges, and
rounded the corners. The center 2 eye-lets on the seat bottom
hinge halves get removed to allow for the hinge pins to be inserted from
the center. A single eye-let gets removed from the seat back
hinge.
Here I am using the band saw to remove the center eye-lets. |
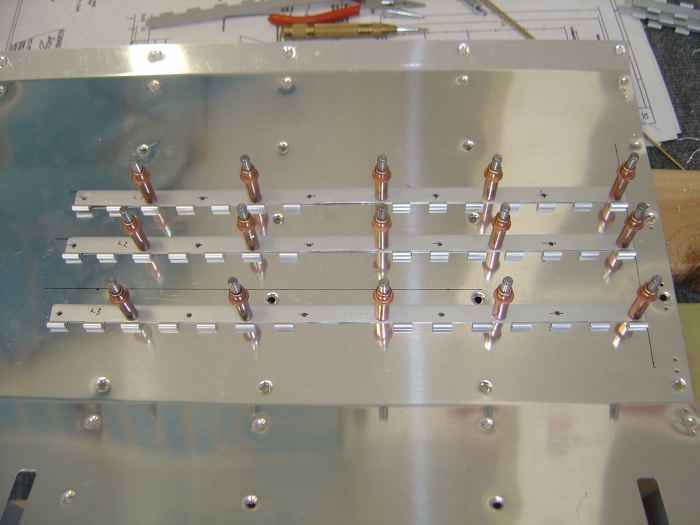 |
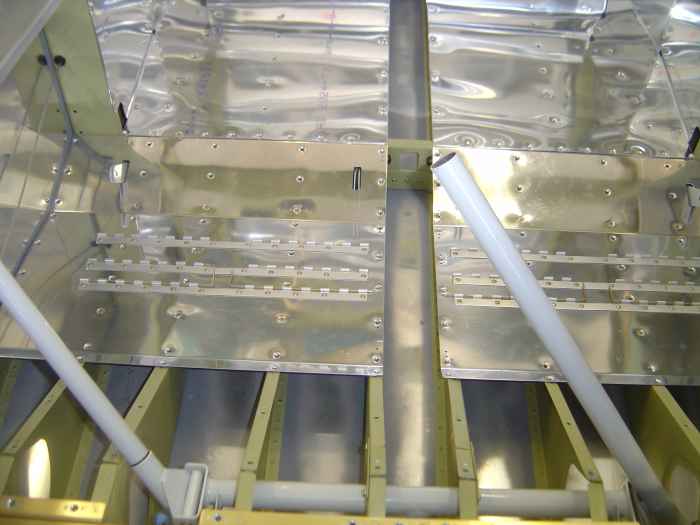
Drilled and cleco'd the hinge halves to
the seat bottoms. I had to space the back most hinge half slightly
farther aft to allow access to the seat bottom recessed attach screws.
In the normal setup, the seat bottoms are riveted in place and this
hinge would just cover those rivets.
Next this was taken apart, deburred, and then riveted with the
pneumatic gun. |
 |
Here are the seat bottoms temporarily installed. |
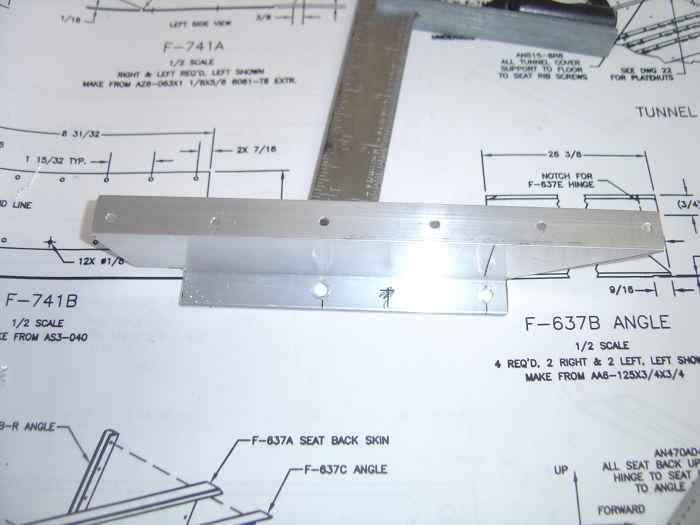 |
Began work on the center tunnel by
fabricating these brackets out of z-channel. ( only one bracket is
shown, but a left and right get fabricated) |
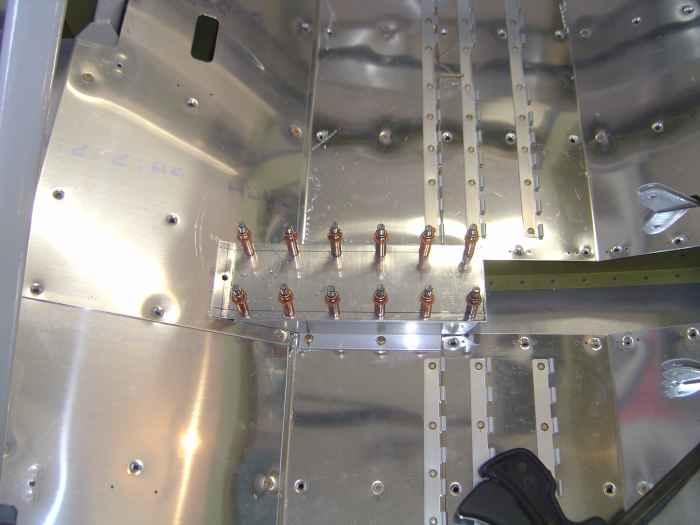 |
Center tunnel getting drilled and cleco'd
into place. |
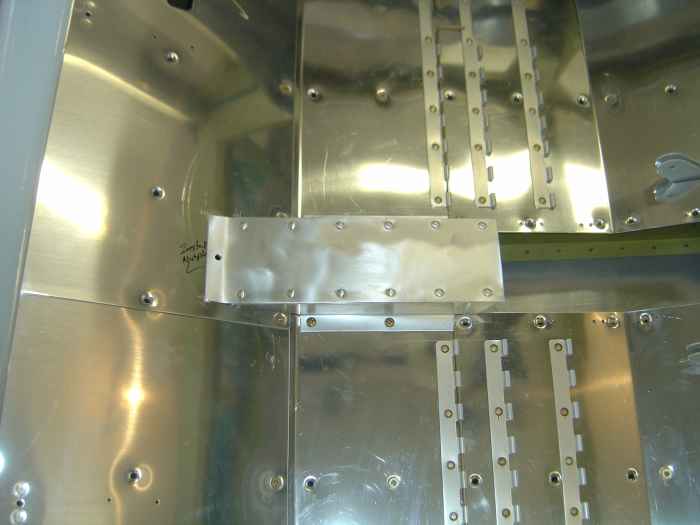 |
After taking the center tunnel apart and
deburring all the newly drilled holes, the assembly was riveted together
and temporarily installed. It gets screwed down to the seat skins
and ribs where I had previously installed nut-plates. |
 |
Time to rivet those aft skins on.
Vans recommends keeping the aft top skins off for now. This
provides the builder with better access for installing pushrods, wiring,
and what-not. However, since the riveting of these skins is a two
person job, I was not about to turn down the chance to rivet them on
when a friend offered his riveting services.
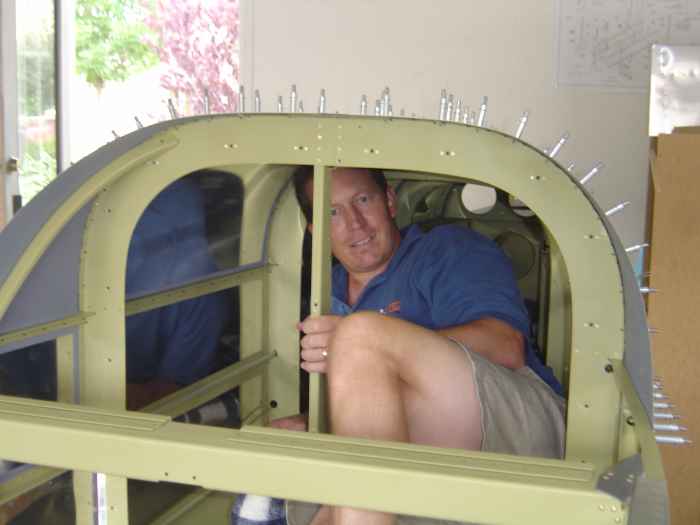
Here I am climbing into the aft fuselage where I stayed for about 2
hours bucking rivets. Once inside and laying on my back, all the
rivets were very accessible. I layed a couple 2x4s down along the
bulkheads and piled some blankets on top of that. That provided a
nice soft bed to lay on, and also protected the bottom skins from any
accidental drops of the bucking bar. |
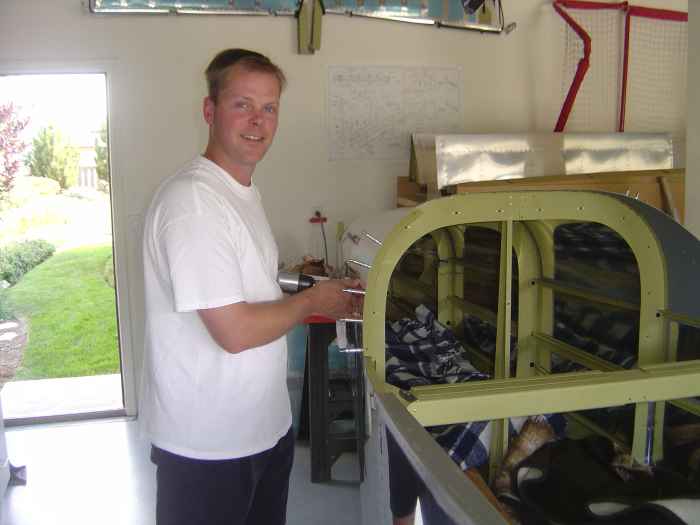 |
Here is my friend Dan who came over to
shoot the rivets. Yes, this is a posed picture. Notice I am
not inside holding the bucking bar! |
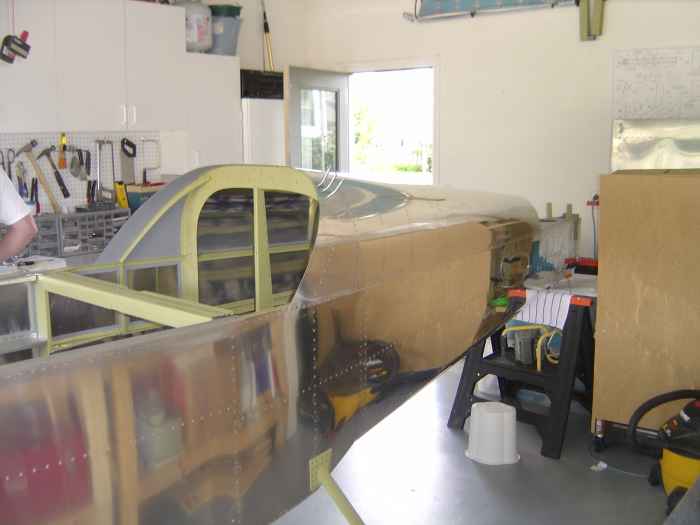 |
Here is the aft fuselage with the top
skins riveted into place. I still need to rivet the small curved
skin stiffeners that sit right in front of the F-706 bulkhead. |


