 |
August 25 -
27, 2006:
(7.0 hrs.)
Began construction of the seat backs today. This mainly
consisted of cutting a bunch of aluminum angle to length, tapering a
couple ends, and rounding some corners. Nothing really exciting to
show.
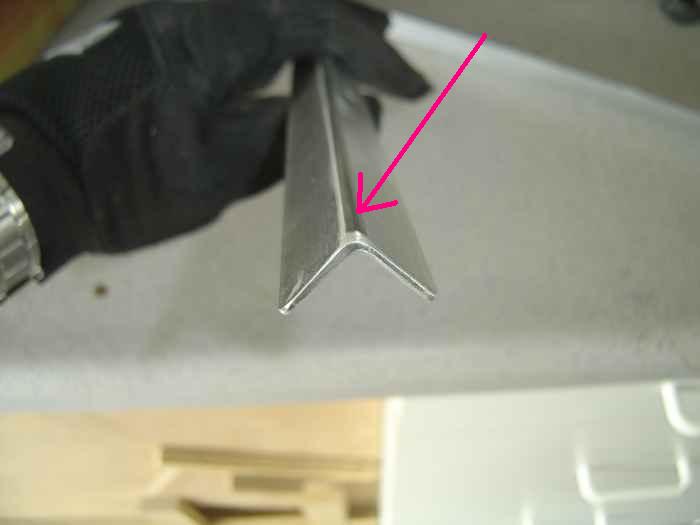
The aluminum angle sections that nestle under the top of the seat
backs require the corner to be radiused to fit the bend in the seat
backs. This required quite a bit of work on the Scotchbrite wheel
on the bench-top grinder. |
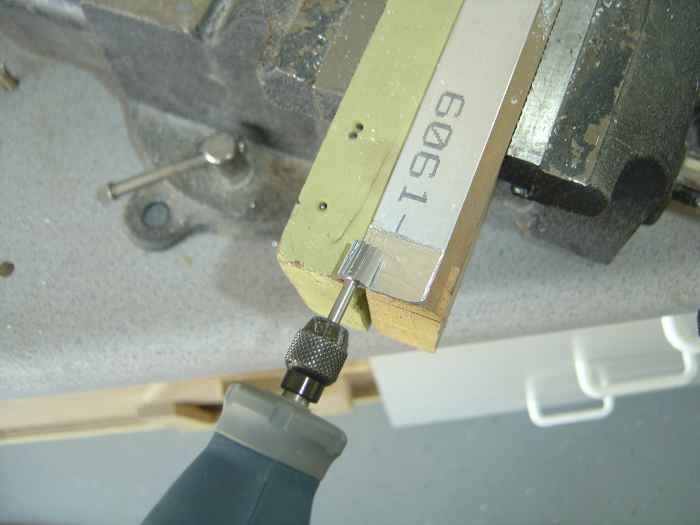 |
The reinforcement angles that run
vertically along the seat sides require that some material at the bottom
edge be removed to allow it to rest flush on the hinge that connects the
back to the seat bottom. Sorry, I don't have a picture detailing
how this goes together.
Here I am using a cutter in my dremel tool to remove material were
the hinge needs to rest. |
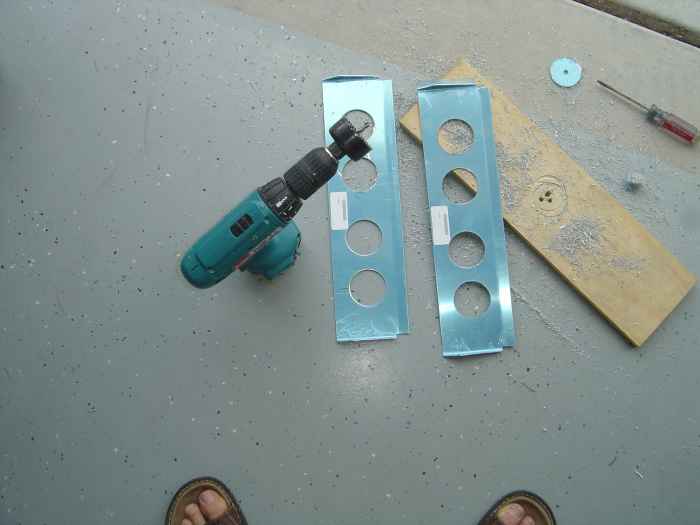 |
Trimmed the top of the seat backs and cut
lightening holes using a standard hole saw in my cordless drill. |
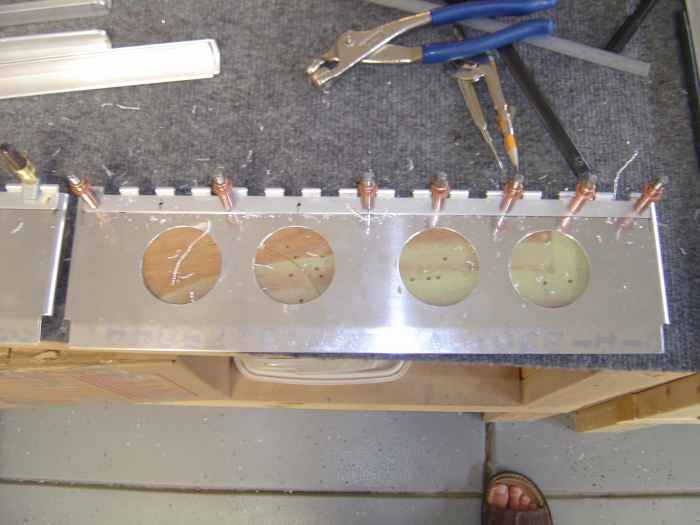 |
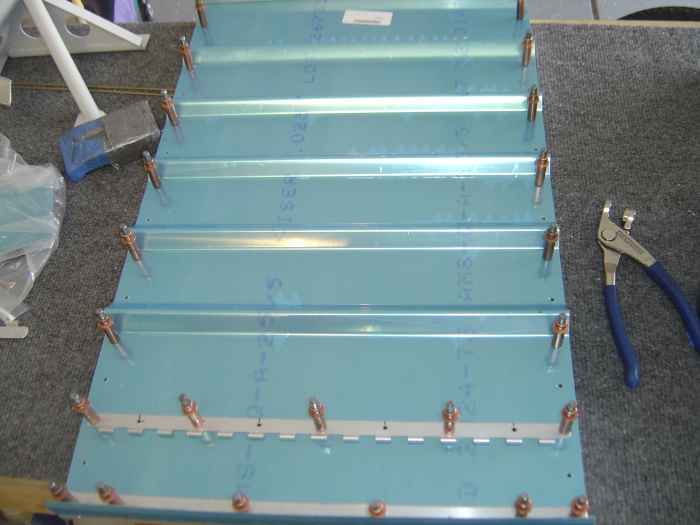
Drilled and cleco'd the hinge material to
the seat back tops. Next, I deburred all the edges and rivet
holes. |
 |
The seat backs do not come pre-punched.
I measured, marked, and drilled out all the required rivet holes on the
seat back skins. I then used these holes to match drill the
reinforcement angles and hinges into place. |
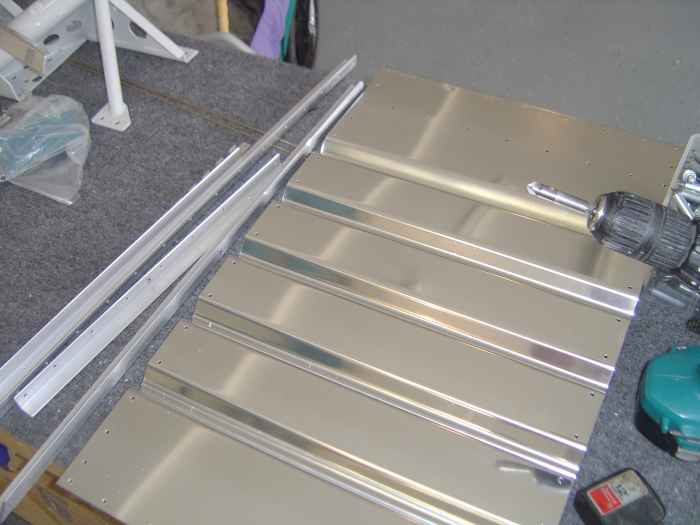 |
Next, everything was disassembled and
deburred |
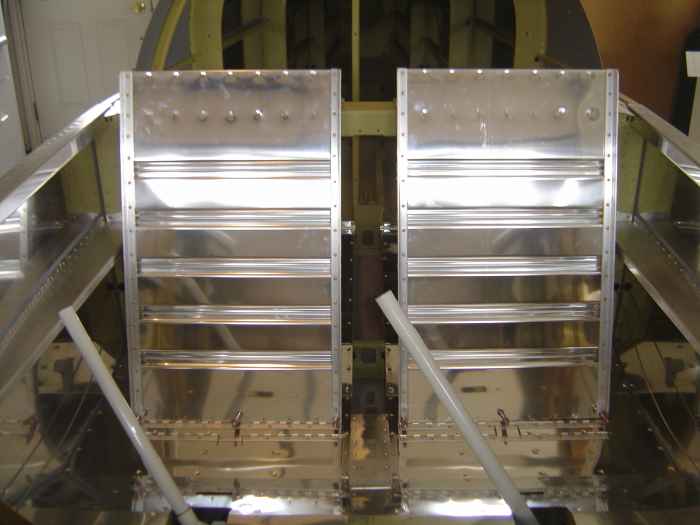 |
I set most of the rivets for the seat
backs using the hand squeezer. The pneumatic gun was used on a few
that the hand squeezer could not reach.
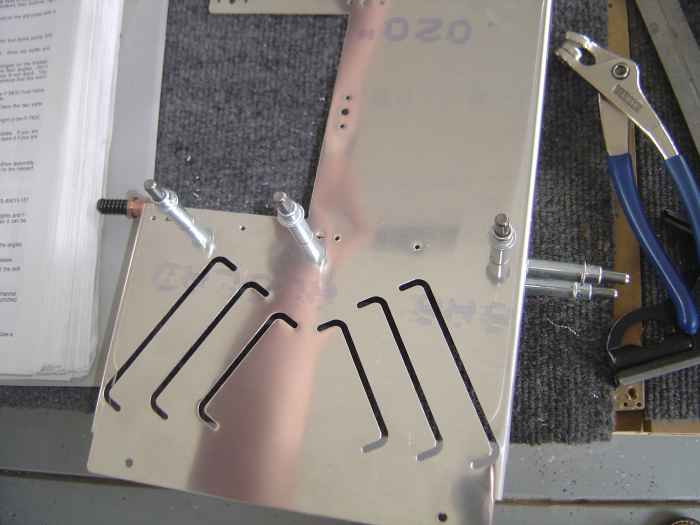
I had to hold off on riveting the bottom hinge materials to the seat
halves when I realized that I had not cut them correctly to length
Well, the length was correct (15.5"), but need to be cut so they start
with an eyelet and end with an open-space. There is a right and
left. I had to order some more hinge material. |
 |
Moved on to the forward section covers.
I riveted the heat muff into place and installed some nut-plates on the
forward tunnel cover. |
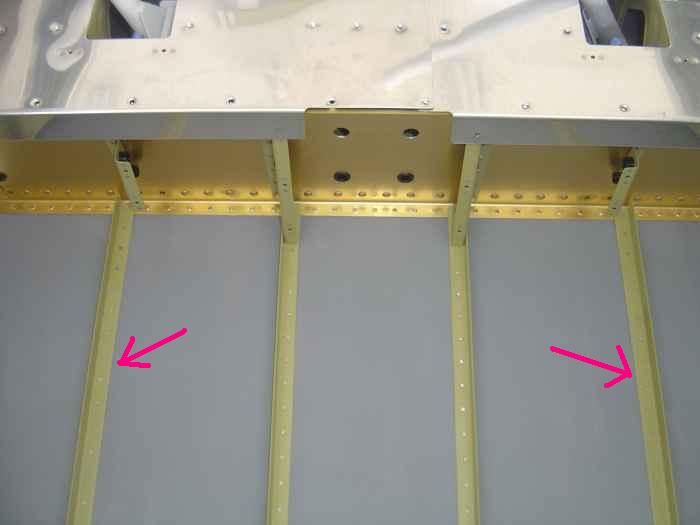 |
I was feeling real good about my progress
until I realized that I had a couple of the forward floor stiffeners
installed backwards. The two stiffeners shown in the picture need
to have their flange facing inboard and not outboard. This is not a huge
issue, however, I probably will be installing some fabricated carpet
panels for my RV and their would be a fit issue here. I will have
to drill these rivets out and install these the correct way. Good
thing my father-in-law Max will be coming to town. He can help
with the riveting. |


