 |
November
25-26, 2006:
(4.0 hrs.) I was hoping to get a lot done on
the plane over the Thanksgiving holiday, but that got nixed when Kristy
found out I would be traveling for work the next 3 weeks. I had to
put in some good family time.
I did manage to find a few hours to get the
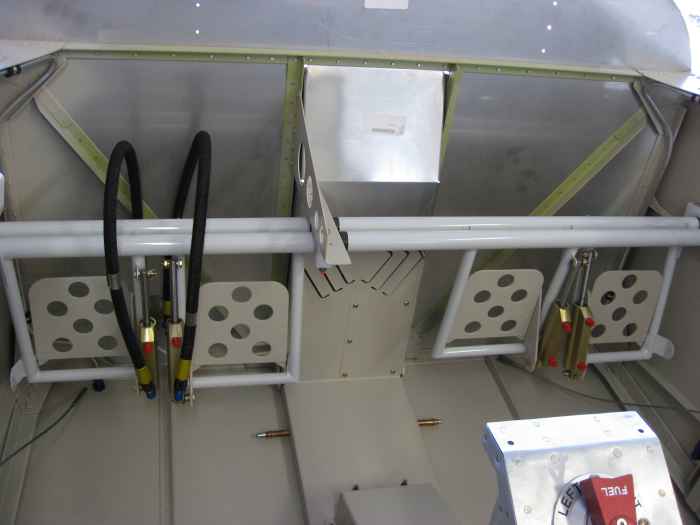
brake and rudder pedals installed.
Here I have installed the brake pedals in the
rudder pedal assembly, attached the entire assembly to the fuselage, and
hooked up the brake lines to the pilot brakes master cylinders. |
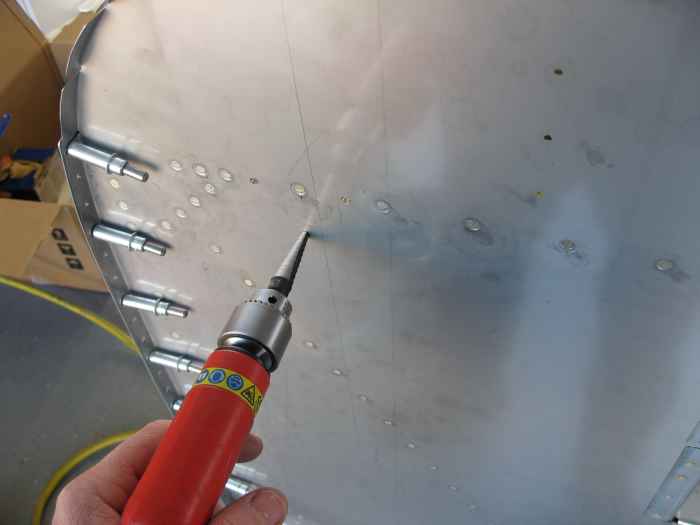 |
Next, I needed to get the brake reservoir
mounted so I could run the rest of the brake lines. I used the
call out on the firewall plans for where the reservoir mounts.
Hopefully, this will not interfere with any of my engine specific
mounting needs. Anyway, I measured and marked the holes.
There are two holes that get drilled through the firewall and the top
stiffener for AN3 attachment bolts. There is a 1/2" hole that
needs to be drilled where the reservoir will attach to a nylon fitting
in the cabin. I used a step drill to make this hole. |
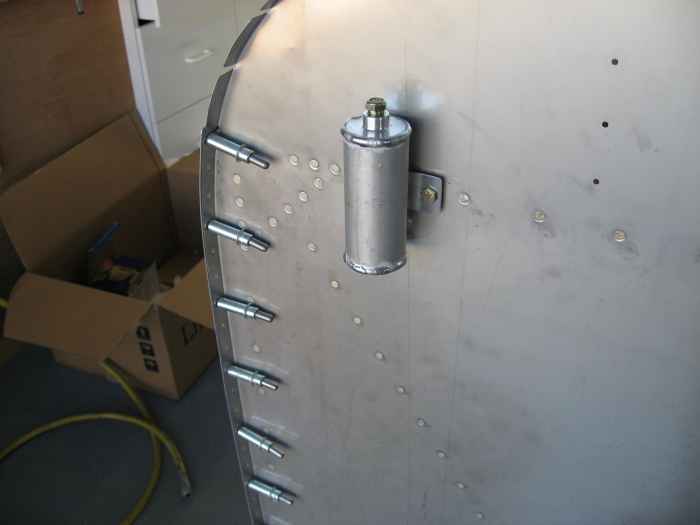 |
Here is the reservoir mounted. It is
the first thing I have attached to the front side of the firewall! |
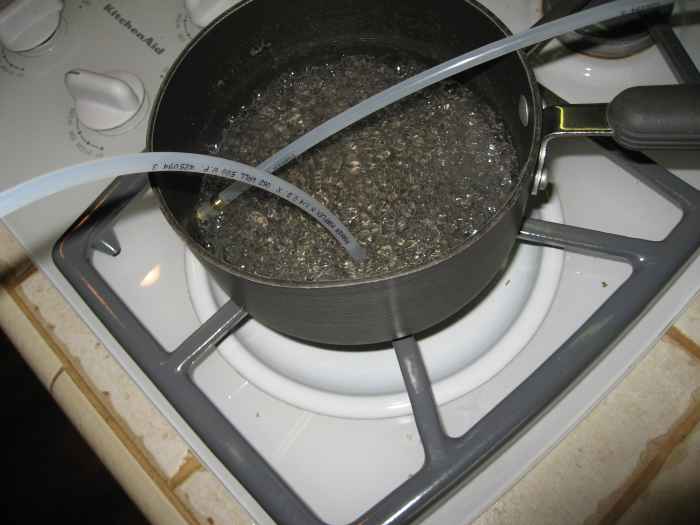 |
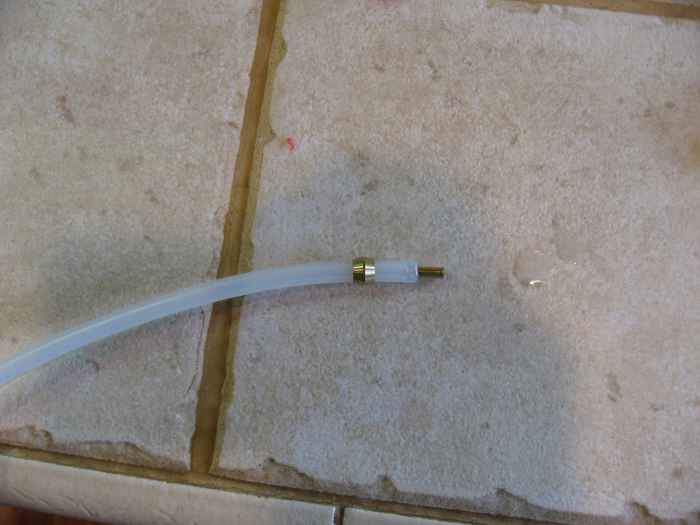
The lines for the copilots brakes and up
to the reservoir are a nylon high pressure line. These are stiff
lines that require a brass nipple and sleeve installed on the ends so
that they can be used with compression fittings. To help get the
brass nipple and sleeve installed, I softened the ends of the lines by
placing them in boiling water. |
 |
With the compression nut and sleeve on the
line, the brass nipple is inserted into the tubing about 5/32". |
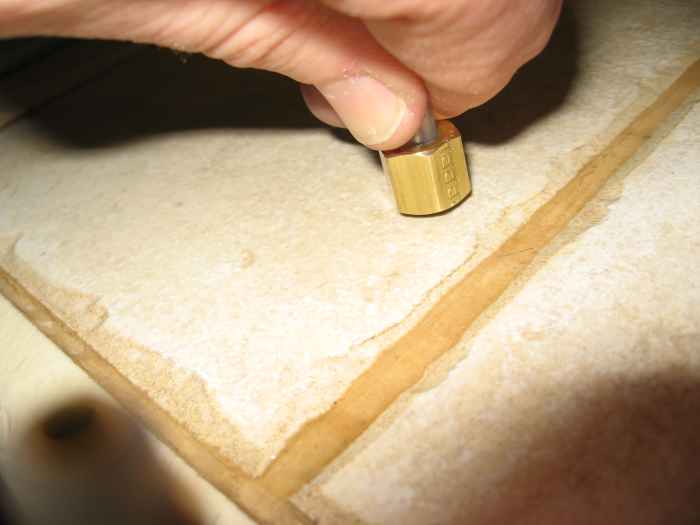 |
Next, I slid the compression nut and
sleeve down on the nipple end of the tube and applied pressure on the
nut, forcing the nipple the remainder of the way into the tubing and the
sleeve at the same time. Worked like a charm. |
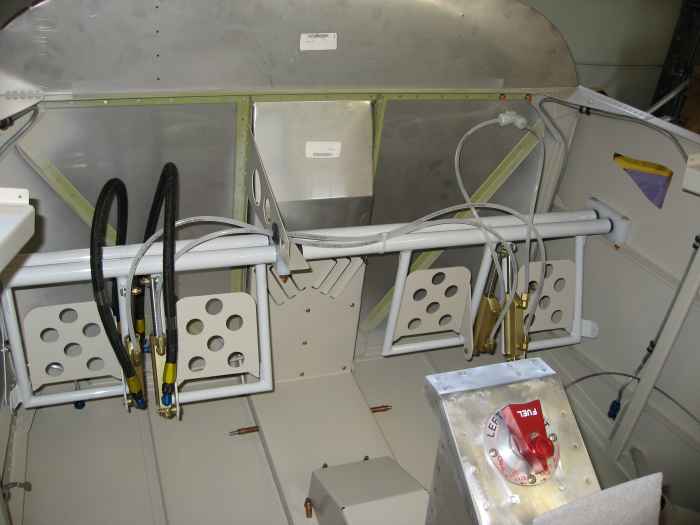 |
I ran the high pressure nylon lines from
the pilot brakes to the co-pilot brakes and up to the reservoir.
Done deal |
 |
December 2, 2006:
(1.0 hrs.) Decided it was about the right time
to get the Naca vents installed. Some people ProSeal these
on, others rivet them. I decided to ProSeal them and also use a
couple rivets to pull the skins snug to the vents while the ProSeal
sets.
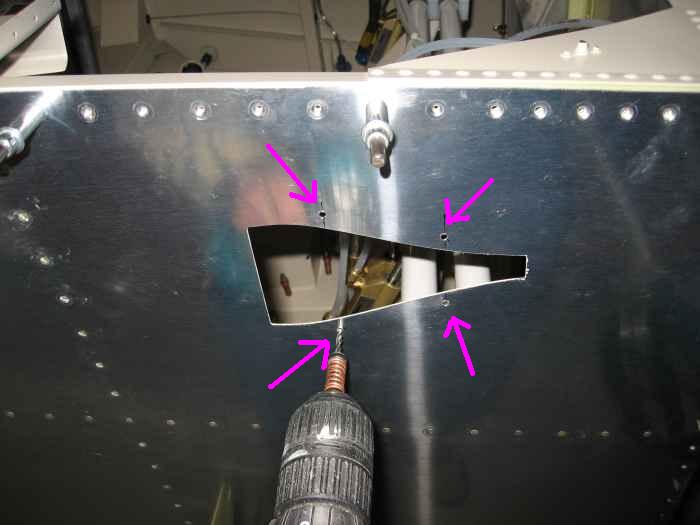
I measured and drilled four holes for keeper
rivets on both side skins. With these holes drilled and deburred,
I held the Naca vents in place and matched drilled them using the newly
drilled holes in the skins. The Naca vents were then machine
countersunk to accept the skin dimples. |
 |
The holes in the skins needed to be
dimpled for flush set blind rivets, but my hand squeezer would not reach
the holes. I figured I could use the dimple dies with a c-clamp
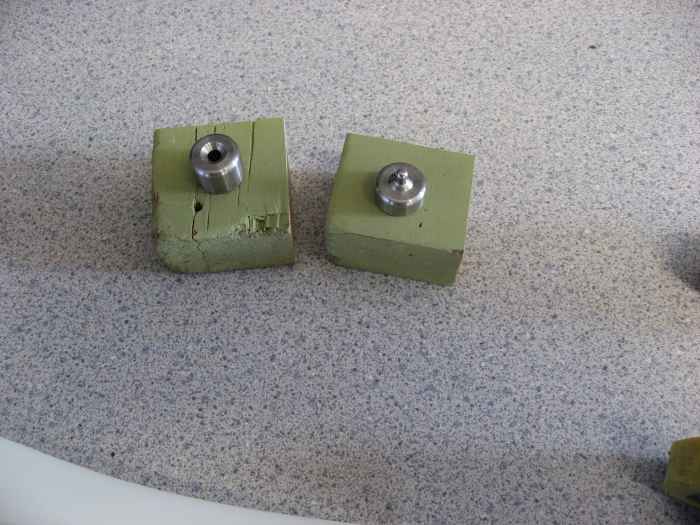
for this. I drilled a couple holes in some scrap hardwood to
accept the dies. |
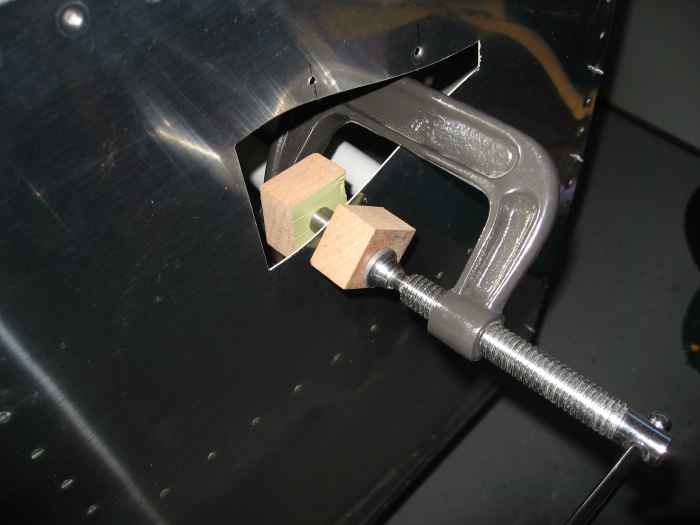 |
Here I am using the c-clamp and the dimple
dies seated in hardwood to dimple the vent keeper rivet holes. |
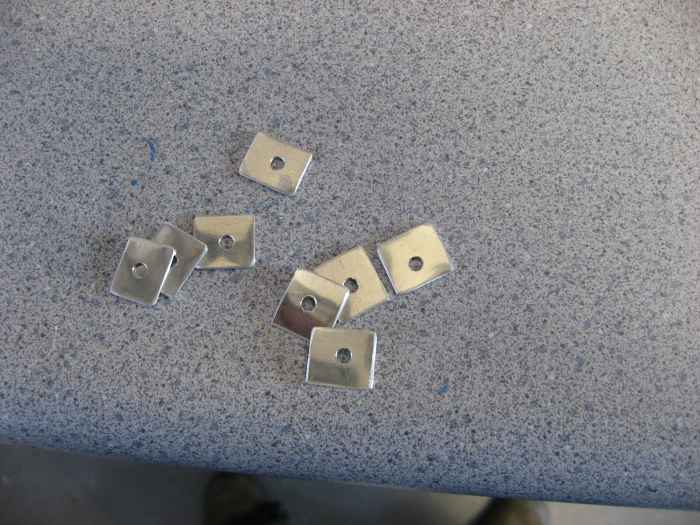 |
Because the Naca vents are plastic, I was
worried about the rivets cracking the vents when they were set. I
fabricated some simple aluminum backing plates that the blind rivets
would grab a hold of. |
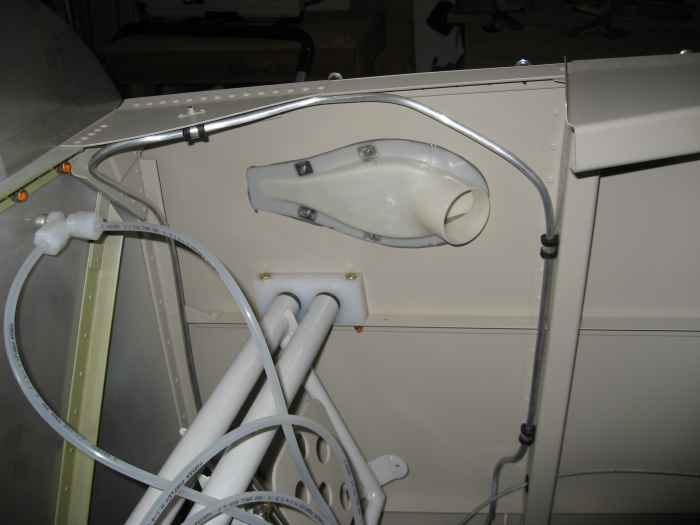 |
I mixed up some ProSeal (brought back
memories of building the tanks), iced the vent edges, and riveted them
into place.
Here you can see the vents in place. These will get some scat
tube attached and run to vents mounted on the panel. |
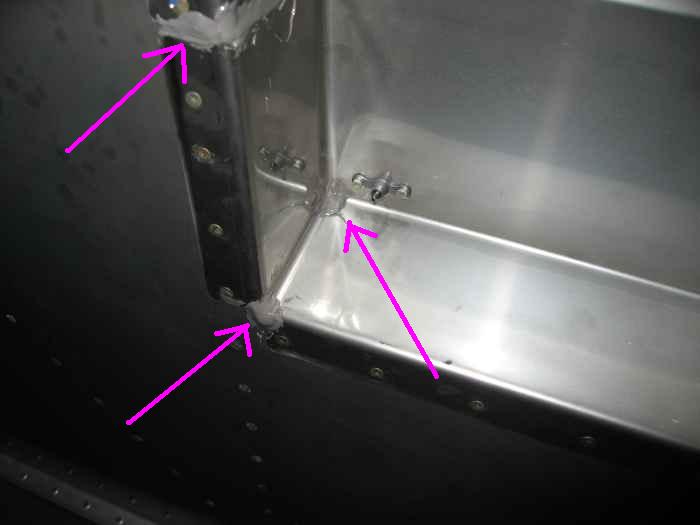 |
I used the left over ProSeal to seal up
some of the openings on the firewall recess. |


