 |
July 4 - 9, 2006:
(10 hrs.)
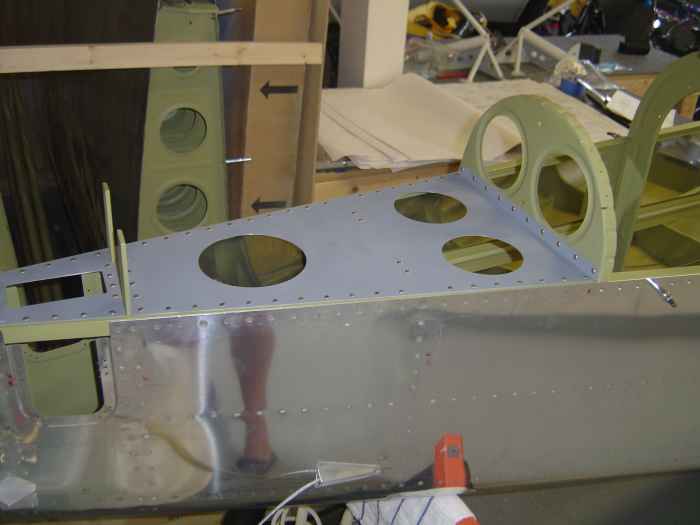
Checked everything for level one more time and then riveted the aft
deck into place. I also riveted the semi-circle bulkhead (F-710 ?)
into place. The direction say to slide this into place after the
top skins are on, but it seems easier to do it now. |
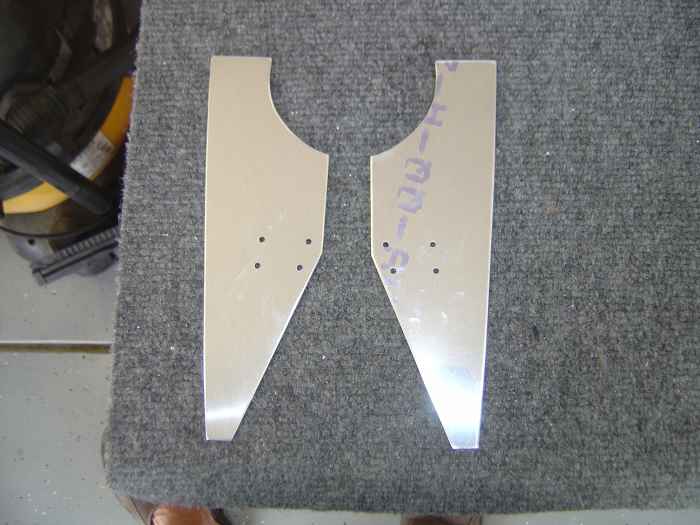 |
Fabricated the F-705 gussets. For
the sliding canopy, that amounts to creating the radius on one end. |
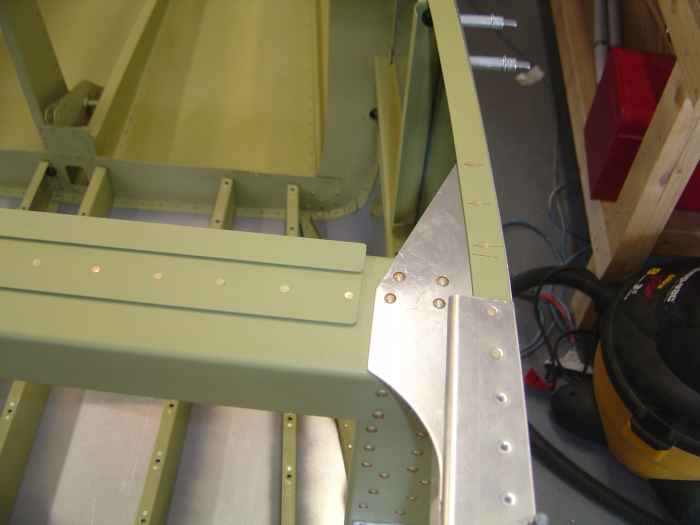 |
These gussets slide into a slots on the
center canopy deck that were cut some time back. After match
drilling the gussets to the F-705 and longerons, I deburred everything
and set the rivets. |
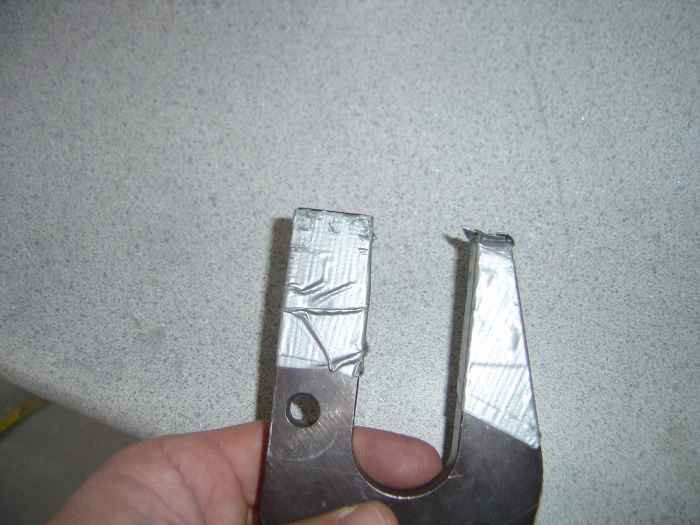 |
To set the rivets in the center canopy
deck, I needed a thin bucking bar to reach underneath the decks rolled
bottom. My 'c' yoke from the hand squeezer made a good bucking
bar. Just add a little duct tape to keep from scratching things up
and you are good to go. |
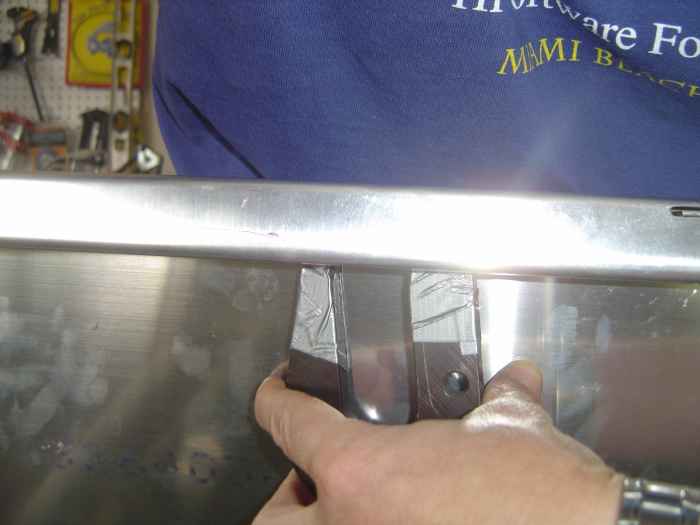 |
Here is the bucking bar being held into
place under the canopy deck. |
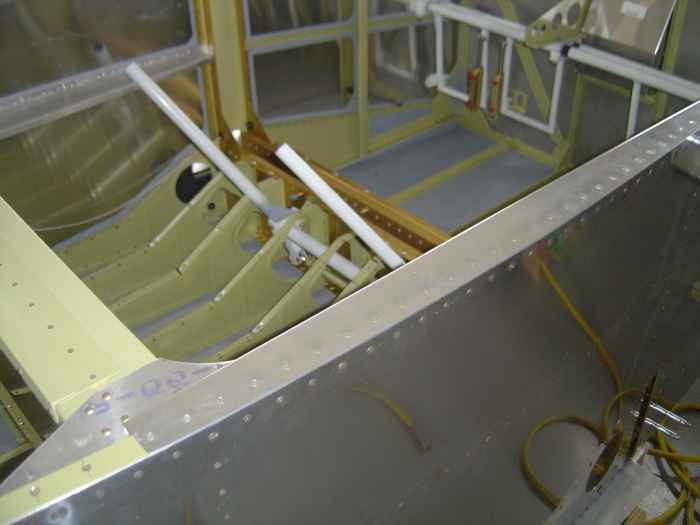 |
Canopy decks all riveted |
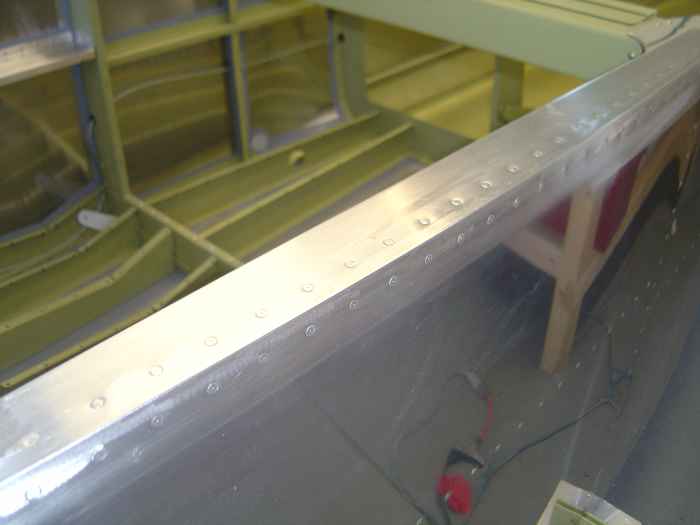 |
After the decks were attached, I used a
file followed by a Scotchbrite wheel on my die grinder to bring the
decks outer edge completely even with the side skins. Note that I
have not primed the decks (or arm rests). I have decided to not
prime any parts that will be receiving interior paint until I determine
what kind of finish paint I will be using. I have heard that the
AKZO primer is not the greatest to put a finished coat over, and
many people end up sanding it down. I would like to avoid that
additional work. |
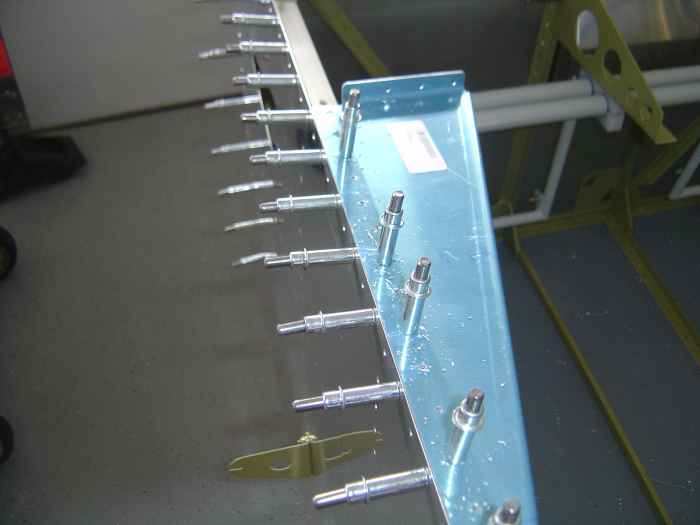 |
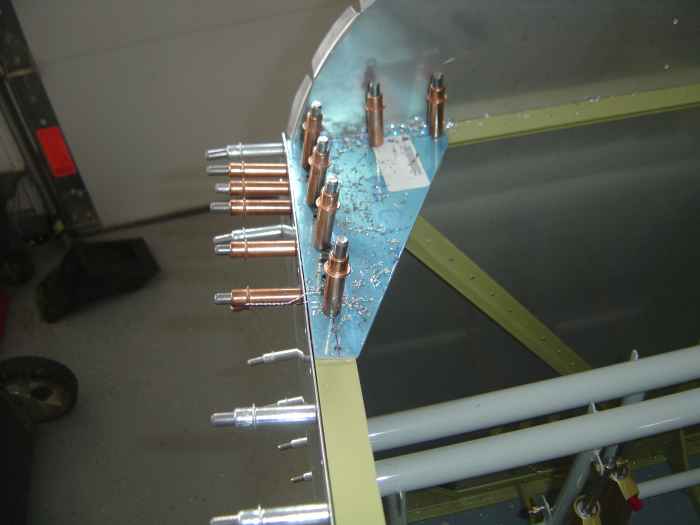
Next I match drilled the forward canopy
decks |
 |
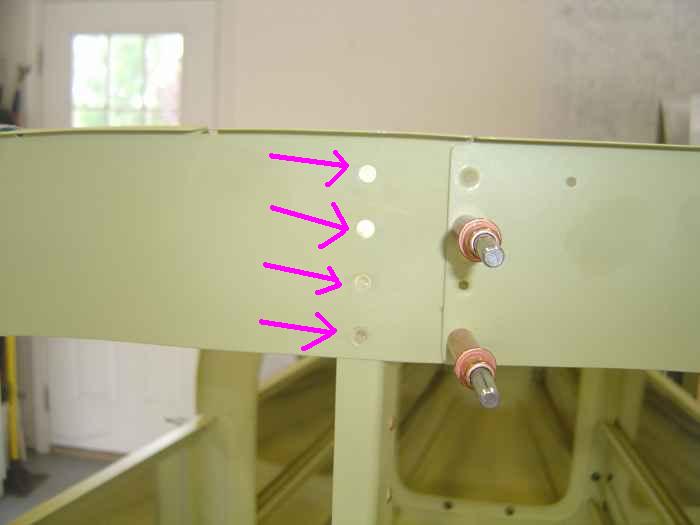
And the forward upper firewall gussets |
 |
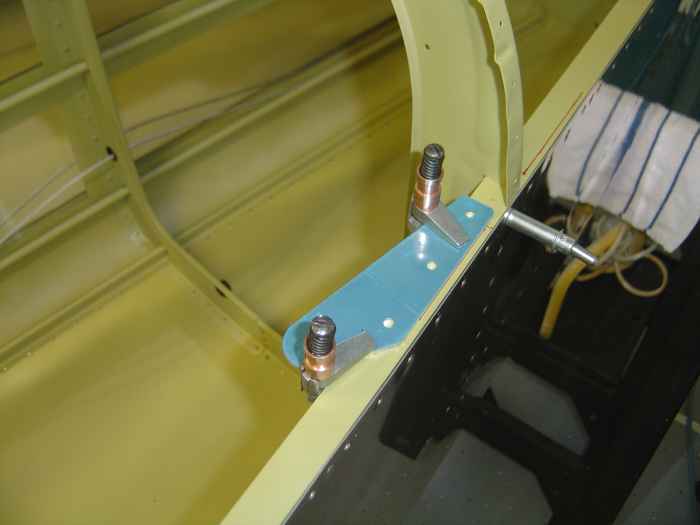
Used my hand squeezers and c-shaped yoke
to set these flush rivets in the F-706 and elevator bell-crank rib. |
 |
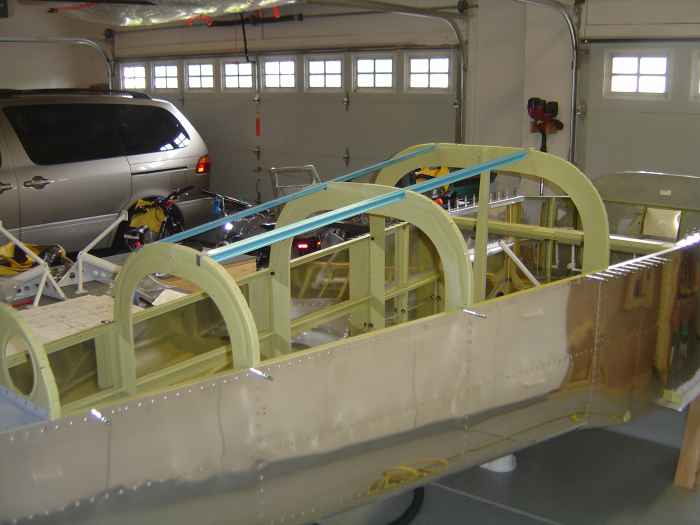
Next I fitted and match drilled the seat
belt shoulder harness attach point. Just clamped them to the
longerons and match drilled the holes. |
 |
I had previously cut the J channels for
the fuselage tops, so all I had to do was place them into position.
I used a little duct tape to hold them in place until they are match
drilled. A center line was drawn down the length of each J channel
which will be used for aligning the center of the channel thru the top
skin pre-punched holes. |
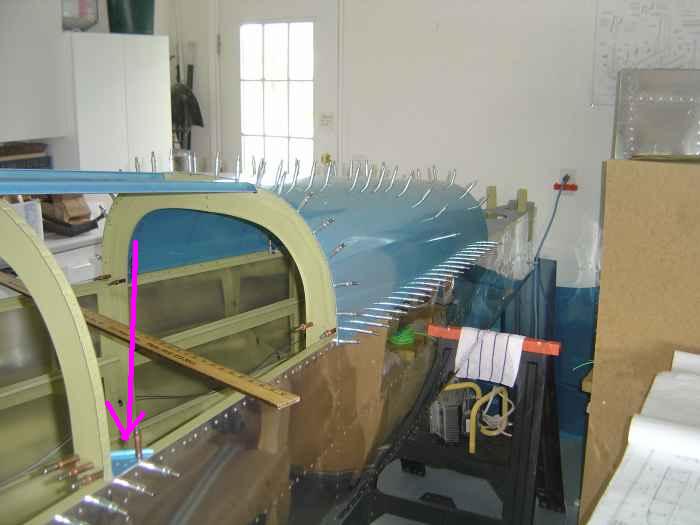 |
After clamping into place and drilling the
F-706 and F-707 bulkhead gussets into place, I cleco'd on the aft top
skin.
Arrow in picture is showing on of the F-706 bulkhead gussets |
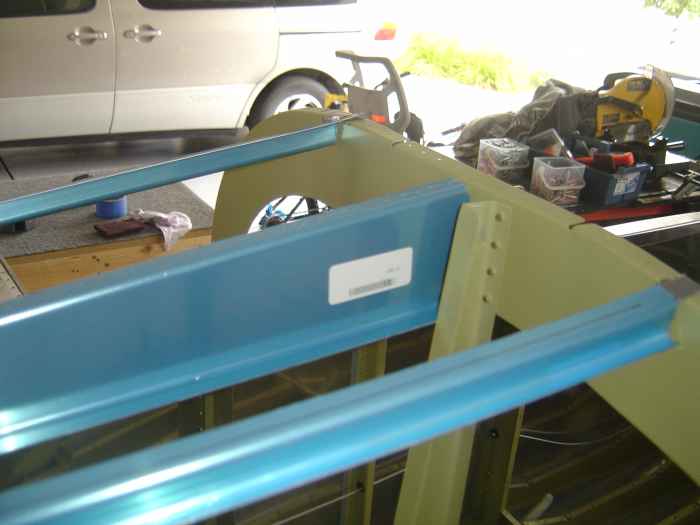 |
I don't remember the part number, but I
installed this top center rib. It gets cleco'd to the F-706 and
then the top skin. The back end of this rib gets attached to the
F-707 with a little clip which you will see in a second. |
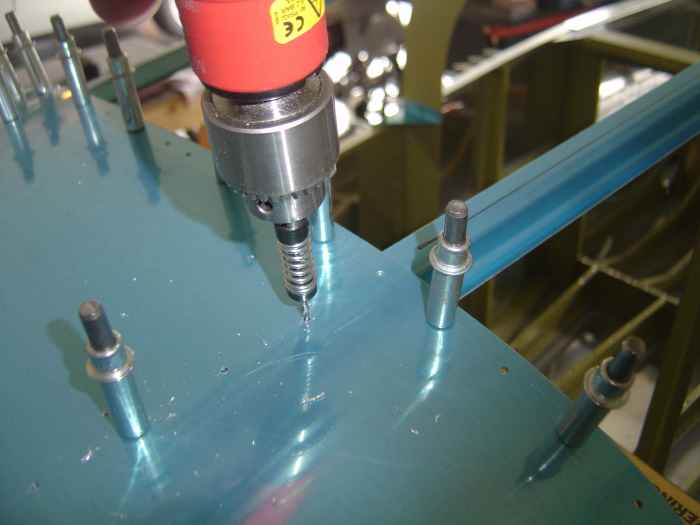 |
Drilling the aft top skins to the J
channels. |
 |
Front top skin is cleco'd into place |
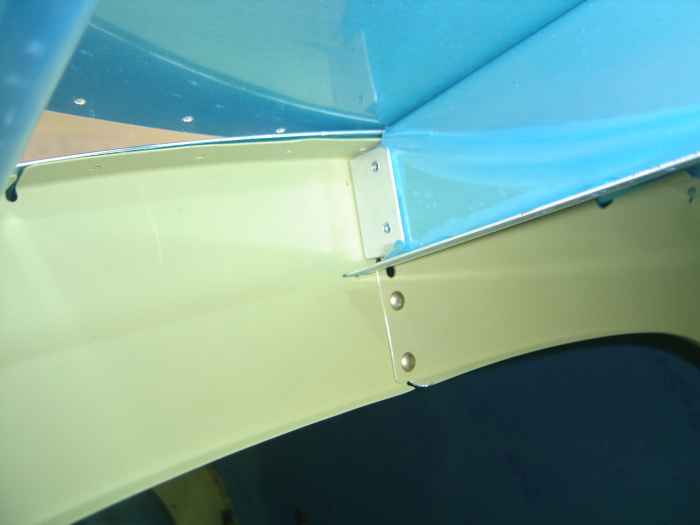 |
Here is the aft end of that rib that gets
attached to the F-707 with a little clip I fabricated out of some .032
3/4 x 3/4 aluminum angle. With the front top skin on the right
side peeled back, I used my right angle drill attachment to match
drill the holes in the clip. |
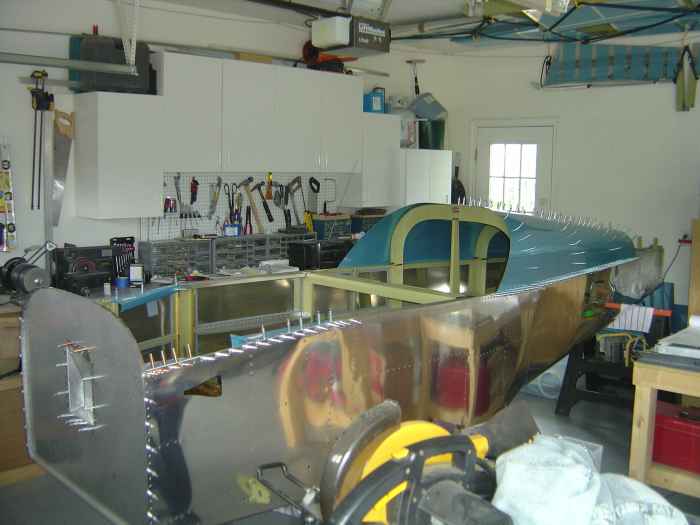 |
Next all the top skin holes were match
drilled.
Starting to look like something.... |


