The last major thing to finish up from the fuselage kit, is attaching the empennage. However, I need to move one of my cars outside to make more space for that task. That is not something I want to do this time of year, especially with all the snow we have been getting. Guess I will wait for Spring.
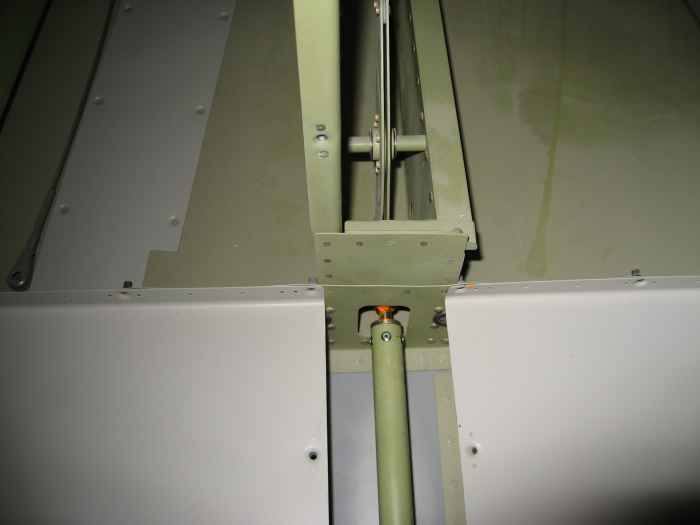
I did go ahead and build the elevator push-pull rods. There are two rods.. One that goes from the stick assembly to the elevator bell crank, and one that goes from the elevator bell crank to the elevator horns.
Here they have been cut to length, cleaned, prepped, and primed inside and out.
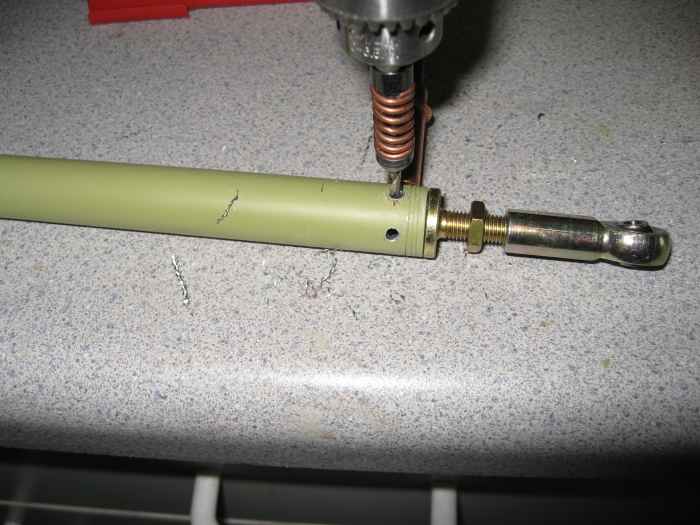
This is the smaller push-rod that runs from the stick to the bell crank.
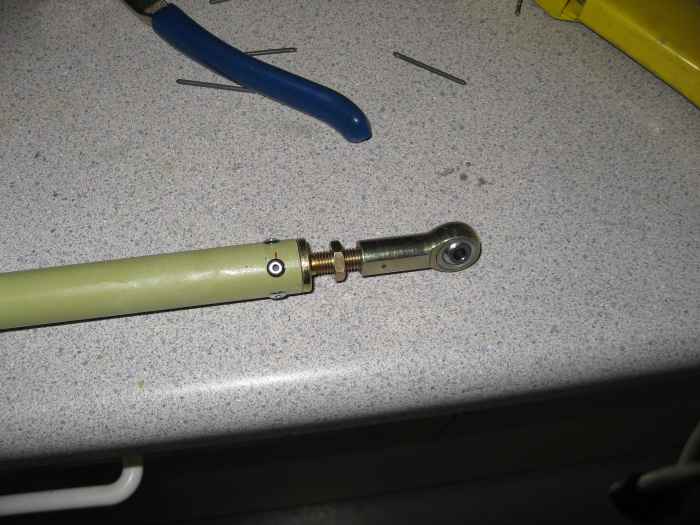
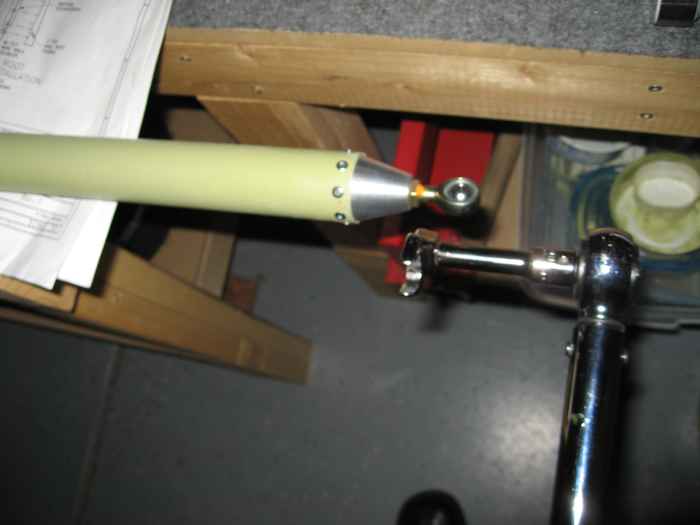
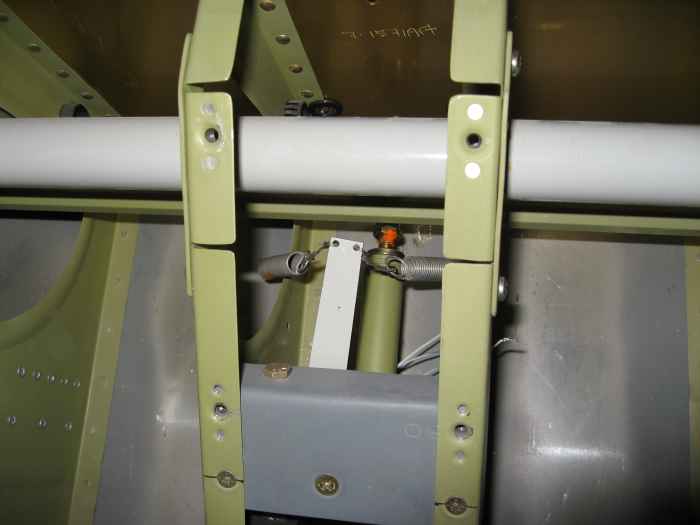
Here is where the push rod attaches to the stick. Kind of hard to see with the aileron trim assembly in the way.
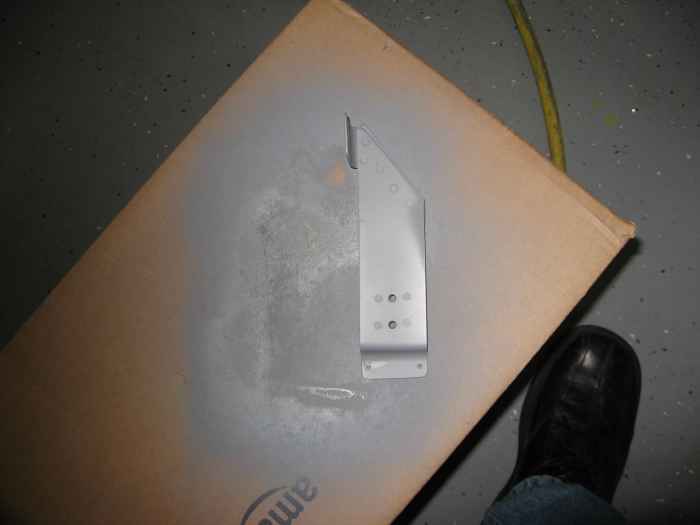
I decided to go with a parking brake in my plane, and that brought on the challenge of how to mount it. I decided it would probably work best if I could mount it in the same space on the firewall where the brake line bracket exists. I drilled out and removed the bracket and built this new custom one.. Kind of hard to see in this picture, but the bracket is designed to sit 1/2" away from the firewall.
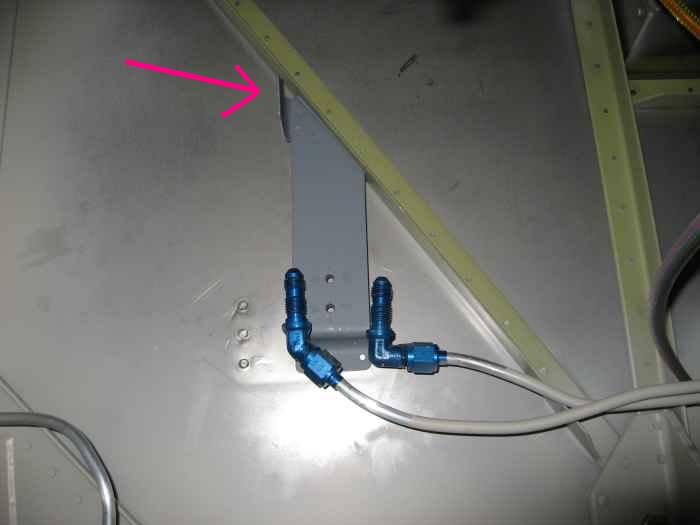
A couple of other things to point out on this bracket. At the top there (being pointed to) is a flange where I will attach an Adel clamp to hold the parking brake actuator cable. Near the bottom of the bracket are two holes with nut-plates on the back side. This is where the Matco parking break will mount. I still need to put that on and change out the AN brake line fittings that will attach to it.
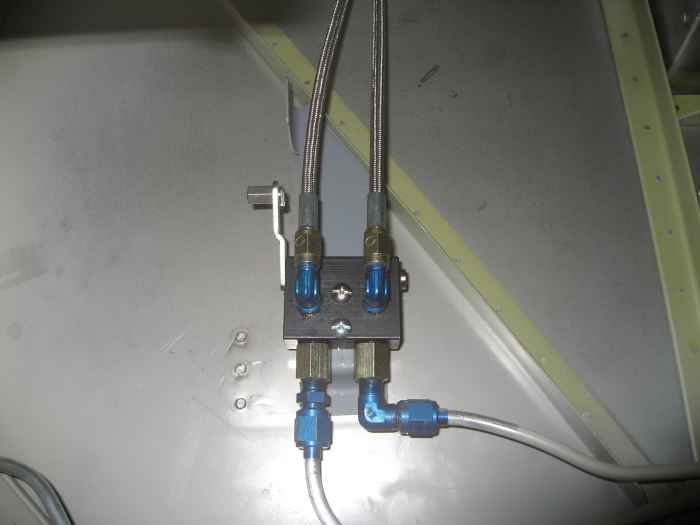
Received several hardware orders over the past week. I now had the AN fittings required to finish up the parking brake install.
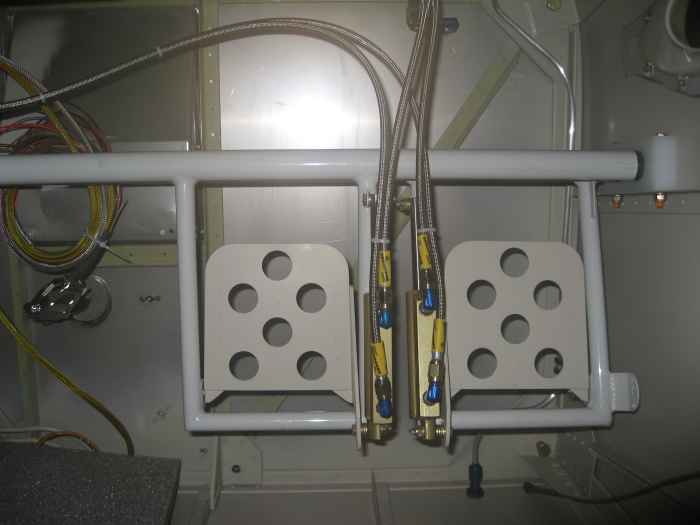
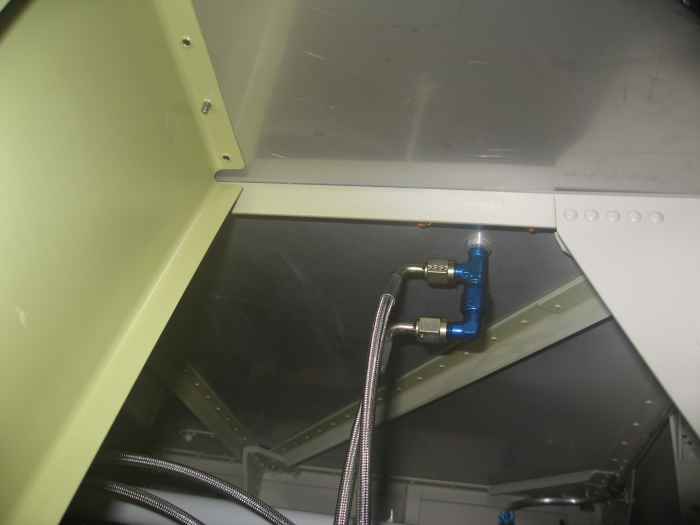
Here is the parking brake installed. I also decided to replace all the brake lines with stainless braided lines that I ordered online from a speed shot, Pegasus Racing. These lines are AN3 size, and are very light weight.
I decided to not go with the stock panel from Van's. I wanted something that would be a bit more flexible for changes to the instruments and avionics in the future, and I wanted a slightly taller panel to accommodate large glass screens. I found a great after market panel provided by Affordable Panels that is modular and 1" taller.
I received my panel order while I was away on my last business trip. I decided I would try to get the frame installed this weekend and knock another item off my never ending list of tasks.
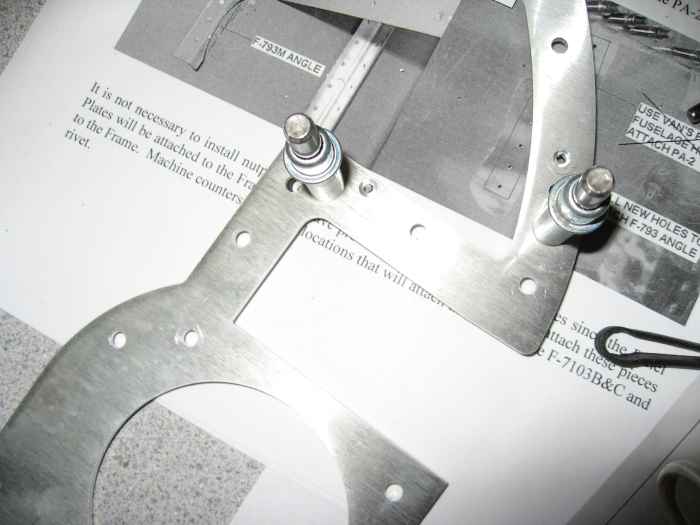
Here I am match drilling and installing nut-plates in the panel frame. These plates are used to secure the panel modules to the frame. I also, slightly modified the panel frame so it to was held into place with nut-plates to the reinforcement angles that will attach to the top deck skin. This will allow for the removal of the entire panel should I desire to do so.
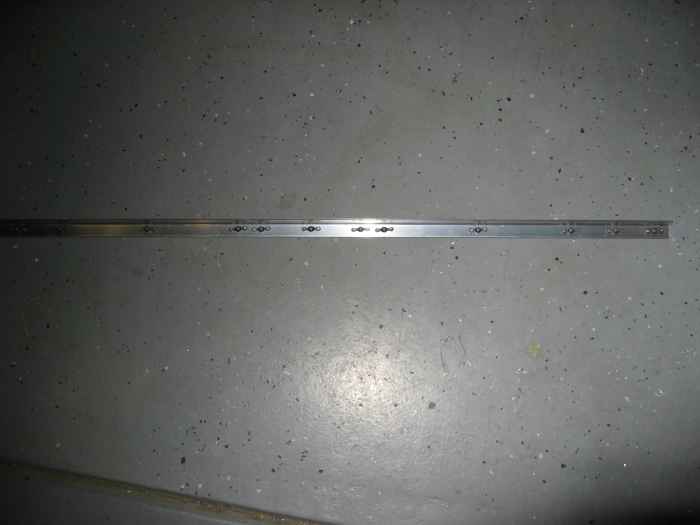
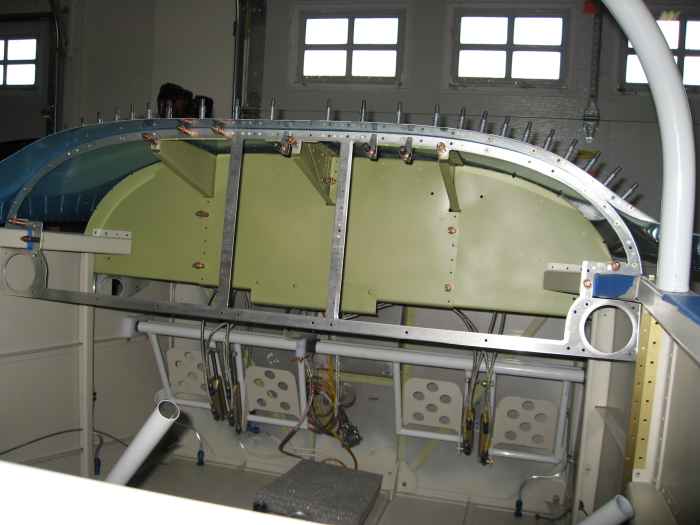
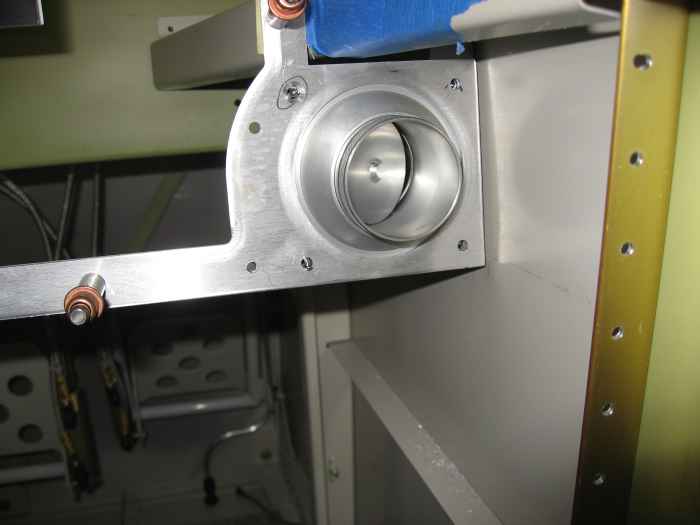
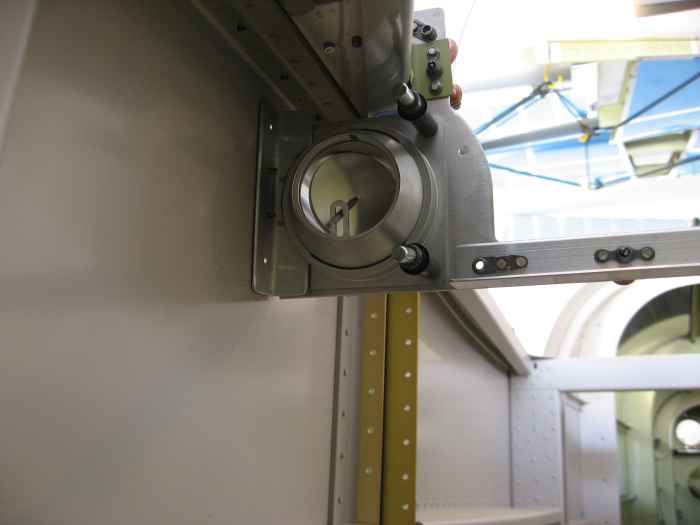
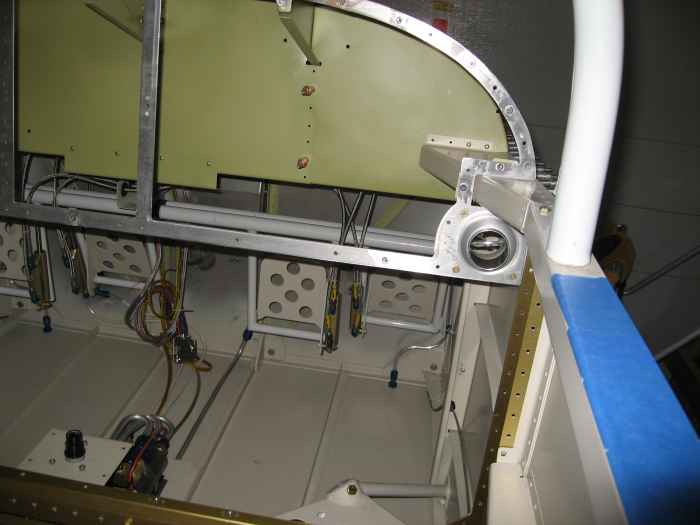
I worked a bit more on the panel. The custom air vents need to be fitted. They attach at two points, directly to the face of the panel and to the sides of the fuselage with some angle aluminum.
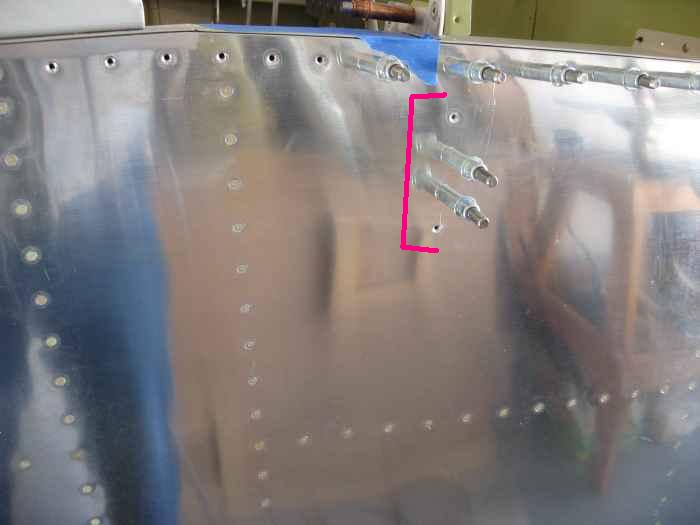
Here is a picture of the outside of the fuselage where 4 rivets are used to hold the vent angle bracket in place.
