 |
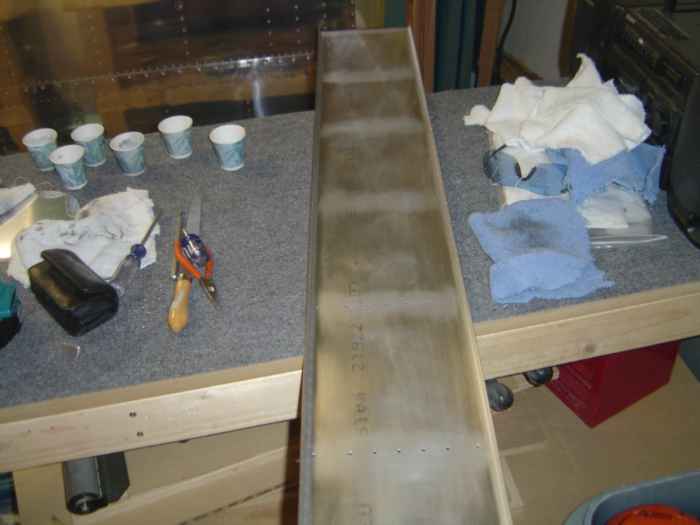
August 3, 2005: (5.0 hrs.) Time to get the left tank closed up. First, I had to take care of some last minute (more like 45 minutes) prep work. I ProSealed the terminal connection on the inboard fuel sender unit and then mounted the sender plate. Next I deburred the rear baffle (shown) and scuffed and cleaned the surfaces. |
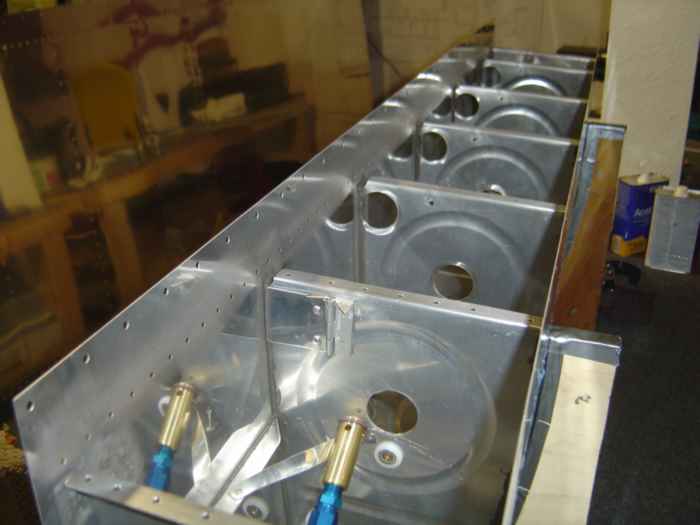 |
The aft tank rib flanges and skin where
the rear baffle mate were also scuffed with Scothbrite pads and cleaned
with MEK. OK, now everything should be ready for the tank to be closed... Wait! I need to clean the inside of the tank out (don't want any loose metal shavings in my tanks). I also need to test my fuel sender units (I forgot to do that on the right tank before I closed it). I need to mask off the tank skin, soak the necessary rivets in MEK, get the z-brackets in order and ready... So much to do. |
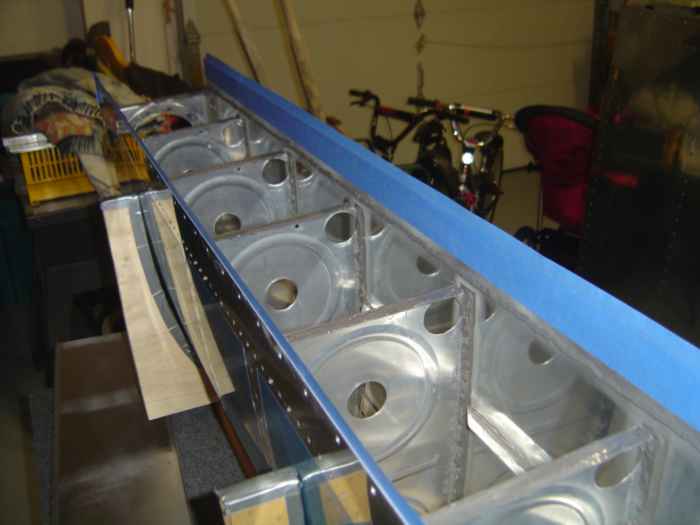 |
Got all the parts cleaned and ready to go.
Here I have masked off the tank skin just above the rear baffle to make
cleanup of the ProSeal easier. If you look closely, you will see
the bead of ProSeal along the inside of the skin. I placed about a
3/16" bead on the rivet holes and then let the baffle squeeze it down as
it get positioned. A few large gobs of ProSeal where placed in the
tank corners.
|
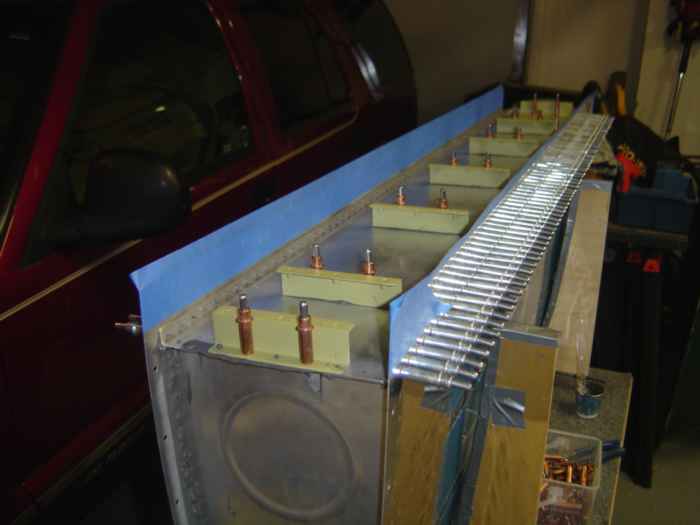 |
Baffle and z-brackets are cleco'd in place
and the race against the ProSeal clock begins. I need to get all
the rivets set quickly before the sealant becomes to thick to work with.
It really would help to have a second pair of hands at this point to
remove cleco's, insert rivets, clean surfaces, etc. Unfortunately,
I could not get any help and had to do this all by myself (again!) Anyway, I proceeded to use the hand squeezer to set all the rear baffle to tank skin rivets. Next the z-brackets were blind riveted using my pop riveter with the ground down nose (see prior postings). The z-brackets on the inboard and outboard ends take solid rivets that I set with the pneumatic rivet gun. |
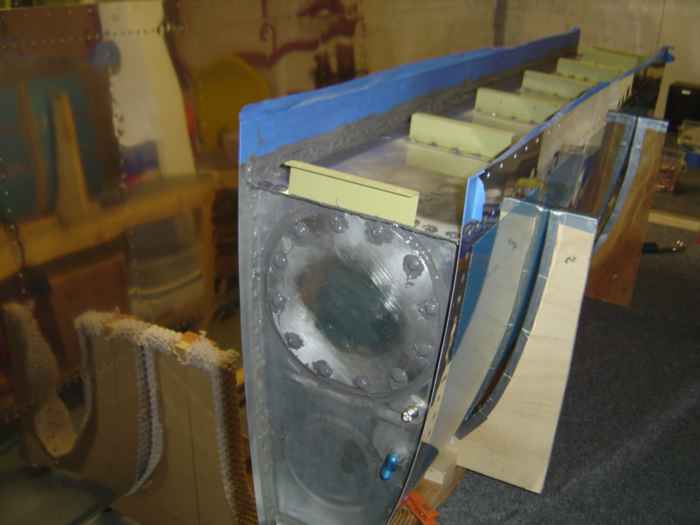 |
After all the rear baffle rivets where
set, I installed the tank access cover plate using the cork gasket and
ProSeal. When this was complete, I went back and covered all the
rivets with a dab of ProSeal for good measure. The last 40 minutes I spent doing cleanup of the tank, tools, cleco's, work shop, and me! What a mess, I am glad to have my last major ProSeal session over with. Let's just hope the tank passes the pressure test so I don't have to do this again. I will let the ProSeal cure a few days before I attempt the test. |
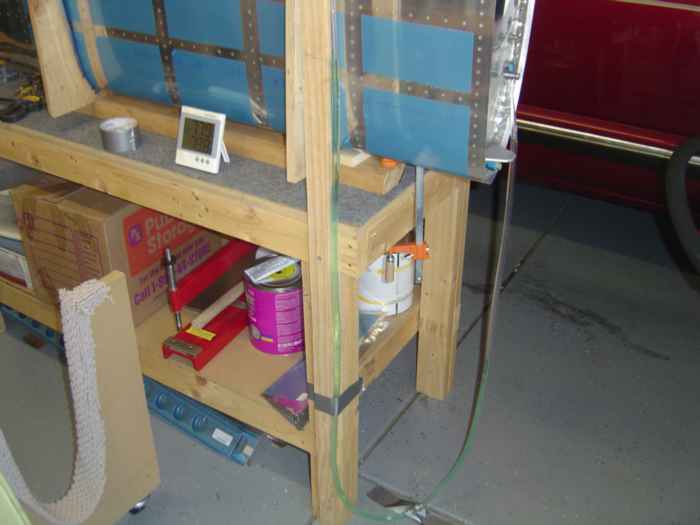 |
August 5, 2005: (0.5 hrs.) Leak test time! I pressure tested the left tank just like I did the right. I used a home made manometer attached to the vent line and pressurized the tank to 1 PSI (any more and you can rupture the tank). |
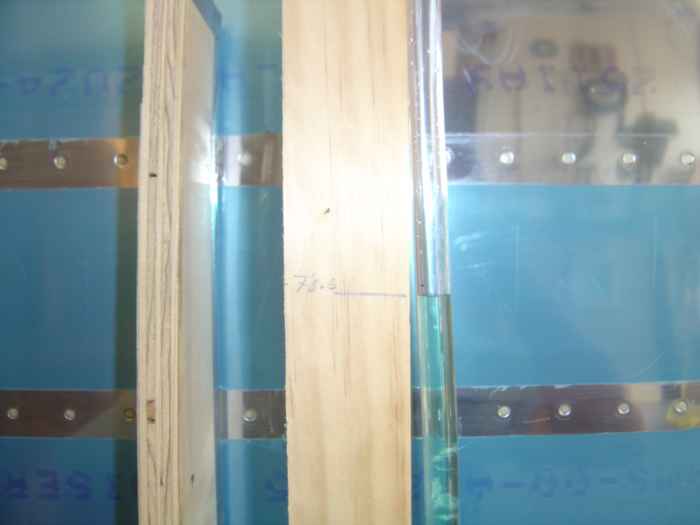 |
Hard to see in this picture, but this shows my water line mark and measured temperature of 78.6 F. The water level held steady until the next day (aside from the variants with temperature). I also used soapy water to check every rivet and sealed edge for leaks. Nothing! Yahoo |
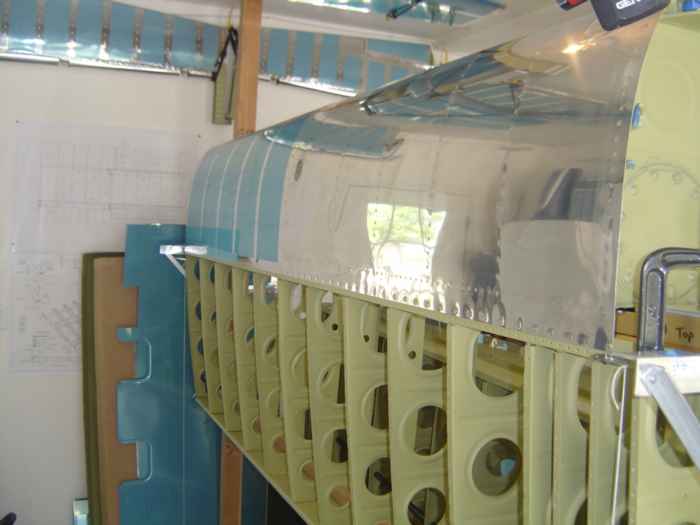 |
August 6, 2005: (1.0 hrs.) Today I addressed a few finishing touches to the left tank. I dimpled the skin to leading edge and main spare attach holes. I scuffed and cleaned the rear baffle and end ribs with a Scotchbrite pad and MEK. This was then followed by a quick shot of primer. Since it was a warm sunny day today, the primer dried fairly rapidly and I was able to fit the tank to the main spar. I quickly realized that the leading edge attachment plate still needed the nut-plates installed (click here for info). After taking care of the leading edge, I attached the left tank by installing and torqueing the tank to spare z-bracket bolts and tank skin screws. |
 |
October 5, 2008:
(4.0 hrs.) I have been putting this off for a couple years, but
today I finally complied with Vans Aircraft Service Bulletin
06-2-23.
This bulletin advises to safety wire the fuel pick line to the tank
bulkhead fitting, and involves opening up your sealed tanks!
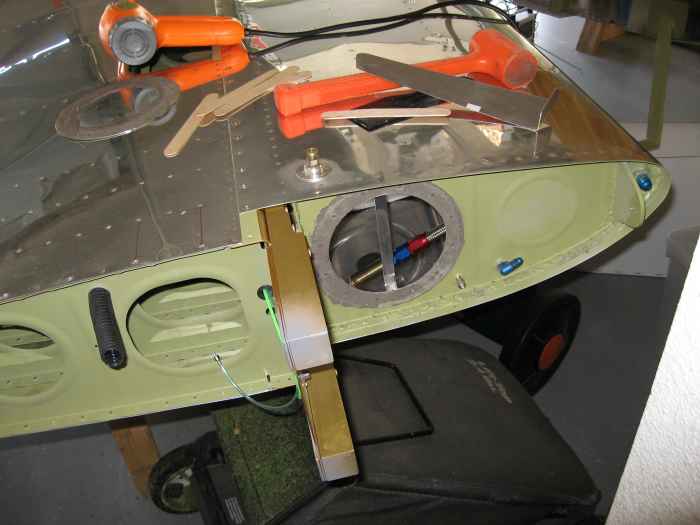
Here I have opened the left wing tank access panel. This was not as bad as I thought it would be. Using a heat gun to warm the Proseal under the access panel really helped. Warm Proseal is no match for a sharp putty knife. |
 |
Next, I just reached in with a wrench and
disconnected my flop tube.
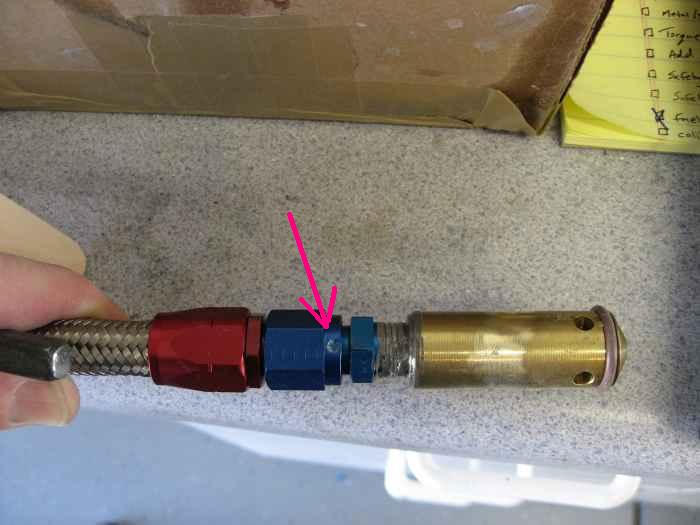
Here I have added Proseal to the threads of the flop tube weight and then tightened. Additionally, I used a punch to hammer (lock) down the threads on the Aeroquip fitting |
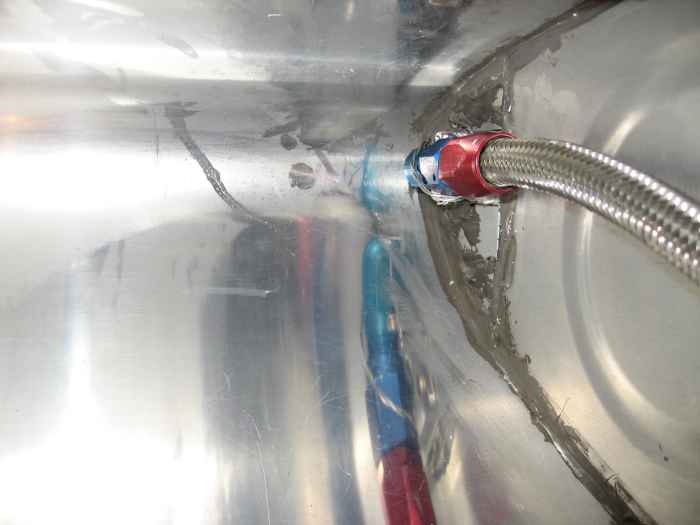 |
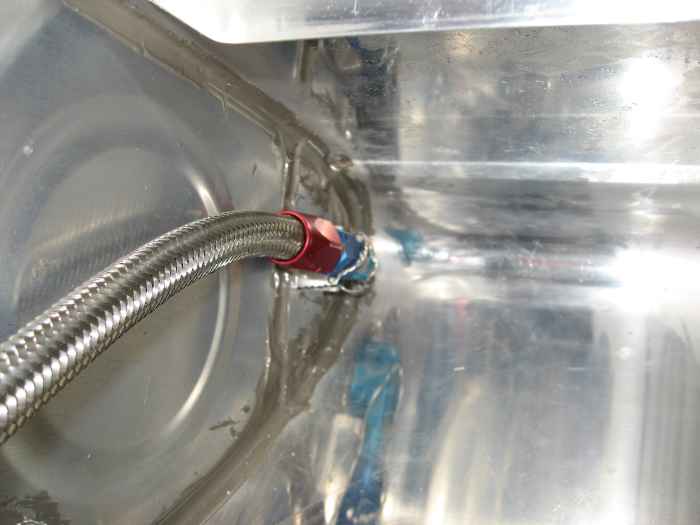
I then drilled a small hole for safety wire in the nut of the Aeroquip fitting that attaches to the tank bulkhead fitting. The flop tube was then reinstalled to the bulkhead fitting, tightened down, and then safety wire applied through the nut and around the bulk head fitting. This will prevent this fitting from ever coming loose on its own. |
 |
Next, the same procedure was followed on
the right tank.
Finally, both tanks were cleaned of debris and the covers were Prosealed back into place. |