 |
July 4, 2005:
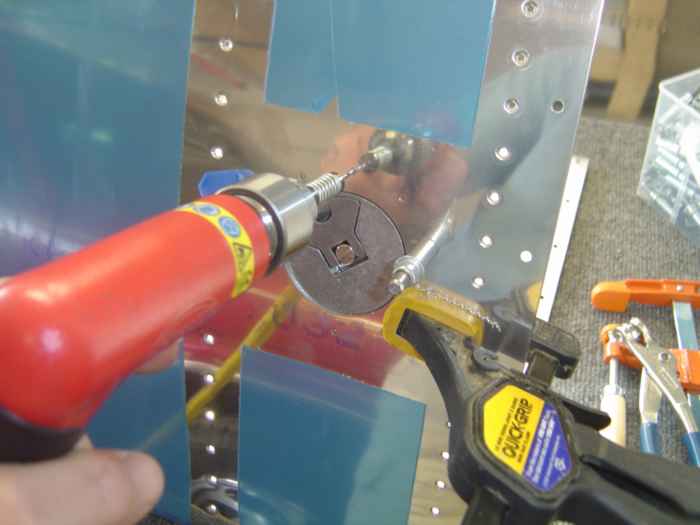
(2.0 hrs.) Clamped the fuel cap and its collar ring into
positioned and drilled the collar based on the pre-punched holes in the
tank skin. Next the fuel drain (not shown) was match drilled to
the tank skin. All the holes were then deburred.
The rivet holes in the tank skin for the fuel
collar were dimpled using the C-Frame while the holes in the fuel collar
itself were machine countersunk. |
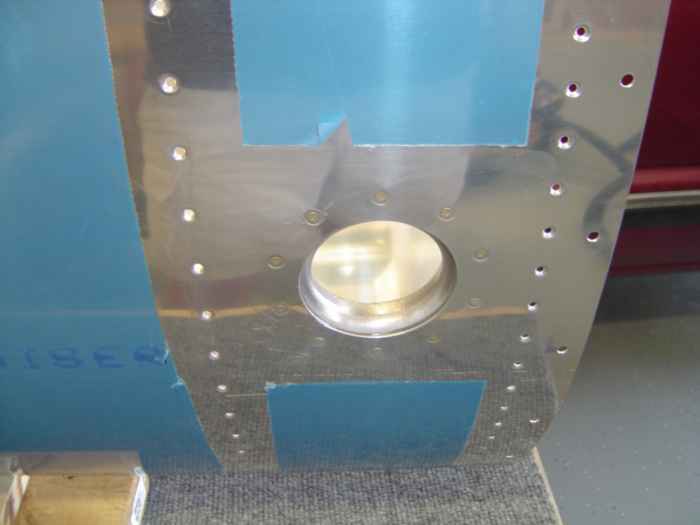 |
After etching the mating surfaces of the
tank skin, fuel collar, and fuel drain with a ScotchBrite pad, the parts
were cleaned with MEK and then riveted into place. Of course,
ProSeal was used between all the joints.
The fuel cap collar was riveted using the 'back' riveting method.
Here is a picture of the flush rivets. |
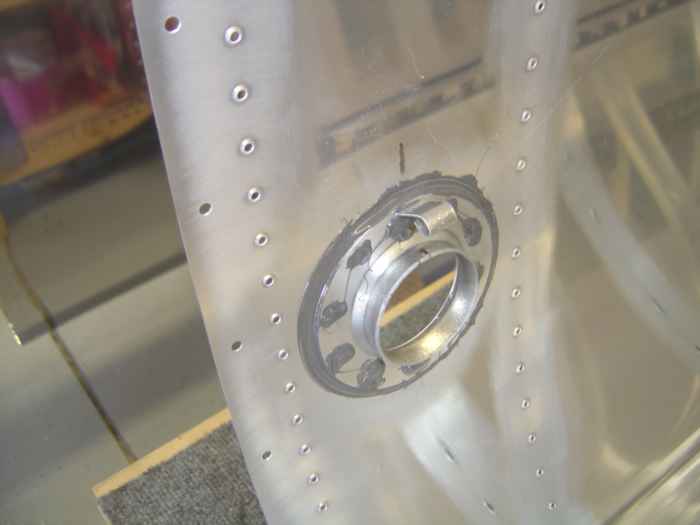 |
Here is a shot of the backside of the fuel
collar. A fillet of ProSeal is created all around the collar and
each rivet is covered with the stuff.
Note the fuel vent line bracket riveted in place with the fuel
collar. Don't forget that. |
 |
July 7-9, 2005:
(5.0 hrs.) Time to rivet the interior tank ribs. I
was not able to get help with this riveting process, so I will be on my
own. My plan is to tackle a single rib at a time.
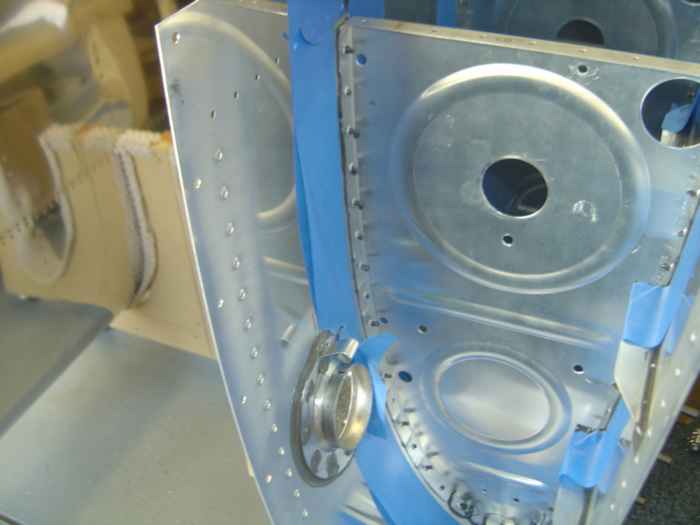
After using a ScotchBrite pad to roughen the rib
flanges, they were cleaned with MEK and cleco'd into place. I then
masked off around the ribs to make clean up of the excess ProSeal
easier. |
 |
I started riveting with the outboard
interior rib. To make bucking the rivets on this rib easier, I
removed the outboard root rib. All the other ribs are cleco'd into place
to hold the tank straight and true. |
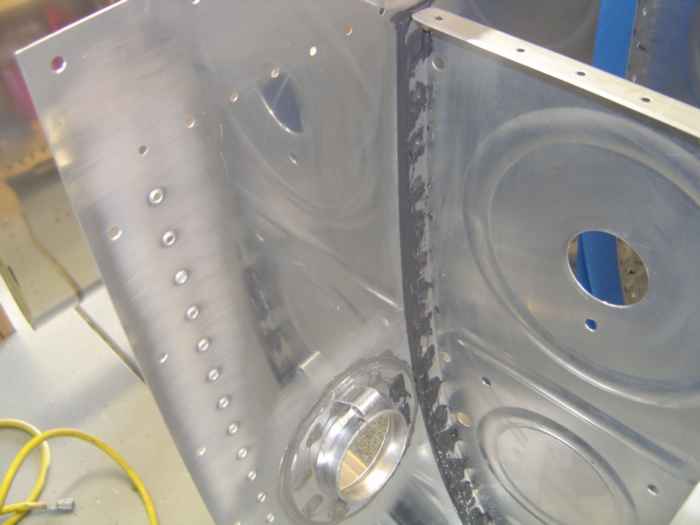 |
Just enough ProSeal was mixed to address a
single rib at a time. This is a shot of the outboard interior rib
after riveting (each rivet is covered with a dab of ProSeal and the rib
flange to skin joint is also covered with the gunk). When the rib
was completed, the clecos were cleaned and then the process was repeated
for the next rib. Each rib takes about an hour. |
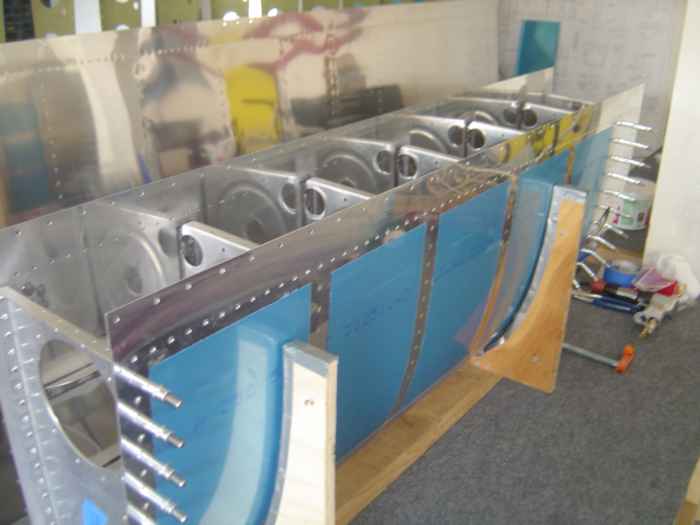 |
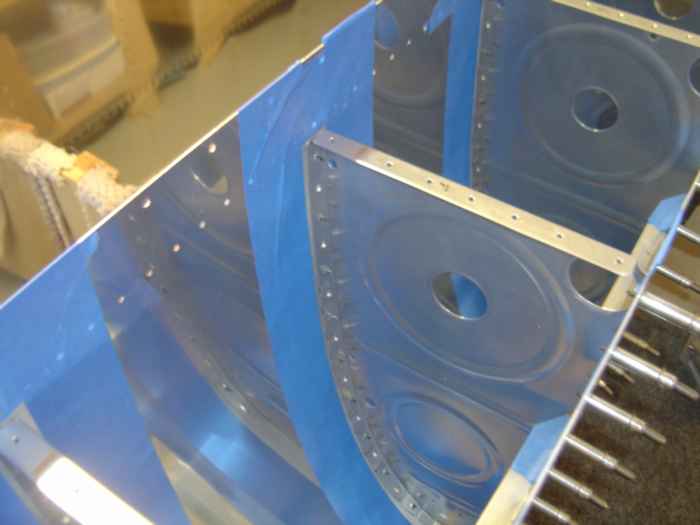
Here the tank is resting in the cradle
with all of its interior ribs riveted in place. The next job will
be to manufacture a few anti-hang and anti-rotation braces for the flop
tube. After that, the vent line and fuel sensors can be installed. |