 |
July 10, 2005:
(2.0 hrs.) Today I worked on getting the last few things
done on the tank before I put the end ribs on.
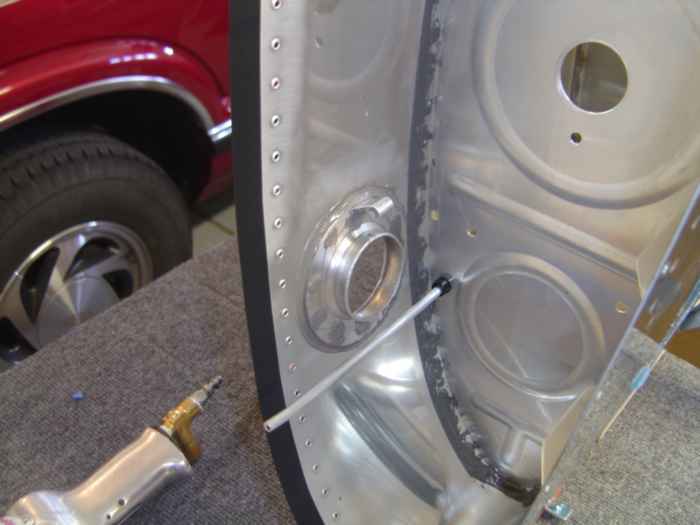
Here I am fitting the fuel vent line. To my
surprise, I noticed that I riveted the vent line clip to the aft side of
the fuel cap collar instead of the forward side! Oops. I
went ahead and fabricated a new clip, drilled out the rivet on on the
forward edge of the fuel cap collar and riveted the new clip in place.
I then cut the old clip off. |
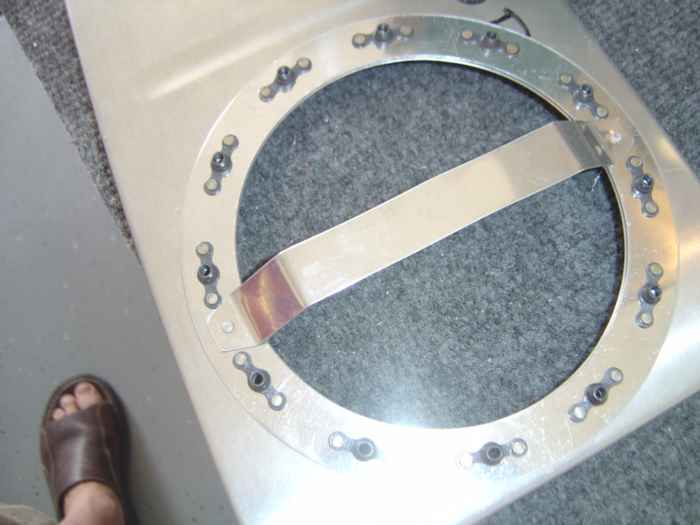 |
Because I am using flop fuel pick up
tubes, I need to fabricate a few items for the inboard bay of the fuel
tank that will help prevent the tube from hanging up on anything.
Here I have installed a 'anti-hangup' brace on the inside of the
access hole. |
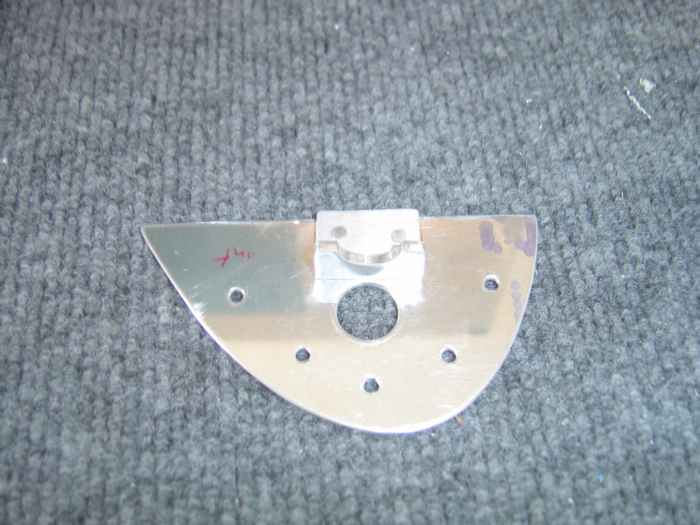 |
Hard to see in this picture, but this is
the 'anti-rotation' bracket I fabricated for the fuel pickup bulkhead
fitting. |
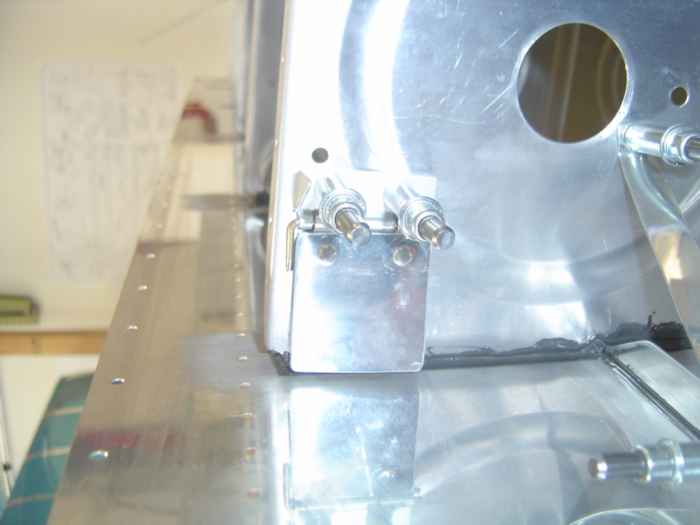 |
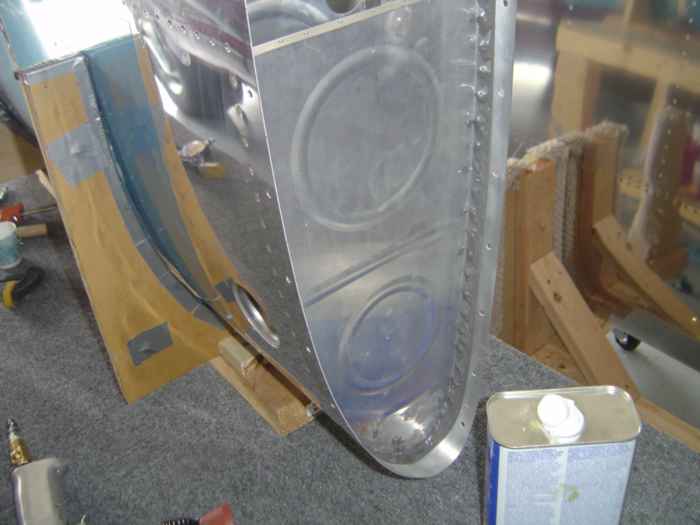
On the right edge of this picture is a
glimpse of the 'anti-hangup' brace that spans from the first interior
rib down to the stiffener bracket. Also in the picture is
the fuel trap door that I fabricated and cleco'd into place. Next
weekend I will hopefully get this tank closed up. |
 |
July 17, 2005:
(3.5 hrs.) Getting hard to find time to work on the plane
these days. I have been traveling quite a bit for work, so when I
am home, it is hard to justify to Kristy and the kids to be out in the
shop. Anyway, I did manage to get some more tank work done.
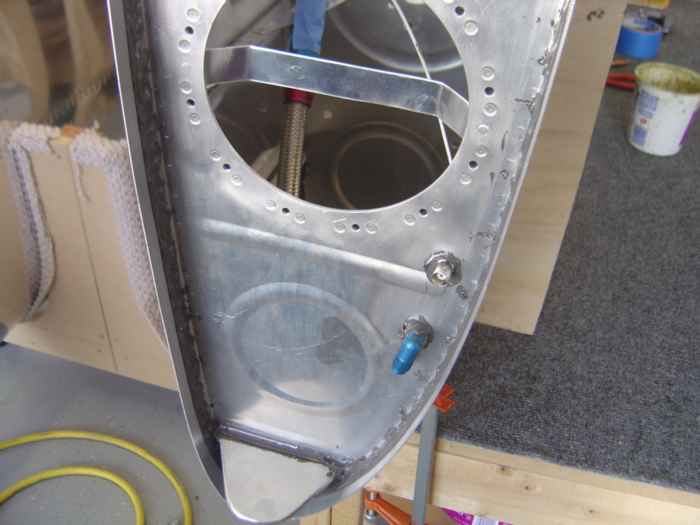
Here I have completed the installation of the
outboard end rib on the left tank. The rivets for this are applied
with the hand squeezer.. Piece of cake. |
 |
Next, I moved on to installing the inboard
end rib. This one goes on much the same as the outboard rib.
However, once the rib flanges are riveted into place, the tank angle
bracket and reinforcement plate on the leading edge need to installed.
This is a messy job since these rivets need to be set with the rivet gun
and bucking bar and there is not a whole lot of room to maneuver.
Anyhow, the parts went together easier than the first tank. |
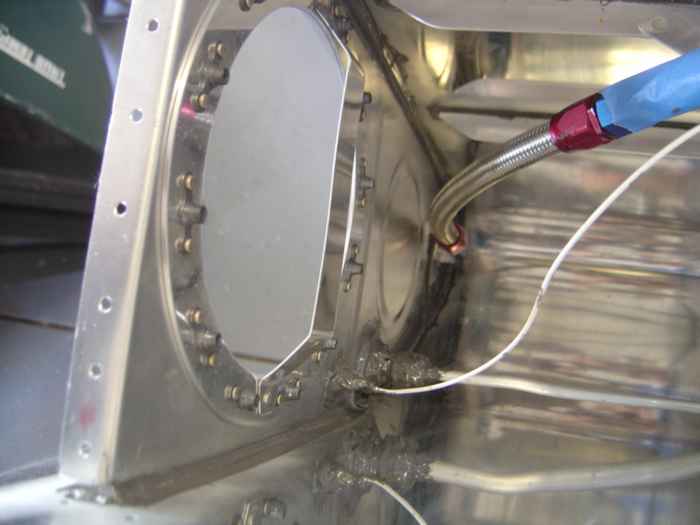 |
I also installed the fuel line bulk head
fitting, fuel pickup tube, BNC fitting, and fuel vent line bulk head
fitting.
This is a shot of the inboard bay.
Next up is installation of the fuel senders, and the then this sucker
can get closed up. Unfortunately, I am going out of town on
business again this week followed by another week of vacation, so this
will not happen for a few weeks. |


