 |
May 21, 2005:
(1.0 hrs.) I have been traveling the last 3 weeks for work and
have not had a chance to work on the plane. Now I am finally home,
but have lots of catching up to do with the family and projects around
the house... I have really been chomping at the bit to get back at it.
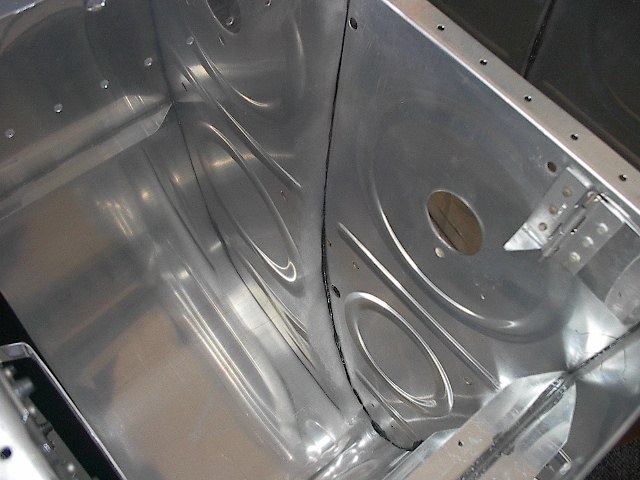
I did manage to spend an hour riveting the final
interior rib on the right tank. I did this one by myself and it
came out much better then the other ribs where I had a partner. I
think handling the bucking bar and rivet gun at the same time gives me a
good feel for how the rivet is setting (since I cant see anything with
all this ProSeal goop in the way). It still would be helpful to
have a partner to help moving the clecos, inserting the rivets, and
keeping the tools clean.
|
 |
May 22, 2005:
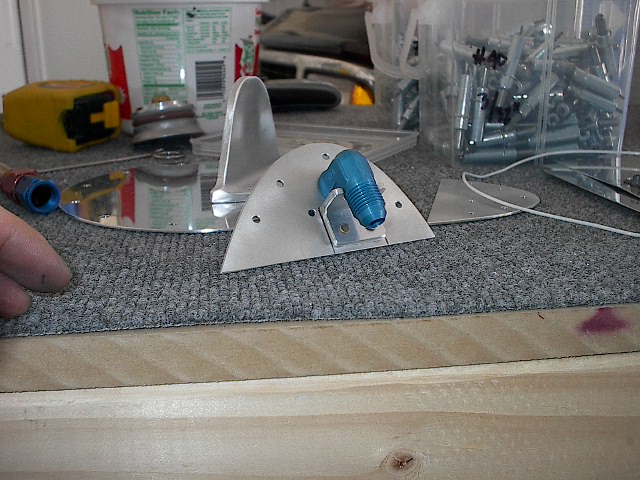
(2.0 hrs.) Today I fabricated an anti-rotation bracket for the
fuel pickup tube bulk-head fitting. I altered from the plans a bit
by cutting the bracket across the center of the 9/16" hole where the AN
fitting is held. This makes it much easier when final attaching
the bulk-head fitting. |
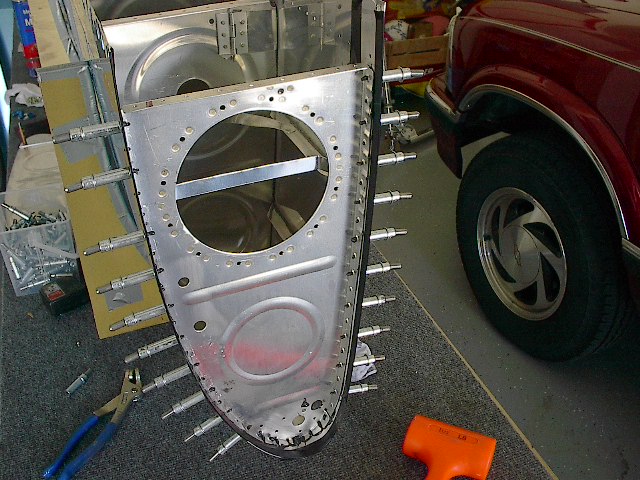 |
Mixed up some ProSeal and then riveted the
root rib into place. The hand squeezer made quick work of these
rivets. |
 |
Next, I riveted the attachment angle and
reinforcement plate into place. This was a pain! First, when
I went to cleco the thing into position, I noticed I could not get the
parts to line up with the pre-drilled holes. Turns out that
the newly formed rivet shop heads on the inside of the root rib flange
were interfering with the fit. I had to clean all the ProSeal from
the attachment angle and then grind away some material. That took
care of that issue, but then I soon found out that riveting the parts
was difficult because the anti-rotation bracket made for a tight squeeze
with the bucking bar. |
 |
May 27, 2005:
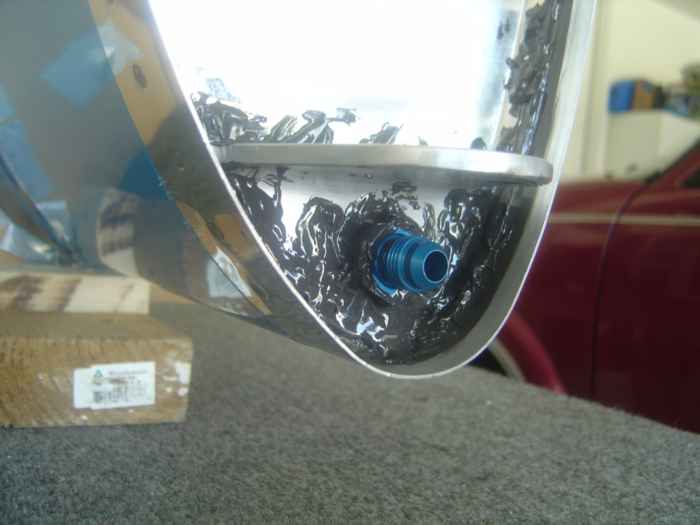
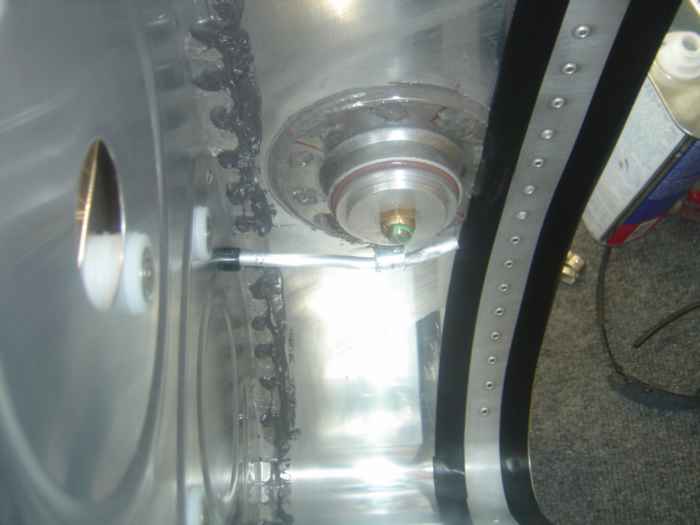
(2.0 hrs.) Installed the fuel bulk head fitting and flop tube.
This is the bulk head fitting from the outside of the tank with lots of
ProSeal around it. |
 |
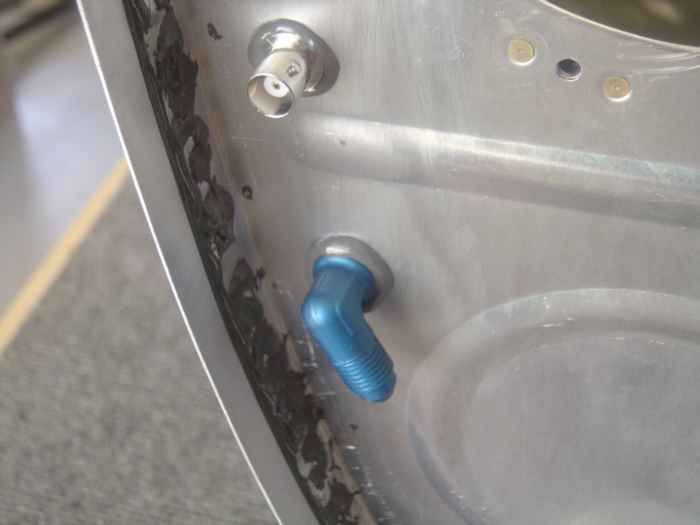
Next, I inserted the plastic grommets and
slide the 1/4" fuel line into place. The vent line gets held into
place at the high end of the tank with a small aluminum clip that is
riveted to the fuel cap flange. |
 |
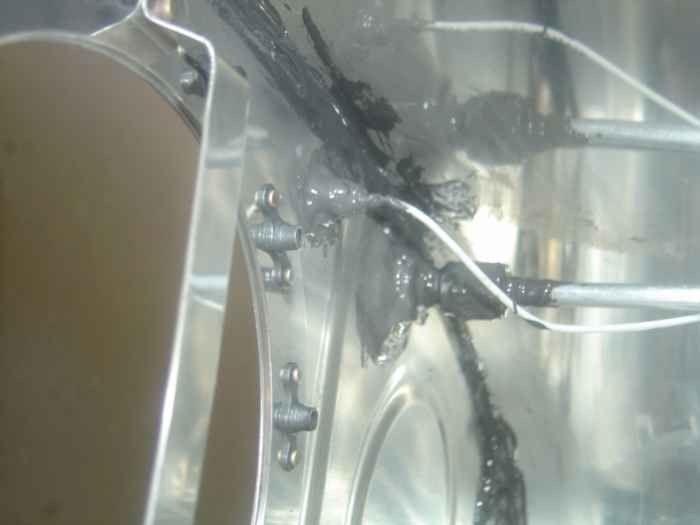
Once the vent line was in, I installed the
vent line bulk head fitting (blue in the picture) and the fuel sender
BNC fitting. These are installed in the inboard root rib with
ProSeal. |
 |
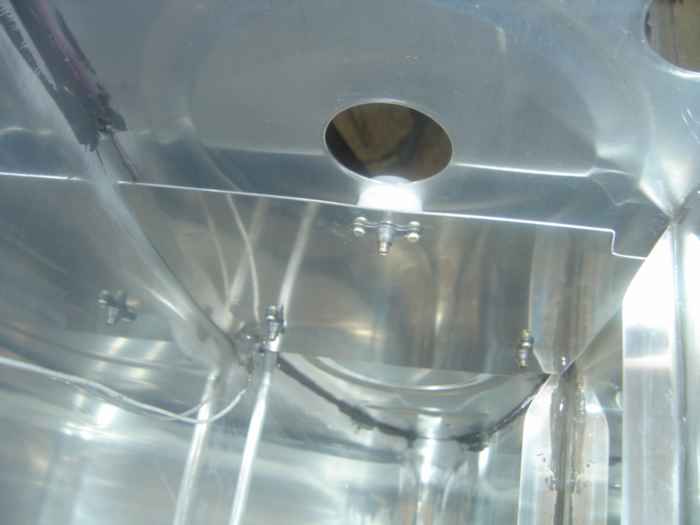
This is the vent line bulkhead fitting and
BNC fitting from inside the tank. As you can see, these need to be
completed covered with ProSeal |
 |
Attached the 18 gauge wire with end
terminal to the outboard fuel sender plate and coated it with ProSeal
(the glob on the lower left of plate). Installed the outboard fuel
sender plate. |


