 |
March 28, 2005:
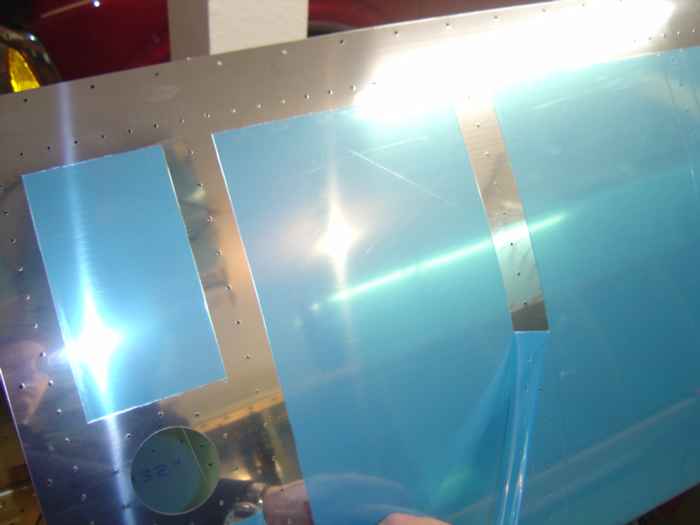
(1.5 hrs.) Removed the blue plastic from the outside of the right
tank along the rivet lines. I started to also do this on the
inside of the tank skin, and about halfway through decided it was not
worth it. I ended up removing all the blue plastic from the inside
of the skins.
|
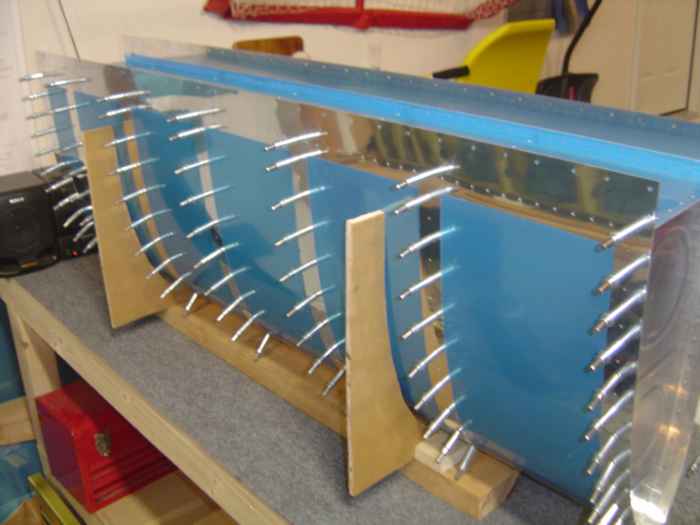 |
Cleco'd all the tank ribs and rear baffle in place. Wow, what a chore. The tank skin is thick and your really need to work to get the holes to align along the leading edge. |
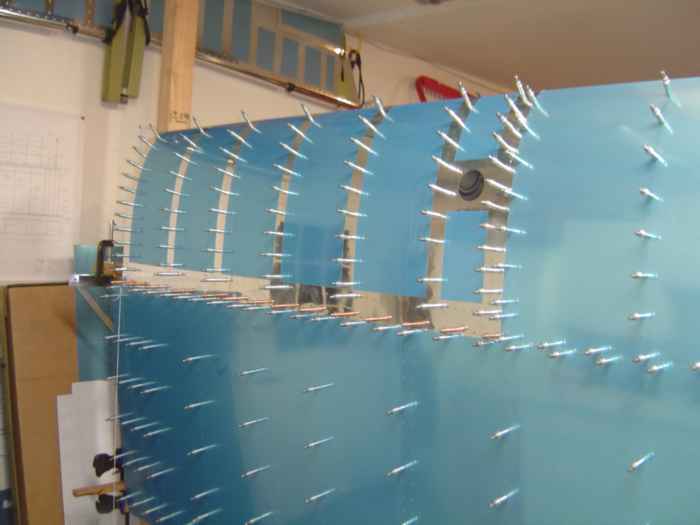 |
Temporarily mounted the tank on the wing to check for fit. Looks really good. All the seems are nice and tight. Next, I will remove the tank and start on the z-brackets that attach the tank rear baffle to the main spar. |
 |
April 1, 2005:
(3.5 hrs.) Besides having the tank trailing edge skins screw to
the main spar, it is also attached internally with bolts to seven
z-brackets. These z-brackets get riveted to the tank baffle and
then bolted to the spar. It is important that the mounting holes
for these brackets get drilled correctly to ensure a tight fit ('no
gap') between the tank skin and the leading edge and wing skins. I
decided to use the fitting method as published on the Dan Checkoway
web site. First, one flange of each z-bracket needs to be drilled (3/16") on center length wise. Do not drill on the center line, but 1/16" towards the web on 6 of the brackets. This will help off-set the holes for the rivets on the opposite flange to allow for easier access of the blind riveter. The seventh bracket needs to have the 3/16" hole drilled 1/16 away from the web. Label this bracket 'Inboard Root'. It gets treated slightly different then the other brackets because it does not get nut-plates installed. |
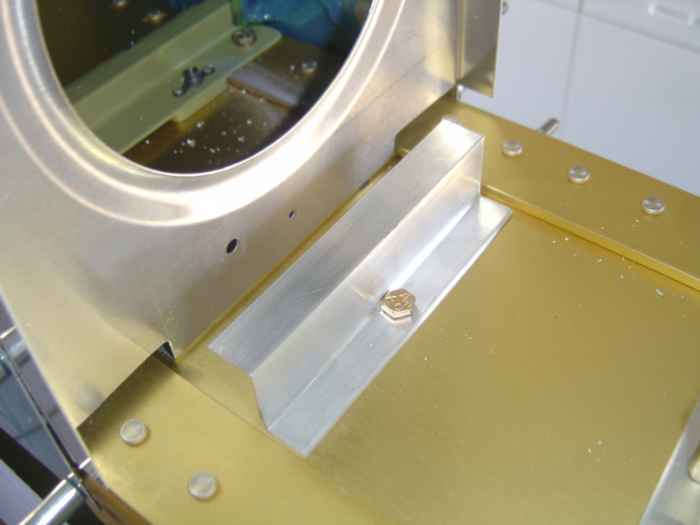 |
Now use AN3 bolts to temporarily attach the z-brackets to the main spar. Make sure you have them oriented according to the plans. Tighten them down good! Make sure they are square to the spar. Now take the 12" #40 drill bit and match drill the two remaining holes using the backside of the main spar as a guide. |
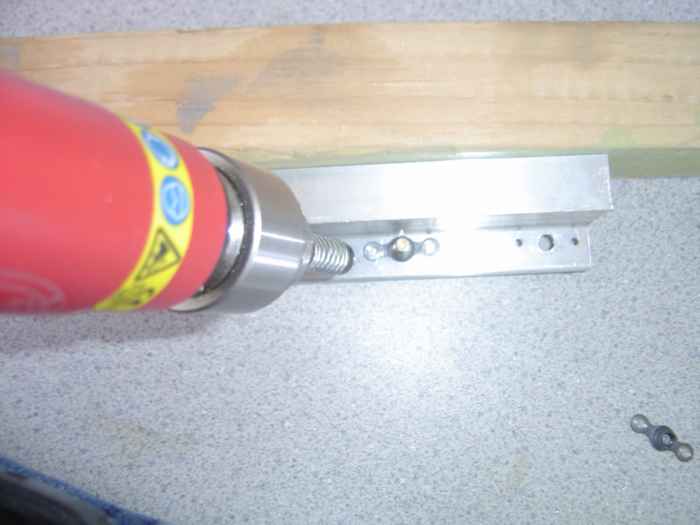 |
Removed the z-brackets, temporarily bolted nut-plates in place and then match drilled for the nut-plate rivet holes. The rivet holes then needed to be machine countersunk with the micro-stop cutter. All the holes also need to be de-burred. |
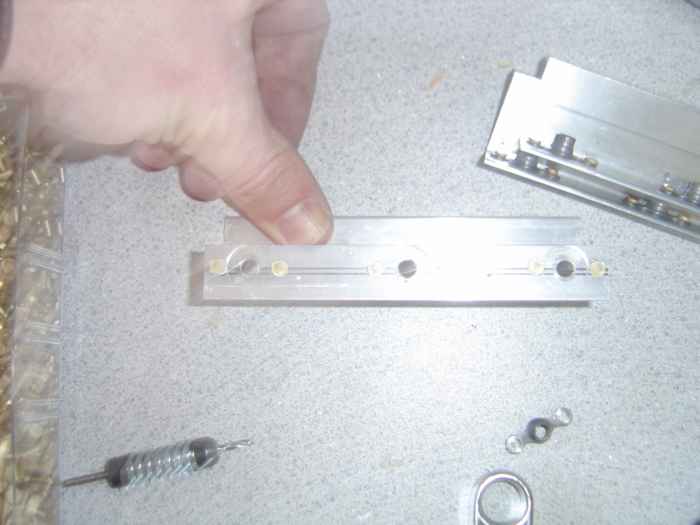 |
Riveted on all the nut-plates to the z-brackets. |
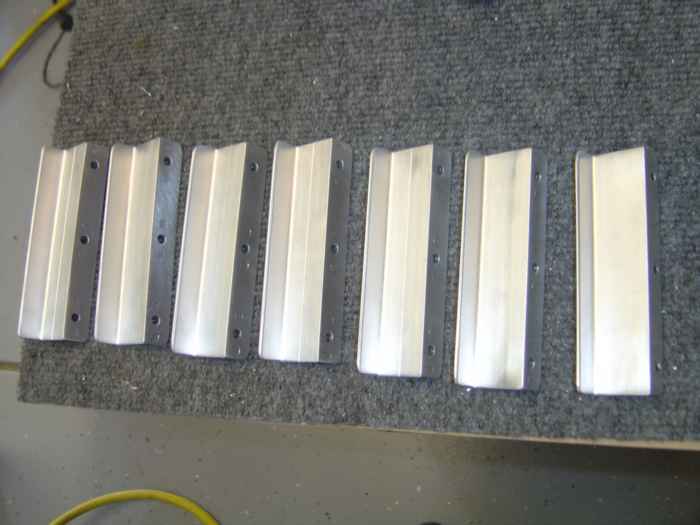 |
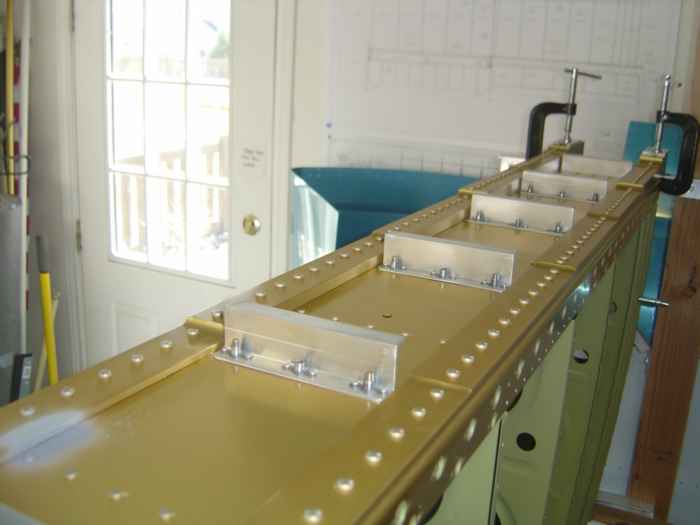
Spent a little time rounding the corners and deburring the edges of the nut-plates. Here they are all done. |
 |
Bolted the nut-plates onto the main spar. |
 |
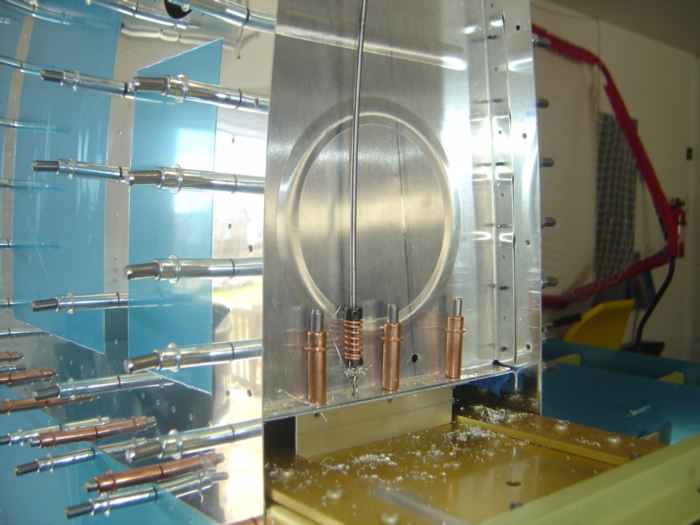
Placed the tank in position on the main spar and matched drilled all the skin to rib holes and baffle holes. You need to be careful match drilling first 8 inboard skin to baffle rivet holes because you can damage the spar. If you set your drill stop to where the drill bit just passes through the baffle you should be alright. |
 |
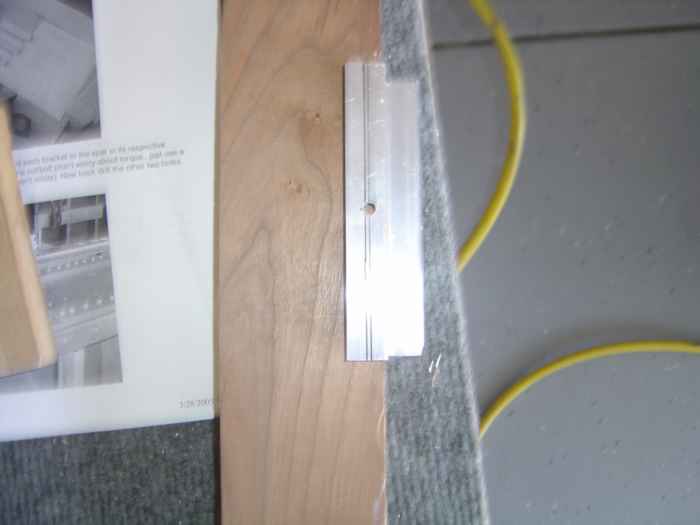
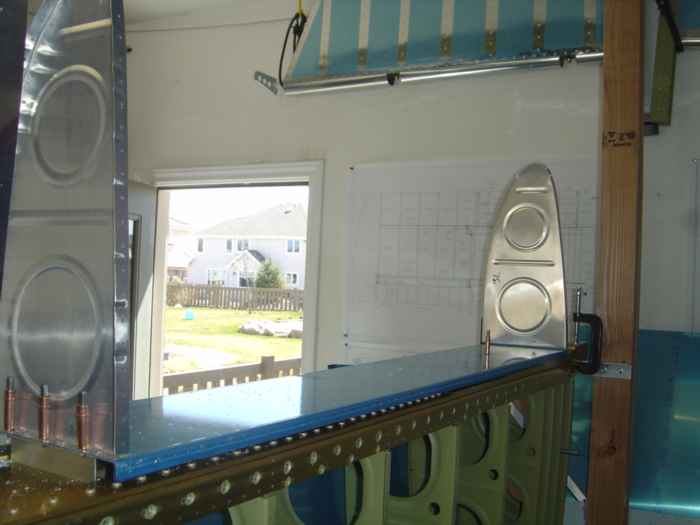
Using a 12" #30 drill bit, I matched drill the root end rib to its z-bracket. I then removed the leading edge so I could have access to the tanks outboard rib and match drilled it to the z-bracket (shown). |
 |
Unclecoed the tank skin from inboard and outboard ribs and the rear baffle. Removed the tank skin and center ribs leaving just the baffle and end ribs exposed on the skin. Now I had access to match drill baffle to the rest of the center ribs. |