 |
April 24, 2005:
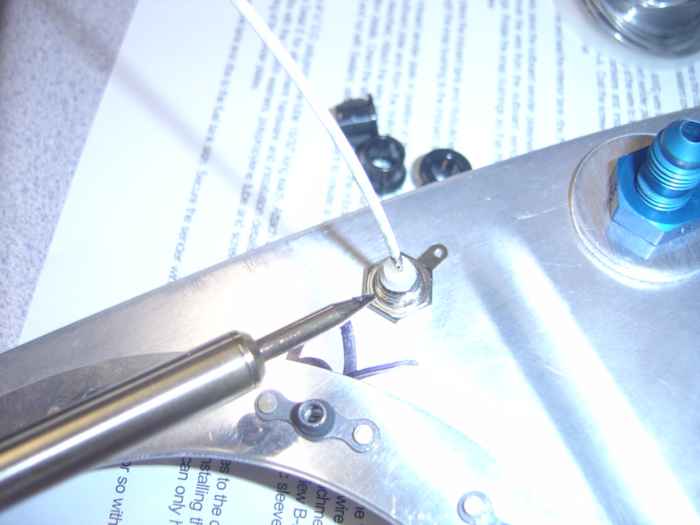
(3.0 hrs.) Soldered a 15" length of 18 gauge wire to the
capacitive fuel sender BNC connector. Also, I soldered and crimped
a terminal connector to a 48" strand of 18 gauge wire. This will
attach to the outboard capacitive plate to the inboard plate. |
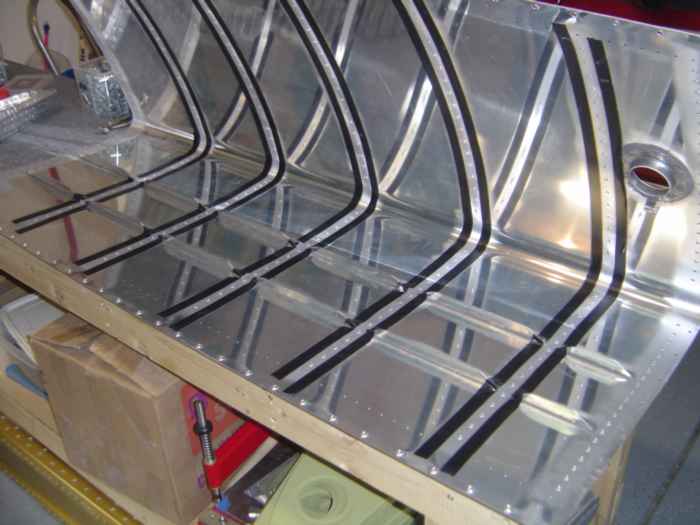 |
Scuffed the inside of the tank skin rivet
lines and the tank rib flanges with a Scotchbrite pad and cleaned with
MEK. Next, I masked off the the inside of the tank skin with
electrical tape. Once the ribs are ProSealed and riveted in place,
I can remove this tape and have a nice clean line of ProSeal along the
rib flange. |
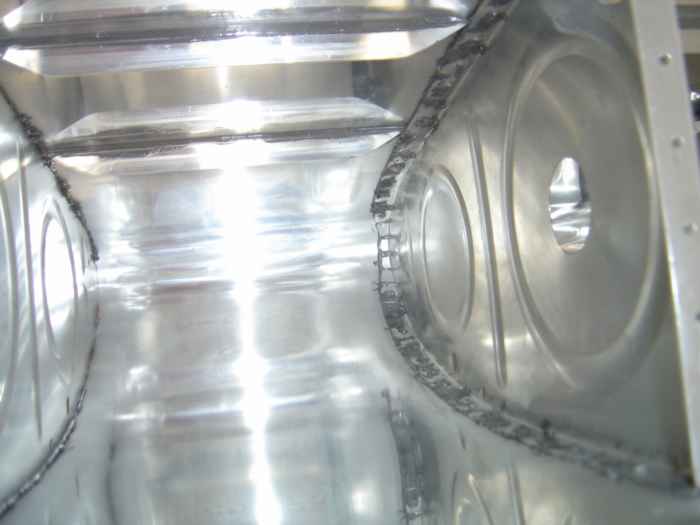 |
Riveting the ribs with ProSeal oozing out
all over the place turned out to be quite the challenge. Besides
being completely messy, it makes viewing the shop head for bucking
nearly impossible. It is very difficult to tell if you have a good
shop head. Is it the rivet tail too thick? Too thin? Offset?
Who knows? All you see is black crud all over everything. To
make matters worse, I think the tube of ProSeal I was using was a bit
old. It did not have the same consistency as the previous tube I
had used. The mixture was much thicker and did not seem to give me
the same amount of working time.
Working with my father-in-law, Max, we were able to get 4 of the 5
interior ribs completed. This is a shot of one of the completed
interior bays. I still need to add some ProSeal over the top of
each rivet. I will do that in my next ProSeal session when I
insert the last interior rib. |
|
|
|
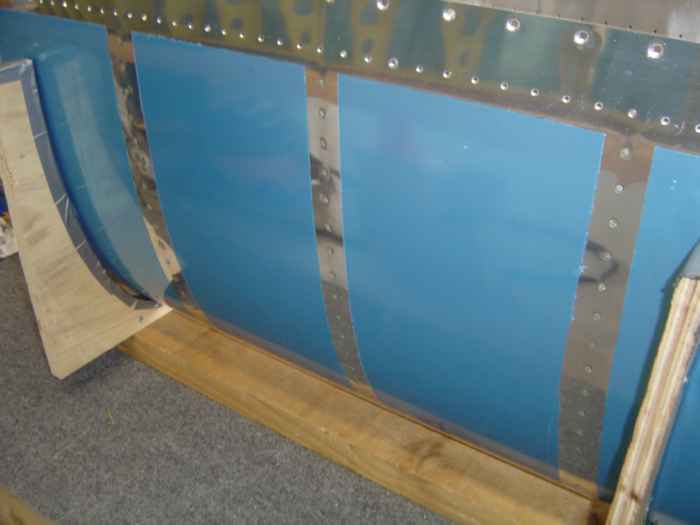 |
Here is a picture of the outside of the
tank skin. These rivets turned out fine. There were a couple
of spots on the topside of the first inboard rib where I got a few minor
dings from the rivet gun. I think it was a combination of having
the PSI set too high on my rivet gun, and not having enough pressure on
the bucking bar. Nothing a little Super Fil and sanding prior to
painting won't fix. |
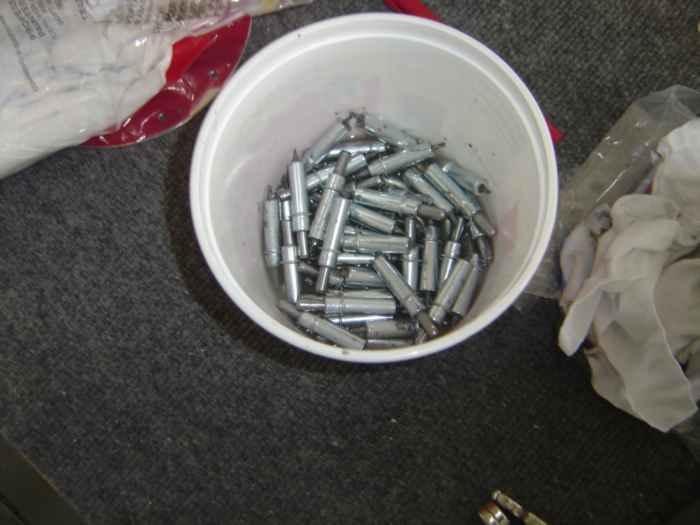 |
ProSeal dirtied Cleco's soaking in MEK.
I was lucky enough to have Max around to help with the cleaning. |
 |
April 30, 2005:
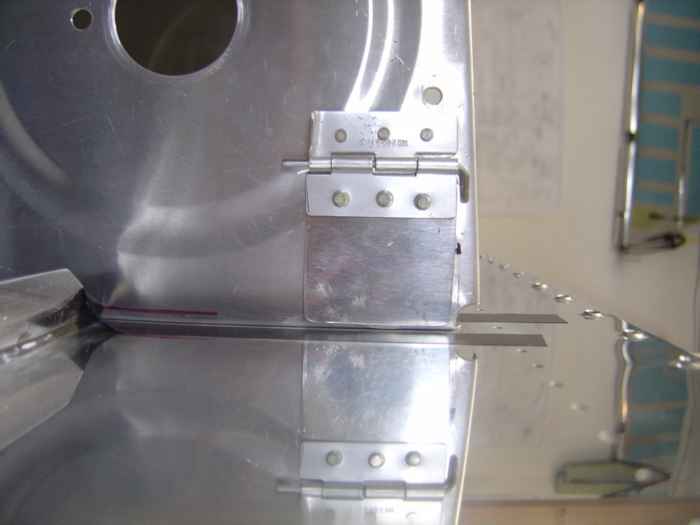
(2.0 hrs.) I built this trap door that covers the fuel
pass-through on the second inboard rib. Van's has a call-out on
its plans for this when you are building inverted tanks with a flop
tube. I really don't think this would be very effective in holding
fuel in the inboard bay, but I built it anyway. Note that the
hinge pin is bent on the aft side of the hinge. When the rear
baffle is in place, the hinge pin will not be able to go anywhere. |
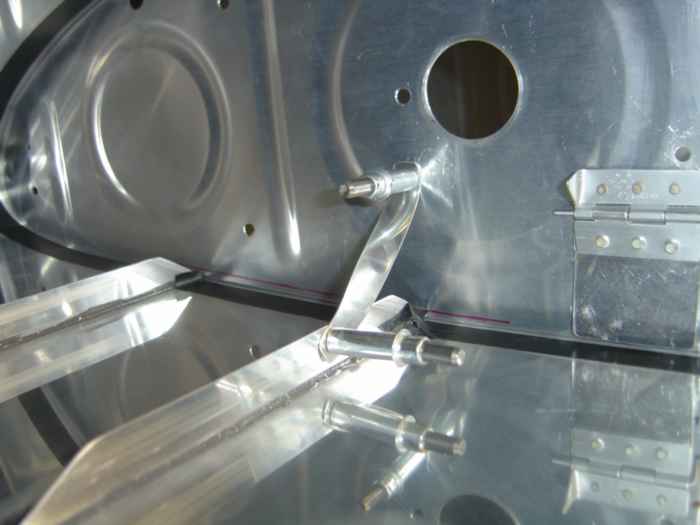 |
A small brace that spans from the aft
stiffener to the second inboard rib is fabricated and cleco'd in place.
This brace is meant to keep the fuel pickup tube (flop tube) from
interfering with the trap door. I will permanently attach this
once I install this last rib. |
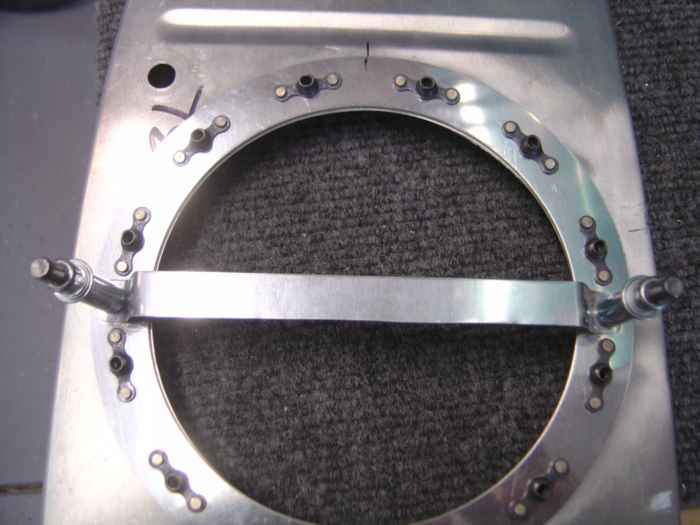 |
A brace is also fabricated to span across
the inside of the tank access door. This will keep the flop
tube from hanging up on the nut-plates. |
 |
May 1, 2005:
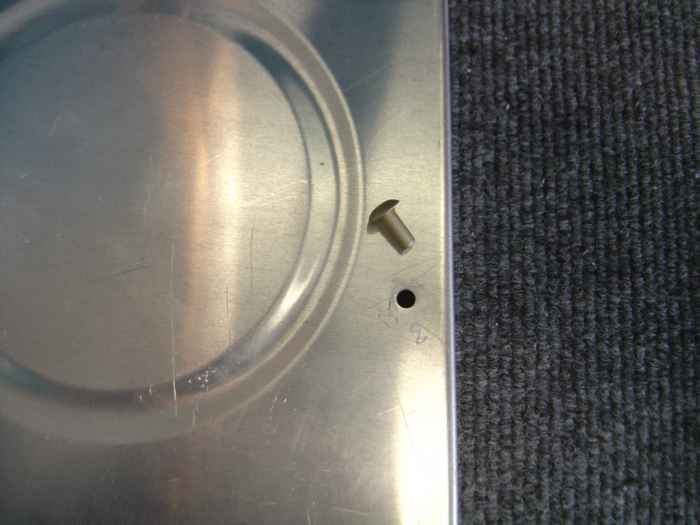
(1.0 hrs.) The outboard rib has a tooling hole that needs
to be covered (or filled). I opted to use a large rivet to fill
this hole. |
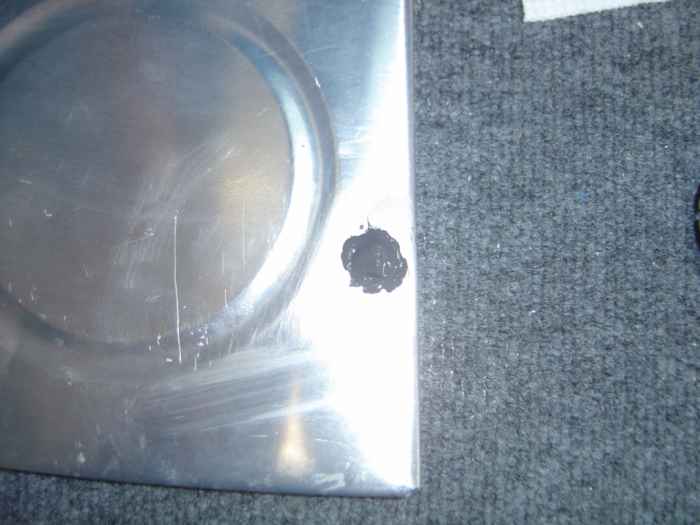 |
Here is the tooling hole with the rivet
squeezed in place with a lot of ProSeal. |
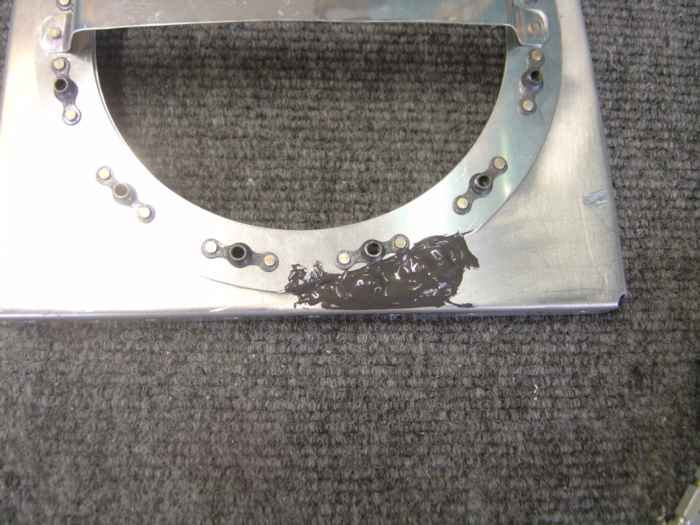 |
There is also a tooling hole on the
inboard end rib. If you strategically install the tank access
plate reinforcement doubler, you can manger to cover the tooling hole.
Unfortunately, the plans do no call this out, and the tooling hole in my
end rib was just peaking out under the doubler plate. I decided to
grind away part of the doubler plate and then rivet in a new 'larger'
section of plate with ProSeal. I believe this should take care of
things. |


