 |
May 28, 2005:
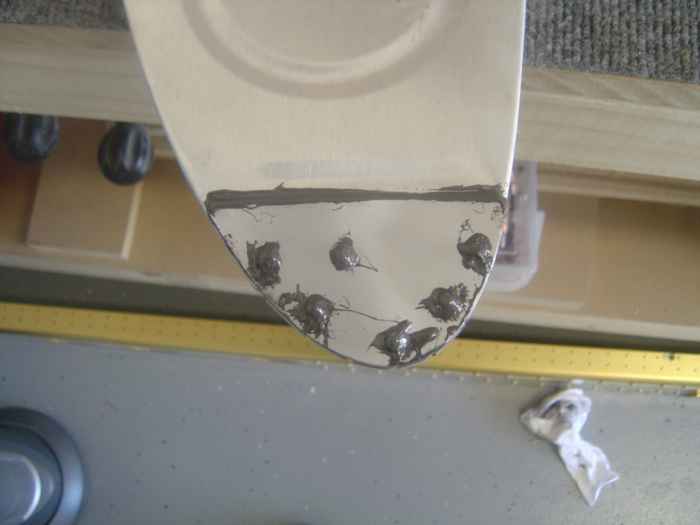
(2.0 hrs.) ProSealed and riveted the outboard root rib
reinforcement plate... This was a simple matter of squeezing the AN470
rivets. I also spent some time covering all
the rivet shop heads on the tank ribs with ProSeal. I added
additional ProSeal on all the rib to tank skin transitions.
|
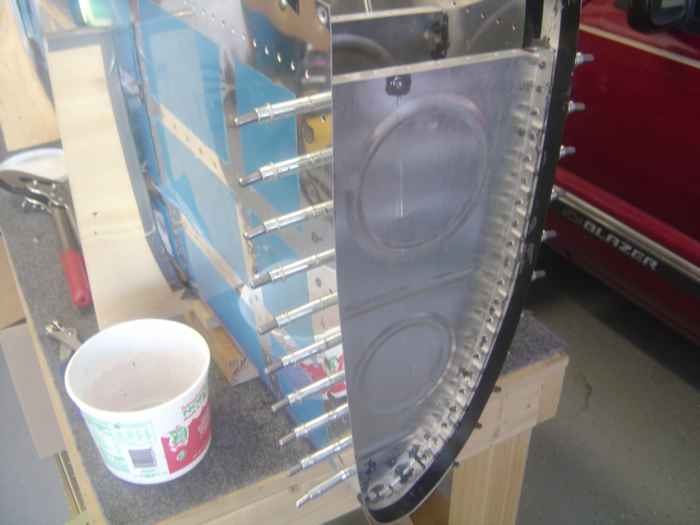 |
Next, I iced up the outboard root rib with
ProSeal and cleco'd it into place. I then used my hand squeezer to
set all the rivets. |
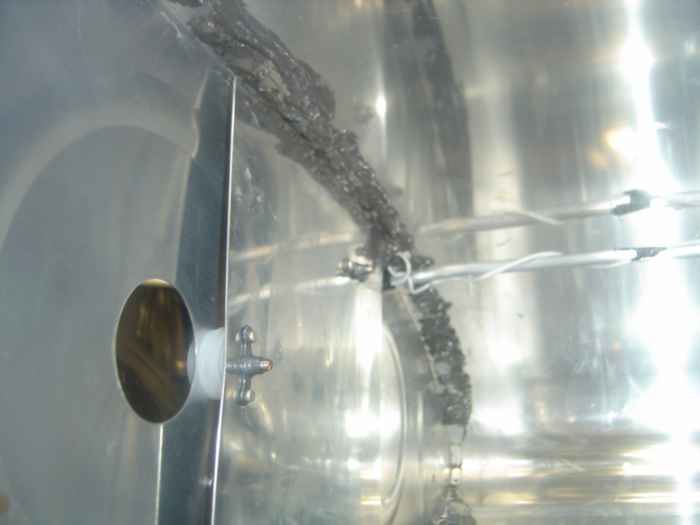 |
I ran the fuel sender wire from the
outboard fuel sender plate to where the inboard fuel sender plate gets
installed. The wire runs along the same path as the fuel vent
line. The wire meets up with a wire coming from the BNC
connection. The two wires get crimped and soldered to a terminal
connector. Having to reach down into the tank to do this is
difficult, but doable. Next, the terminal connector is attached to
the inboard fuel sender plate and covered with ProSeal.
Last, the inboard fuel sender plate is mounted into place. Note all
the extra ProSeal that I added to cover the rivet shop heads and the rib
flange to skin seem. This is definitely no longer a neat and tidy
finish. I am glad this is hidden from sight inside the tank. |
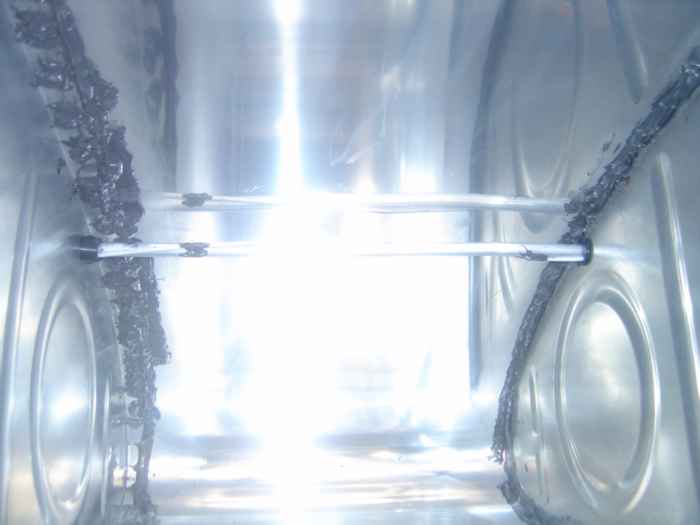 |
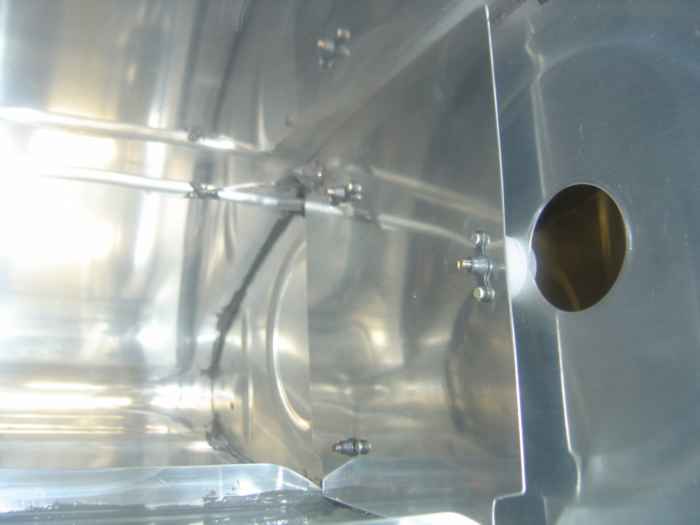
This is a picture of the fuel sender wire
running along the fuel vent line path. The wire is wrapped around
the vent line and fixed into place with a few strategically placed globs
of ProSeal. |
 |
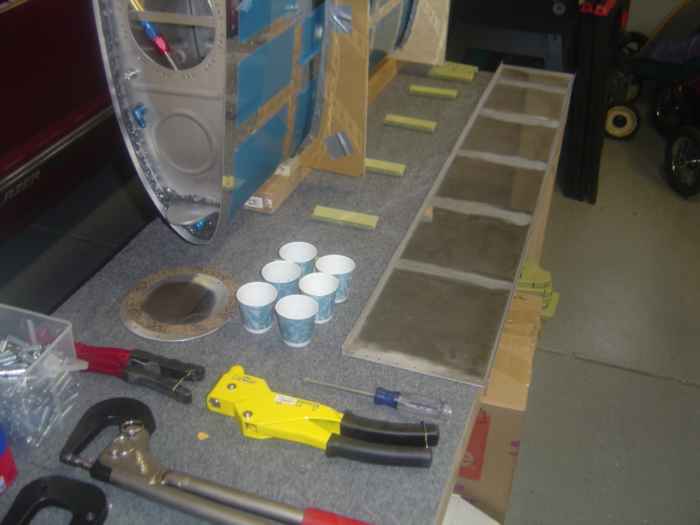
This is a shot of the outboard fuel sender
plate. |
 |
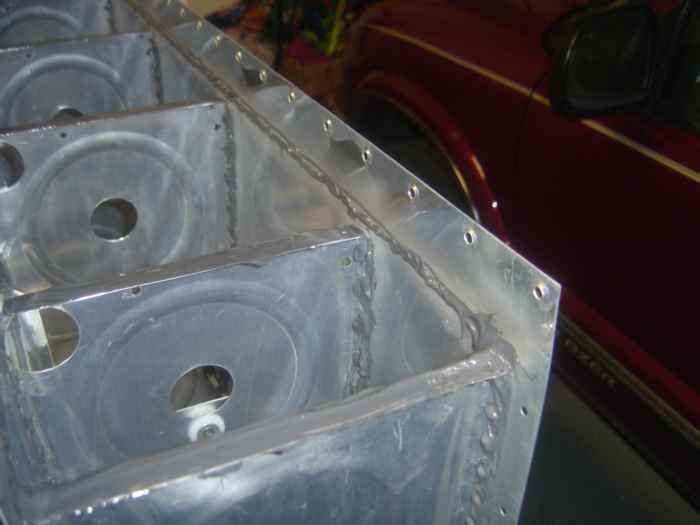
Spent some some using a ScotchBrite pad to
roughen up the aft tank rib flanges and the rivet lines of the rear tank
baffle. I also got out all the parts and tools for the next big
ProSeal session. I use the dixie cups to soak the various size
rivets and screws in MEK prior to their use. |
 |
May 29, 2005:
(3.0 hrs.) Today was the big day! Installing the rear
baffle on the right fuel tank. Because I was in a crunch to get
this done before leaving on a business trip, I decided to tackle this
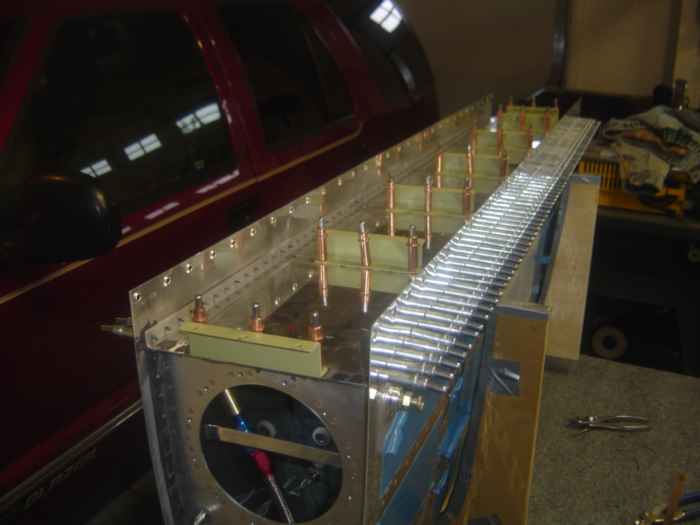
job without a helper. First, I cleaned all
the mating surfaces, rivets, and screws with MEK, Next, I mixed
the ProSeal in a large quantity (~55 grams). I inserted the
ProSeal into a plastic zip-loc bag and cut the corner, making something
similar to a bakers icing tool. I then laid a bead of ProSeal down
over the tank skin rivet line (3/16" bead). I also laid a larger bead down on the
inside edge of the rear flange of the inboard and outboard ribs. For the interior
rib rear flanges, I smeared a 'small' amount of ProSeal around the rivet holes.
I added a nice big glob of the stuff in the corners of the end ribs. |
 |
Next the rear baffle was slide into place
and all the rivet holes in the tank skin were cleco'd to make sure the
baffle to skin was squeezed tight. I also cleco'd into place the
tank z-brackets.
There are a lot of cleco's so I had to work fast! I next
removed every other cleco from the tank skin, inserted a rivet and then
used my hand squeezer to set the rivet (this is where a second set of
hands would of helped) Once this was complete, I
removed the rest of the tank skin cleco's and set those rivets.
Last, I move on to the rear baffle z-brackets. The brackets on the
center ribs take a blind rivet. To set these, I had to use my
cheapy pop rivet gun that I had ground down the nose on to fit up against the
brackets.
The z-brackets on the end ribs take solid rivets. I had to buck
these rivets because none of the yokes for my squeezer would squarely
reach these. This was easy work because there is great access for both
the gun and bar. |
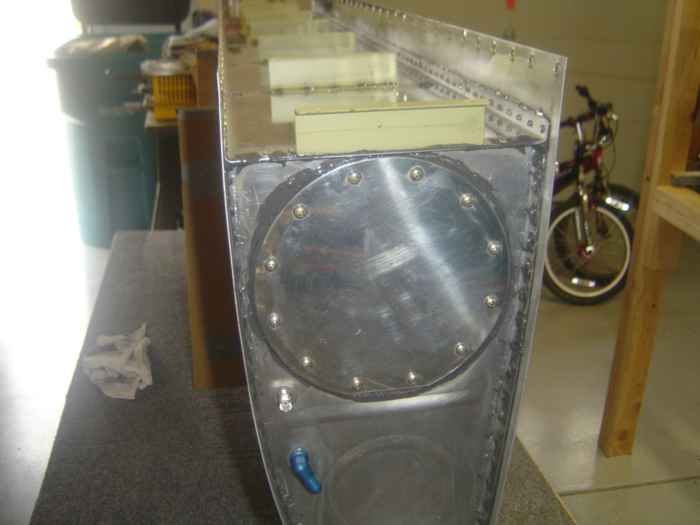 |
In a final step, I mixed up a new batch of ProSeal and
attached the access cover. I used both the cork gasket and ProSeal
figuring that the cork gasket will help the cover break away if I ever
need to get into the tank. I would like to rejoice that his tank is
complete, but I really can't celebrate until I do a pressure test and
find it leak free (fingers crossed). I will do that this coming
weekend. |


