 |
December
7-9, 2007:
(4.0 hrs.)
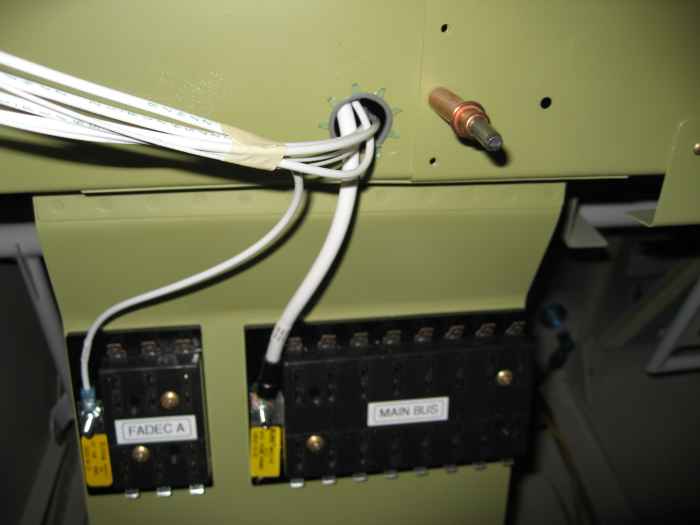
Played around running some of the first wires to the electrical
busses. Here I have run the wires to the Main bus and FADEC A bus.
I also ran the wires for the master/bat, aux/bat, ECU1 and ECU2 switches
switches. I cannot wire the panel ends of these up until I have
the panel and switches installed. For now, they will just hang
there. |
 |
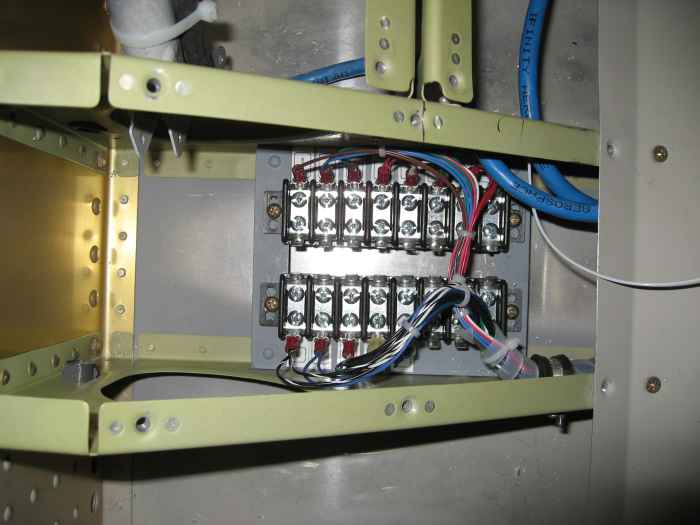
On the back side of the sub-panel I
created a service loop with the wires and secured them to the sub-panel
with an Adel clamp. This service loop will allow the buss panel to
swing down for service. |
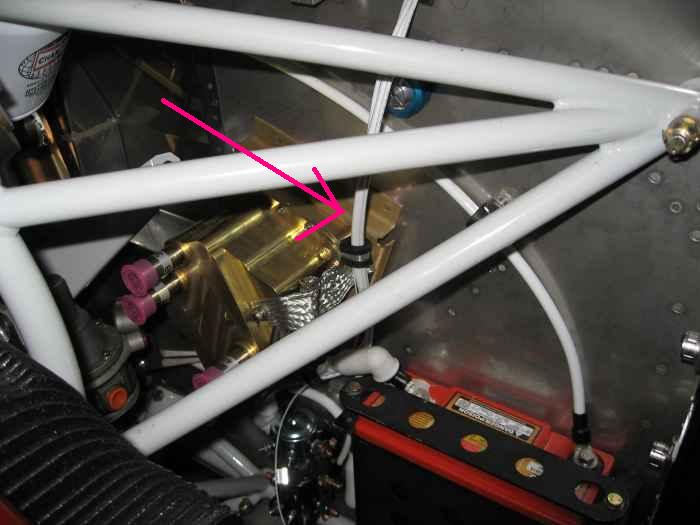 |
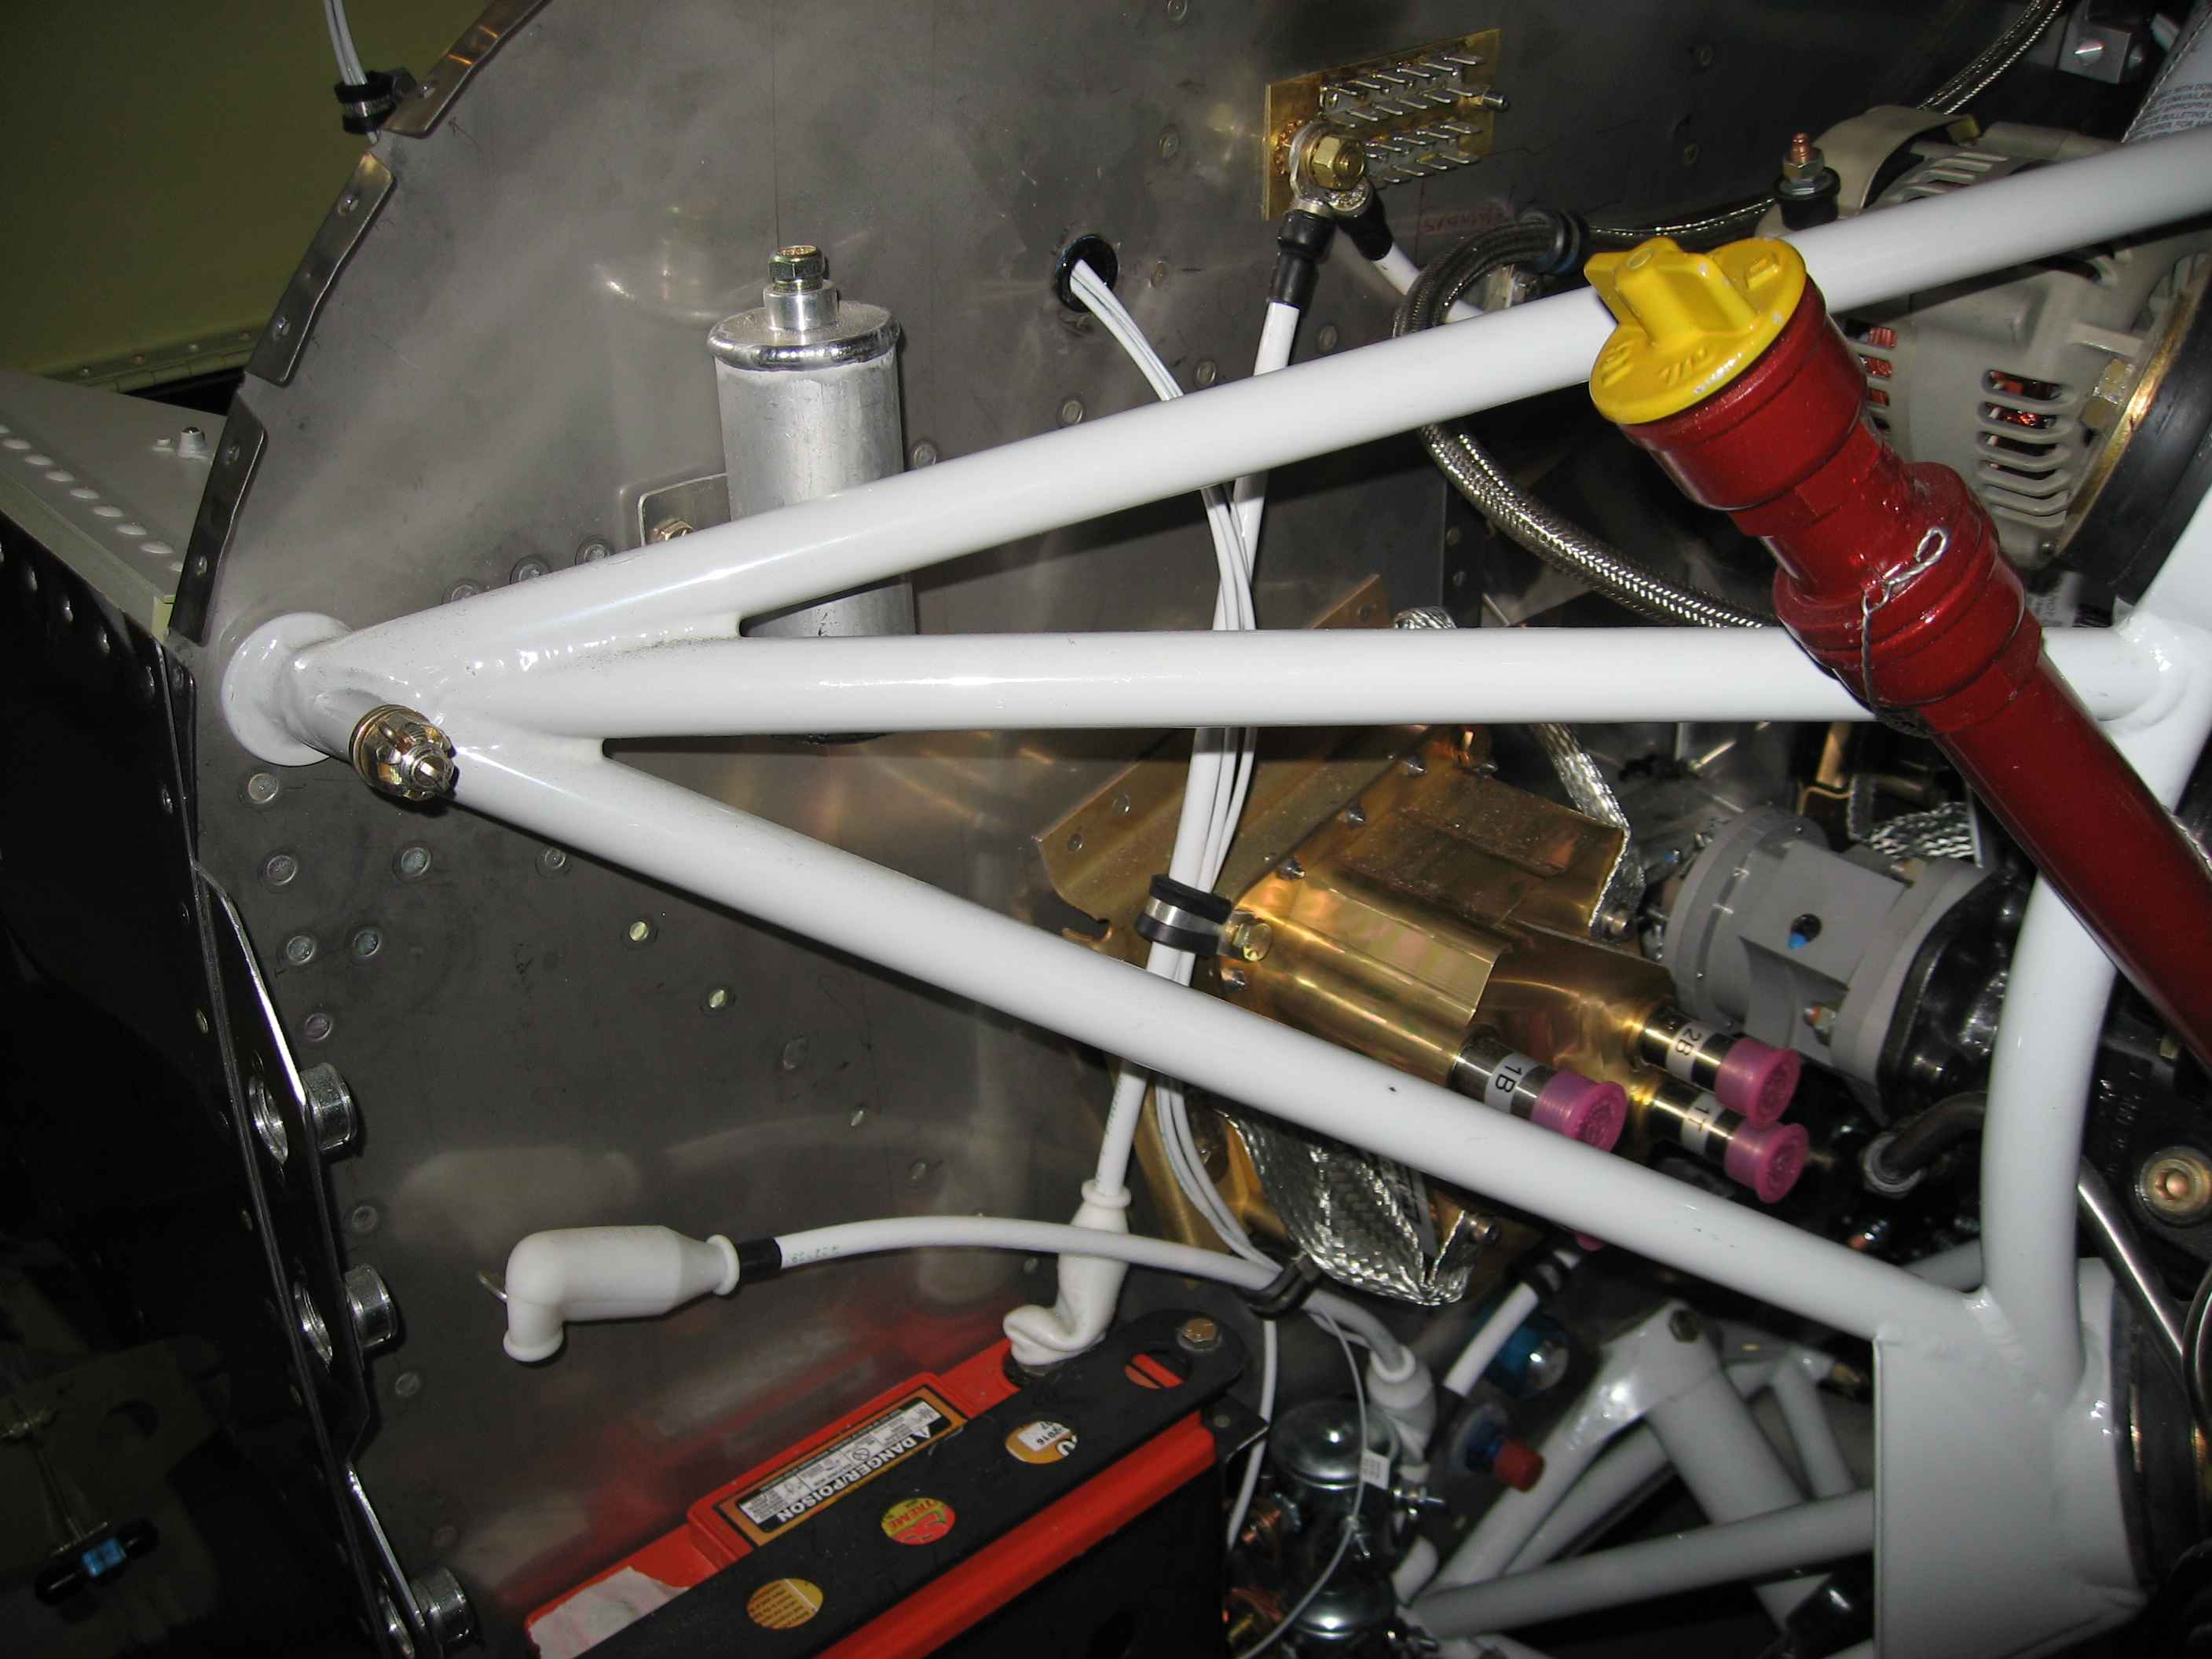
Here is show of some of the wiring I did
on the front of the firewall. It is kind of hard to see, but the
arrow is pointing to the 6 AWG wire I ran from the main battery
contactor to the main bus. Along with the wire run, I also ran
smaller gauge wire runs for the FADEC A bus, always hot Bat Bus, and
battery contactor switch. I used an Adel clamp on an ECU mount
point to help secure the wires. |
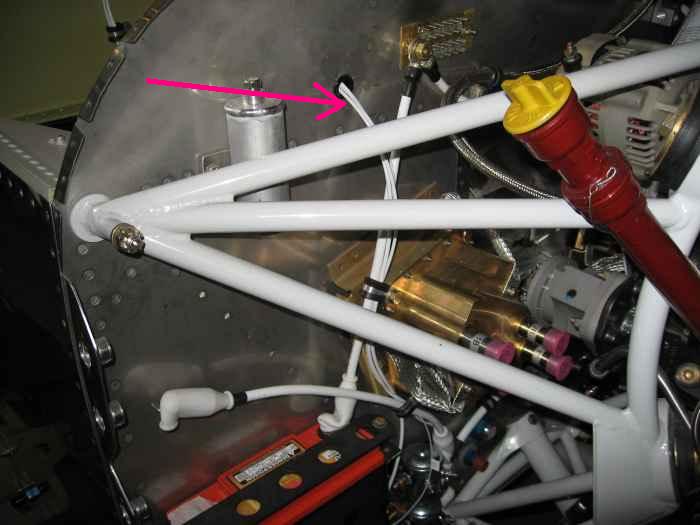 |
Here is the right side of the firewall,
where I made similar runs for the auxiliary bus, FADEC B bus, etc. |
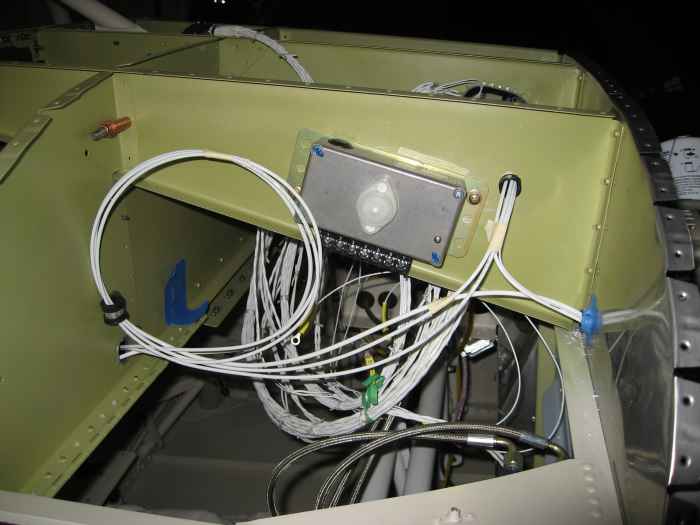 |
Here is some of the wiring behind the
firewall for the auxiliary bus, FADEC B bus, etc. wire runs.
Note I did made a similar service loop on these as well. |
 |
December
14-16, 2007:
(8.0 hrs.)
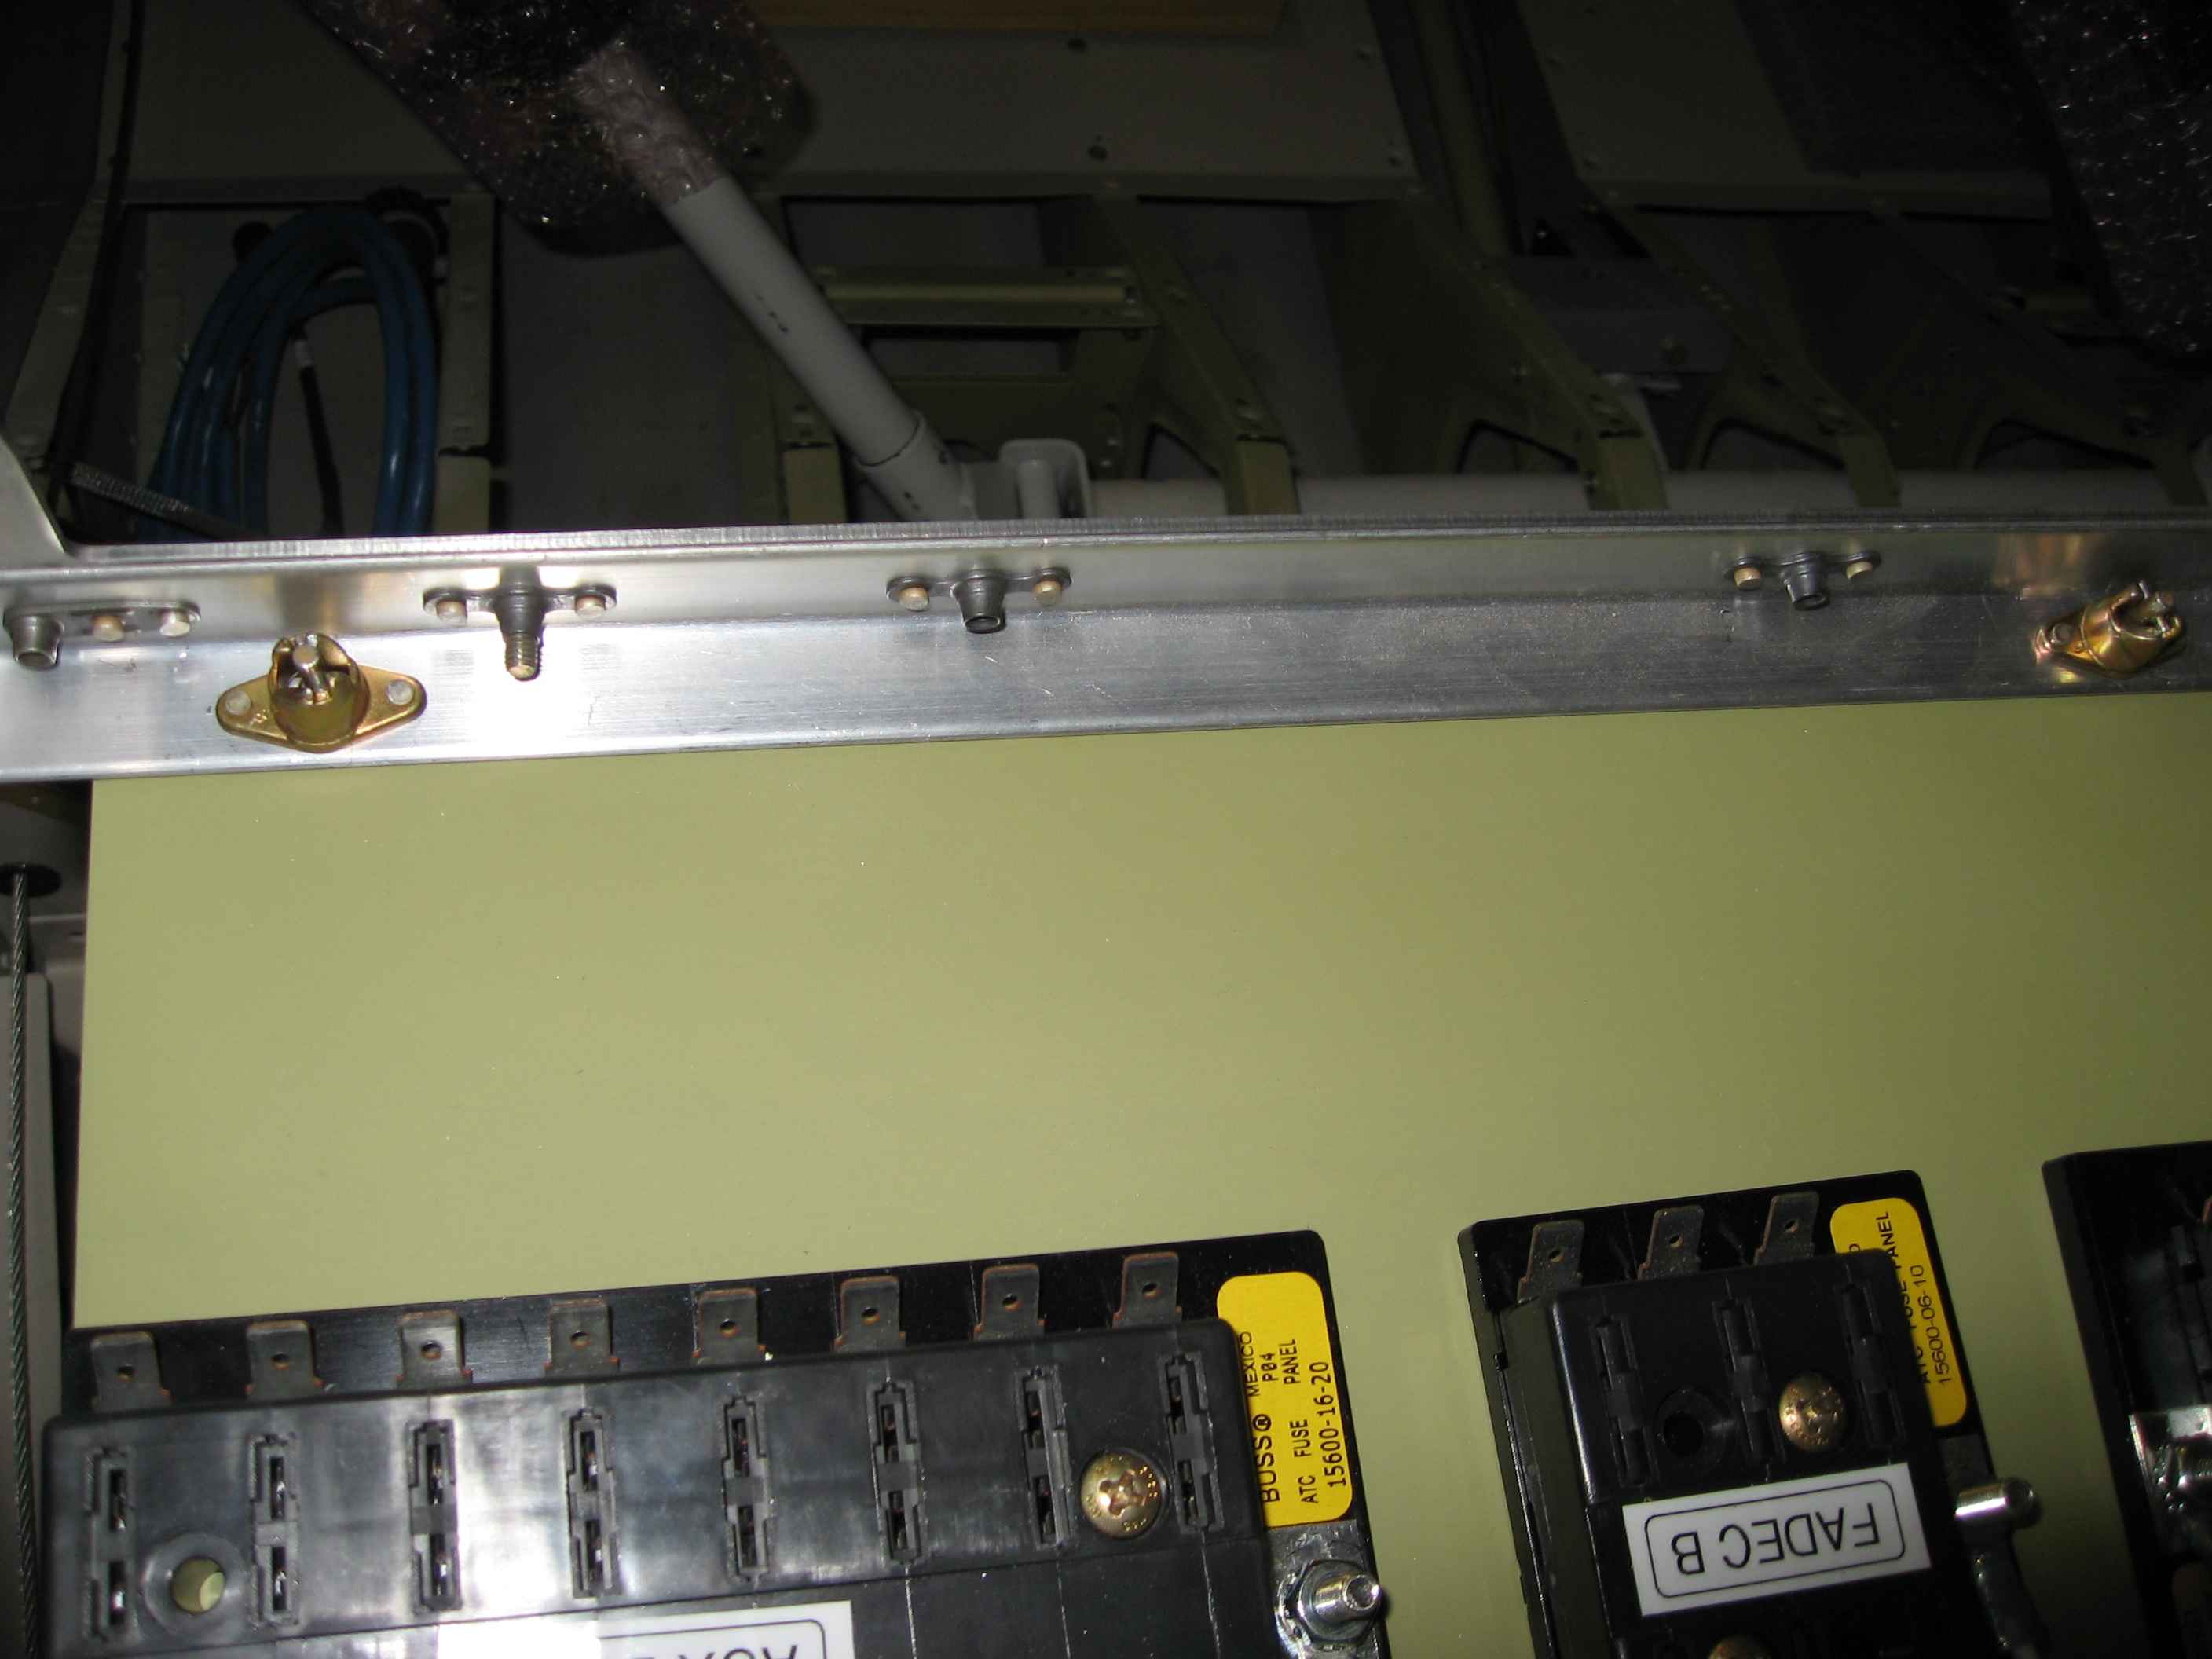
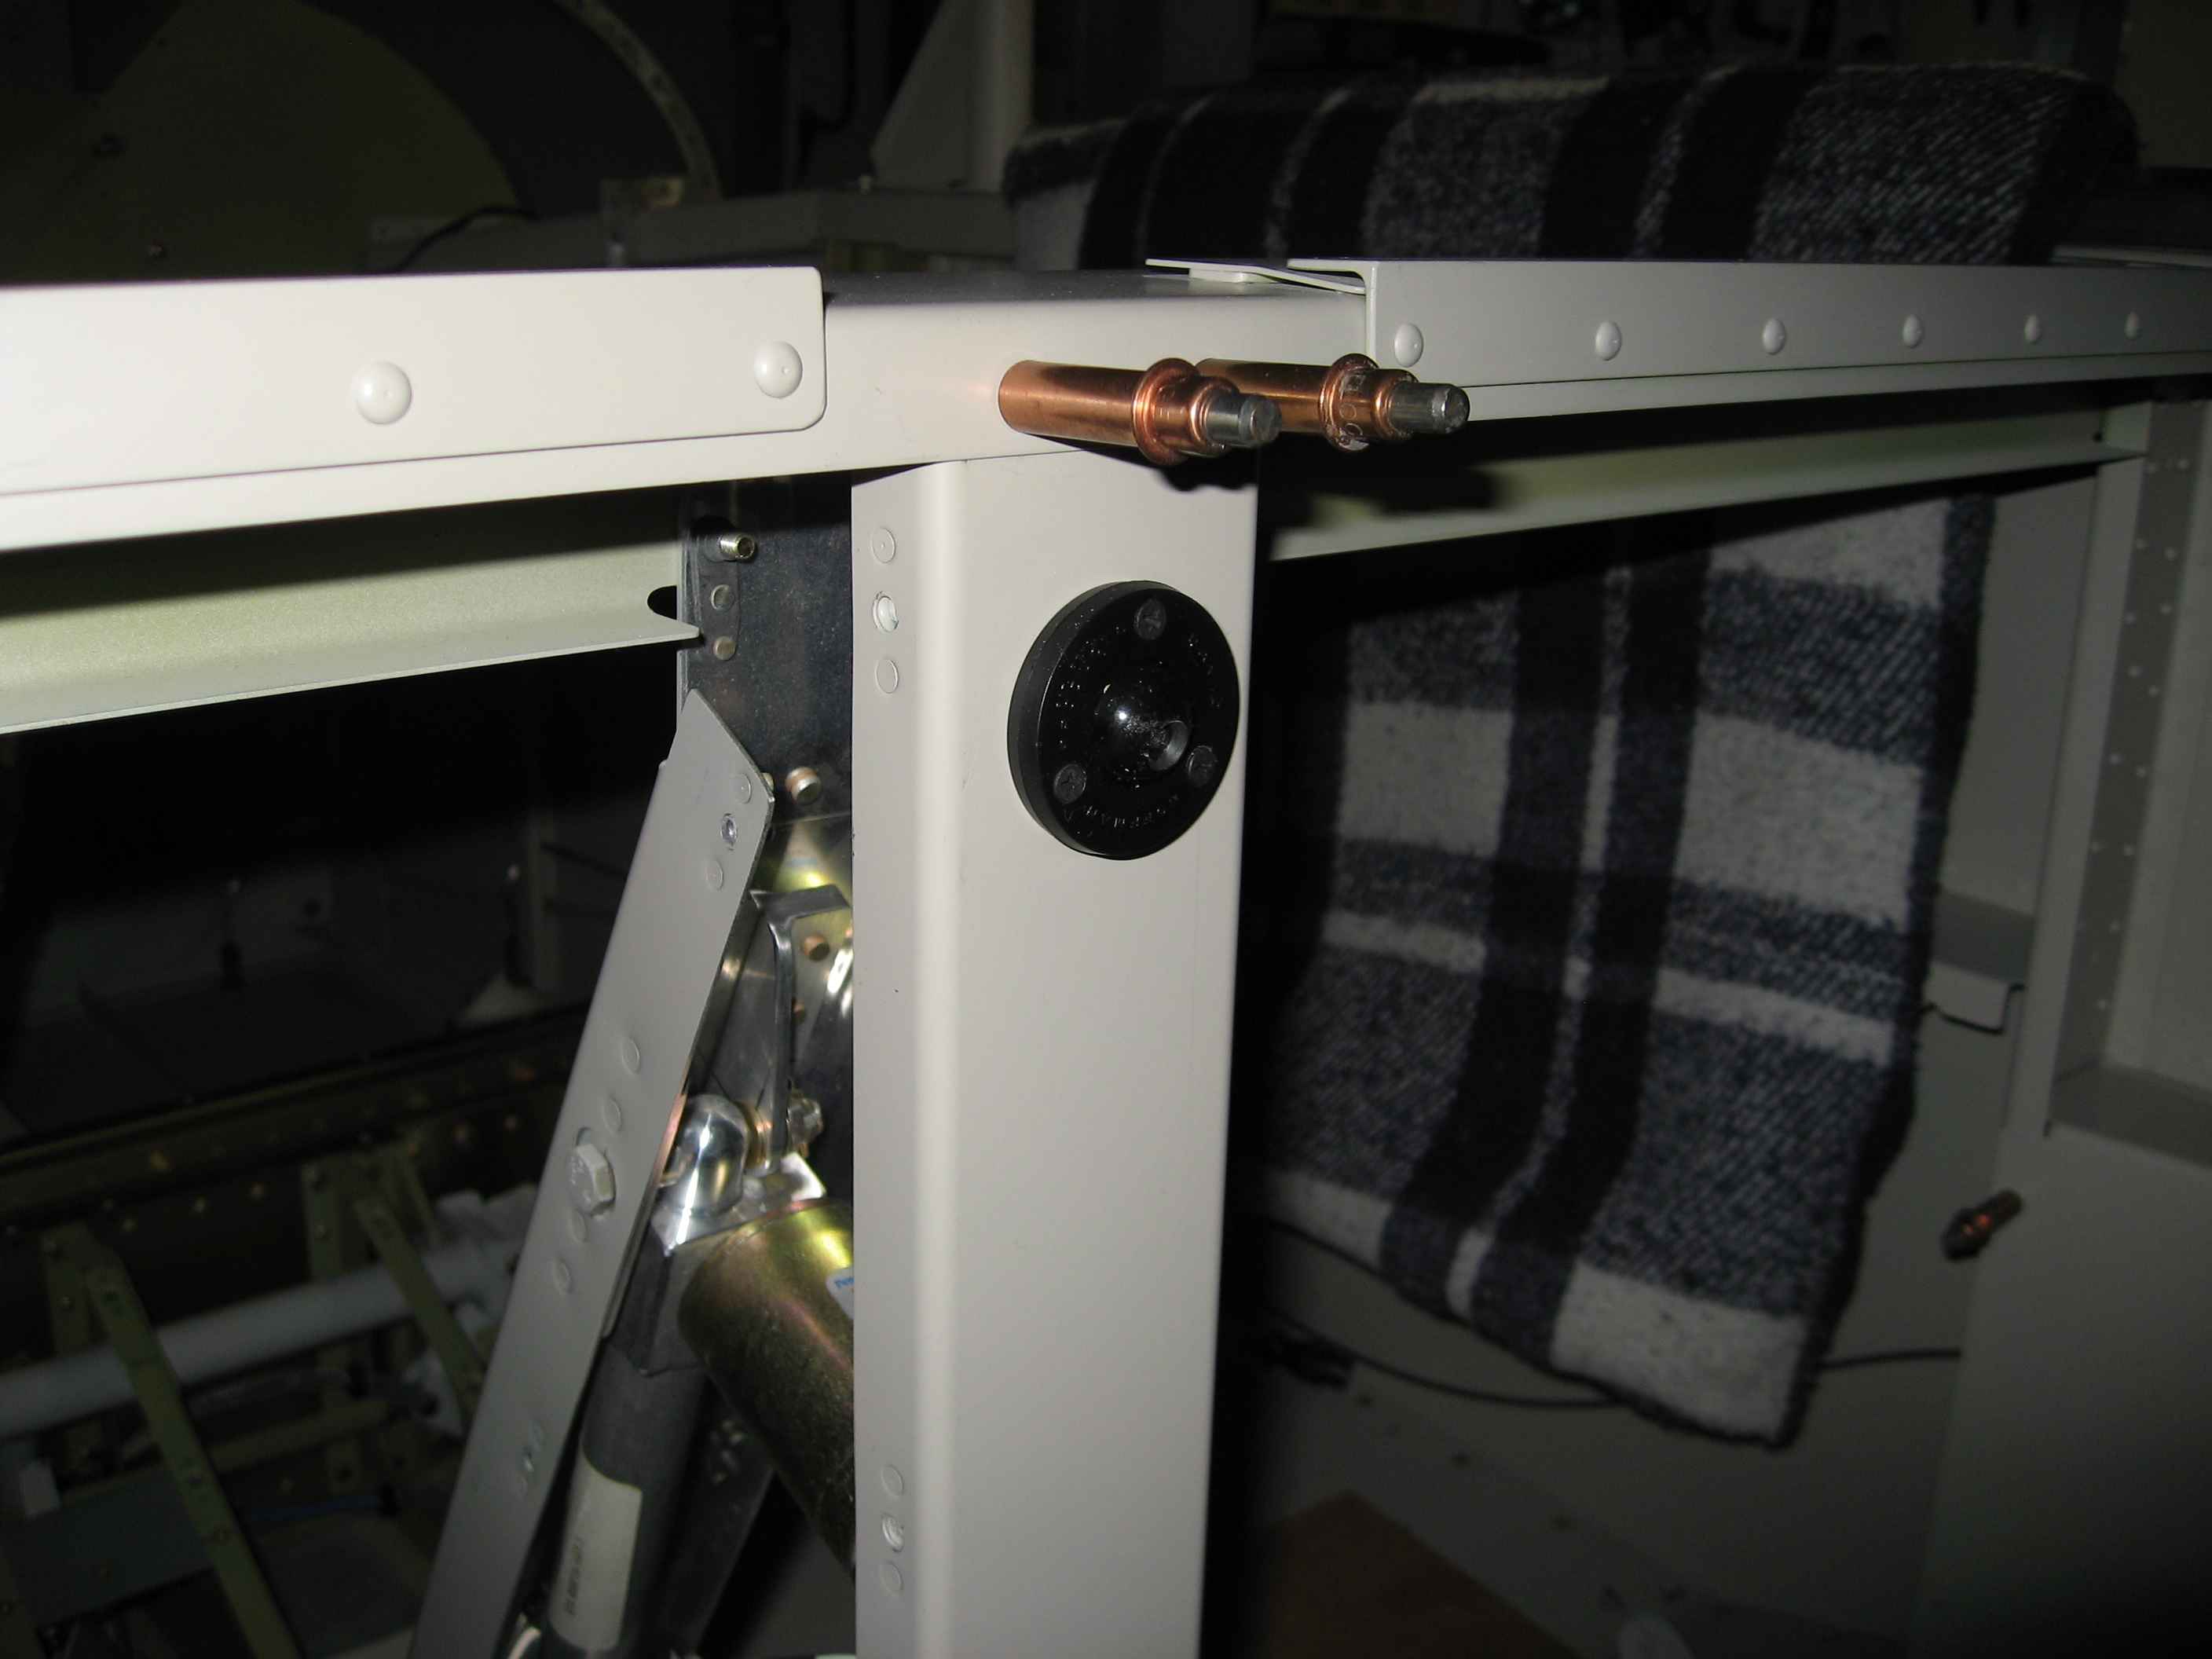
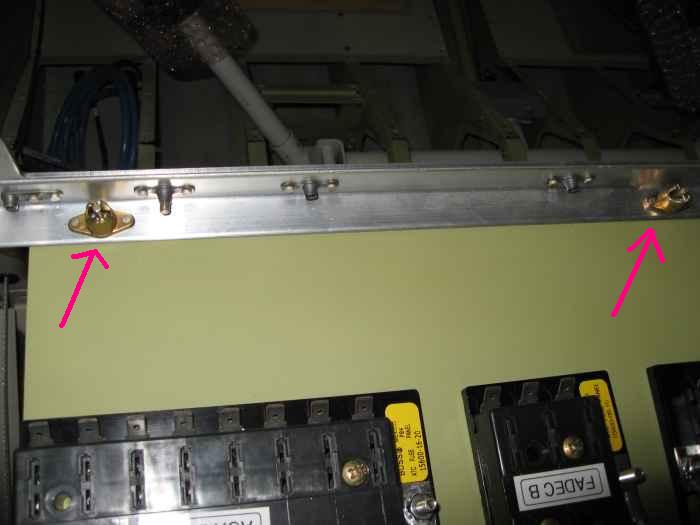
Installed these quarter turn fasteners on the front of my fuse panels
(2 per panel), to allow easy access the fuses. I picked these up
from Aircraft Spruce. |
 |
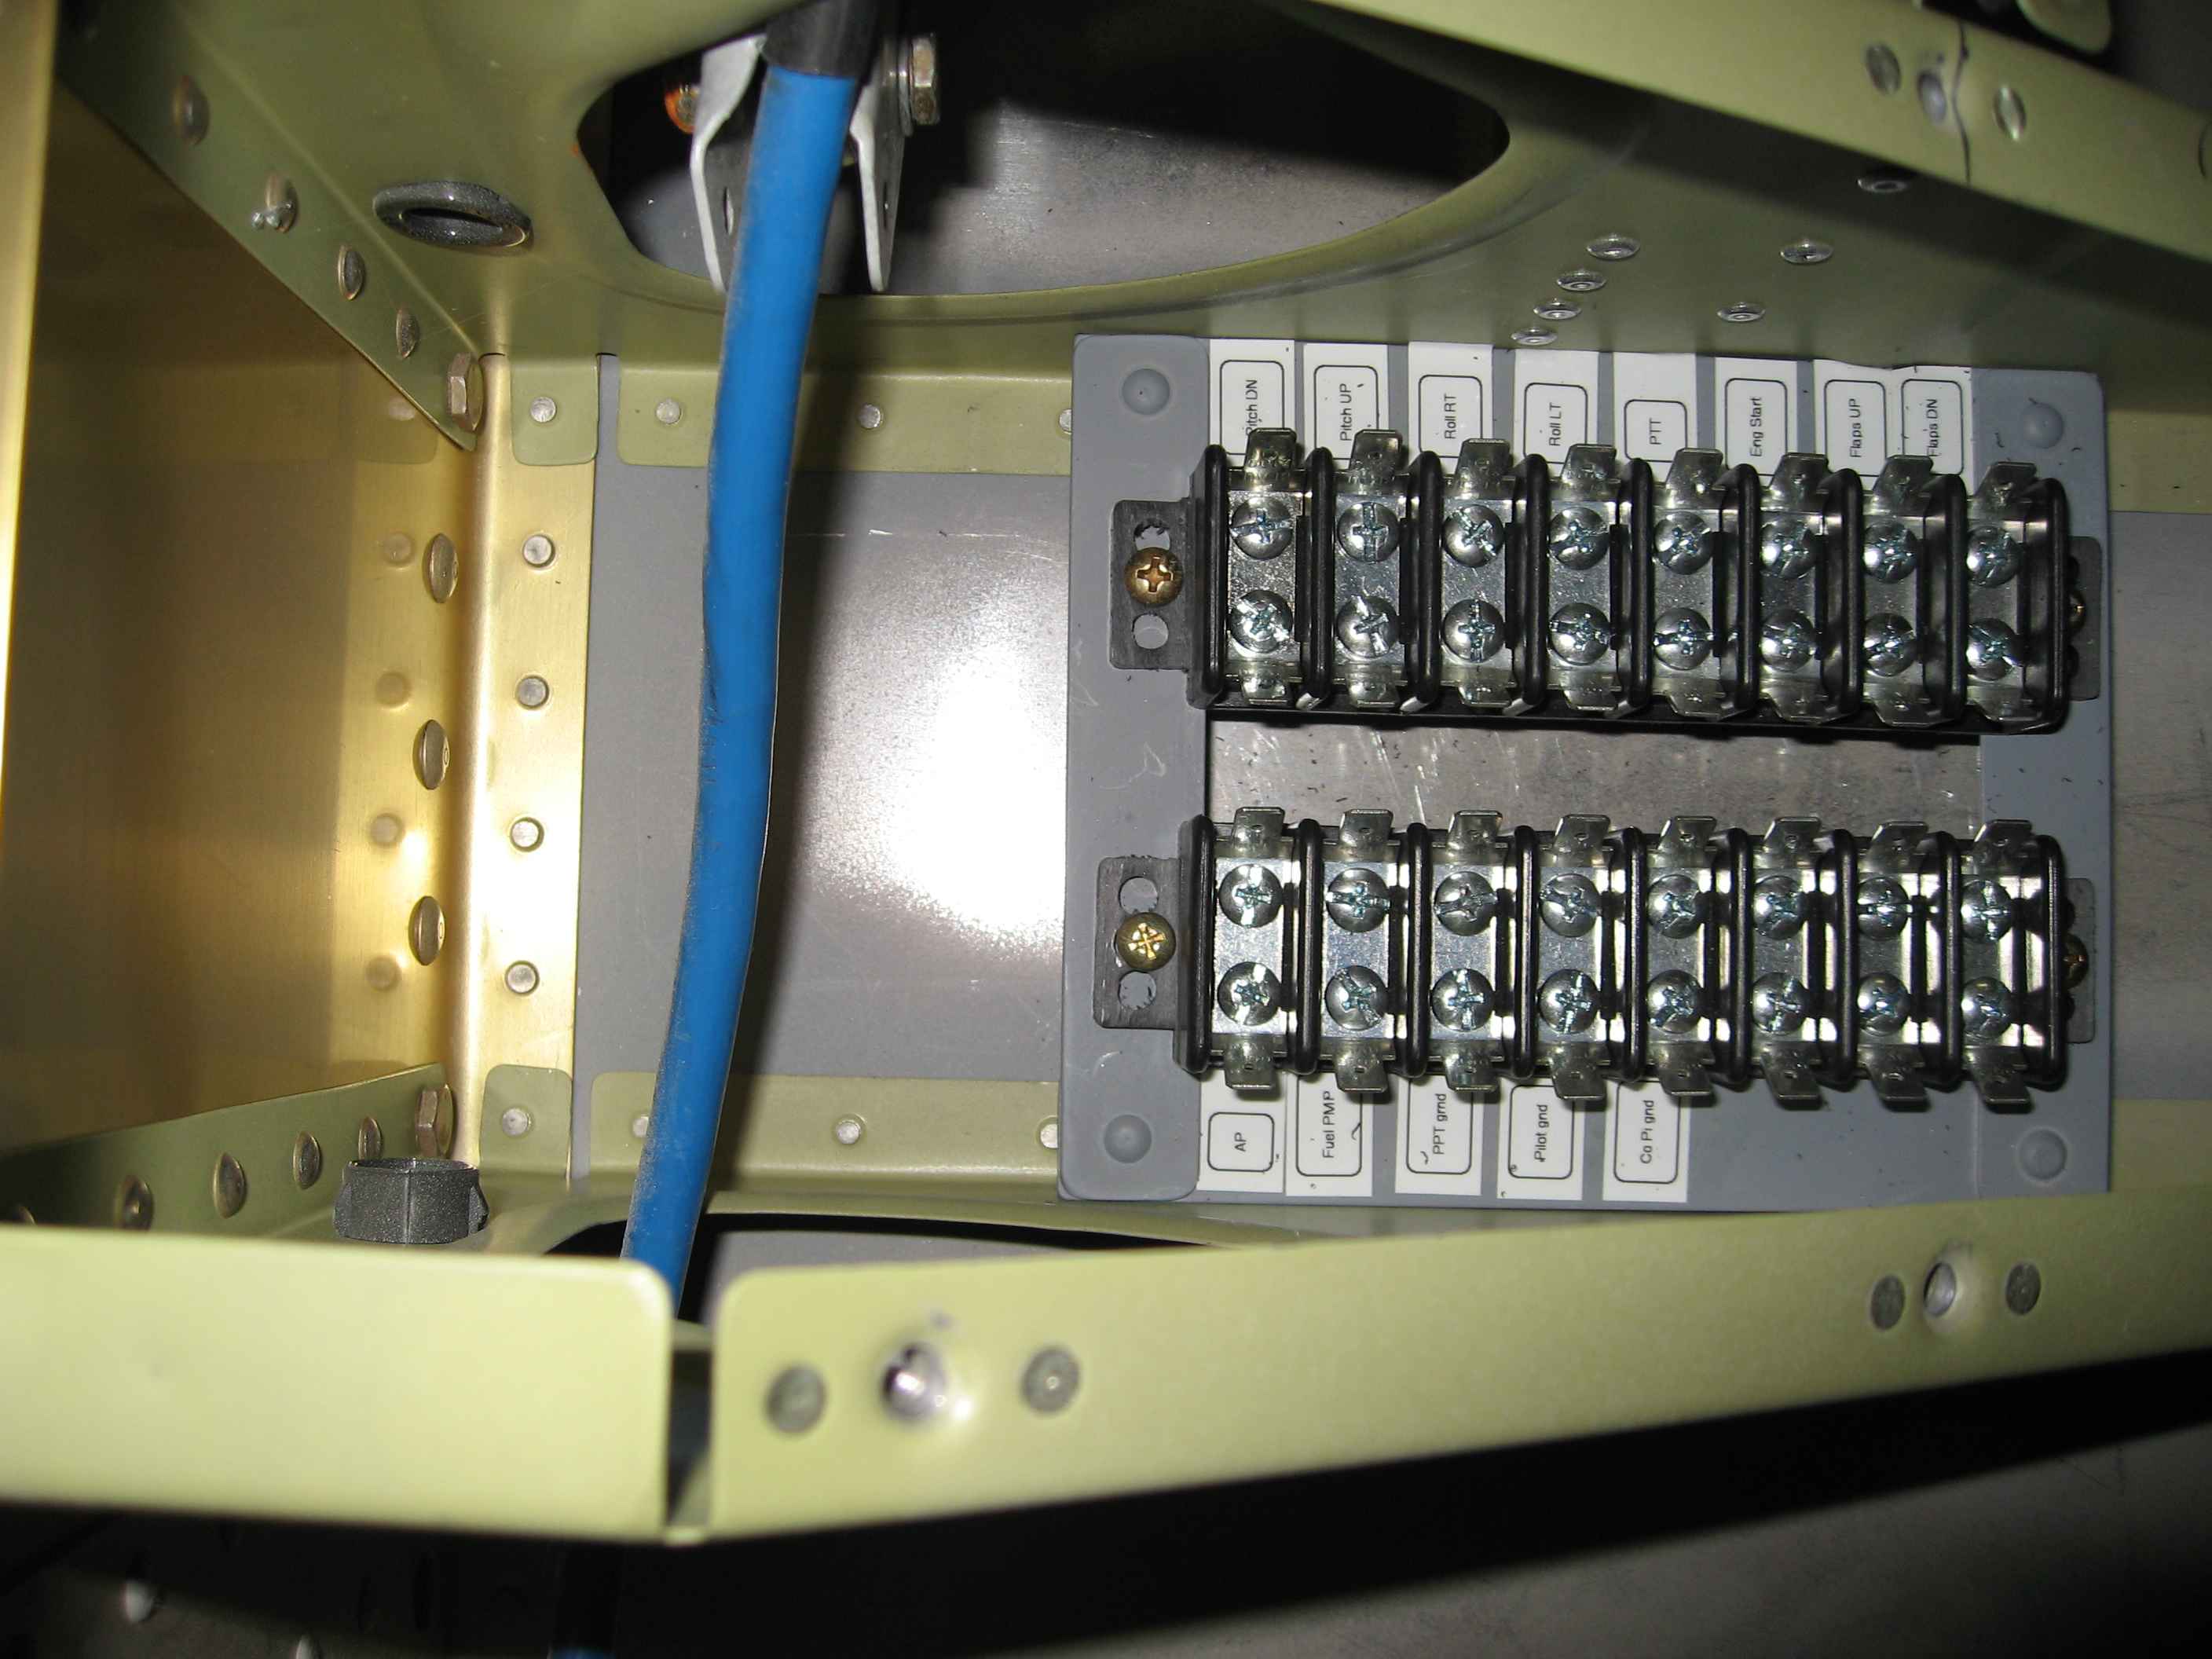
Fabricated this terminal strip holder
which is installed between the seat ribs under the pilot seat.
These terminal blocks are for receiving all the wires coming out of both
the pilot and co-pilot sticks.
The terminal strip hold is made out of four pieces of aluminum stock
and is riveted tot he seat ribs. I installed nut-plates to receive
the attachment bolts that go through the terminal blocks. I marked
all the locations of the various wires using my label maker. |
 |
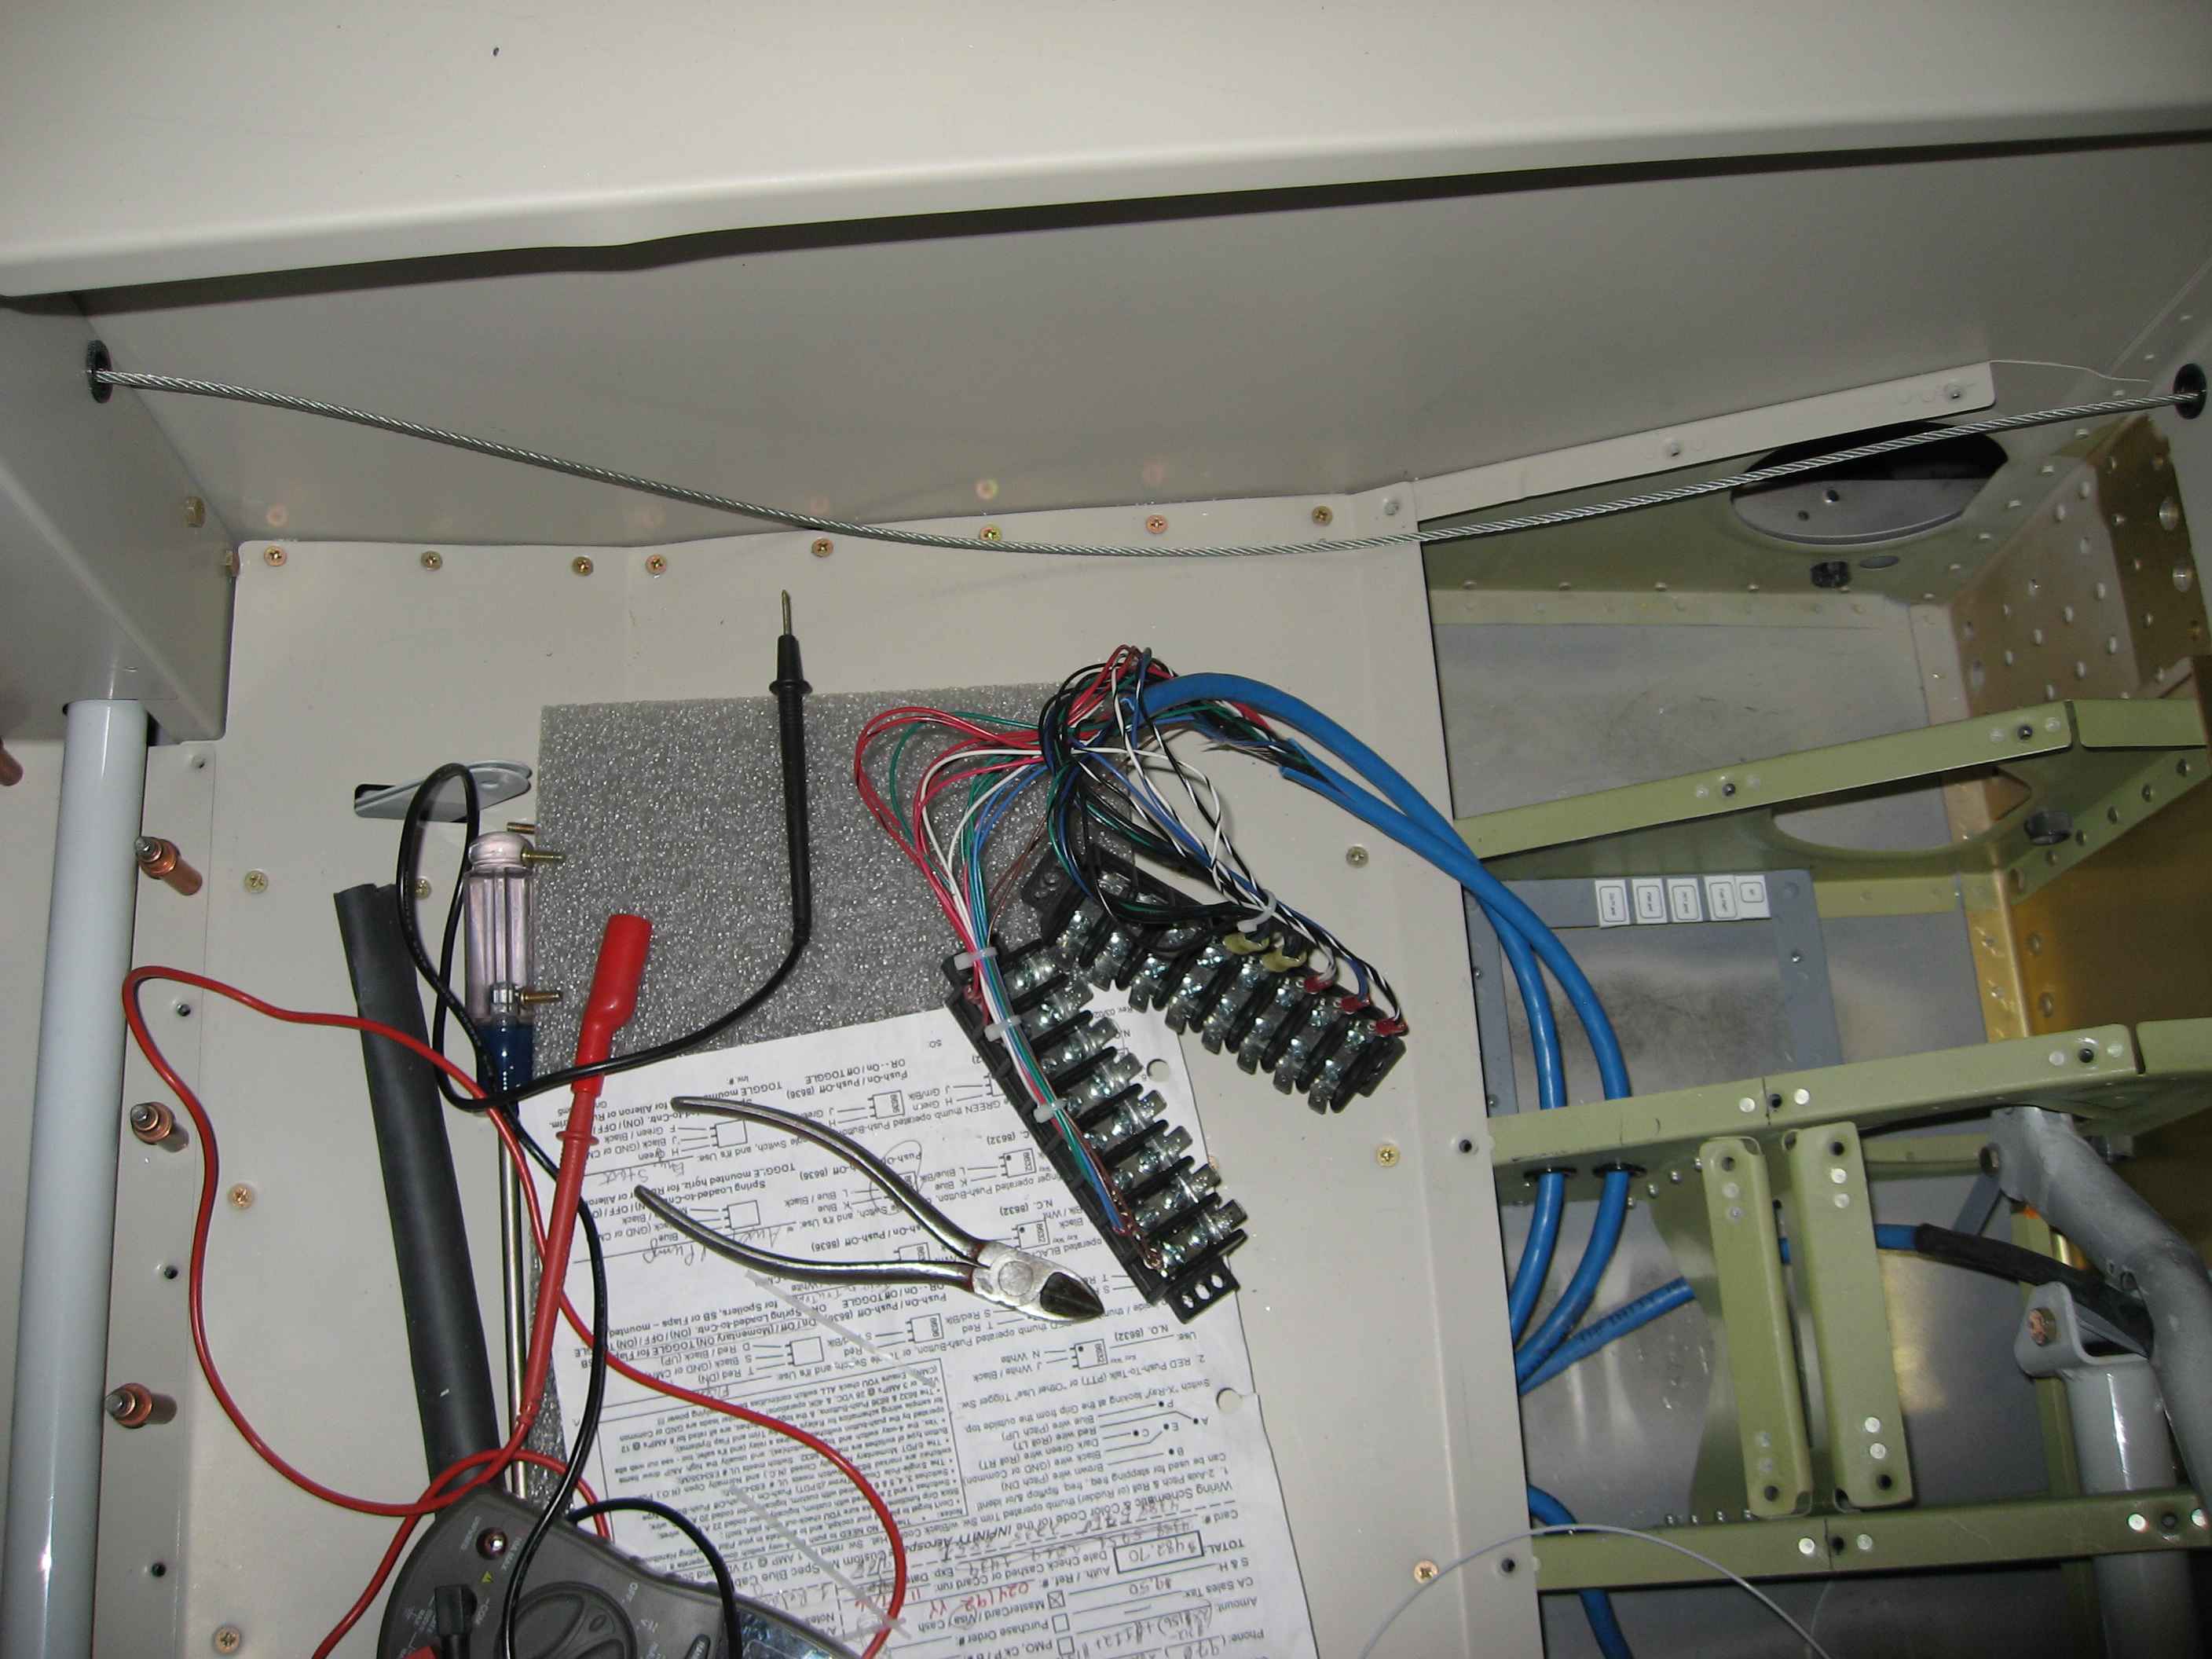
I then began the wiring process. I
will be running both the pilot and co-pilot wires in parallel. I
isolated all the co-pilot grounds, except the push-to-talk (PTT) so that
I can rig a co-pilot stick kill switch on the panel. This will be
good when I am flying with small kids and do not want them accidentally
deploying my flaps or something. I will always keep the PTT
active... at least that is my current thinking. |
 |
Here are the terminal blocks installed and
the stick wires all tidied up. |
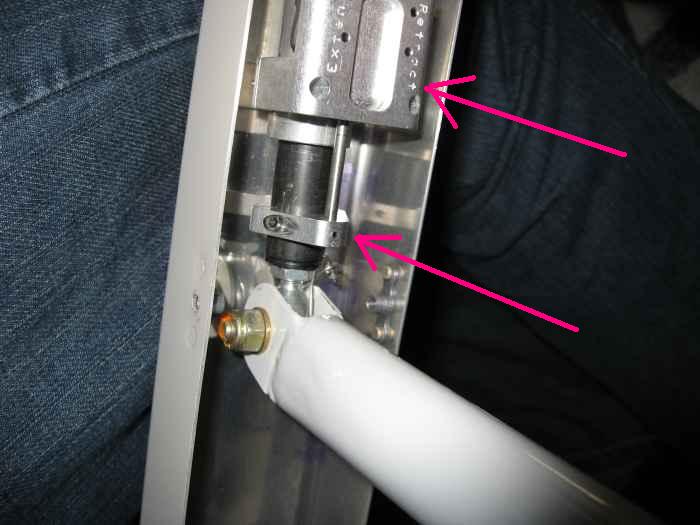 |
Next, I decided to install my flap
positioning system. This is an after-market product from Show
Planes that allows you to deploy 10, 20, and 30 degree increments of
flaps with a single, double, or triple push of the momentary flap
switch. It also positively stops the flap motor when the flaps are
fully retracted. It was actually quite easy to install.
Kind of hard to see in this picture, but the system installs by
fitting over the standard Vans flap actuator. |
 |
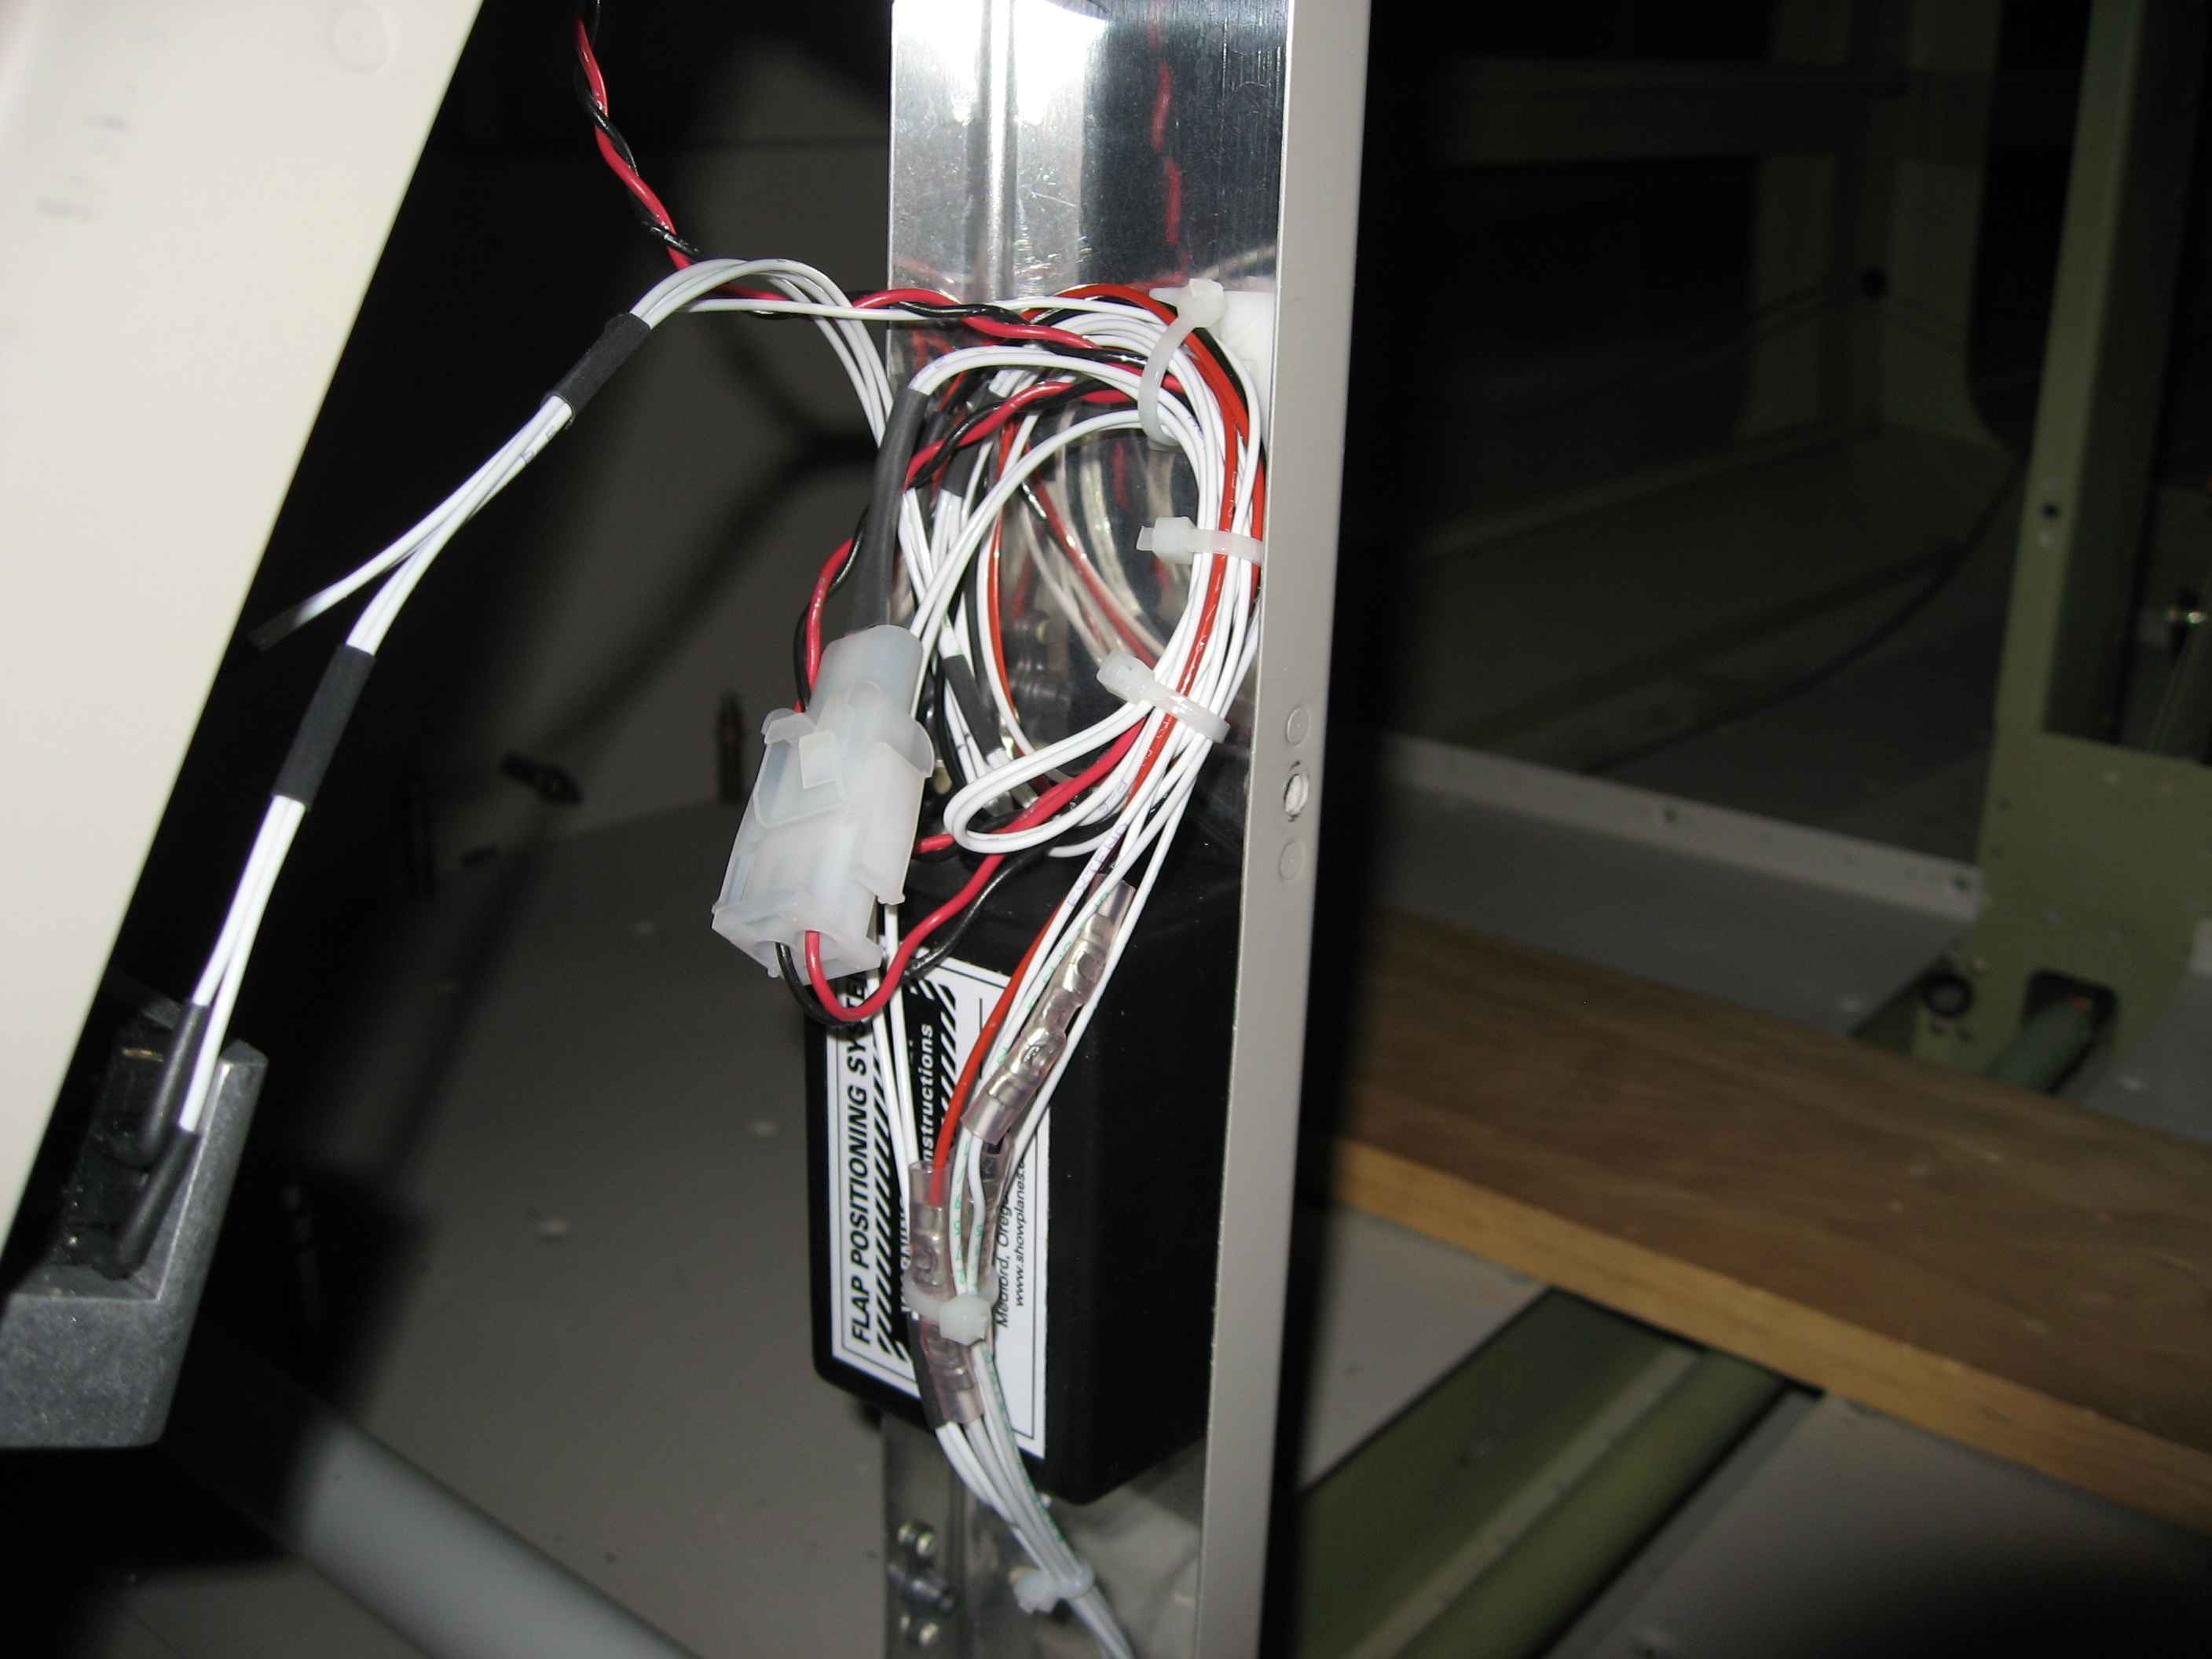
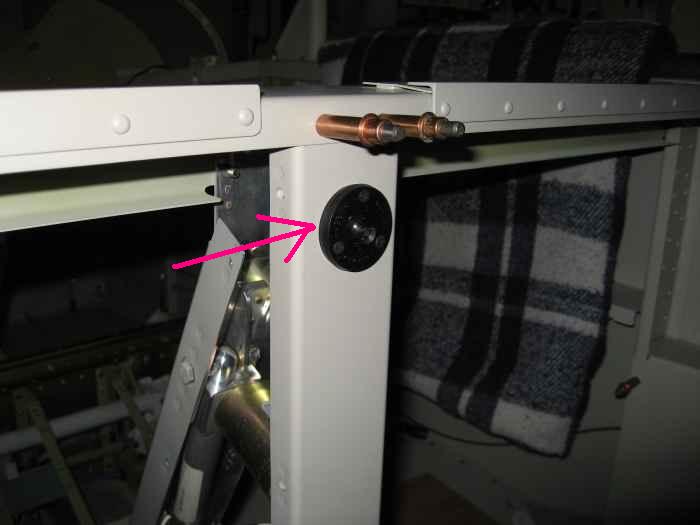
The flap positioning system also includes
a small controller box which I mounted to the inside of the vertical
upright structure of the seat backs bulkhead.
Here you can see the control unit installed. I installed molex
connector between the control unit and the flap motor in the event that
I need to pull the motor out some day for service (I hear this typically
is required). The rest of the wires are just temporarily bundled.
I will probably install a second molex connector for the wire runs to
the stick terminal blocks and then clean this bundle up.
|
 |
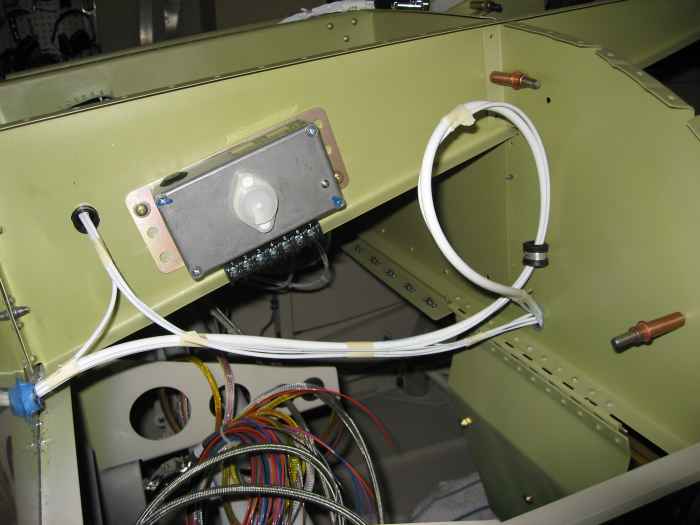
While I was working on the flap
positioning system, I decided to install this swivel LED eye-ball light
behind the seats to shine in the baggage area. |
|
|
|