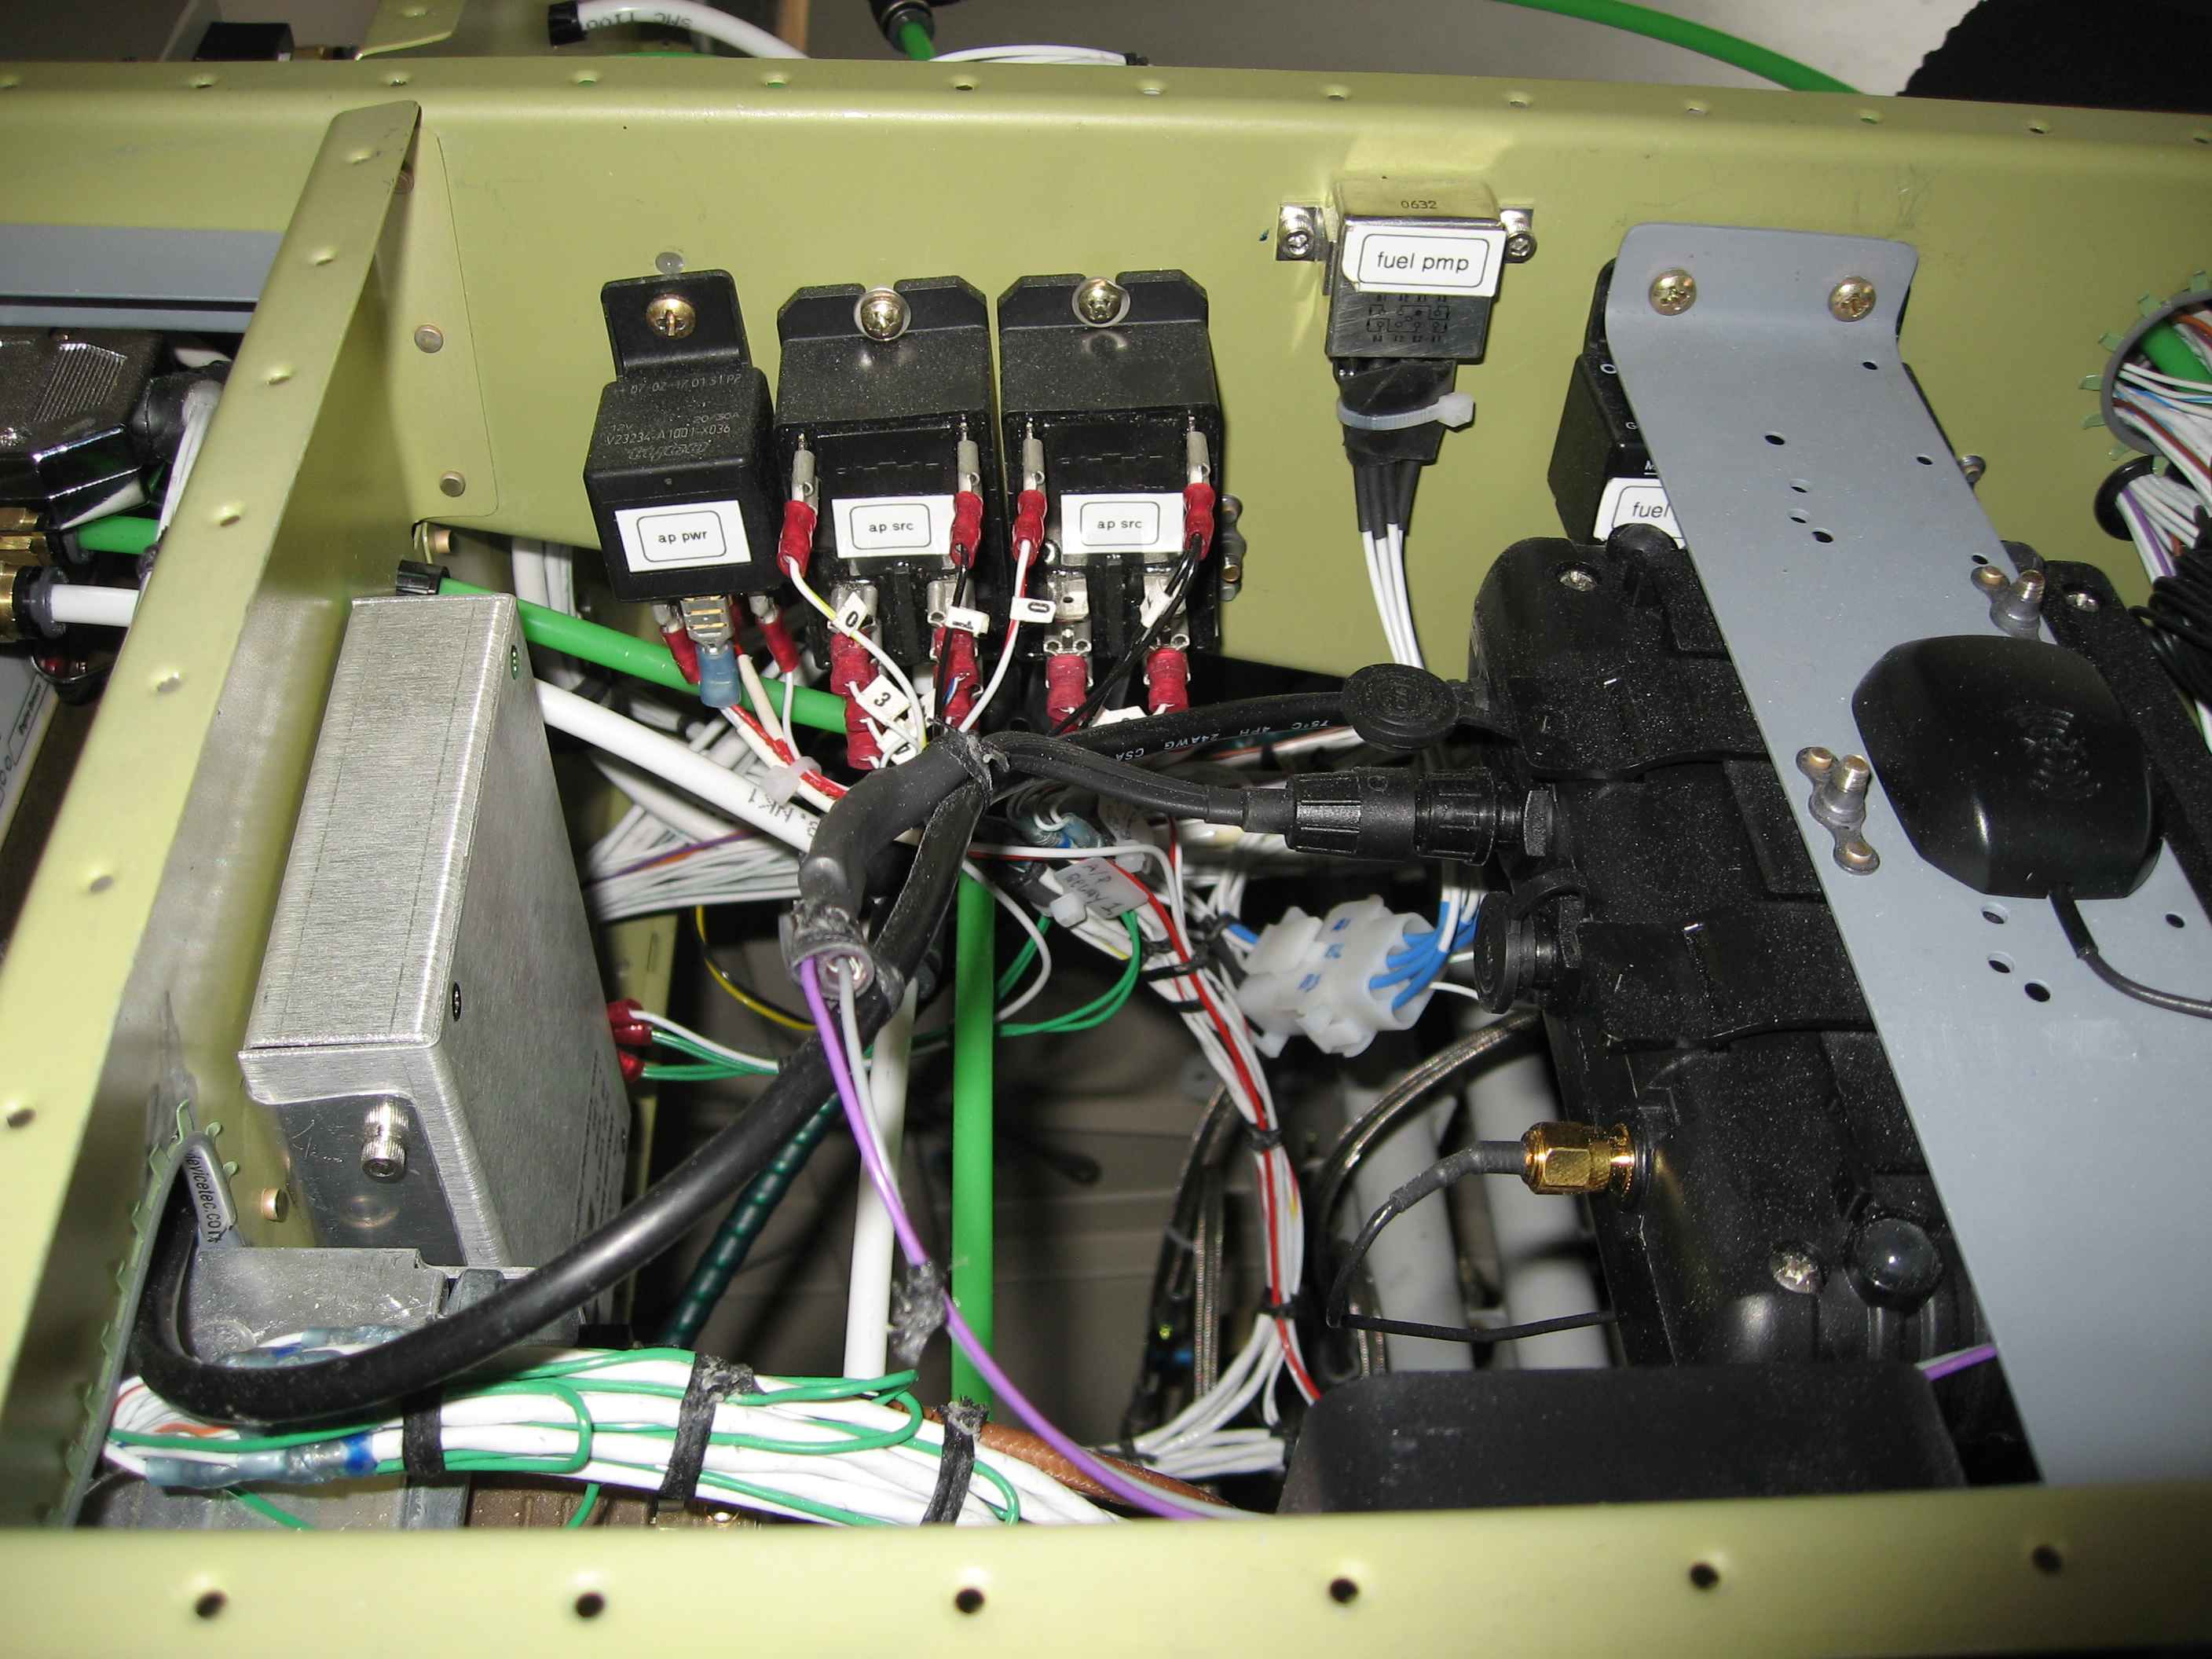
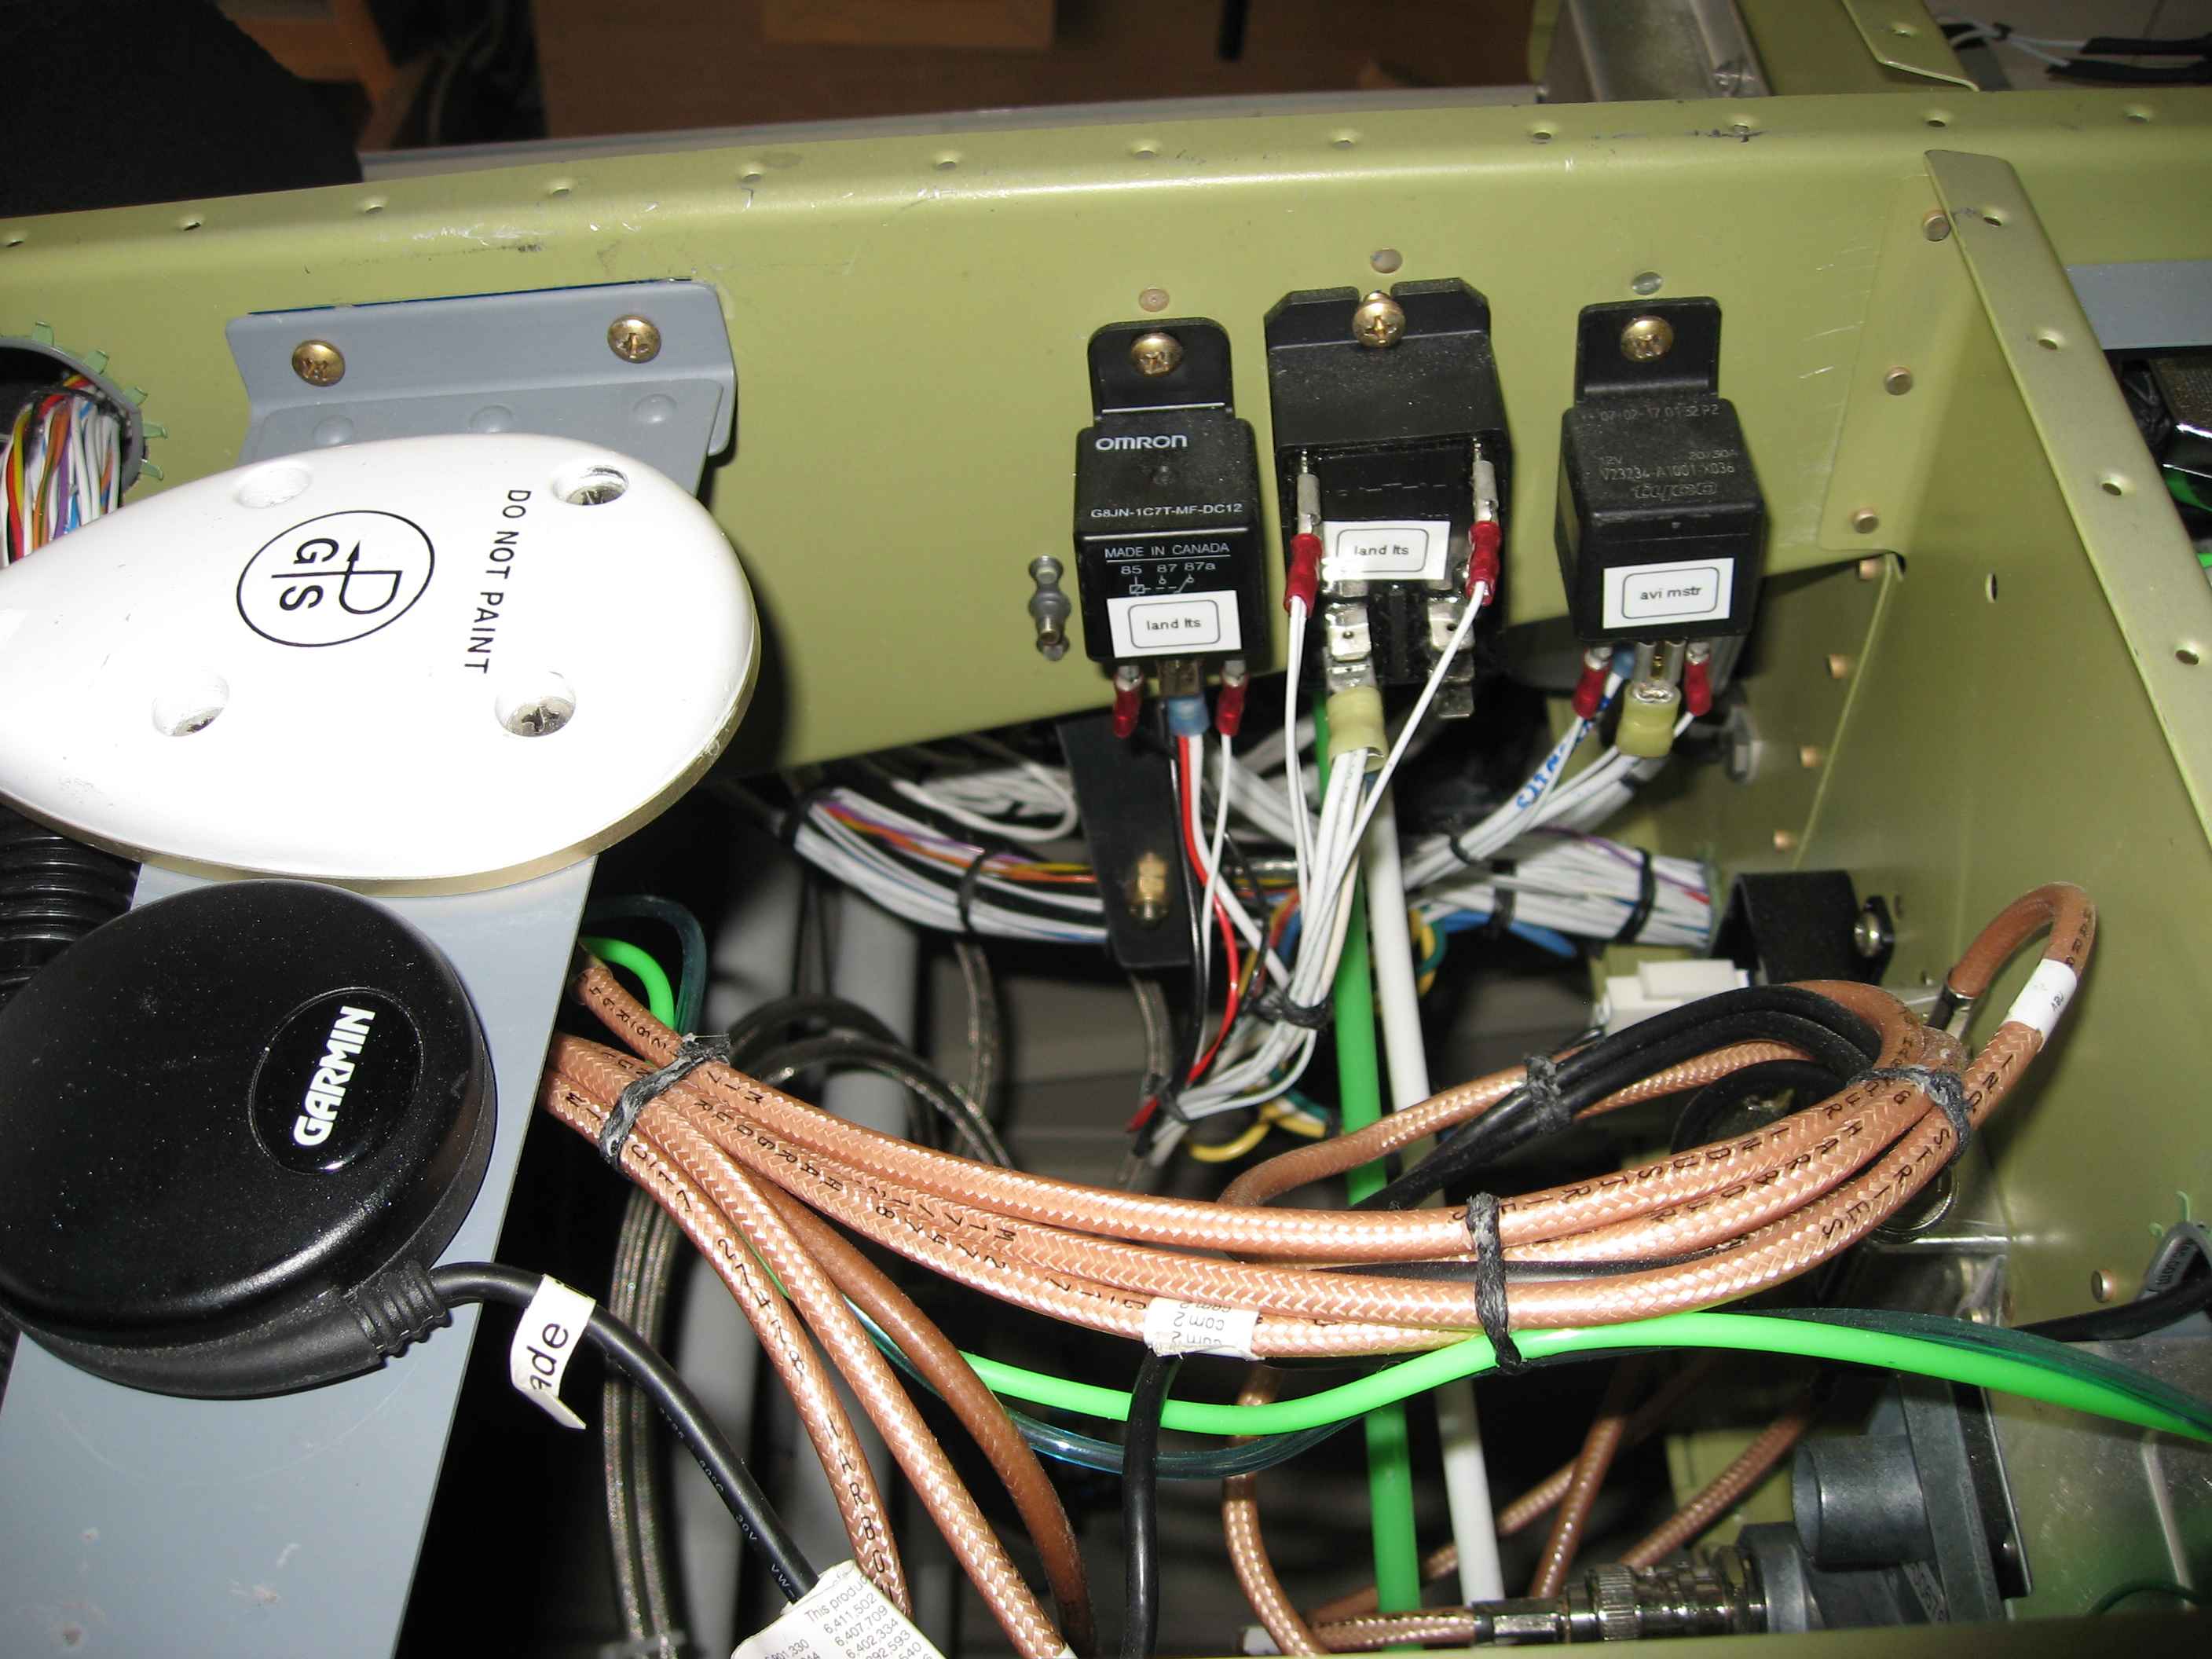
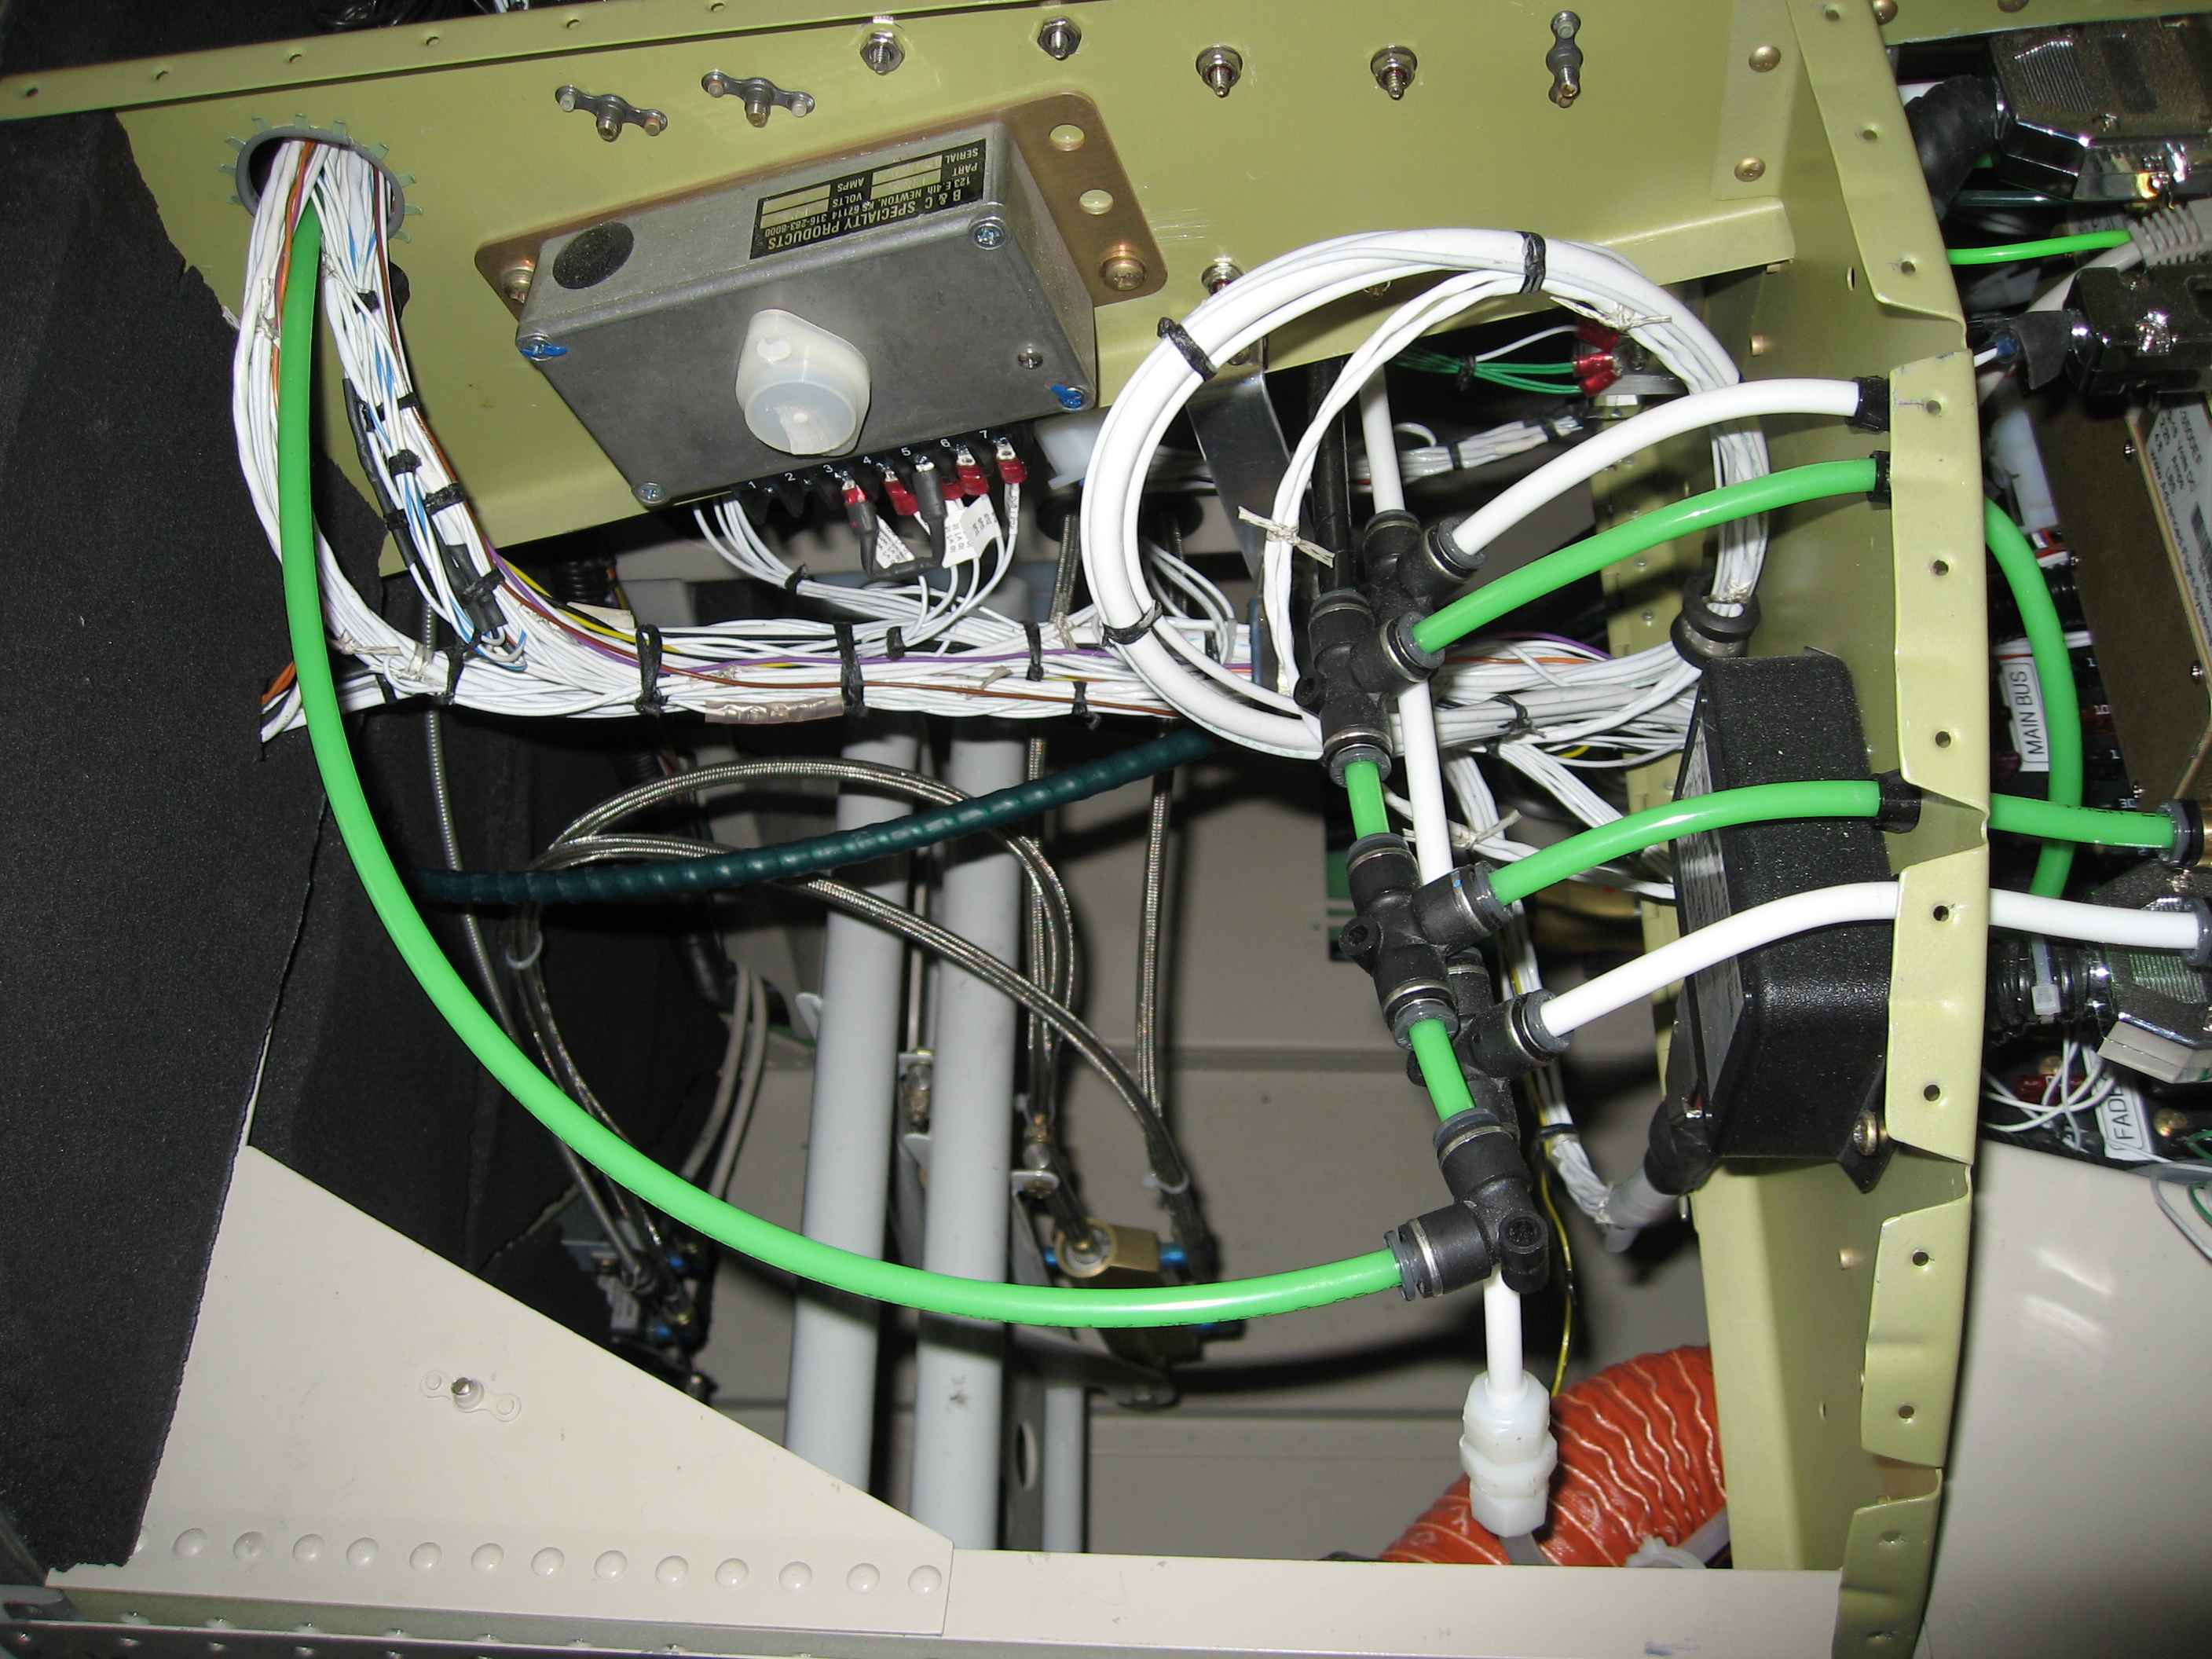
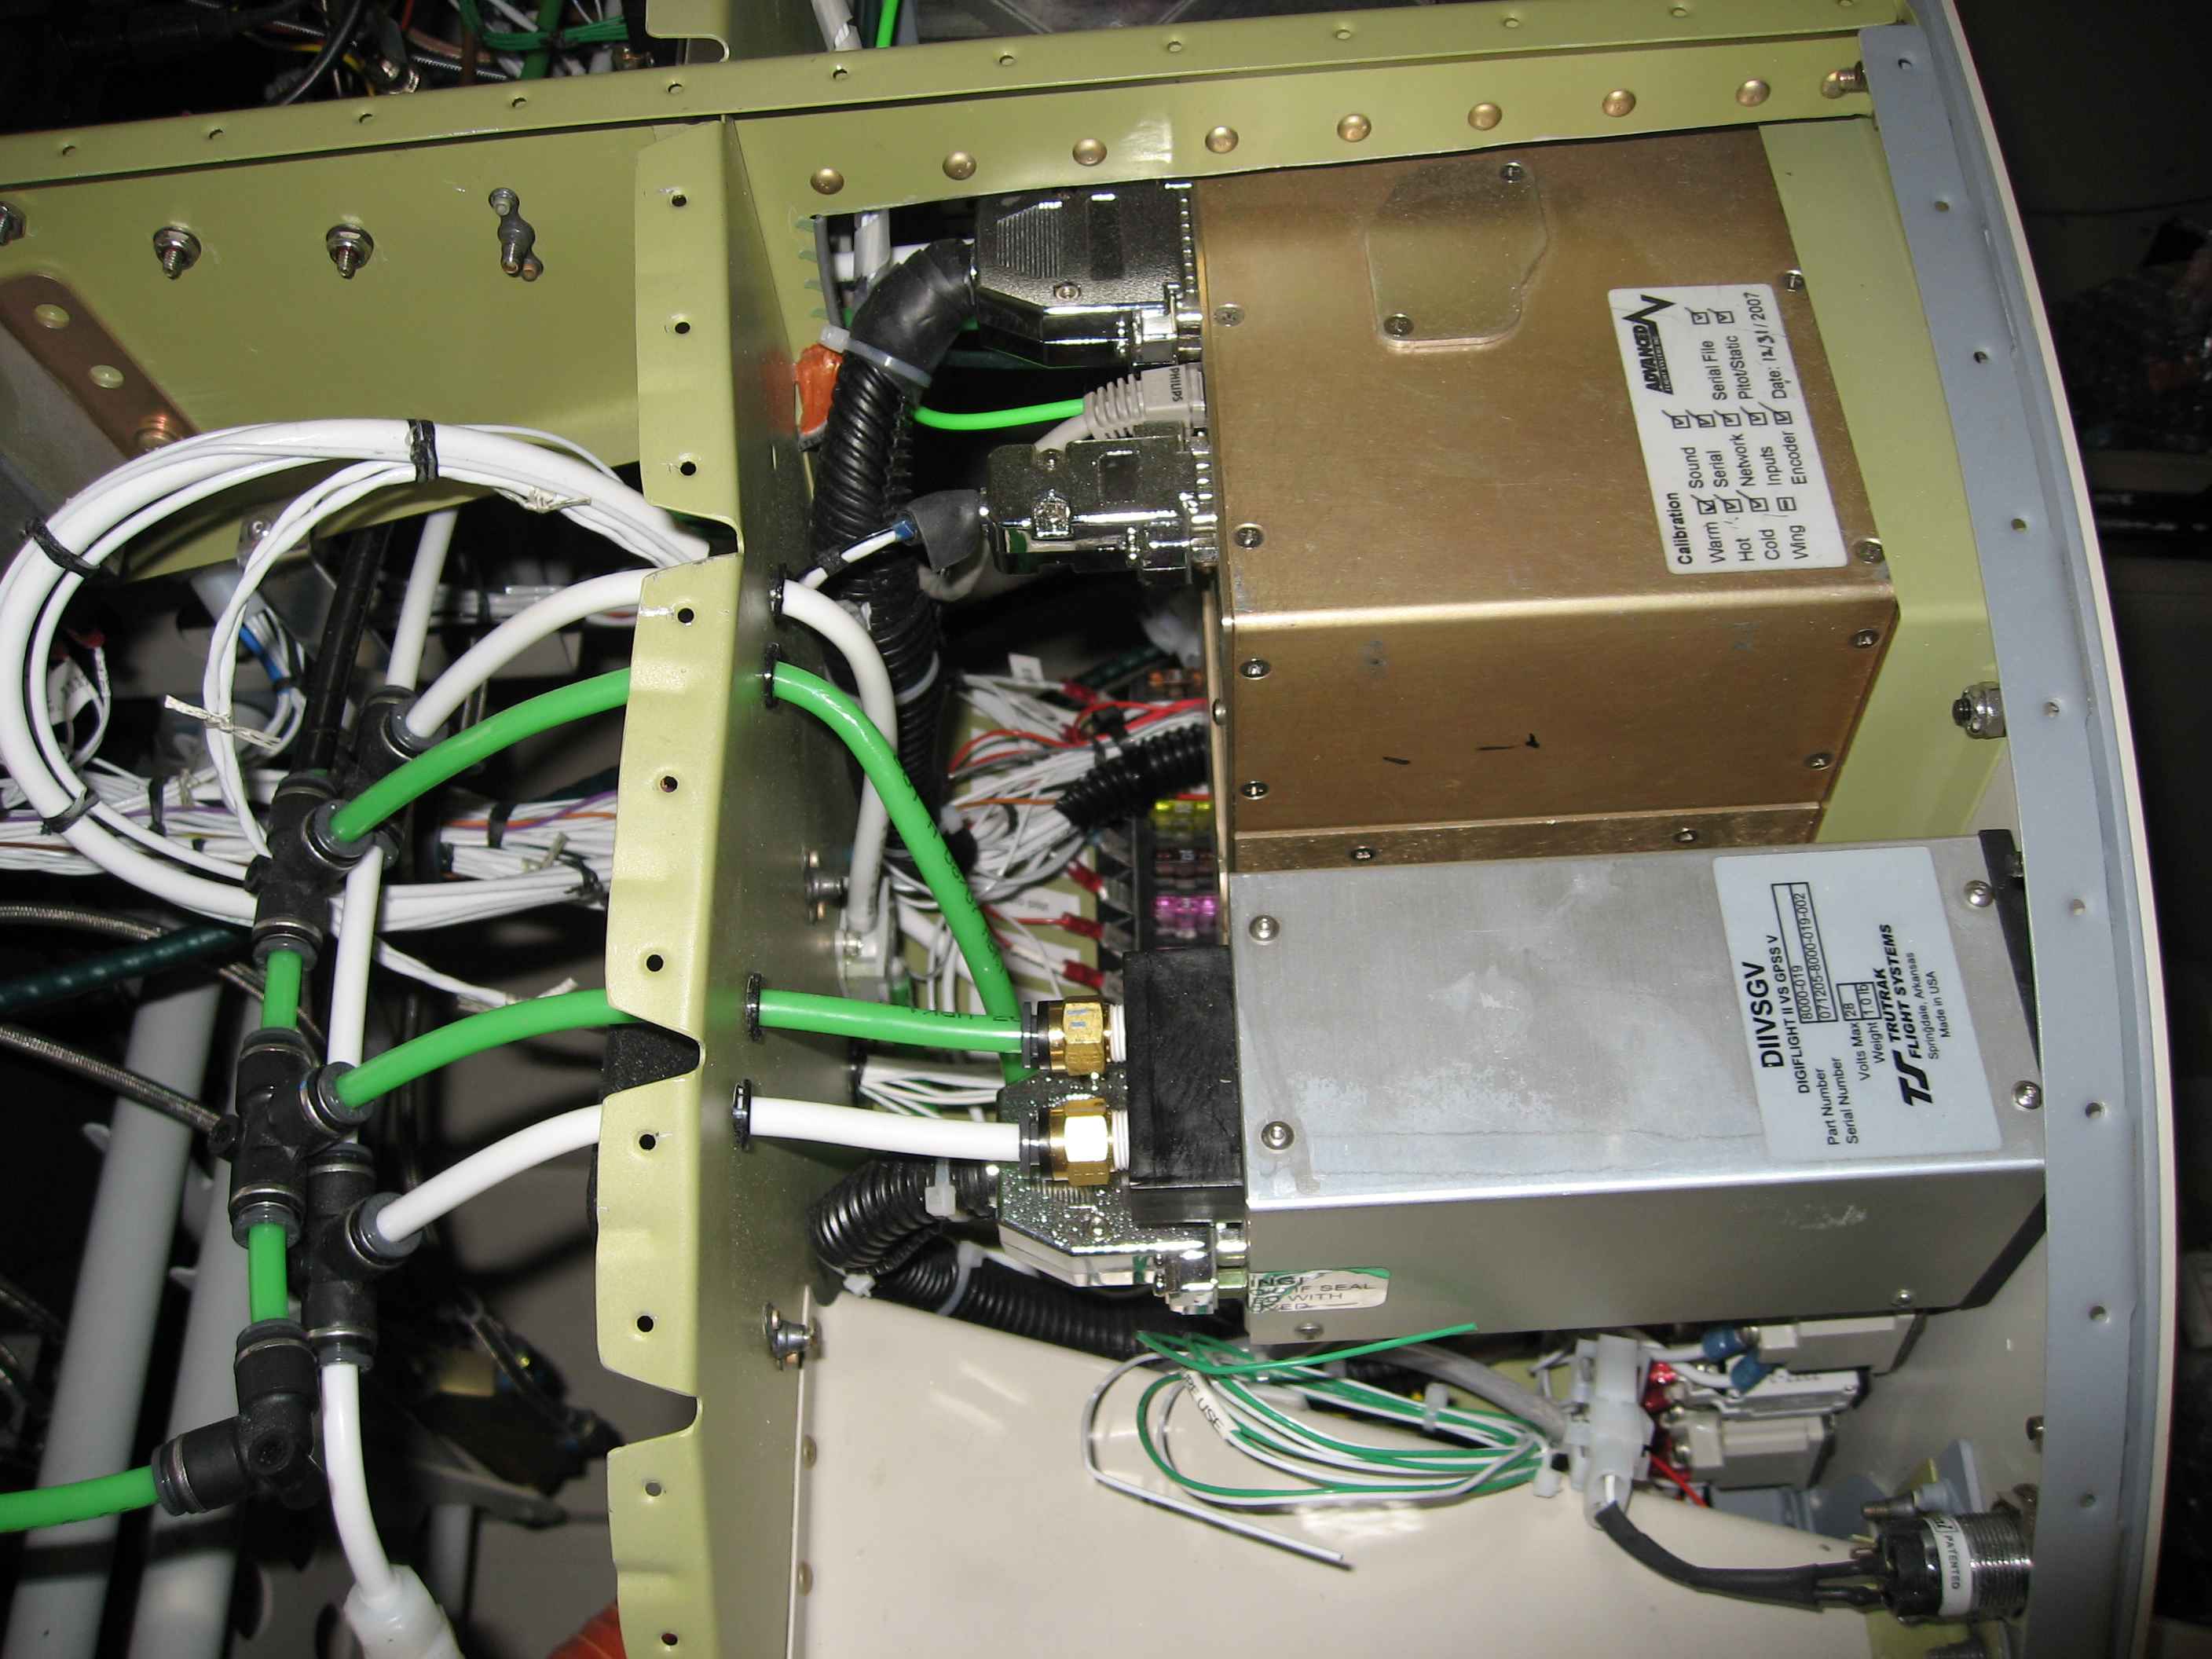
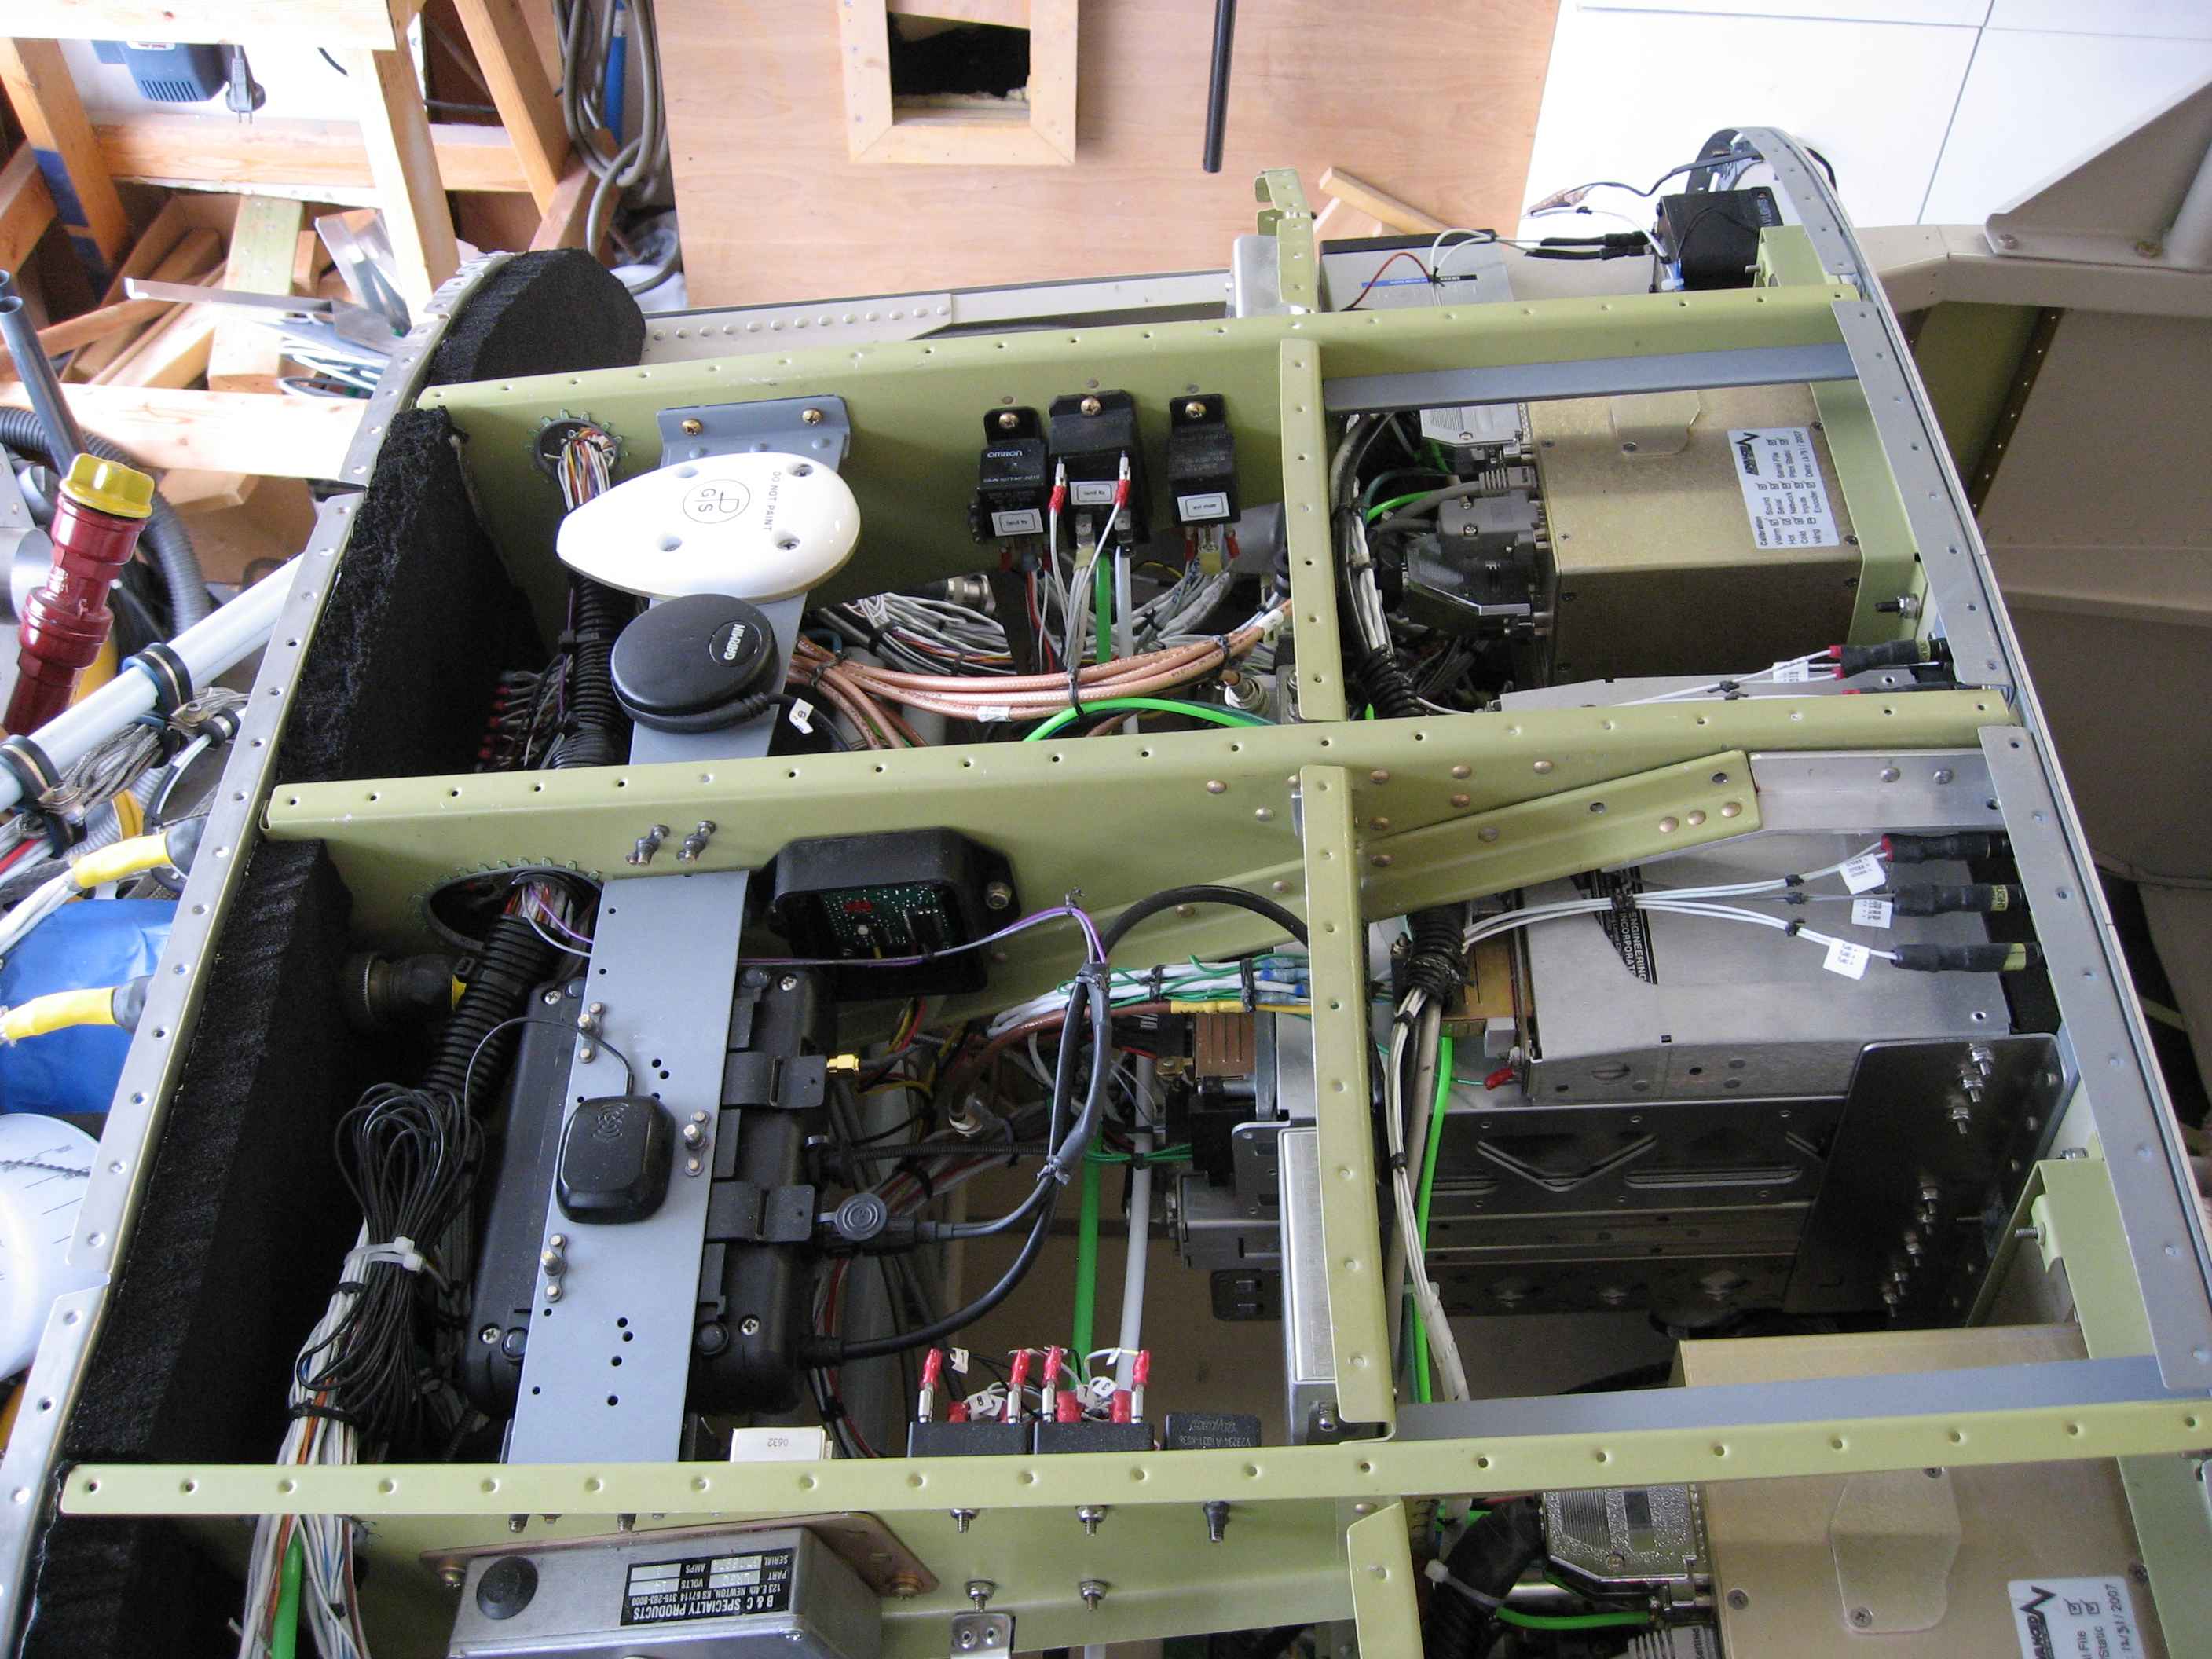
Because I have a sliding canopy, access behind the panel will somewhat limited once the top skin and wind screen are on. Some builders have reported good results installing access panels in the top skin. With all the wiring I have behind the panel related to the dual busses and FADEC system, I definitely am going to make some access panels.
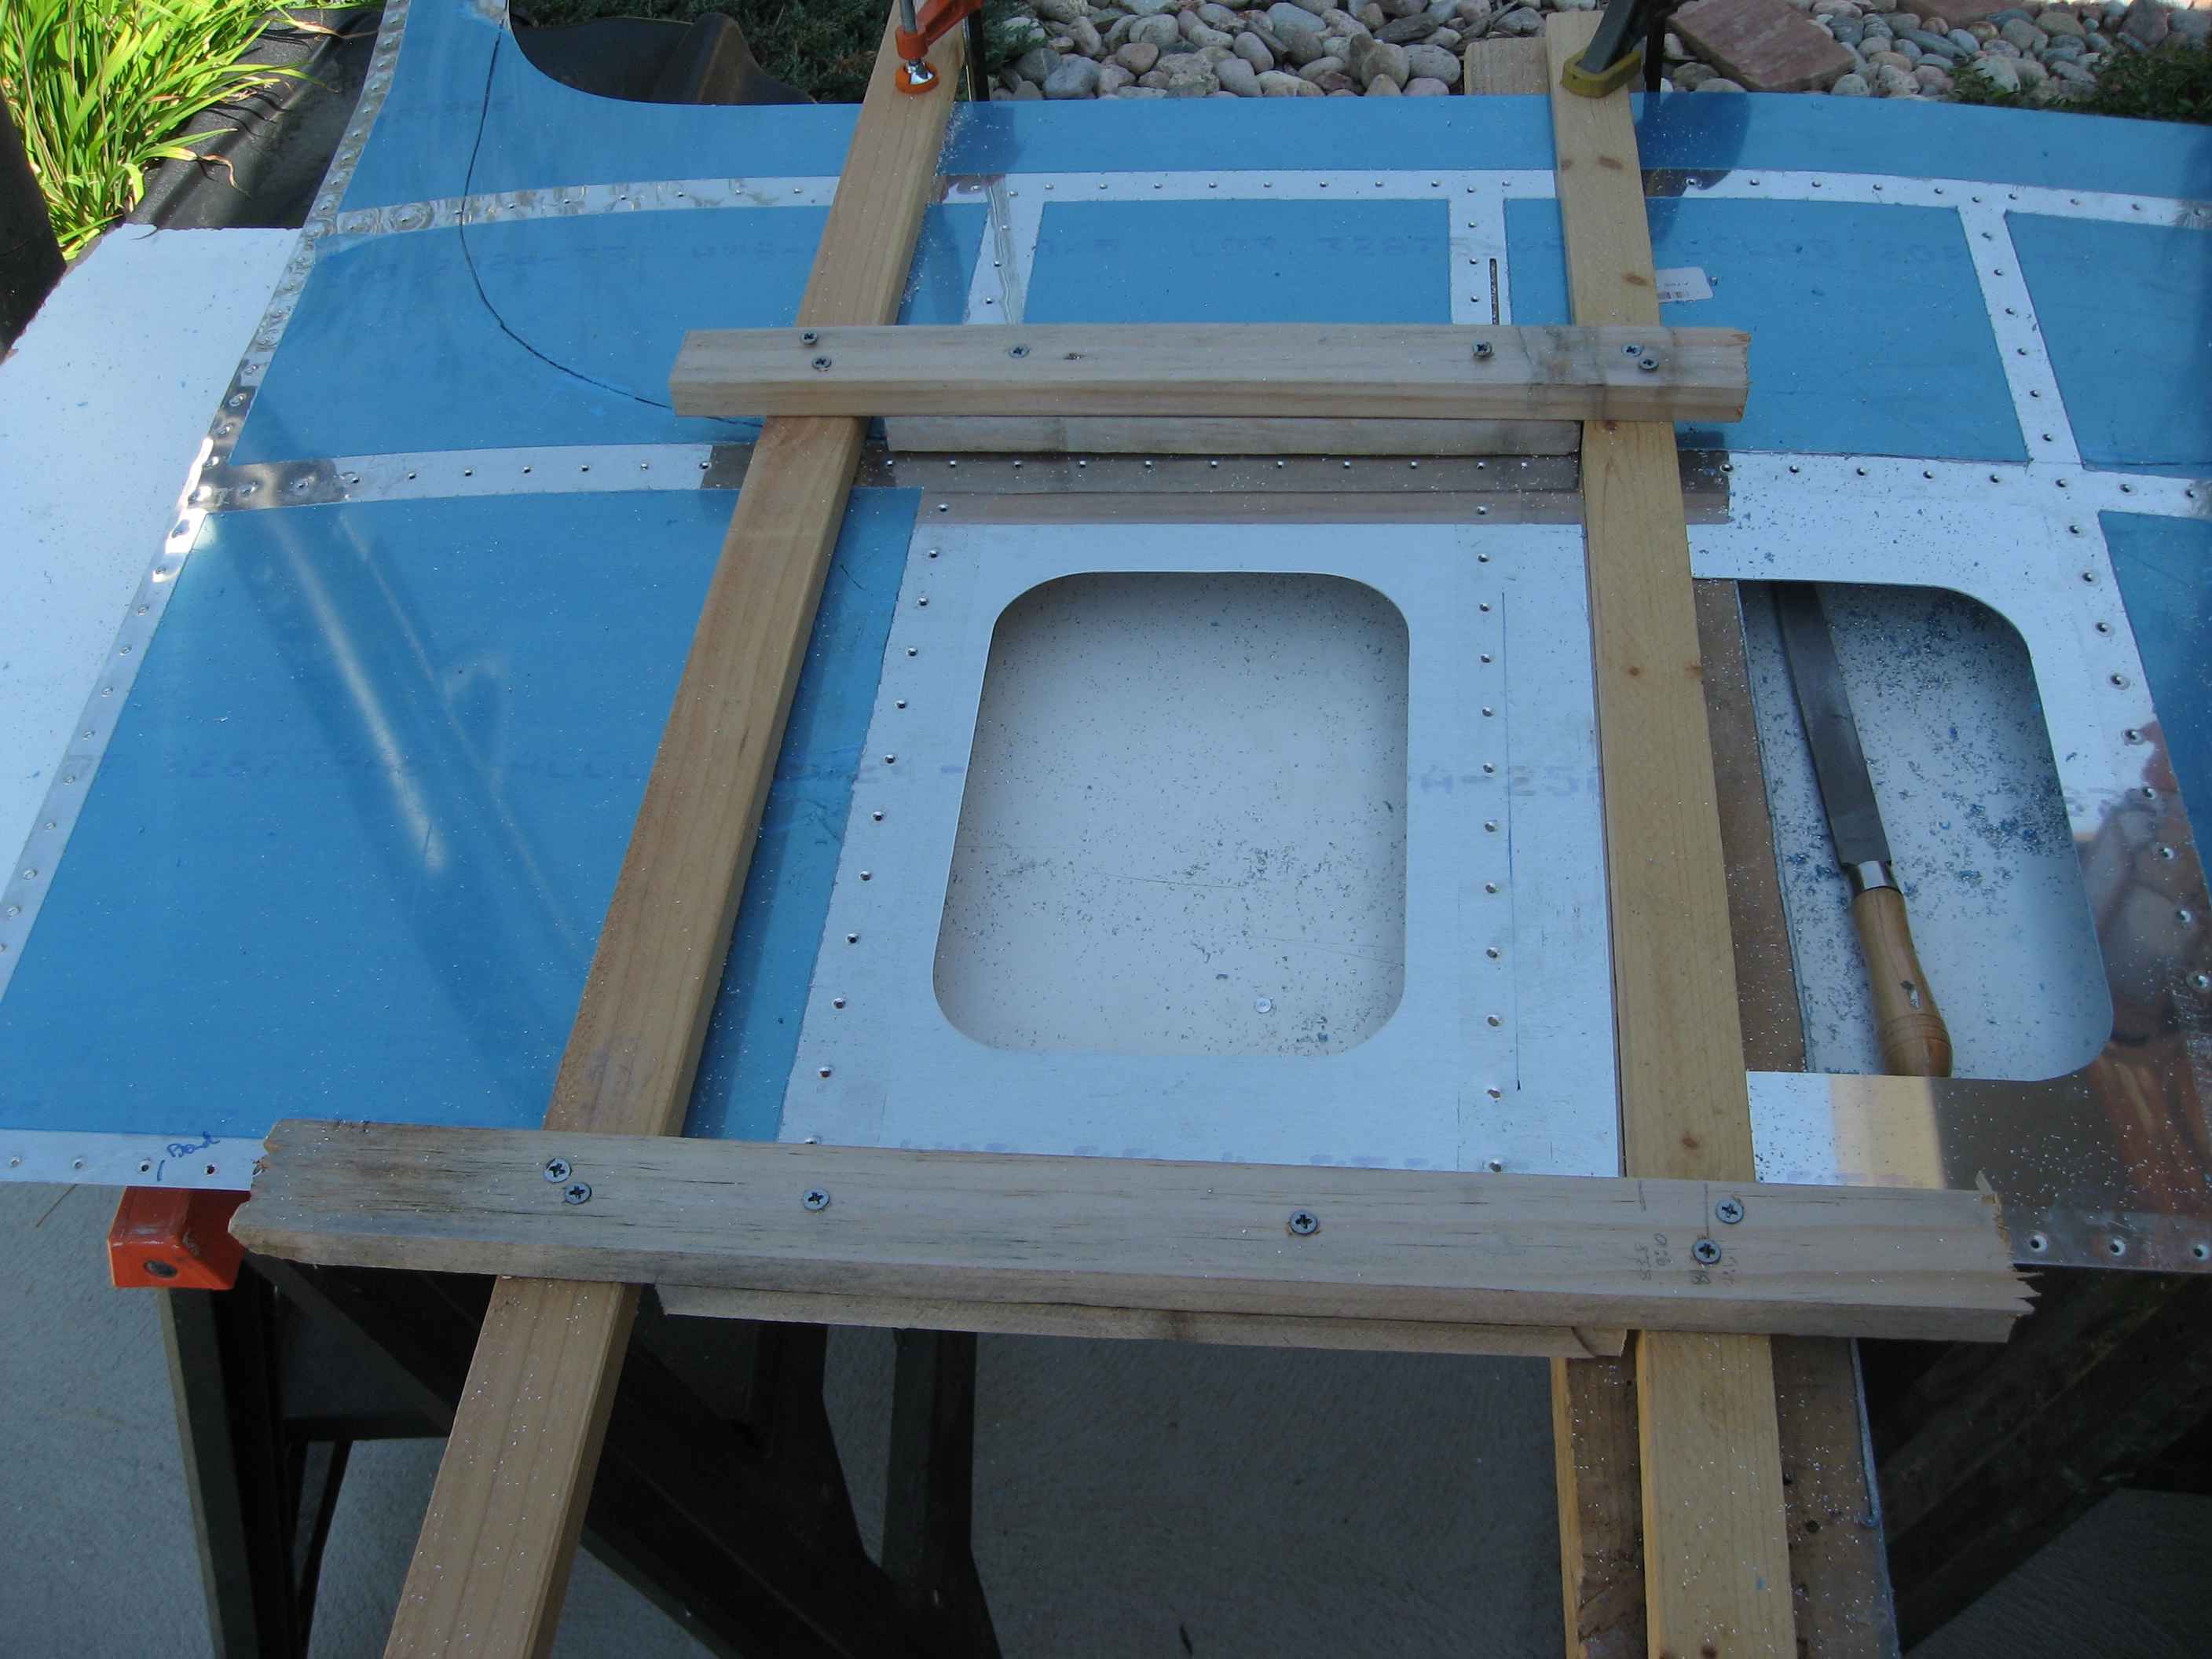
Here I have laid out and made the first cuts for the access panels. I decided to give my router a try at cutting the opening. I worked great!
the next thing I did was make doubler plates and rivet them on (sorry, no pictures)
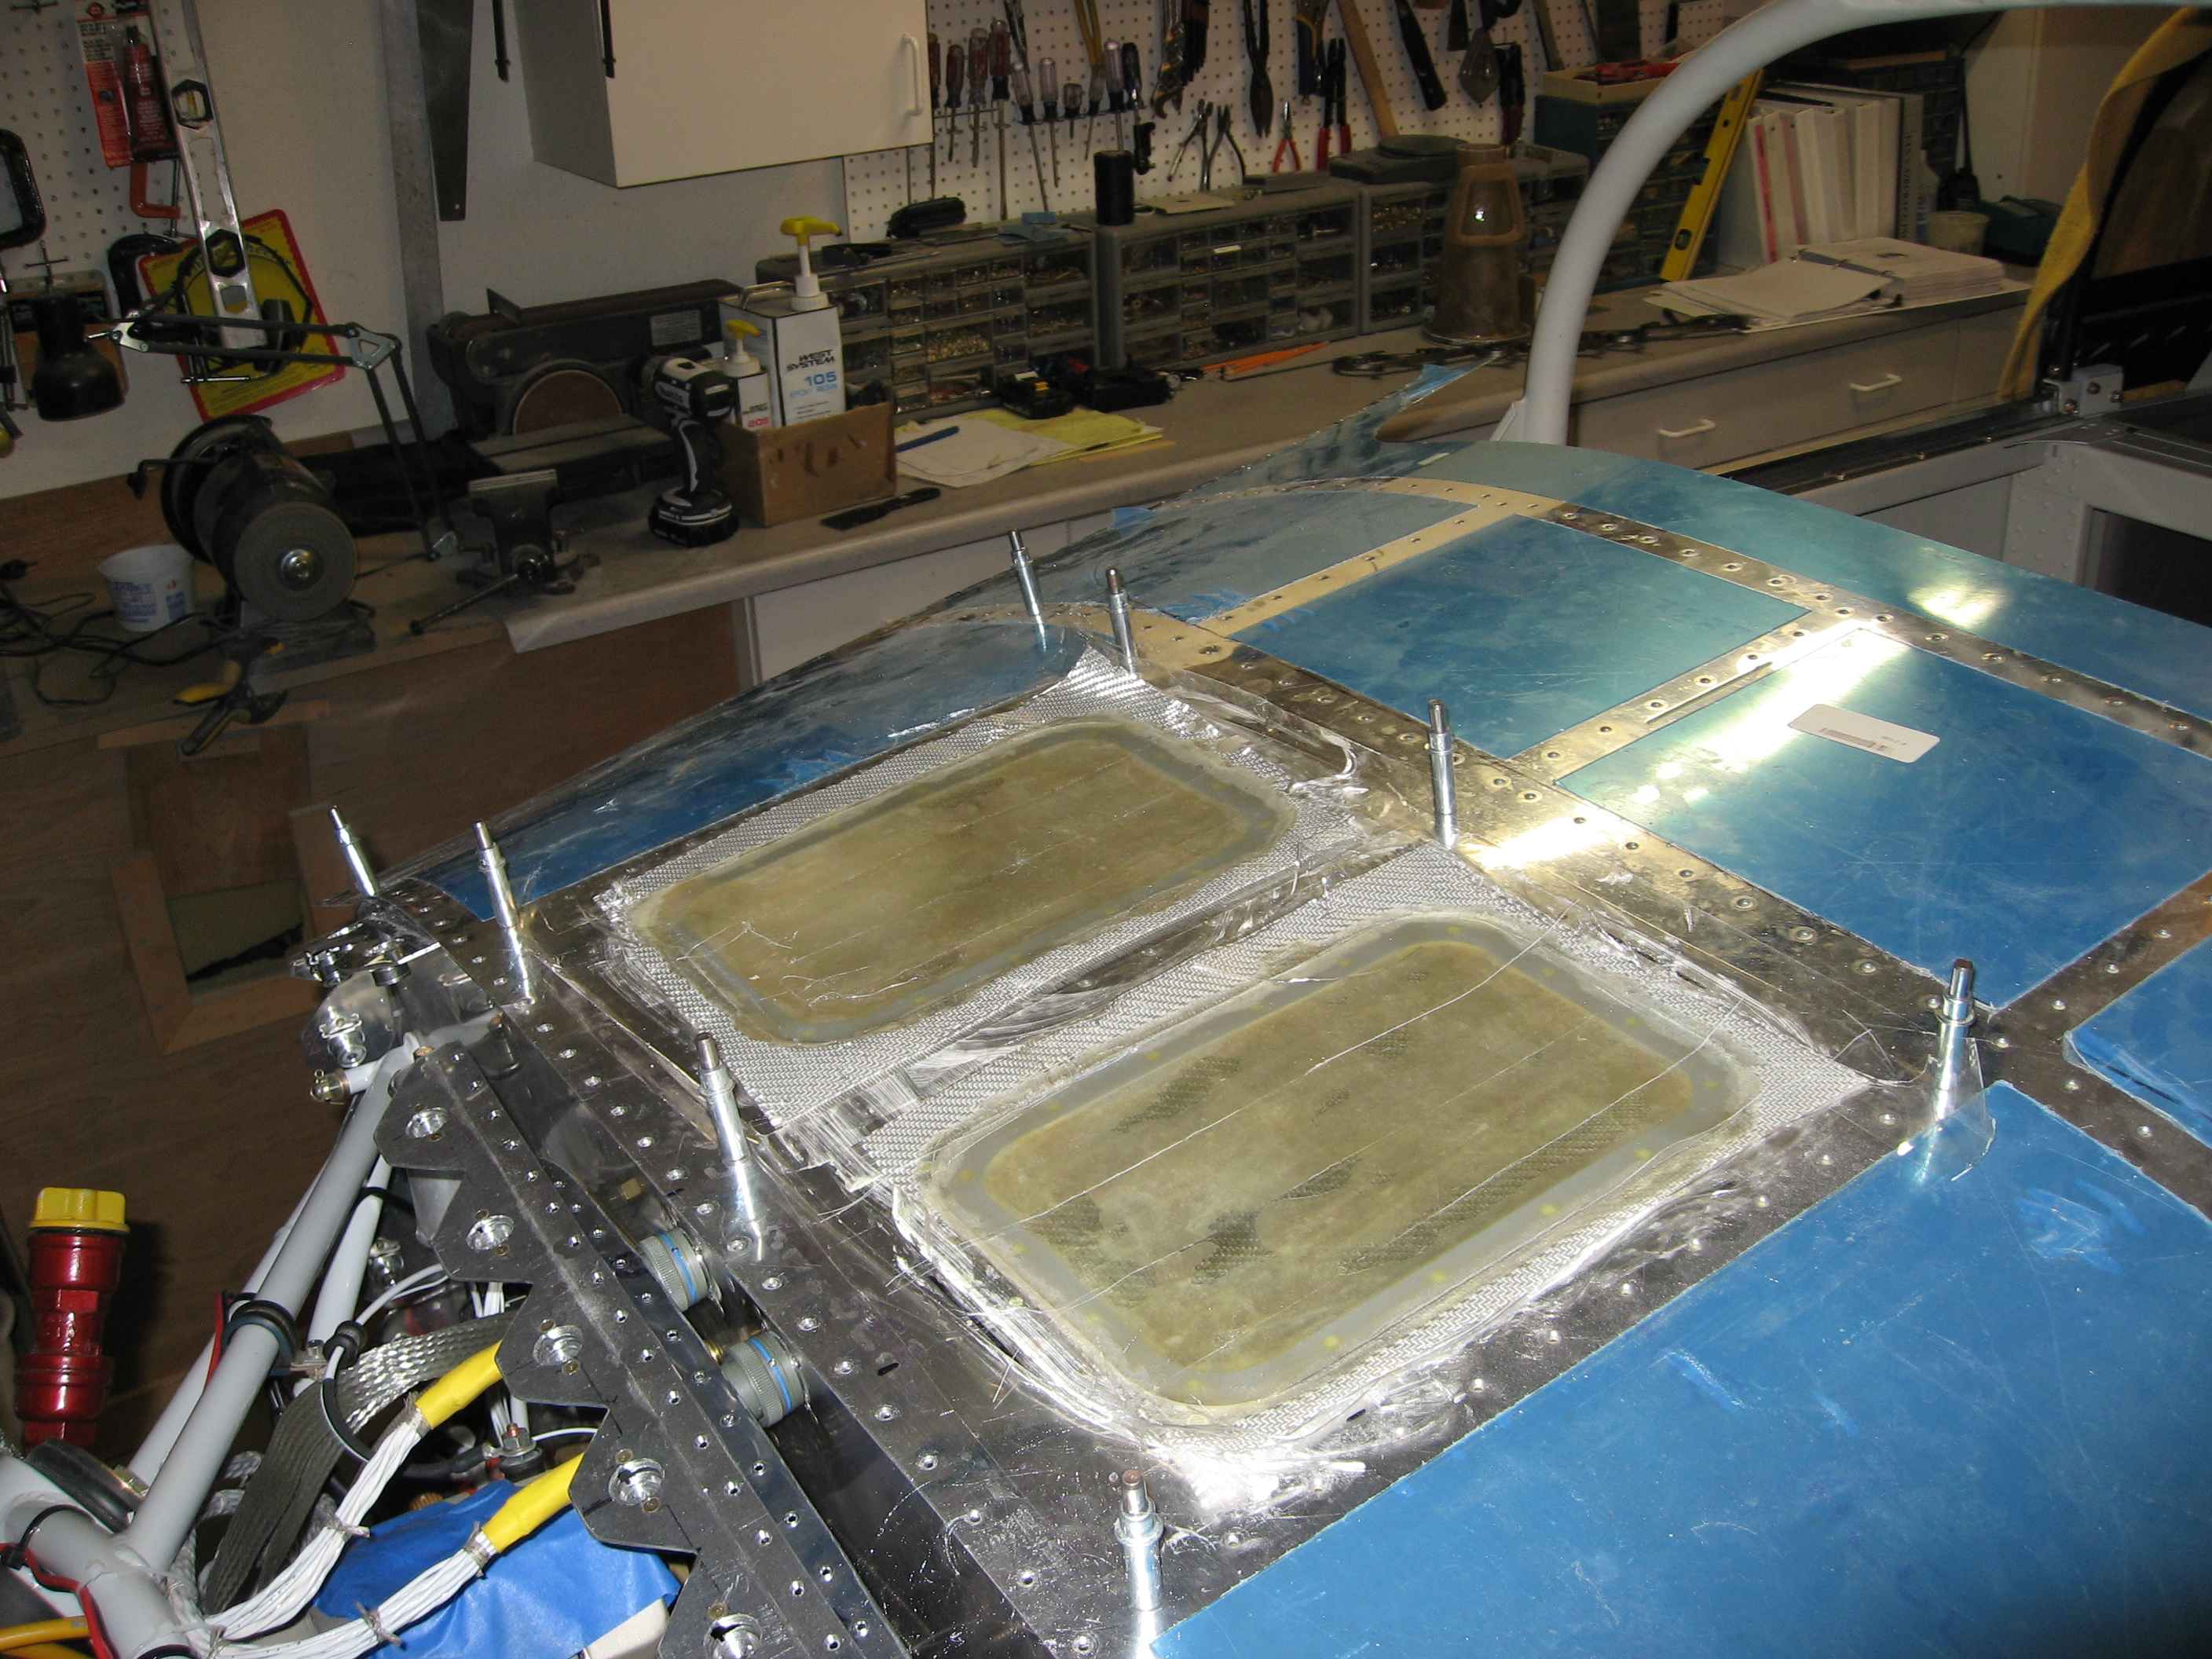
Here I have maid my initial lay-ups right on the skin.
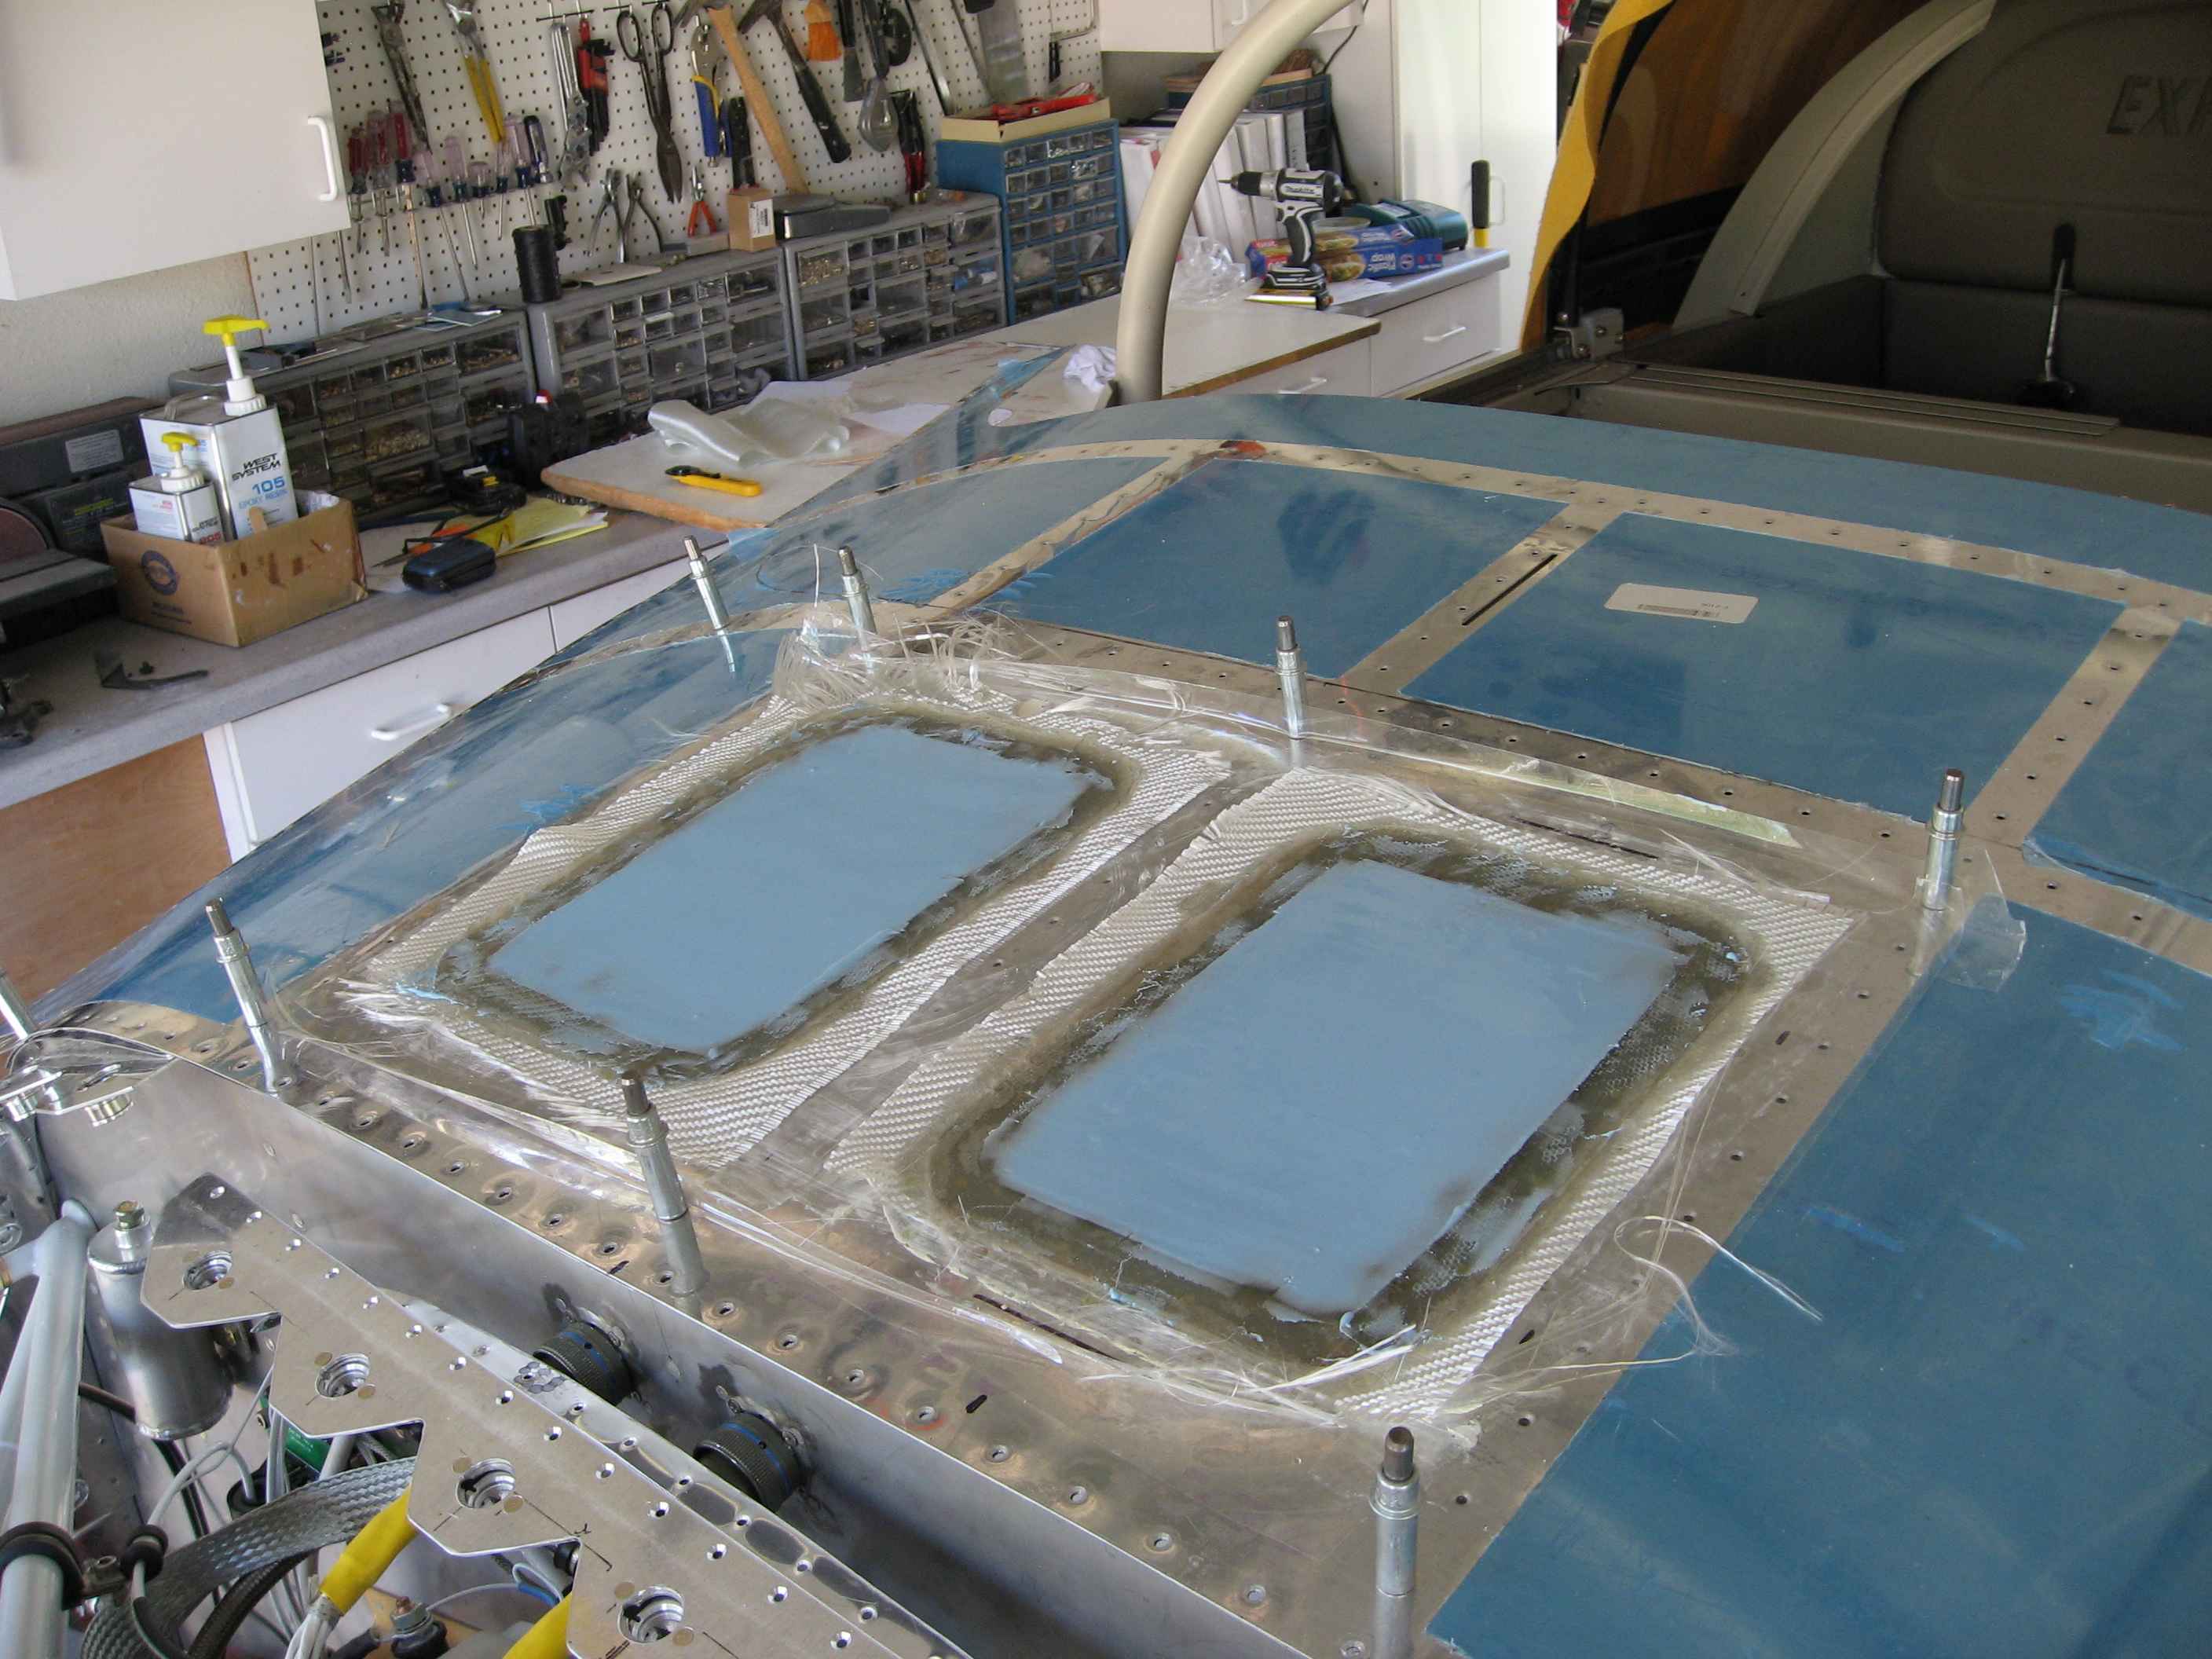
Here is the material installed.
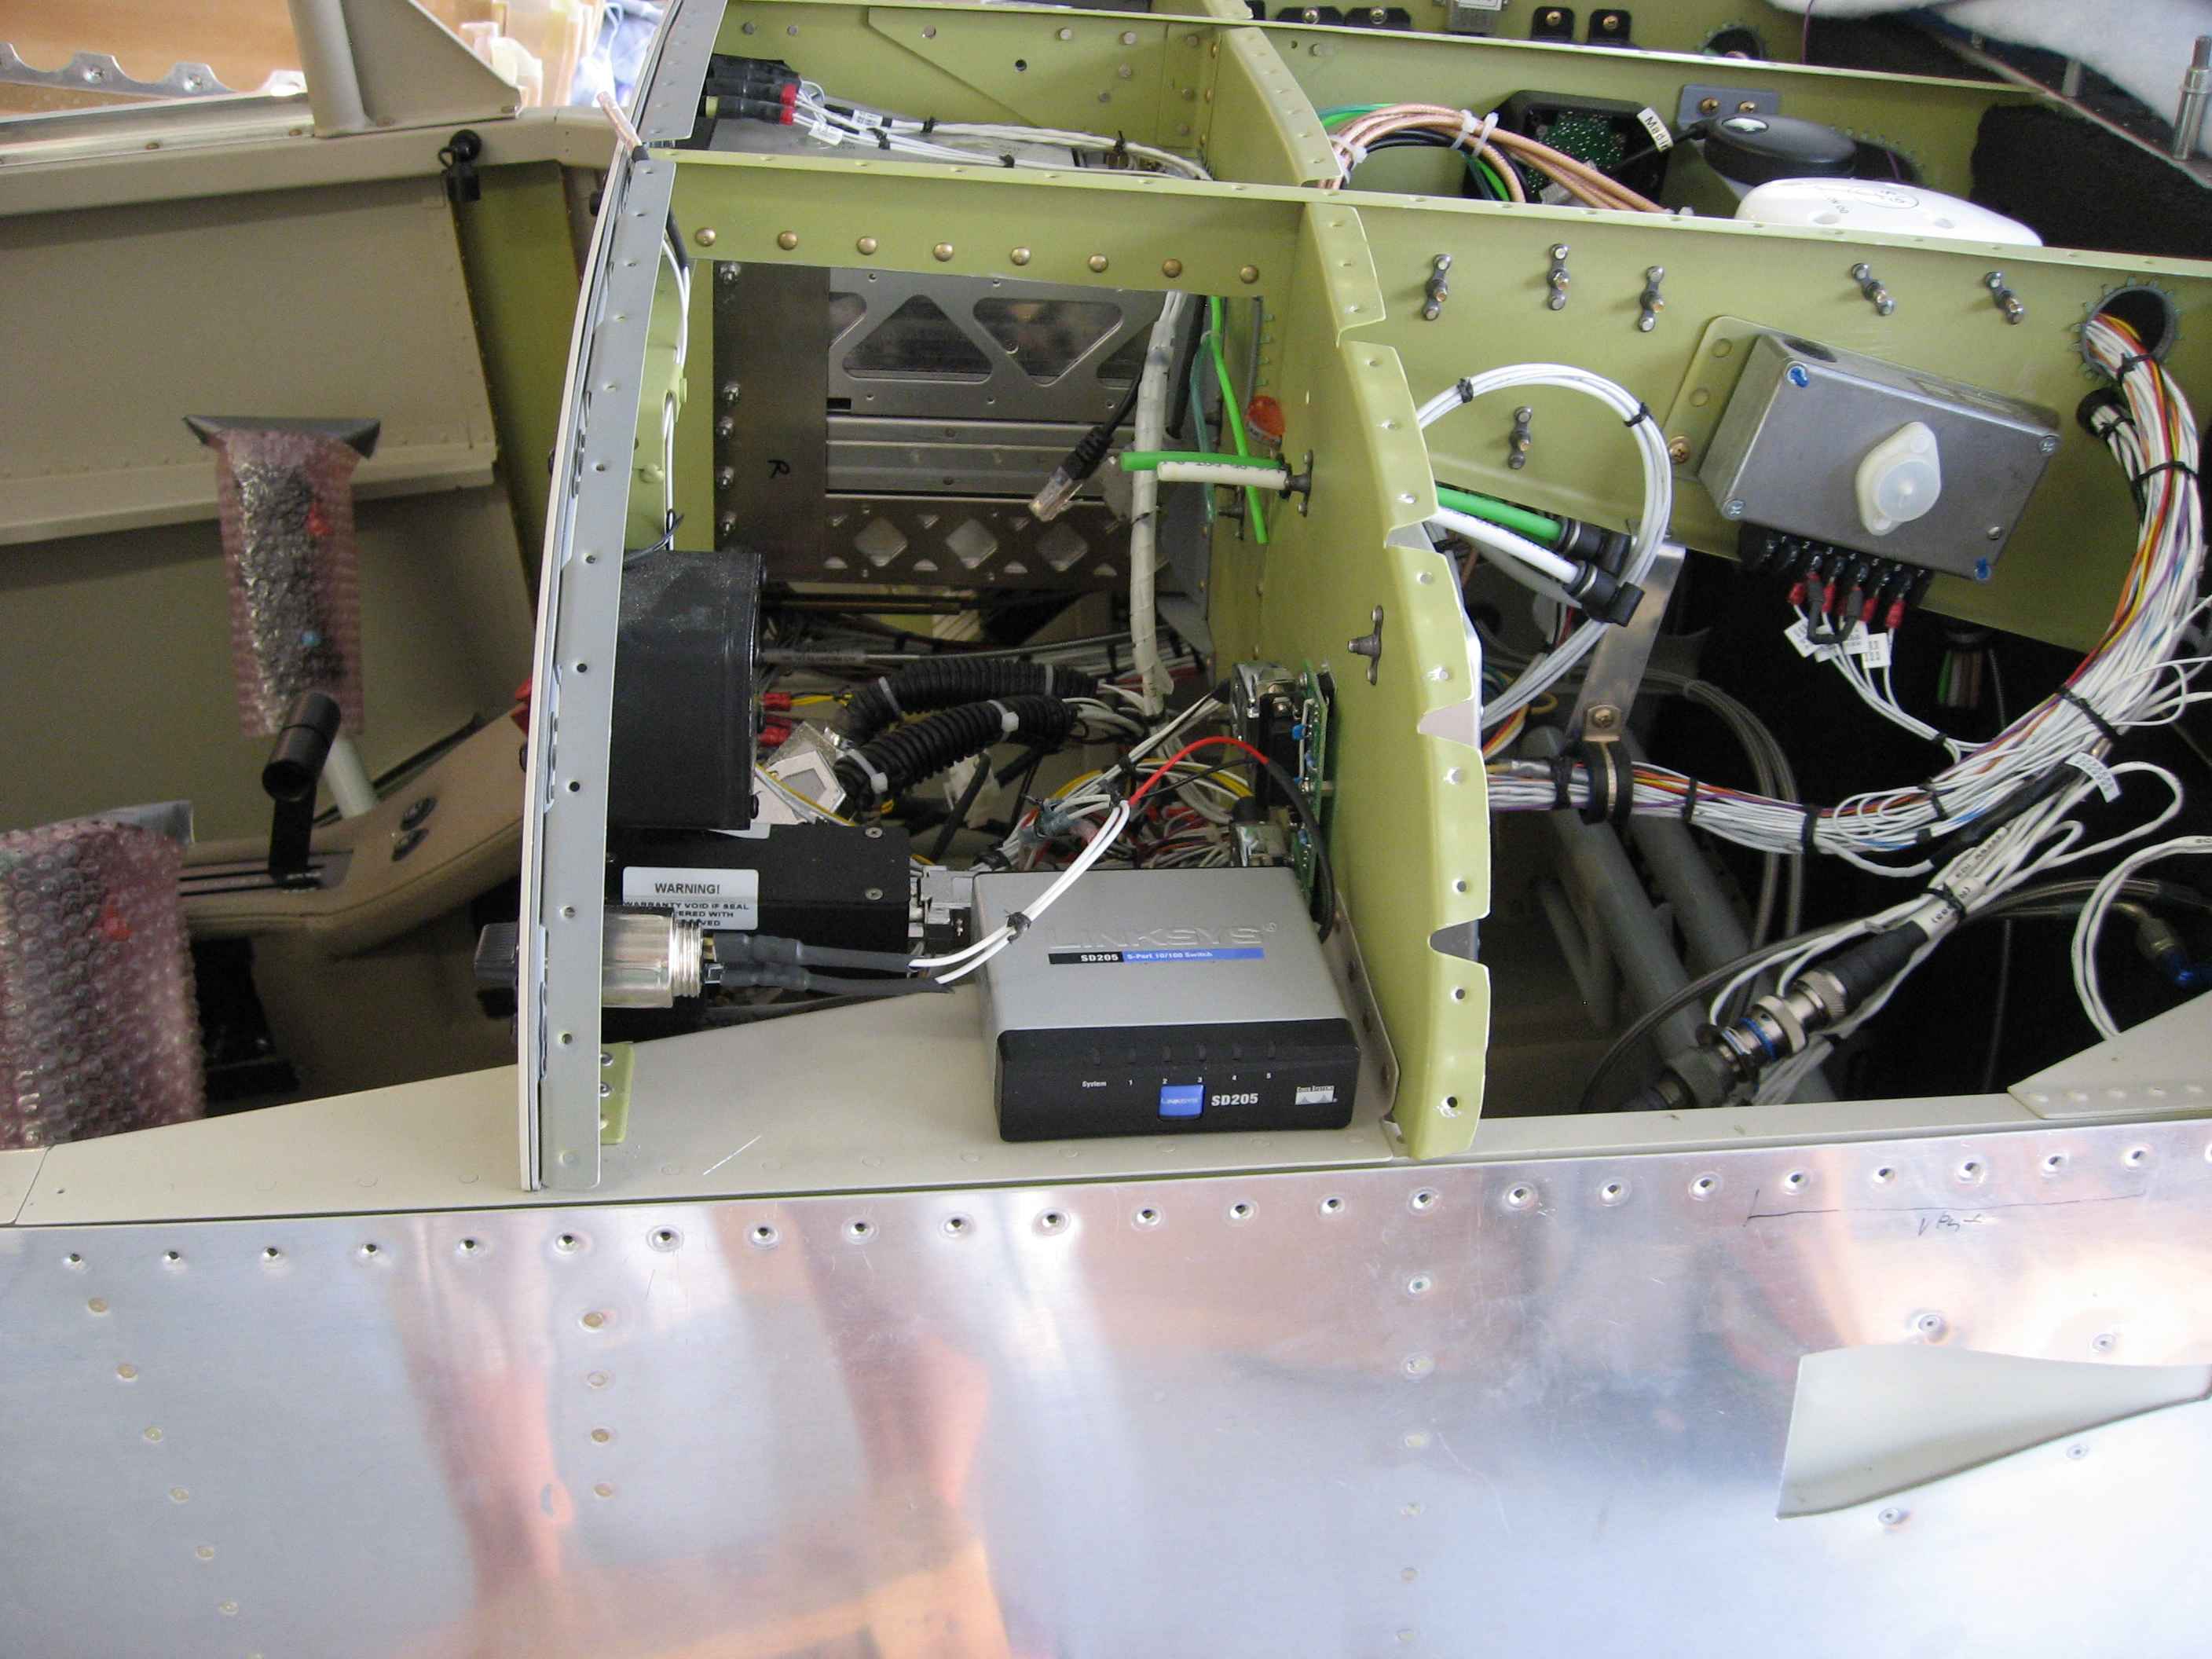
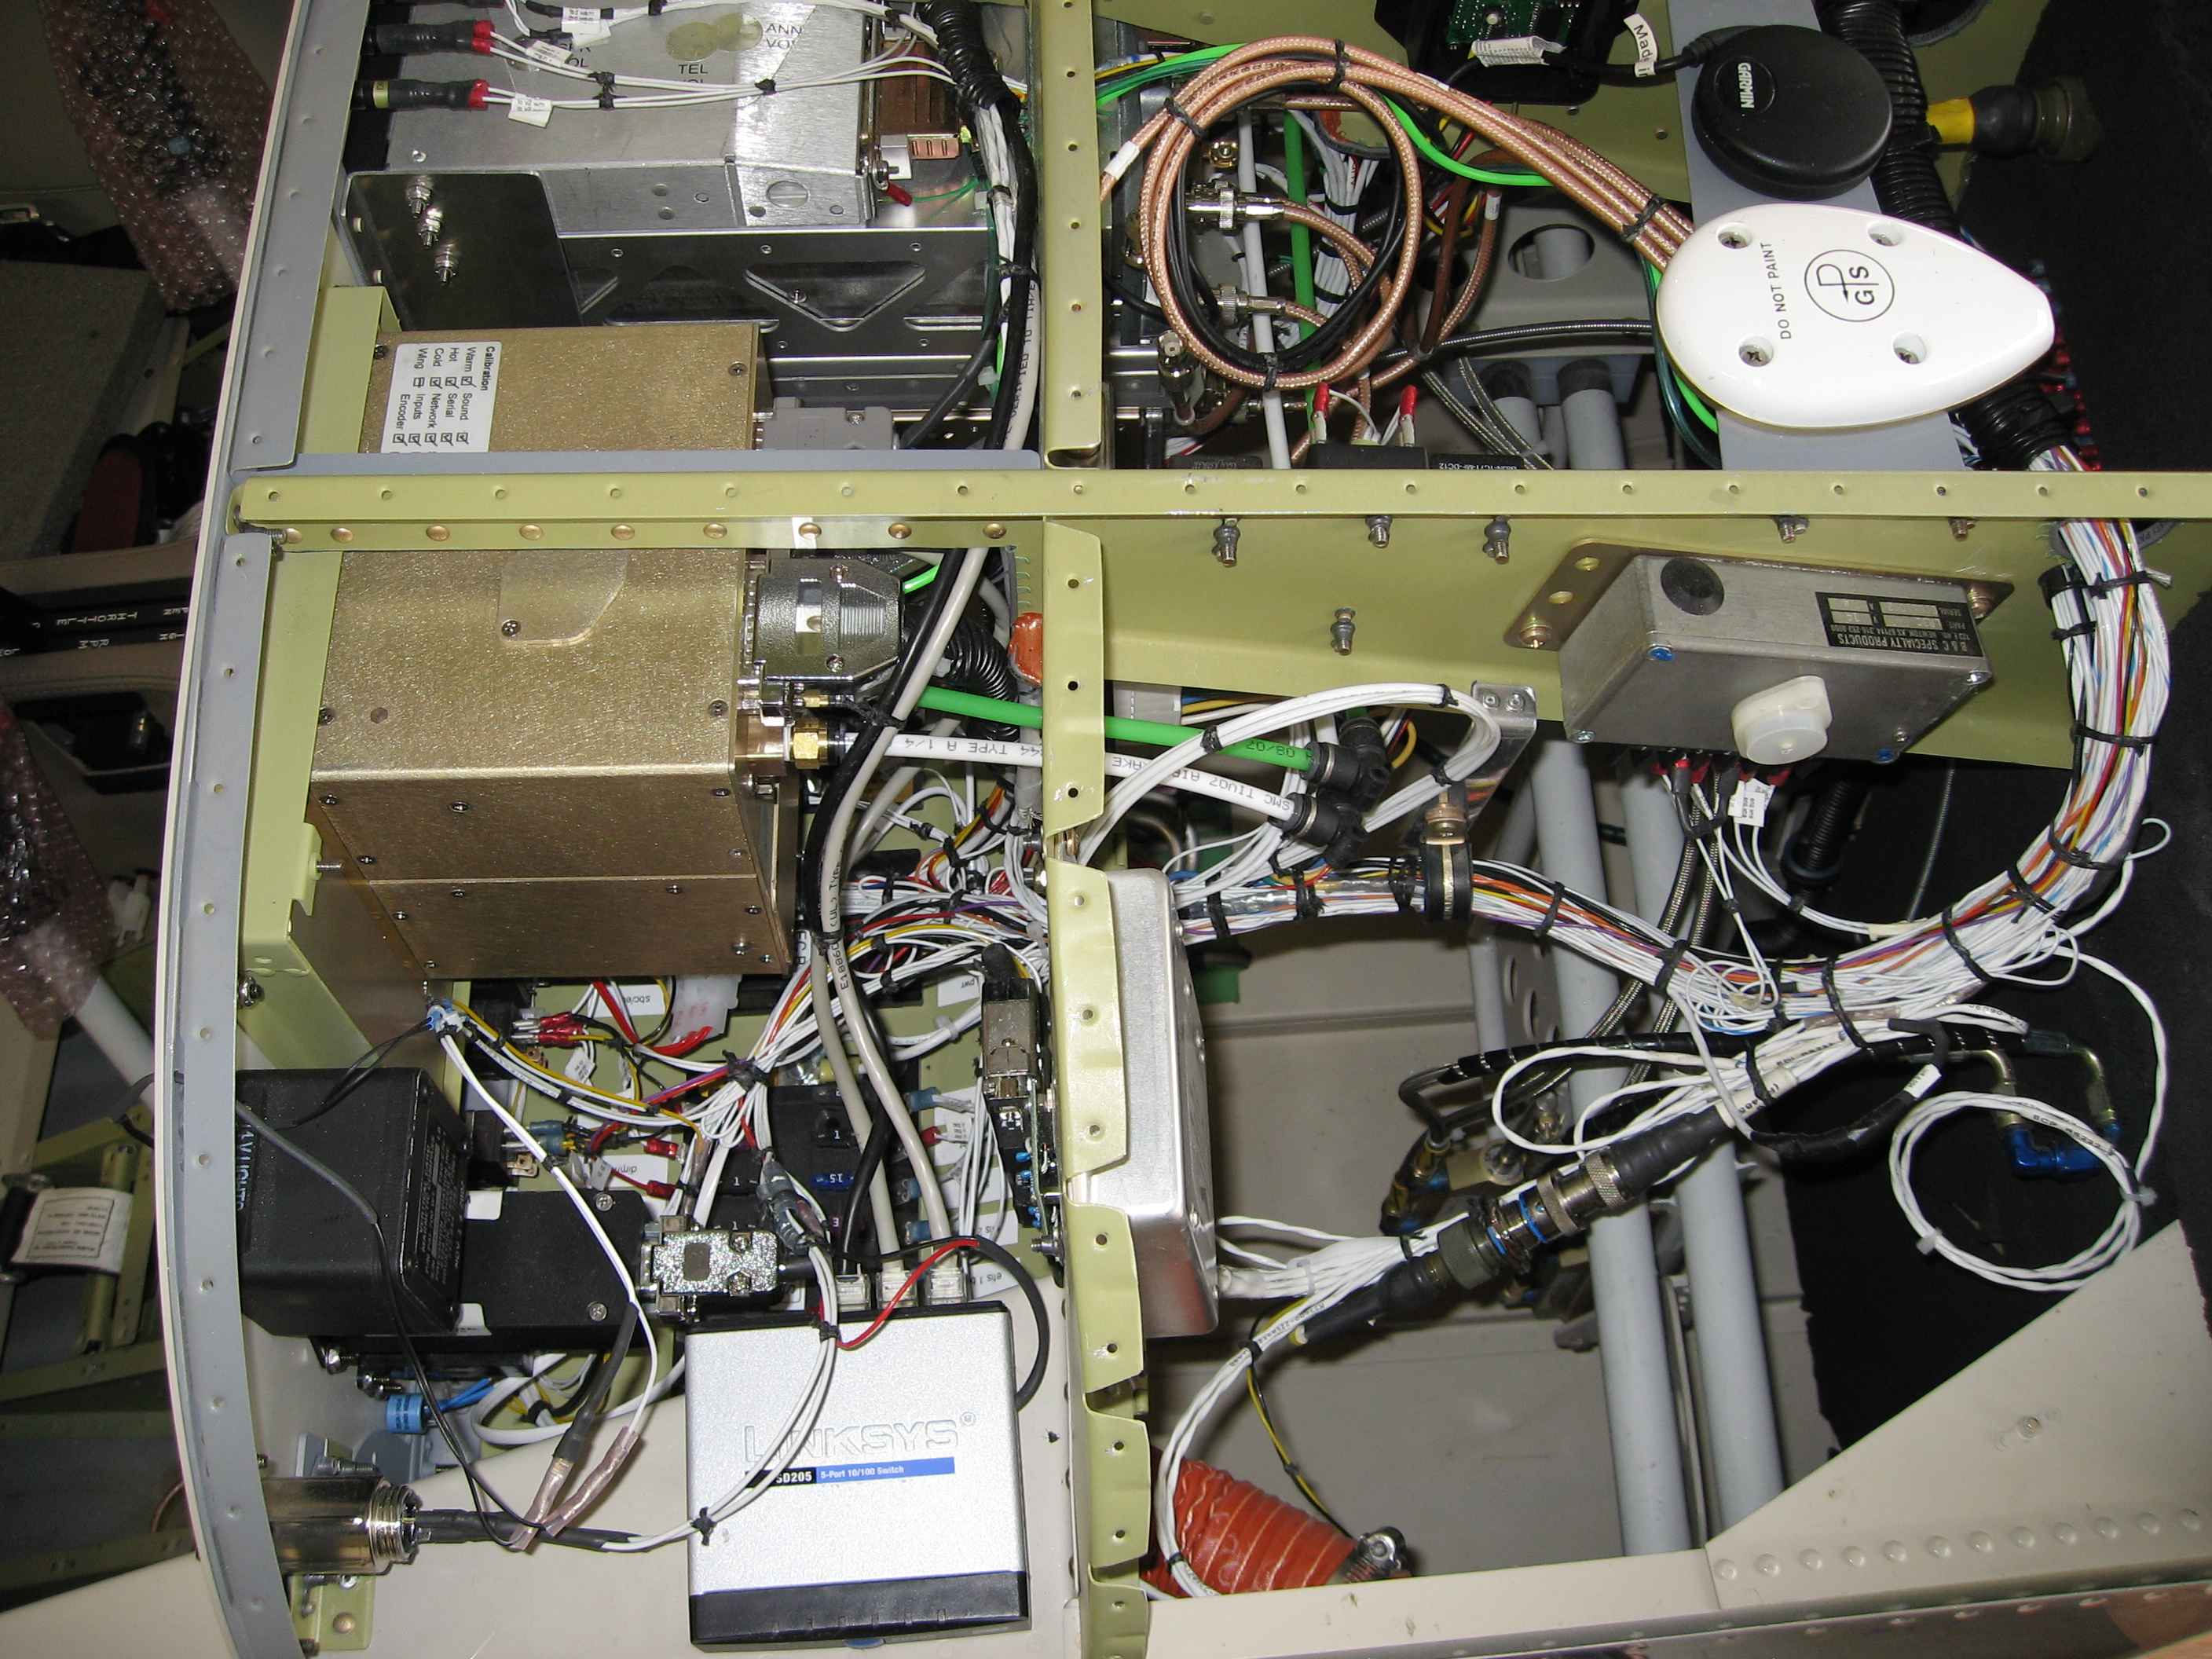
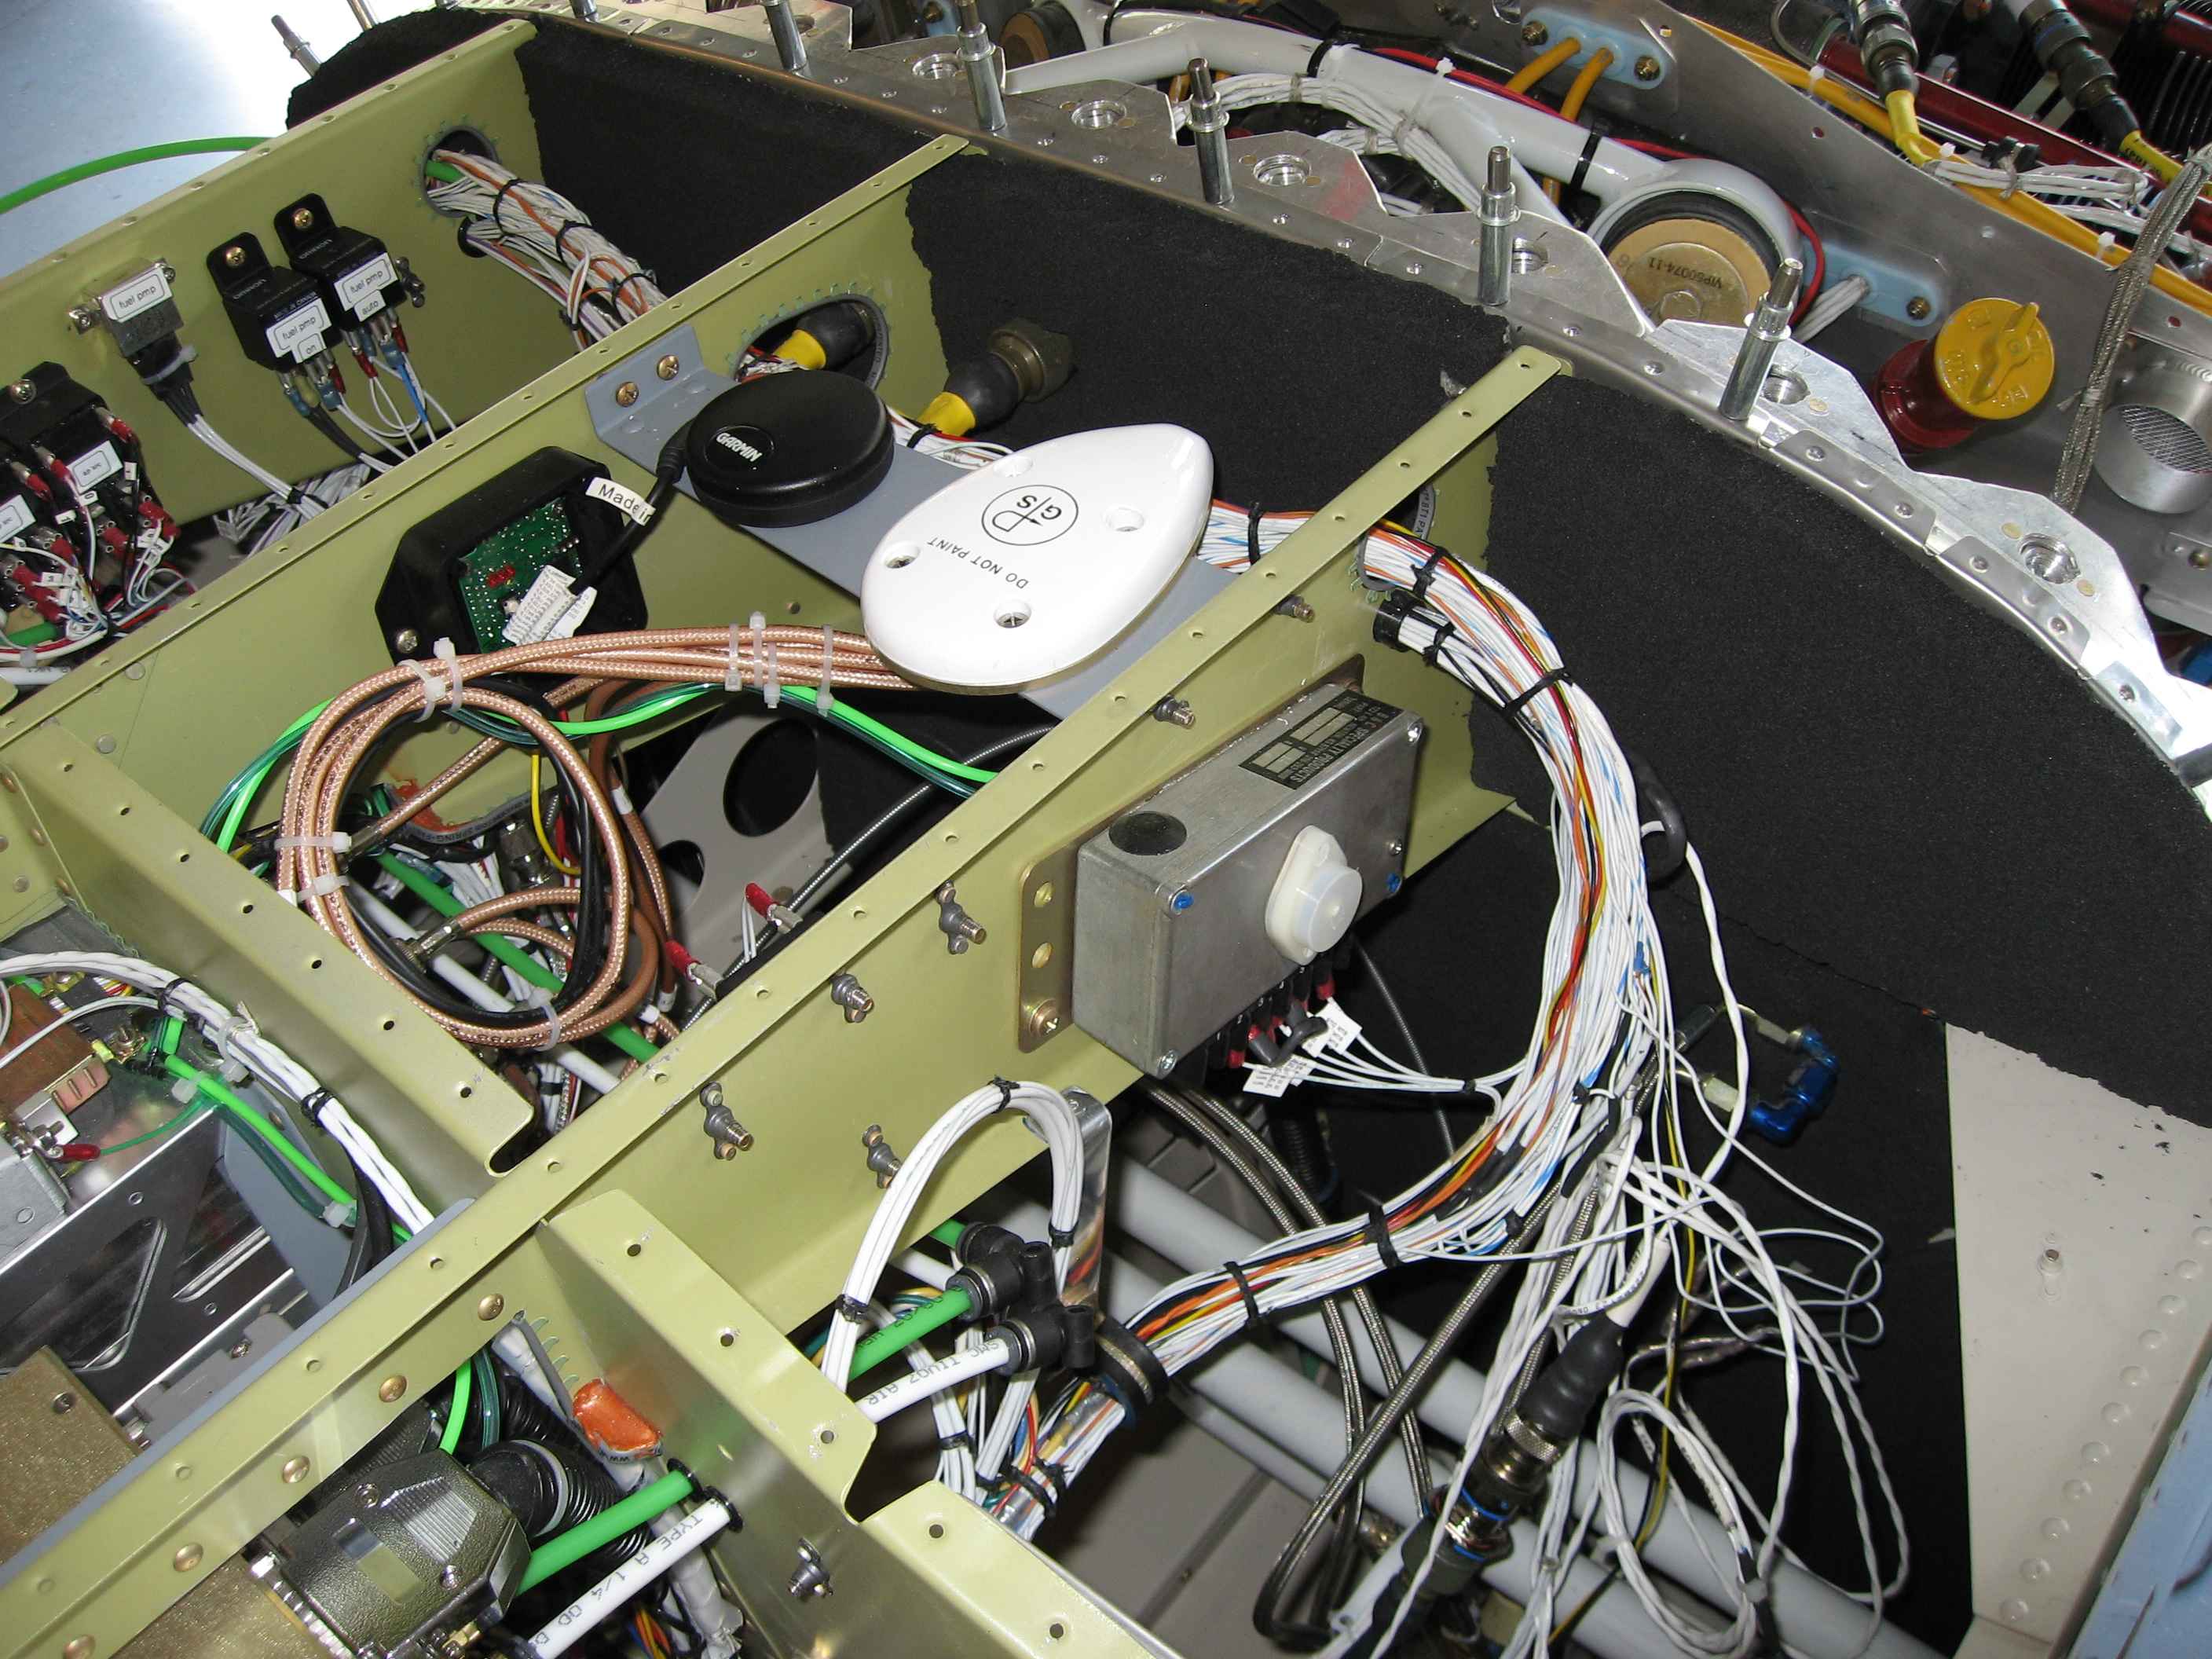
I decided that I would add XM weather to my EFIS systems and so began preparing for that installation. Because the XM weather receiver connects to my dual EFIS screens via ethernet, I need to install an Ethernet hub to allow the 3-way communication.
Here I have installed a Linksys SD 205 behind the co-pilot panel on the canopy deck rail. I also ran an extra power run for the XM weather receiver (which I don't have yet). It will get installed under the top skin access panels once I get it.
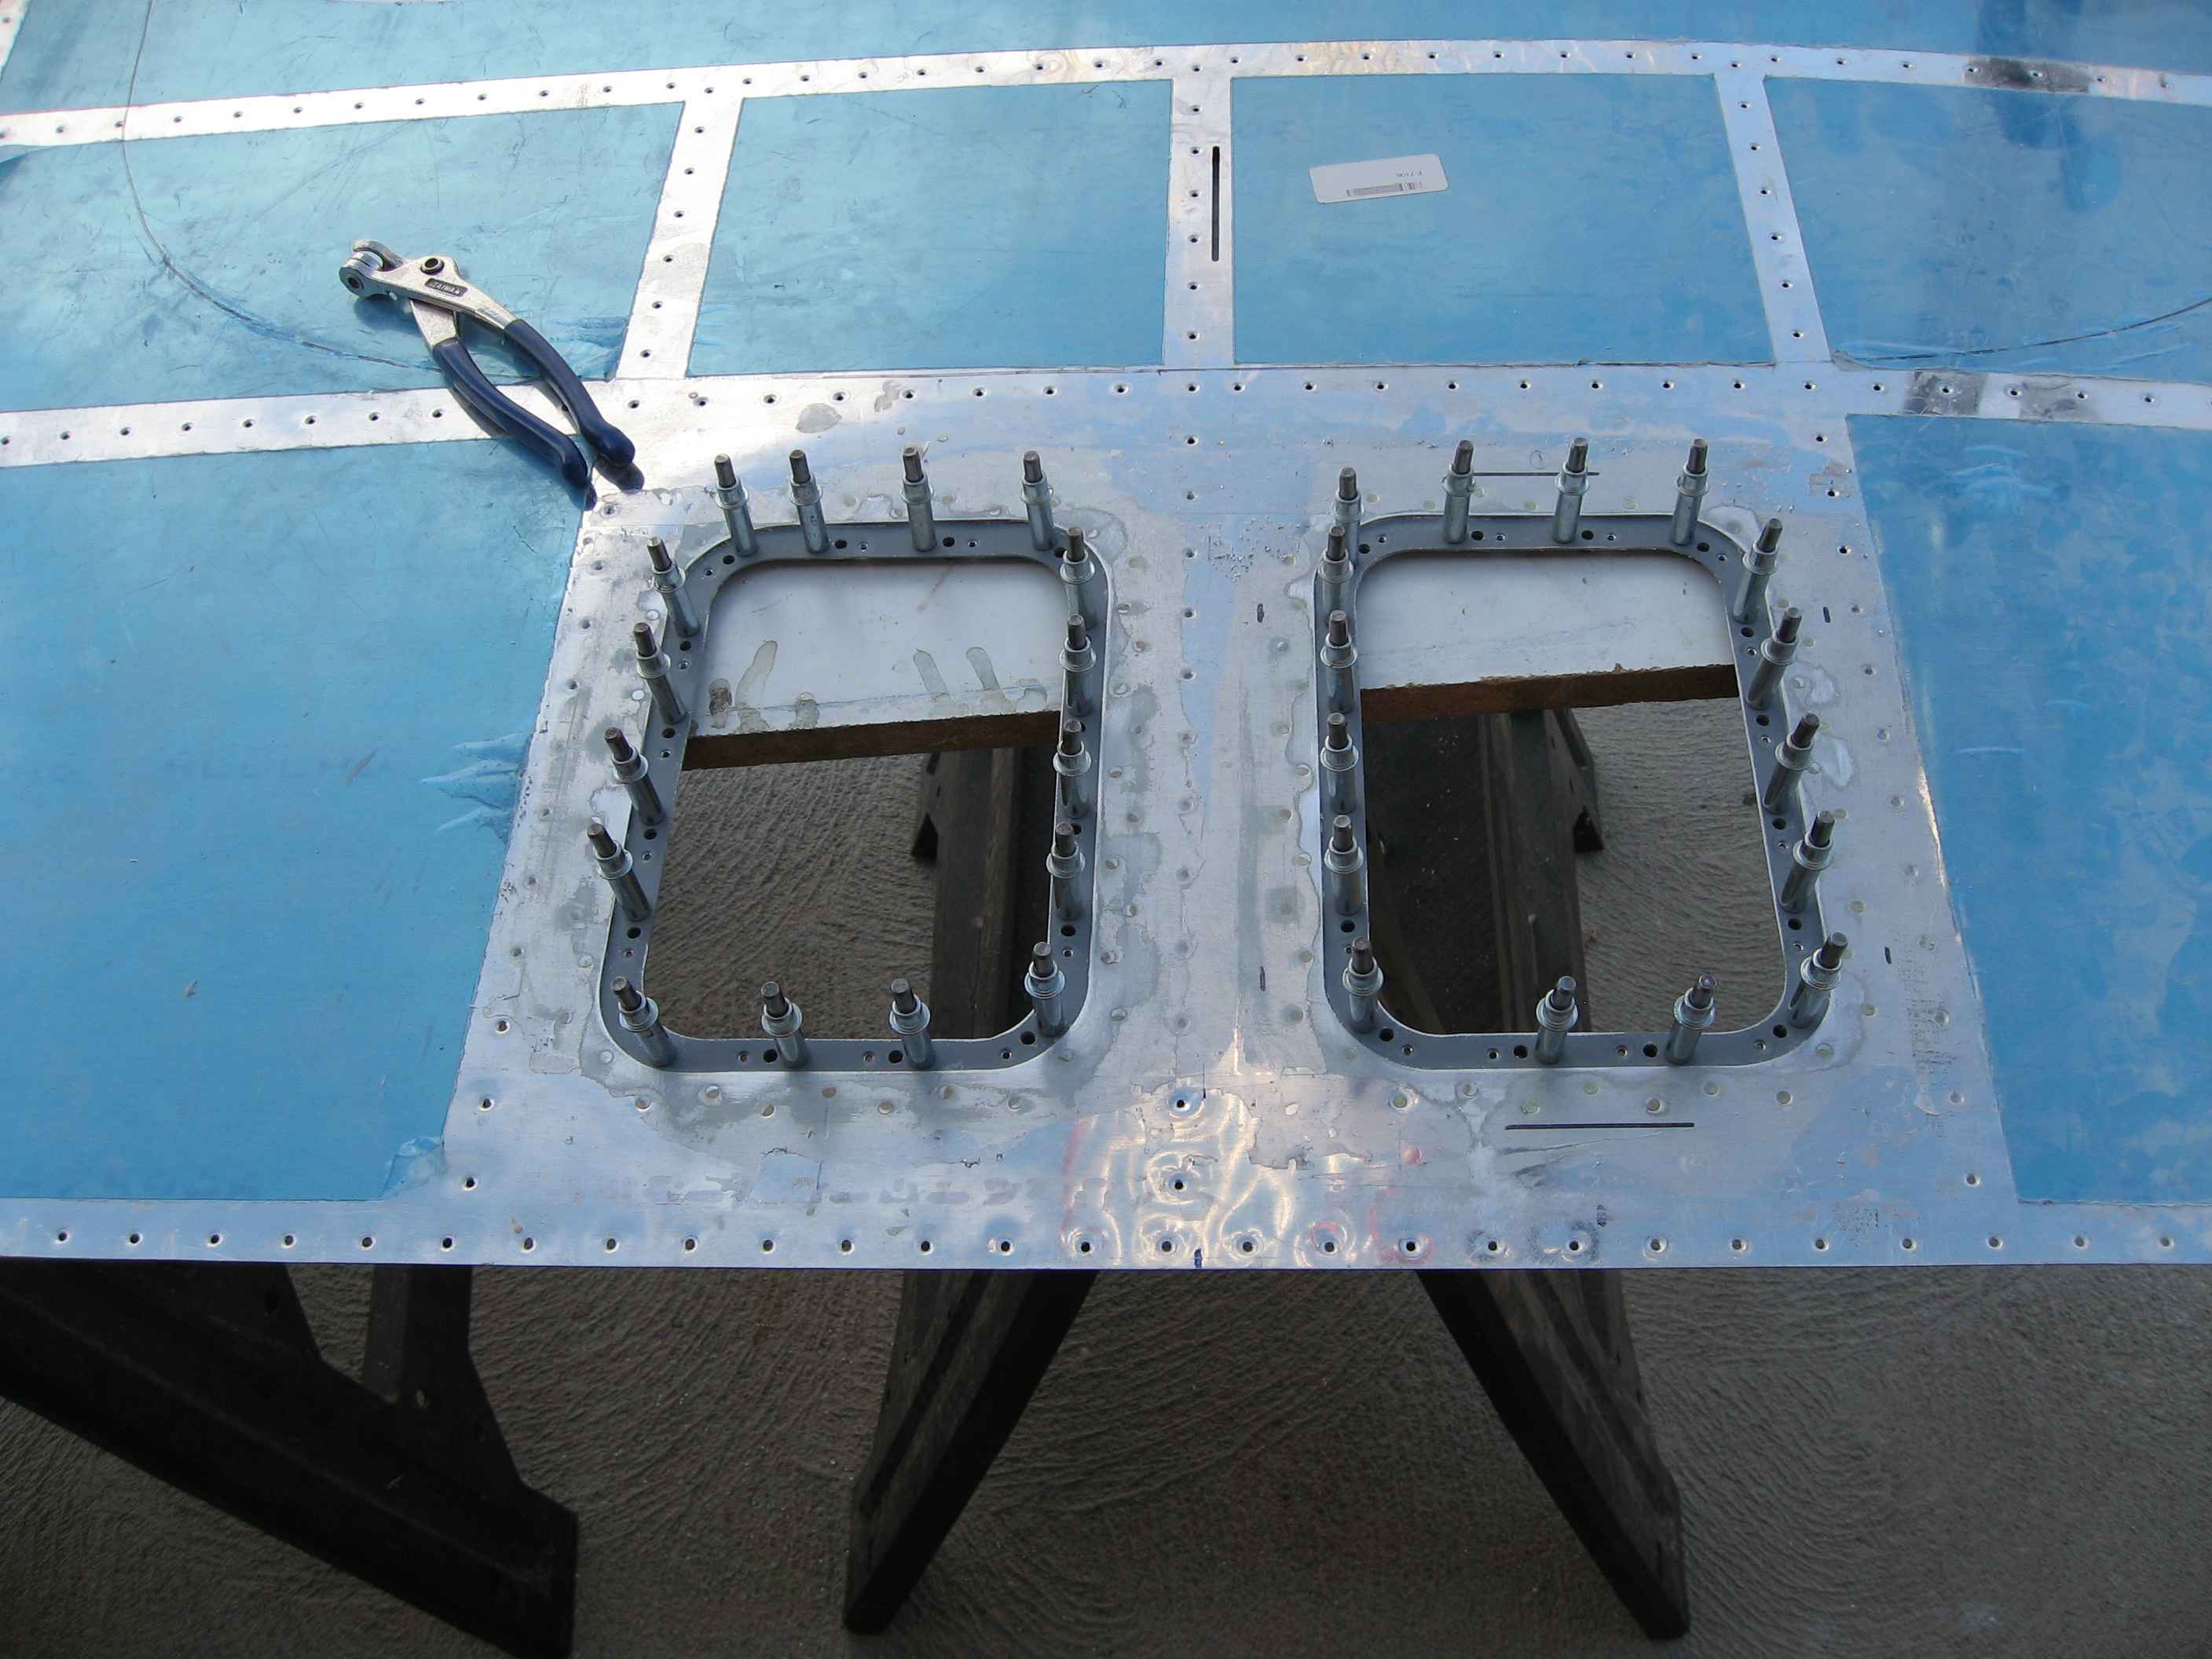
Installed the nut-plates in the doubler plates for my front top skin access covers.
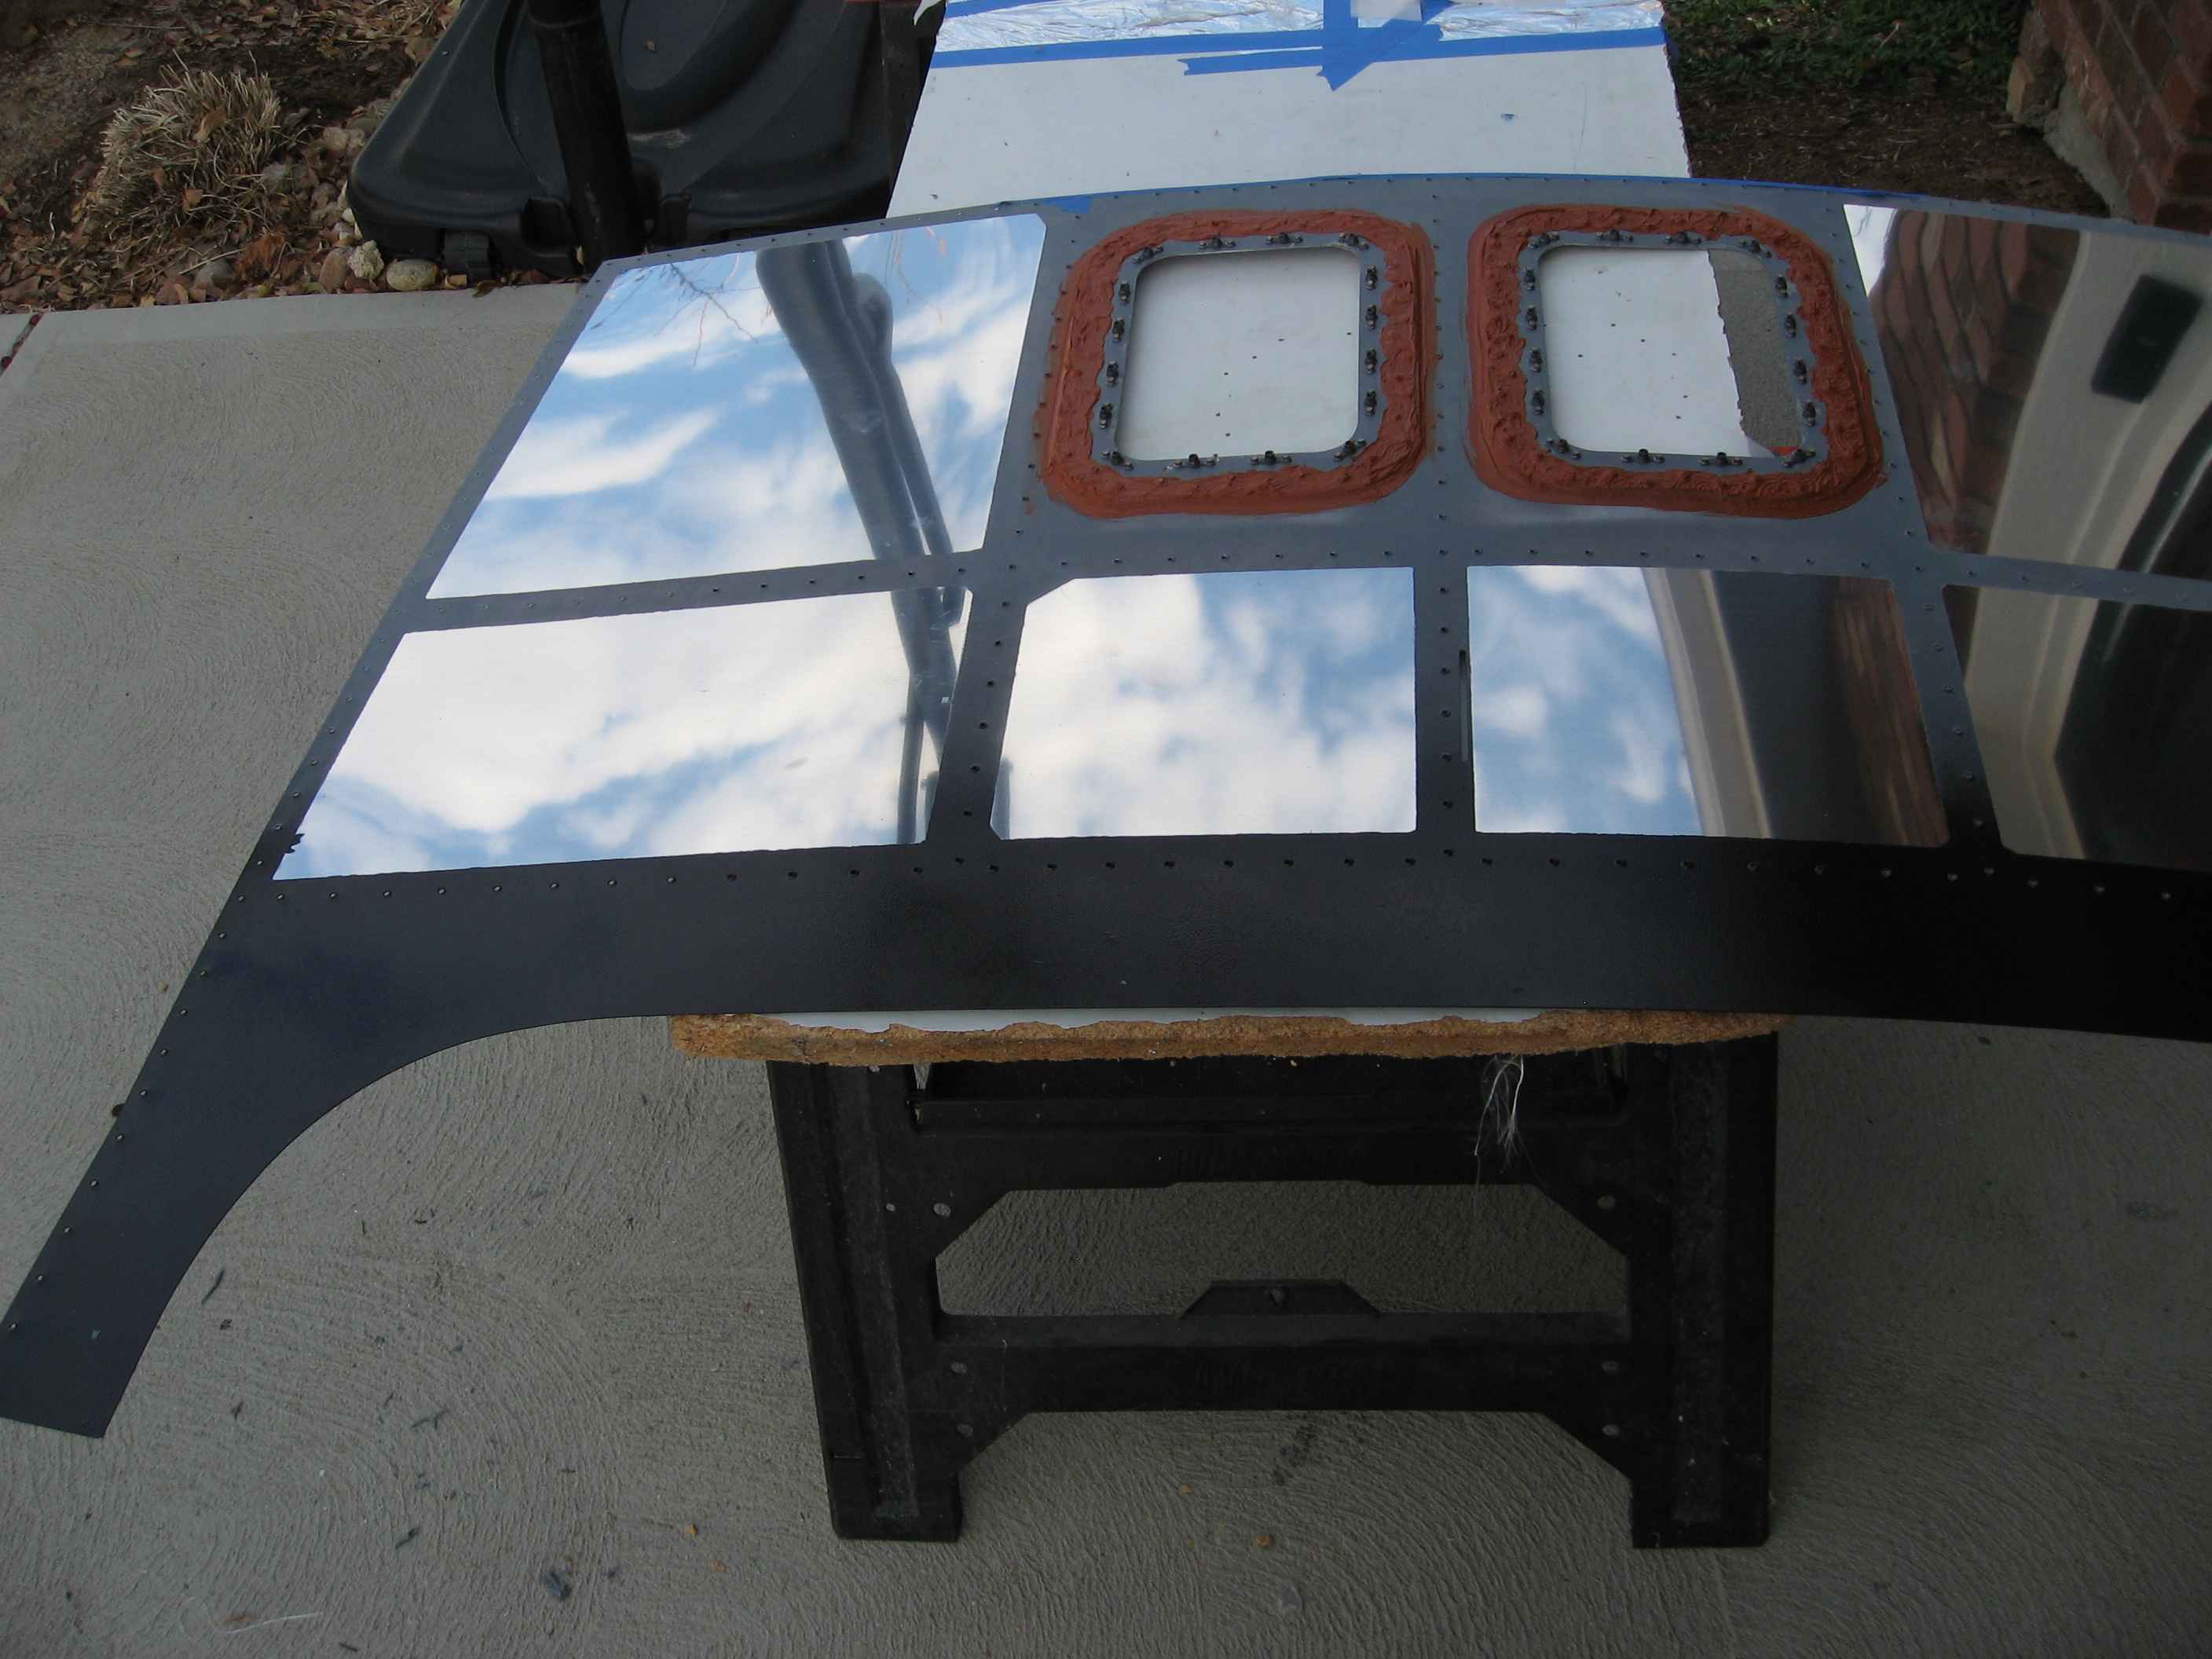
Sealed the access panel area using a liberal coat of high temp RTV
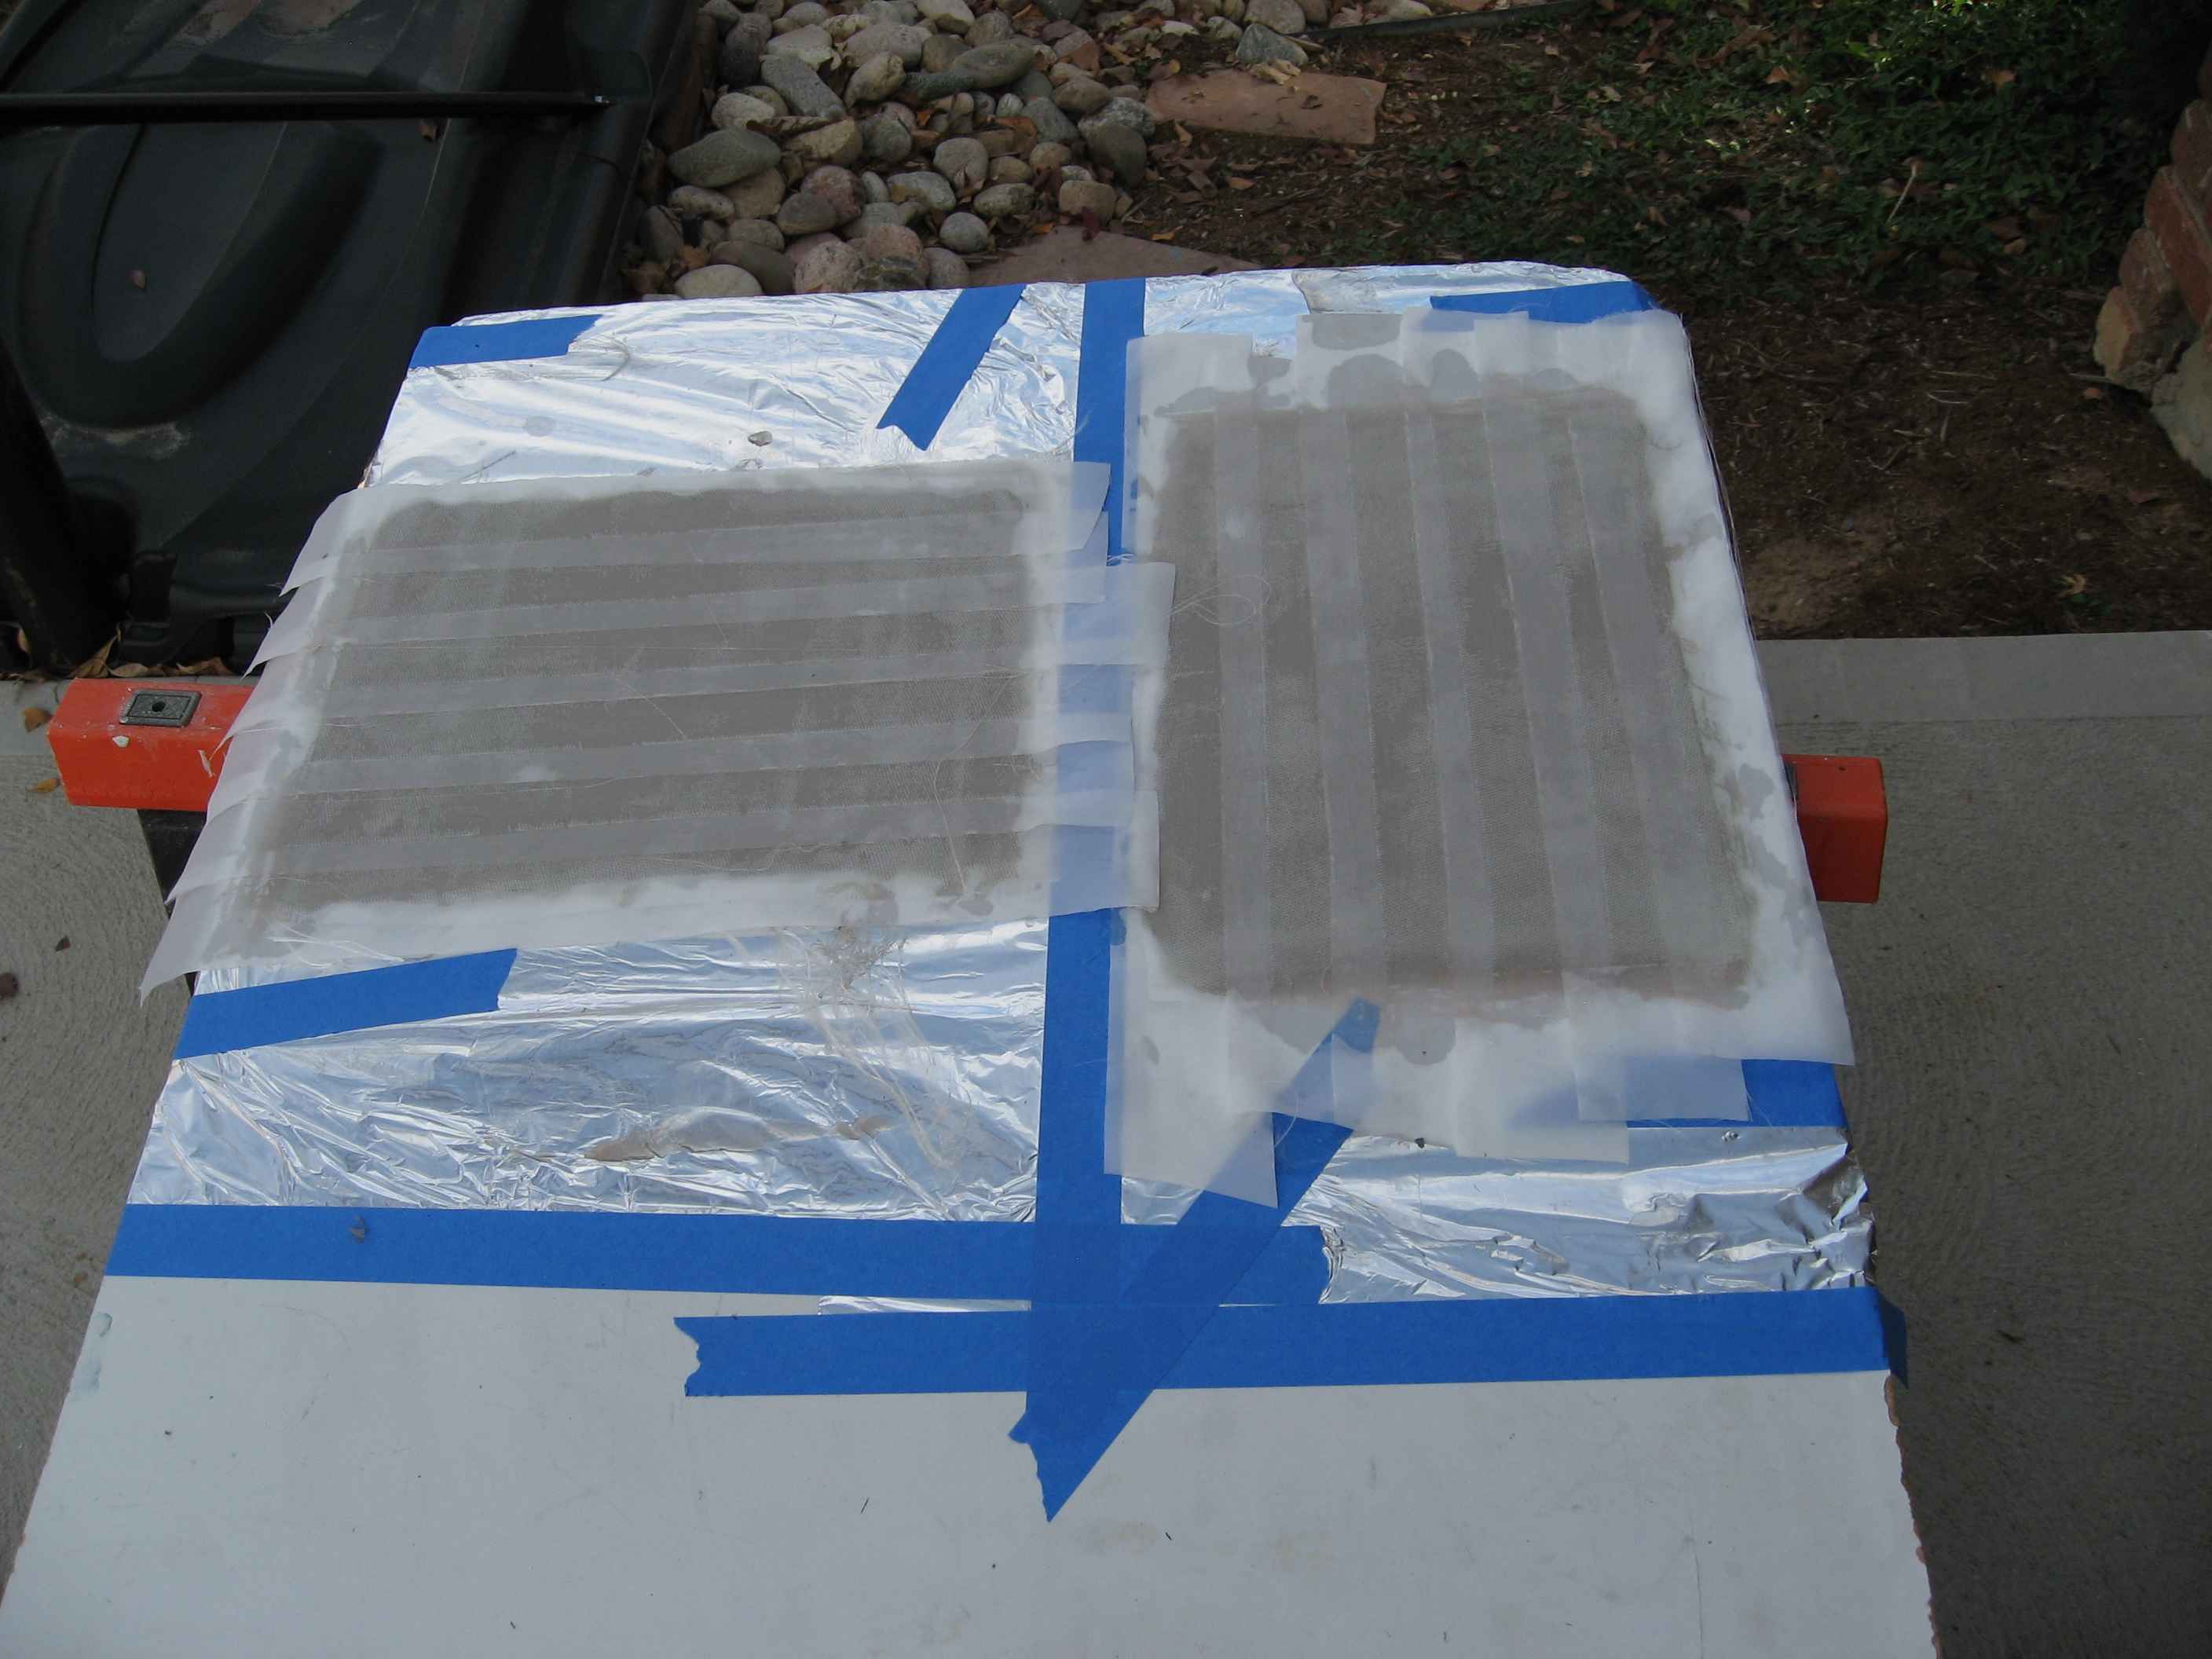
I did some lay ups of 5 layers of 8 oz bi-direction cloth and made sure I squeegeed out any excess epoxy. Once these were dry, I used my old access covers as a template for how to trim the new covers. After a bit of trimming and sanding the covers were done. Sorry, I forgot to take pictures of the completed covers.