 |
August 31-September
3, 2007 (12 hrs):
With me inside the cockpit with a pneumatic drill and
my wife on the outside applying pressure to the side skirts with a 2x6,
I match drilled all the lower side skirt attach holes though the side
skirts.
I then scuffed up and cleaned the canopy plexi-glass
and side/rear skirts where they will be bonded together. I also
spent some time machine counter sinking all the rivet holes in the side
skirts. Next I mixed up some epoxy and a small amount of flox
(just to thicken things up a bit), applied it to the canopy, and clecoed
the side/rear skirts into place.
|
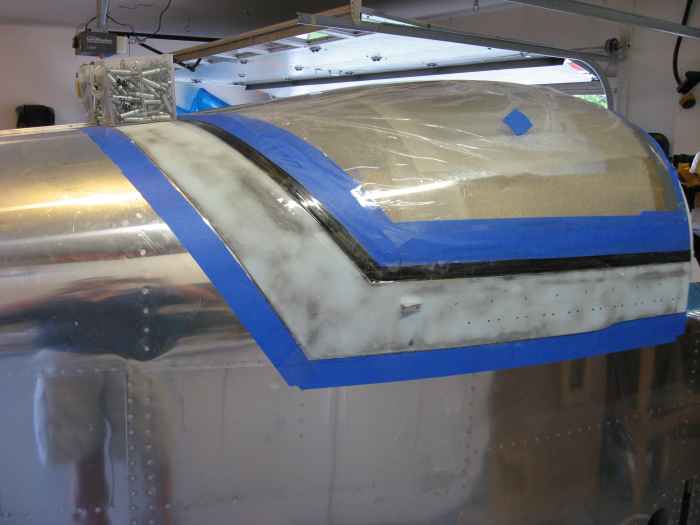 |
After the epoxy setup, I riveted the top
side skirt attach holes to the canopy side frame using MK-319-BS blind
rivets. |
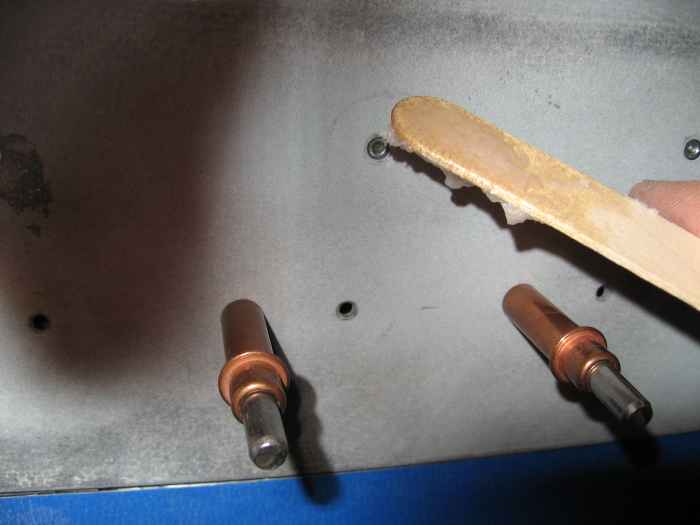 |
The holes in the heads of these rivets
where then filled with a mixture of epoxy and flox. This will give
a nice smooth finish when all is said and done. |
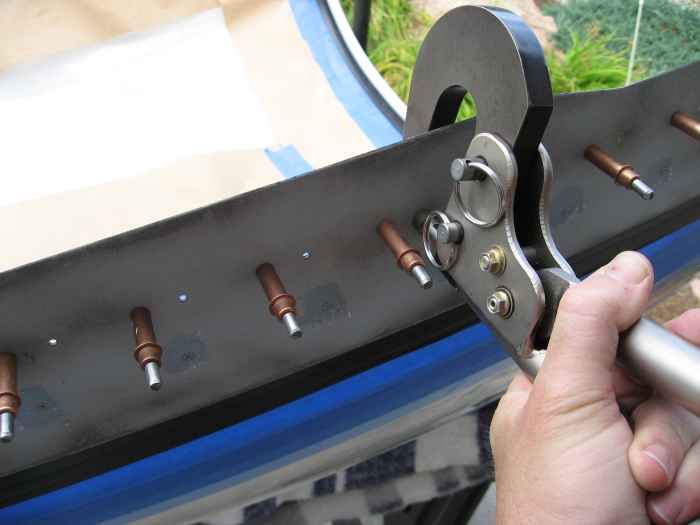 |
Later I removed the canopy and frame from
the fuselage and used my hand squeezer to set all the lower skirt rivets |
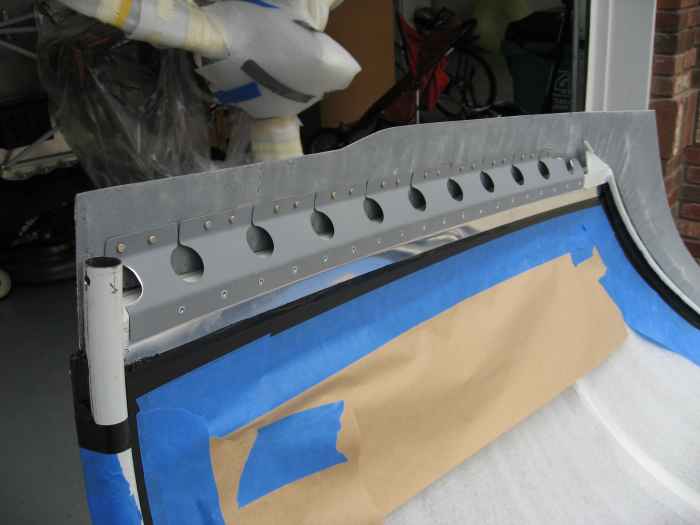 |
Here is a shot of the rivet line on the
inside of the skirts. |
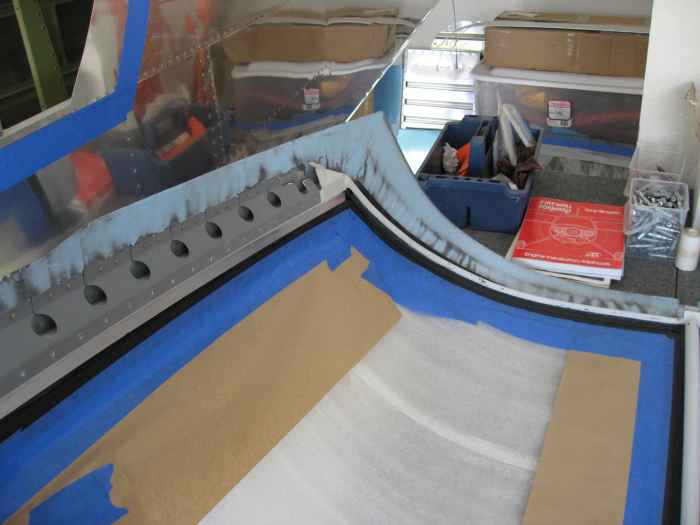 |
Even though it will not be visible, I
decided I wanted to try and smooth the inside surface of the side/rear
skirts a bit. I am thinking this will probably help with sealing
of the canopy. I applied some SuperFil to the structure. |
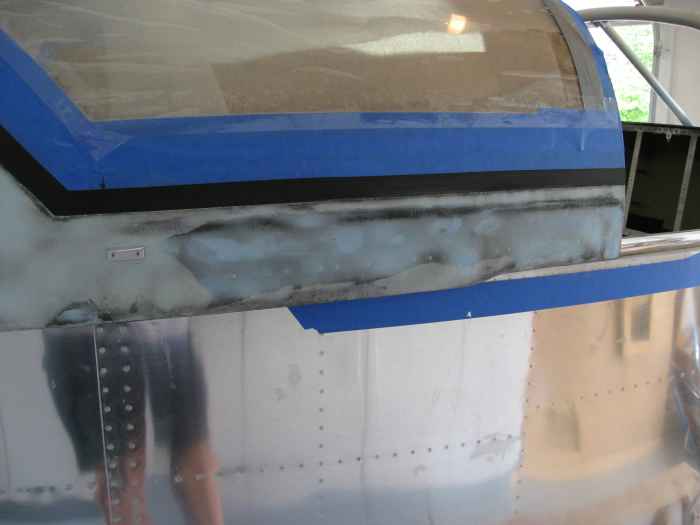 |
After sanding the flox mixture off the top
of the rivets, I applied some more SuperFil to the outside of the
skirts. |
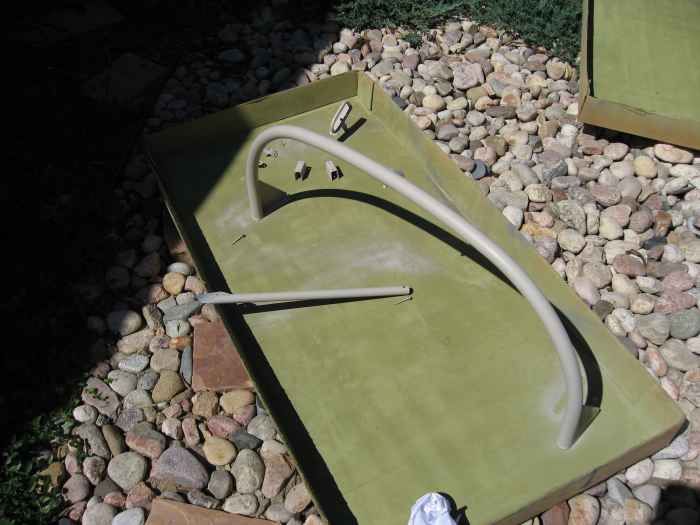 |
I removed the roll bar, canopy track
rollers, and canopy handle. These were sanded, cleaned, and
painted with JetGlow to match my interior. |
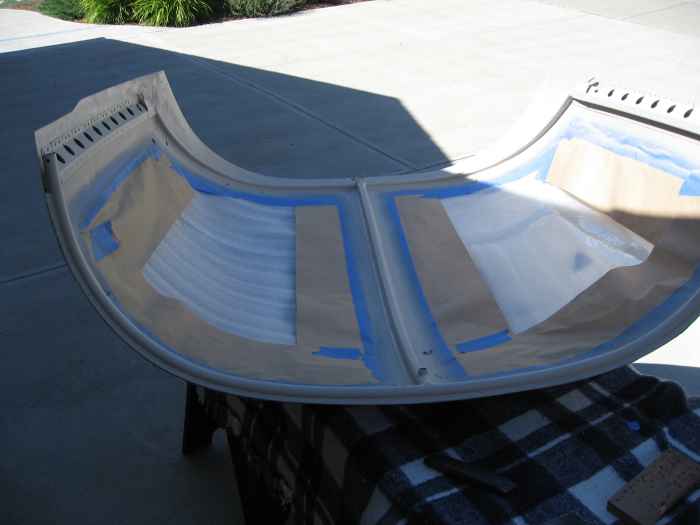 |
I spent a fair amount of time sanding and
smoothing the SikaFlex joints and side/rear skirts
I then painted the the canopy frame (including the SikaFlex joints)
and insides of the side/rear skirts. |
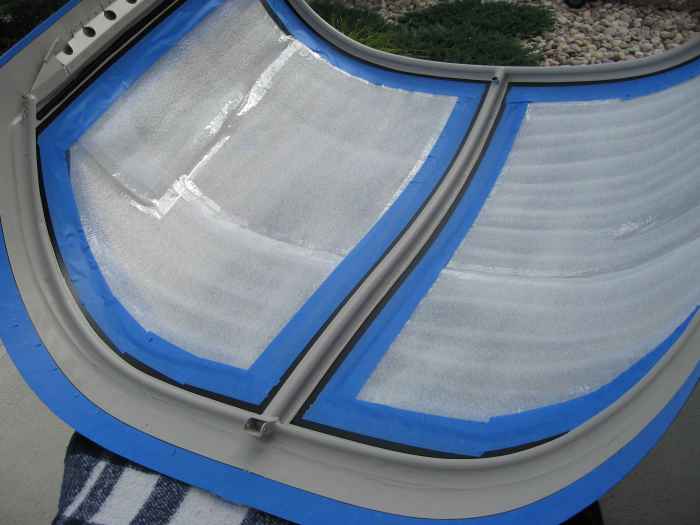 |
Here is another picture of the painted
canopy frame. It came out pretty nice, but the light paint color
seems to bring out some of the un-evenness in the SikaFlex joints.
I will have to think about what to do with that. |
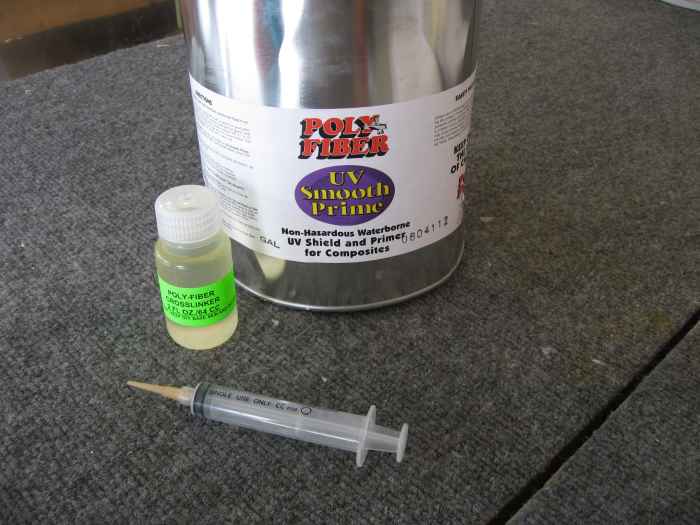 |
I purchased some UV Smooth Prime to use as
a filler and primer on the fiberglass side/rear skirts. It comes
with a cross-linker that needs to be mixed in. |
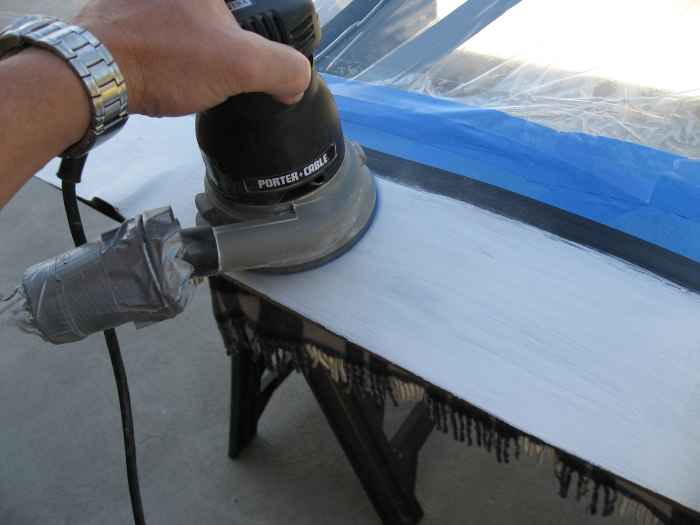 |
It can be sprayed, rolled, or brushed on.
For my first coat, I just brushed it on. What is nice about UV
Smooth Prime is that is dries quickly. This allows you to do
multiple applications and sanding in the same day.
Here I am sanding with 220 grit. This stuff sands really
nicely. |
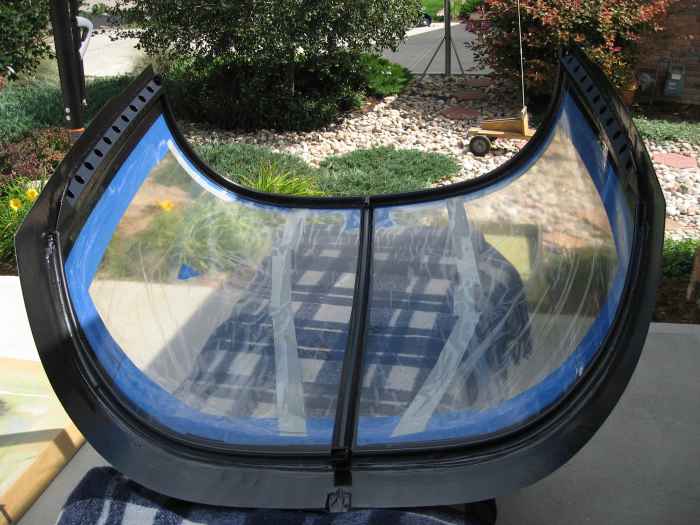 |
Well, here is my solution to the light
paint color revealing the un-evenness in the SikaFlex joints... I
painted the canopy frame, SikaFlex joints, and inside side/rear skirts a
hammered black. |


