 |
April 13-23, 2007 (10 hrs): I have
not progressed much on the plane because this canopy is driving me crazy.
It seems every time I take a step forward, I then take two steps
backward. Figuring out the bends on the canopy frame is more an
art/luck than science. I did not take many pictures during the
process because it was very iterative: take the canopy frame off, make a
bend, put the canopy frame on, curse, and repeat.
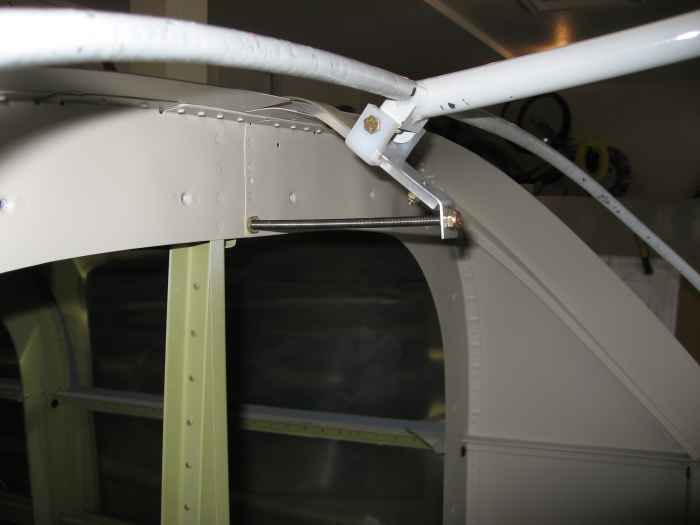
Here I installed the threaded rod that stiffens
the rear slider track.
|
 |
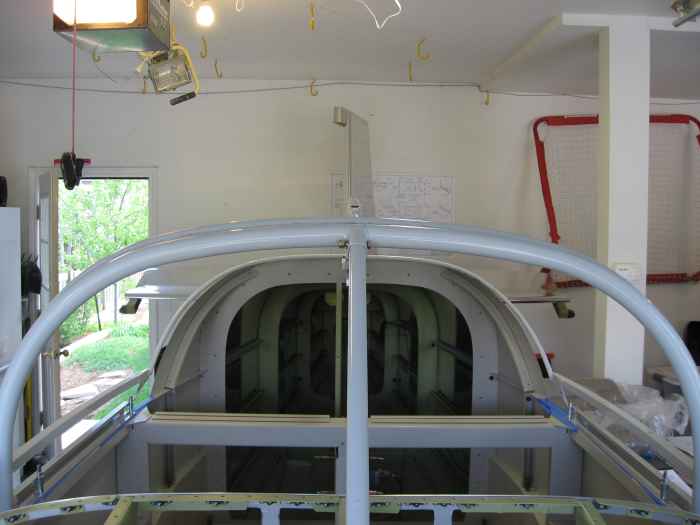
This is the current fit of the canopy
frame to the roll bar. The frame front bow and roll bar are not
completely parallel, but close enough. |
 |
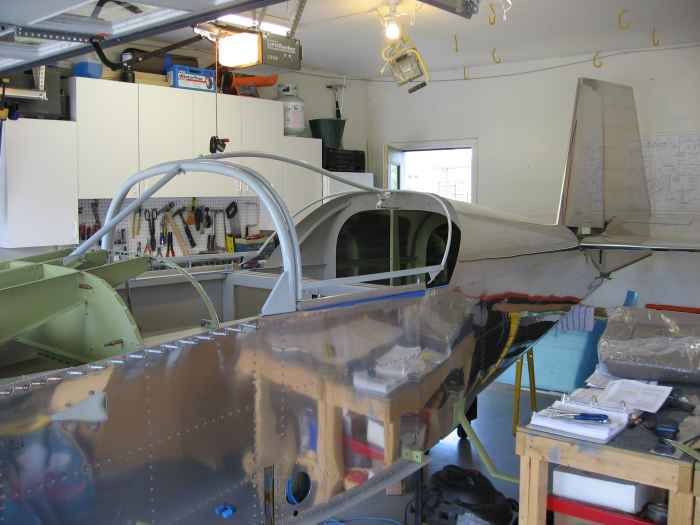
Here you can see the canopy frames front
bow sitting slightly taller than the roll bar (3/8" at the top).
This height will help with alignment of the front windscreen. |
 |
Another shot for prosperity. |
 |
Next, I pulled the canopy out of storage
and positioned it over the frame to see how much trimming I was going to
have to do. I |
 |
May
4 - 28, 2007 (8 hrs): I have not made
any construction log entries for quite some time. Progress has
been slow because of travel for work and various family activities.
I did manage to get some work done on the canopy.
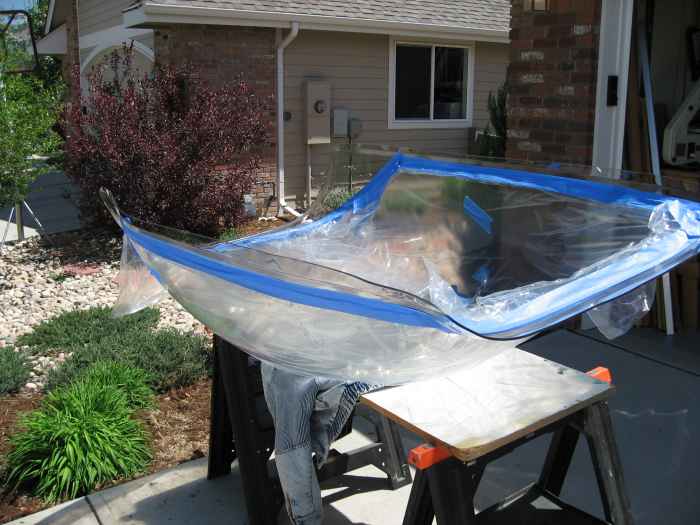
First I measured and marked a center line down the
length to the canopy.
|
 |
Next I let the canopy sit out in the sun
and warm up a bit. I believe it was 80 degrees out and it did not
take long in the direct sun light for the canopy to heat up. I
peeled back the protective plastic a bit and layed down a line of
masking tape just near where I wanted to trim. The first trimming
would be focused on removing the flange material. I used the
cut-off wheel provided by Van's in my electric drill. This worked
very well, and was better than trying to use my air powered drill which
would have required me to stop frequently to let the compressor catch
up. |
 |
After cutting, I used my belt sander to
clean up the cut marks. This was then followed by the orbital
sander to take down the edges and smooth things out using 120, 220, and
400 grit paper. |
 |
I placed the frame in the canopy,
positioned it for best fit, and drilled the canopy latch hole. I
then used a temporary nut, bolt, and some washers to 'lightly' hold the
frame in position while I clamped the canopy edges to the frame.
With that done, I then marked the next set of cut-lines at the bottom of
the side rails and 1.5" rear of the rear bows. |
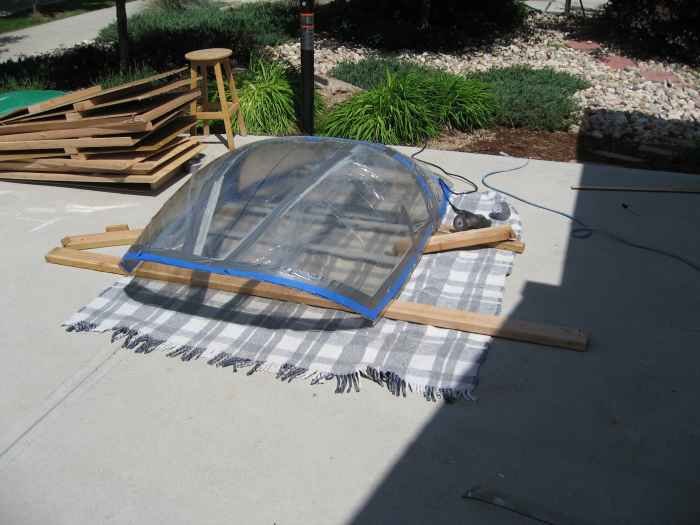 |
Executed all the cuts and then sanded all
the edges nice and smooth. |
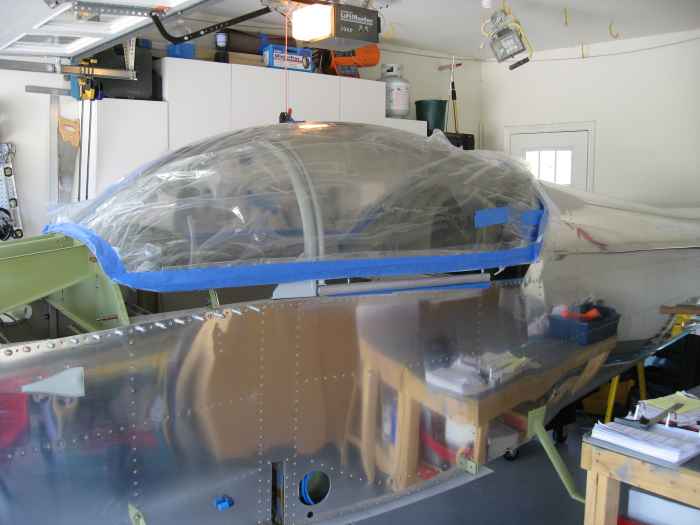 |
Placed the canopy on the frame and the
fuselage to see how close things were. The rear looks good.
The side cuts will need to eventually come up above the side rails.. |
 |
The front will require quite a bit of
additional trimming. |
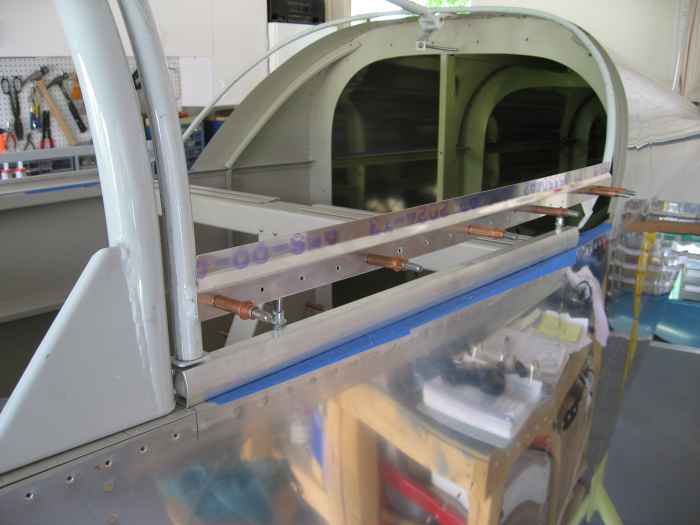 |
I decided to move on to new things, so I
fabricated these canopy attach points for the side rails.
Here I am match drilling them to the side rails. |
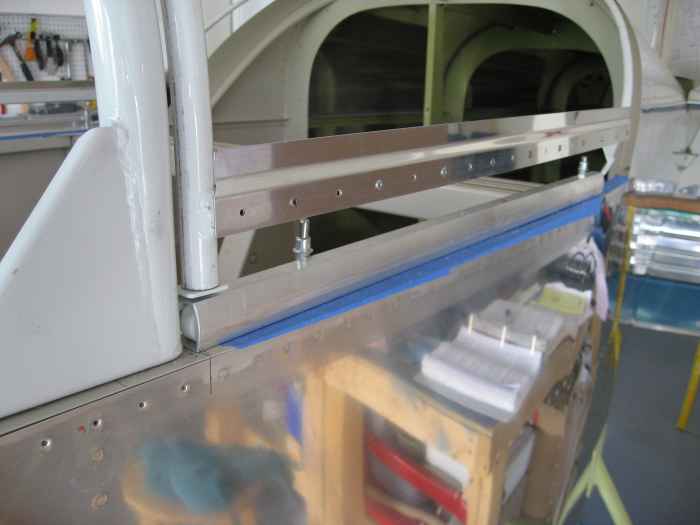 |
I have decided that I will be gluing my
canopy to the frame and making custom side and rear canopy fairings.
Because of this, I am now deviating quite a bit from the plans.
Here I am riveting (every other hole) of the canopy attachment point to
the side rails. I will then be able to use this to secure the
bottom sides of the canopy with glue. The fiberglass fairing will
be laid up right on the plane and then later attached with rivets to the
open rivets holes in the side rails. |
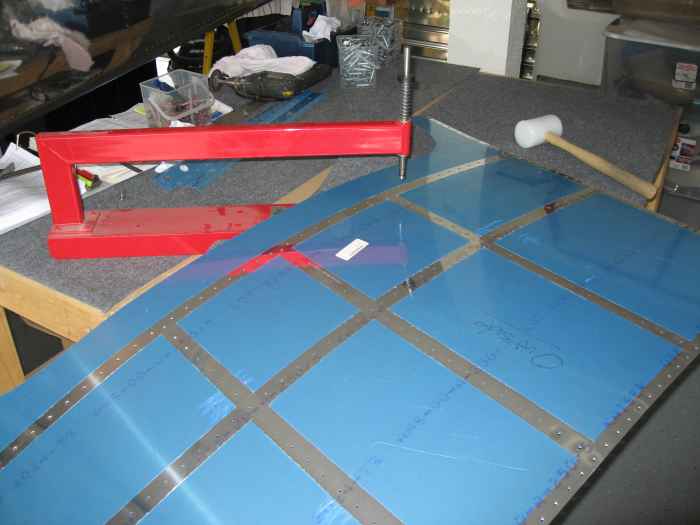 |
My father-in-law was in town again and
immediately put to work deburring and dimpling the top forward skin. |
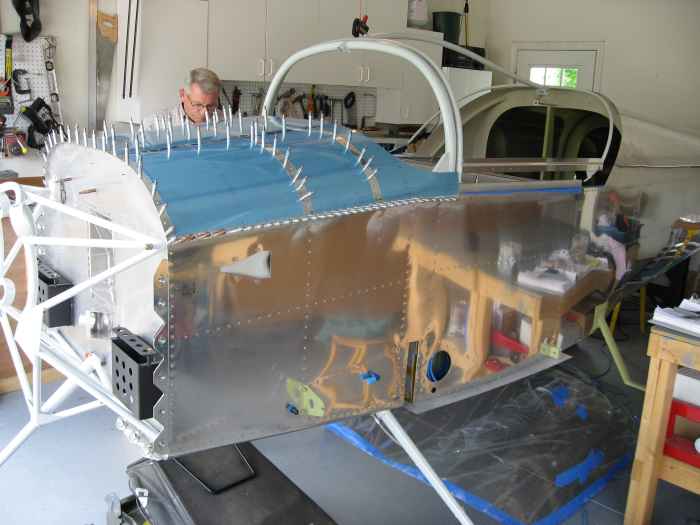 |
Having the top skin cleco'd in place will
help when fitting the front wind screen. |


