 |
August 4, 2007 (4 hrs):
Worked on the fabrication and placement of the rear
slider blocks.
There are the block holders after they were marked
and drilled per the plans. I also spent some time deburring all
the edges of this part. This will eventually get painted to match
the interior color of my fuselage. I will shoot these with paint
when I paint the canopy frame. |
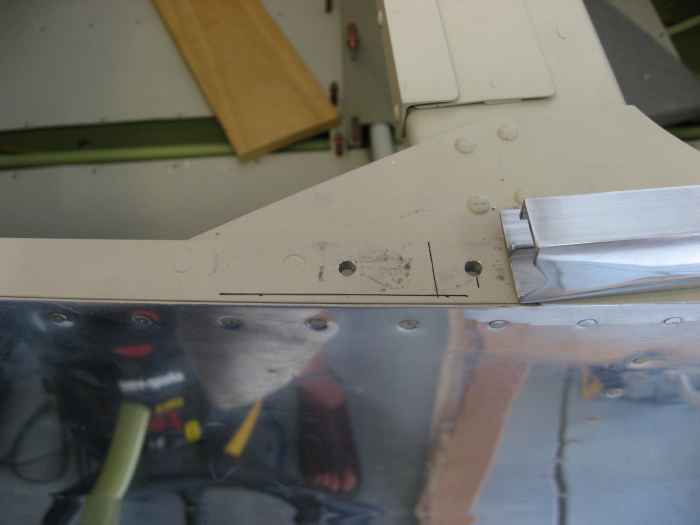 |
The longeron and upper deck just aft of
the canopy slider rail were then match drilled for the block holders.
Critical element here is that the block holders are inset about 1/8"
from the side skin and positioned in the same place on each side of the
fuselage. With the block holders bolted in place (not pictured), I
then slightly adjusted the pins on the canopy frame to fall evenly
inside the block holders. This adjusted required me to gently bend
the pins to the desired position. |
 |
Next the slider block needs to be drilled.
This is a bit tricky because the pins on the canopy frame that mate with
the block enter at an angle downward and inward. Both angles were
determined and transferred to the blocks. Each block was then
clamped into position (table tilted in on direction and shim used in the
other direction) and drilled. |
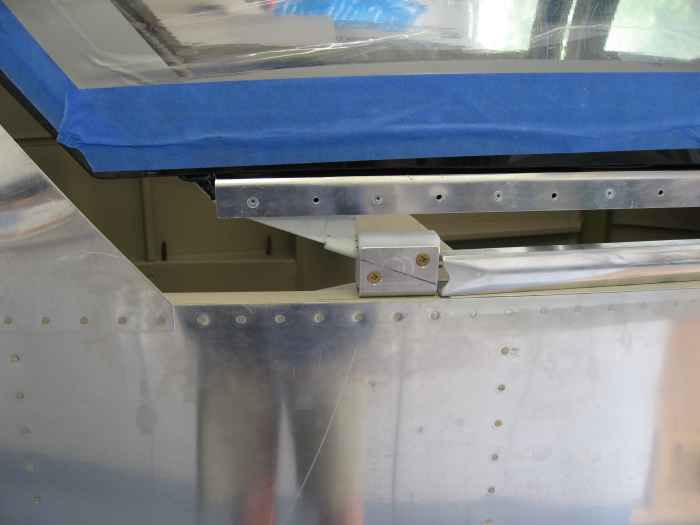 |
The blocks where then placed into the
block holders and the fit of the canopy frame pins was tested. I
ended up having to just slightly drill the holes a bit oversized to get
an easy, but solid, fit. Once I was satisfied with the fit, I used
the side holes in the block holders to match drill the attachment holes
in the block. The outer side of the holes were then machine
counter sunk for a flush head screw. |
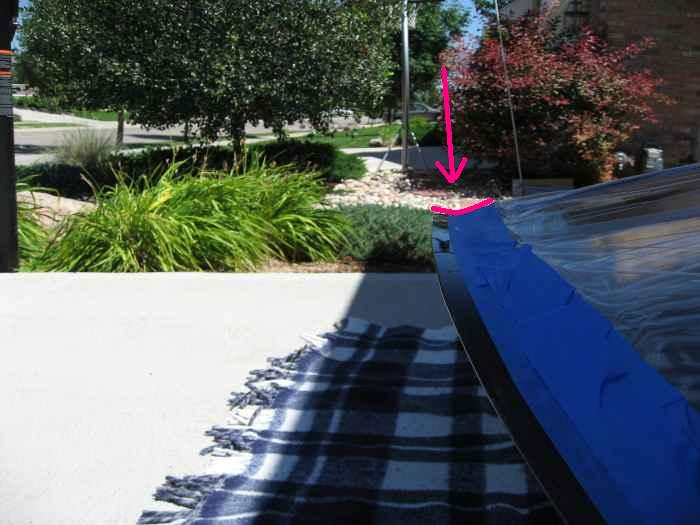 |
August 10-12, 2007 (8 hrs):
On the rear top of my canopy there was a bit of a lip
where the canopy curved up. This looked like it would be a problem
when I went to create my rear fiberglass skirts. So, I decided to
trim another 7/8" of material off the rear of the canopy. This
left plenty of overhang on the rear canopy frame bow, while reducing the
lip at the top rear considerably. Any remnants of the curvature
could now easily be glassed over during the rear skit construction.
|
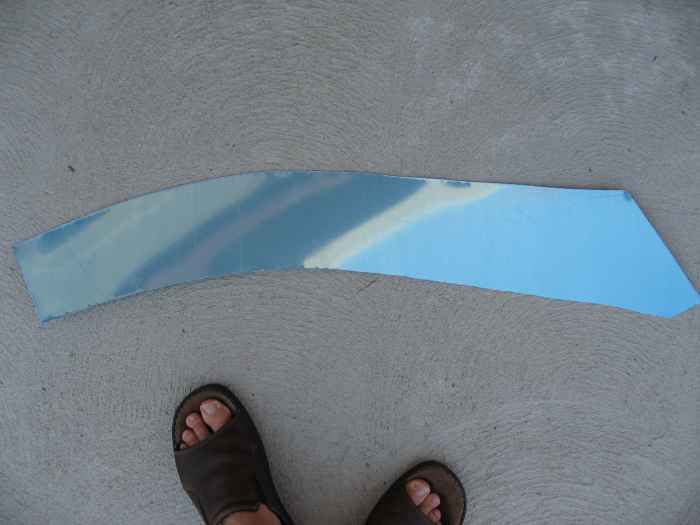 |
I cut out the provided aluminum rear skirt
to use it as a template. |
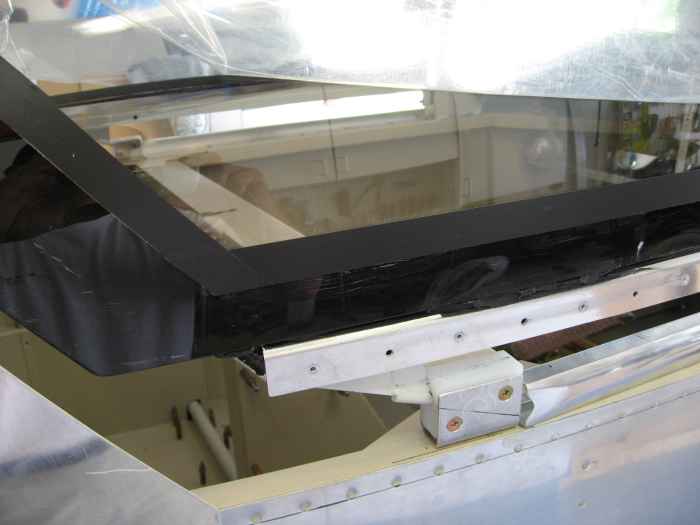 |
Using electrical tape, I masked the lines
on the canopy where I wanted the top of the skirts to sit. This
was as simple as following the lines created by the black paint applied
to the inside of the canopy during the gluing process. The whole
intent of the masking tape is to create a line on the back side of the
layed up fiberglass skirts to show where they need to be trimmed. |
 |
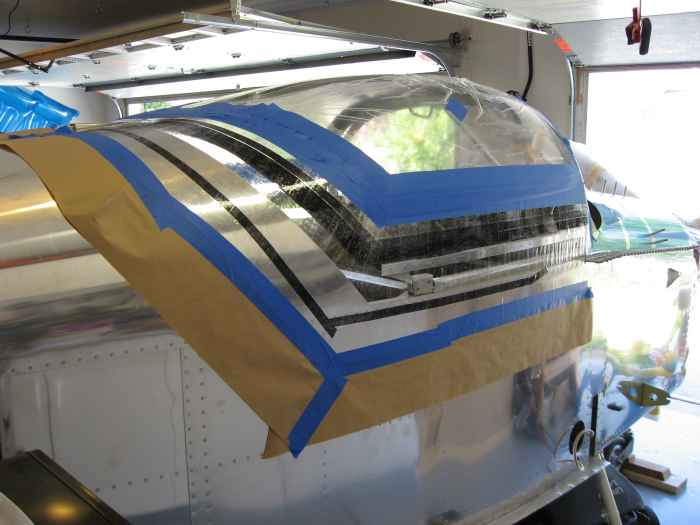
The rear skirt template was used to find
the lines on the top rear skin. Electrical tape was then applied
along this line. |
 |
With the canopy secured shut, clear
packaging tape was applied from the canopy to the fuselage skin,
effectively filling the gap and providing a surface for the fiberglass
lay-up. |
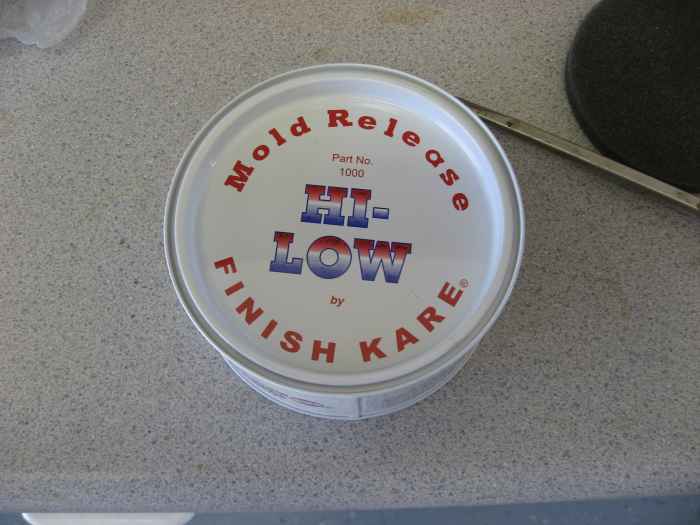 |
Though I was told it was not necessary, I
applied some mold release wax to the packaging tape. |
 |
I then proceeded to use my templates for
the rear and side skirts to cut some of 8 oz. BID fiberglass and 8 oz.
BID Carbon Fiber. I did my lay-ups right on the plane: 1
layer of glass, 1 layer of Carbon Fiber, and 2 more layers of glass.
This was then all covered with Dacron peel-ply (pictured). Once
this all dries, I will sand the surface, apply some micro/flox fill,
sand, repeat... |


