 |
August 17-19, 2007 (8 hrs):
Popped the fiberglass canopy skirt off the mold (the
plane) and trimmed it to size per the tape lines I created in the mold
that transferred to the skirts..
|
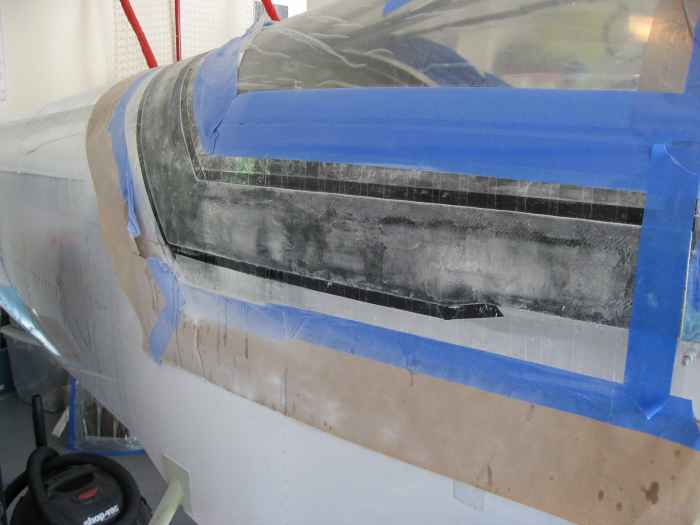 |
The skirt was placed back on the plane and
sanded with my orbital sander and 60 grit paper. I then mixed up
some epoxy and milled fiber. This was squeegee'd on the surface
filling some of the low spots. After everything was dry
(overnight), the process was repeated. I did this three times. |
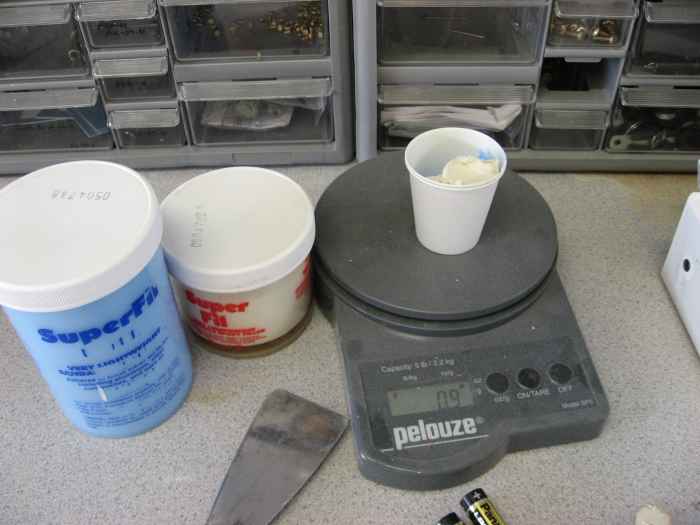 |
I had heard good things about a fiberglass
filler called SuperFil, so I thought I would give it a go. The
stuff gets mixed 2 to 1. I used my scale to measure the
quantities. When mixed, you get a nice peanut butter consistency. |
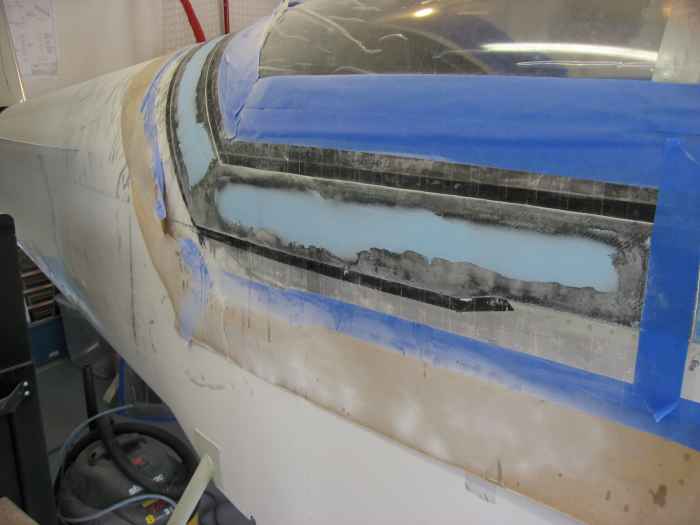 |
SuperFil was squeegee'd into the low areas
of the canopy skirts. The next morning I again sanded with
60 grit. This stuff sands real nicely. I think I will use
this going forward |
 |
I fabricated the interior support bracket
for the canopy side skirts. These get riveted to the inside of the
canopy rails and then to the side skirts. There was a lot of
hole drilling and deburring to fabricate these. I primed these now
since it will be hard to get paint on their backside once installed. |
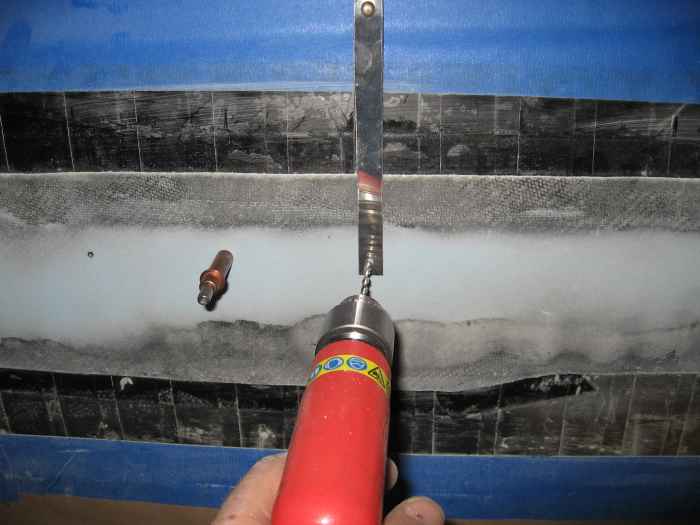 |
The side skirts will be riveted to the
canopy frame using the rivet holes I left open. I made this simple
strap duplicator to find where the holes needed to be drilled through
the side skirts. |
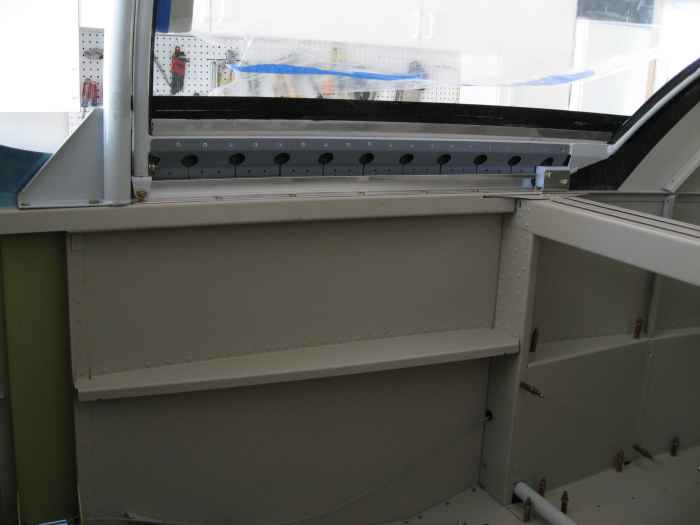 |
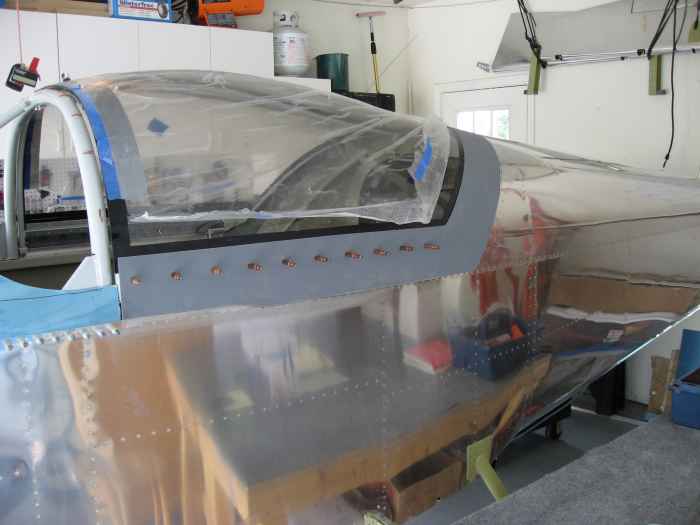
After the primer dried on the support
brackets for the side skirts, I match drilled them to the canopy side
frames. The holes in the canopy frame were deburred and the holes
in the brackets machine coutersunnk. The brackets riveted into
place with MK-319-BS blind rivets. I ran out of these rivets
before the job was completed, so I will have to order more. |
 |
Next I sanded the skirts some more and
then applied some primer. This primer will act as a guide coat.
When I sand it down it will reveal low spots in the skirt that will
require more filler.
I then spent about 2 hours cleaning up the workshop and garage from
all the fiberglass dust. Man, working with this stuff makes a
mess. Hopefully, once I attach the skirts to the canopy I can move
the parts outside when I do the remainder of the fiberglass sanding. |
 |
August 24-26, 2007 (8 hrs):
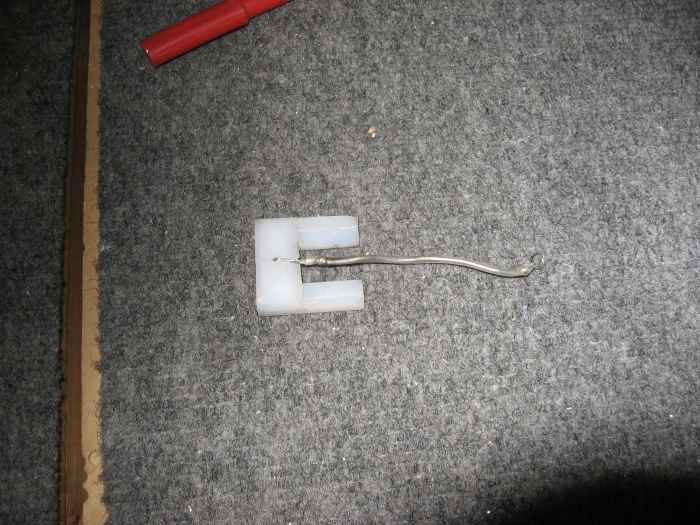
Made the canopy rear slide rail chase that will enter
the doghouse and 'hopefully' seal the canopy from air leaks around the
slide rail.
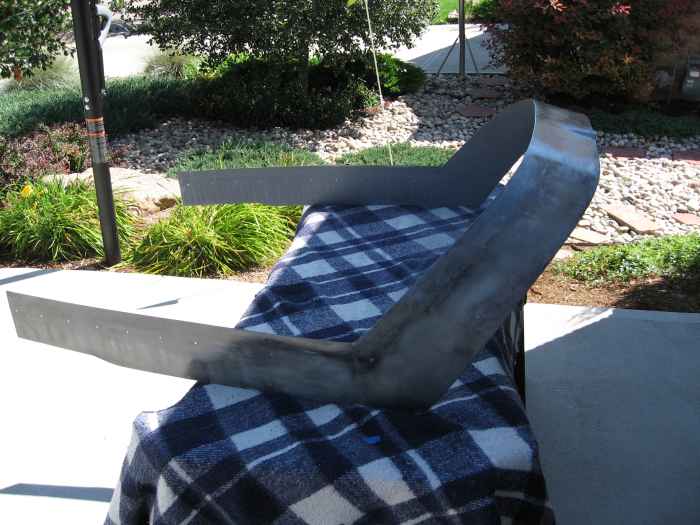
Here you can see the chase. I am using some
steal braid used for hanging pictures as the leash to canopy. I
covered the steal braid in shrink wrap for to protect against scratching
the top skins or the canopy fairing.
|
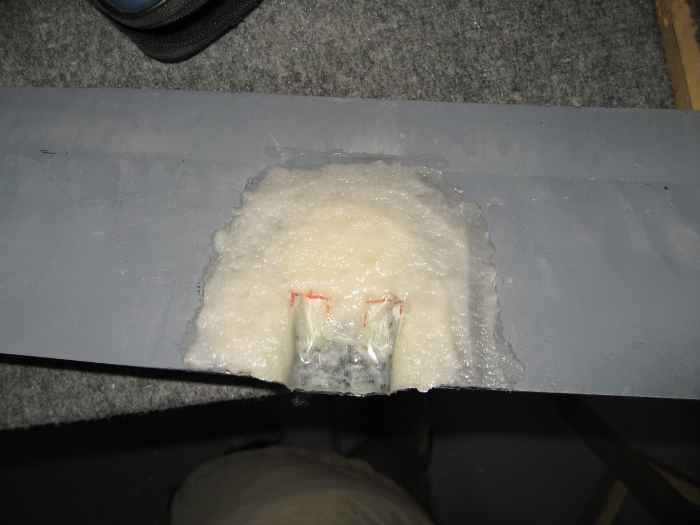 |
Next I mixed up some epoxy and flox.
This was then applied to the dog house (where the chase will reside with
the canopy is closed). I then installed the fairing back on to the
canopy, installed the chase, and closed the canopy so the flox wooud
flow around the chase making a nice tight seal. [ of course, I
covered the chase in packaging tape so the epoxy mixture would not stick
to it).
Here is the flox after it hardened. Once this dried, I spent a
fair bit of time sanding it smooth. That was then followed by an
application of SuperFil and yet some more sanding. |
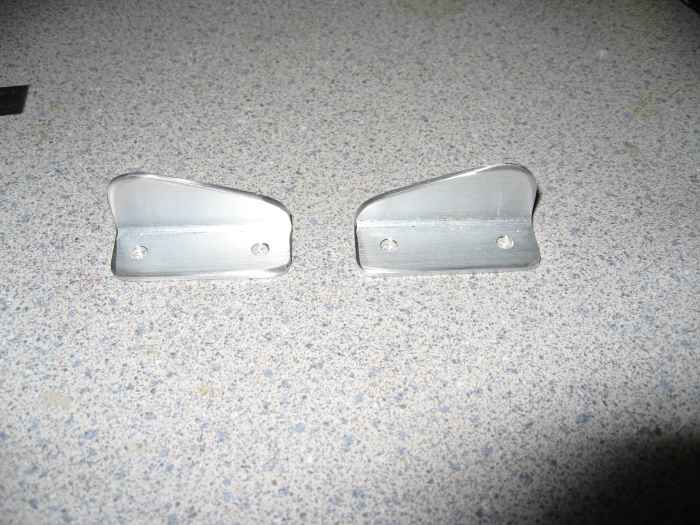 |
Next, I fabricated a couple of small
streamlined handles to attach through the canopy sides skirts and into
the canopy frame (at the rear of the canopy). these will help with
getting the canopy. The sliders canopy needs a slight bit of force
to get the backend to climb up the rear slide rail. Once it is up,
everything slides smoothly. These handles should really help. |
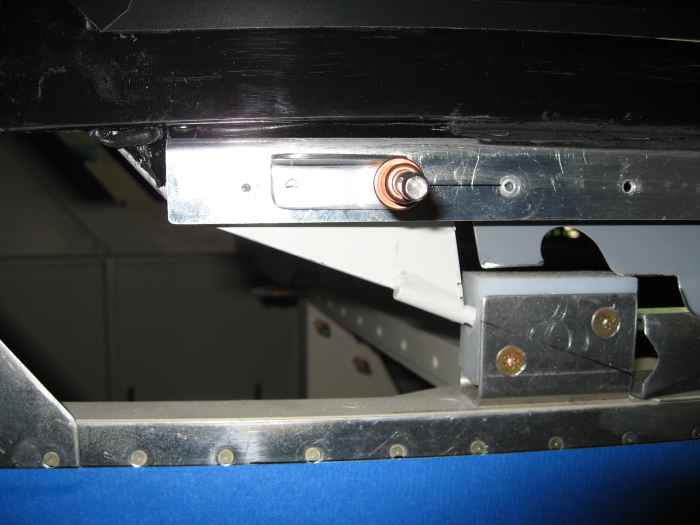 |
Here I am match drilling the holes in the
handles to the canopy side frames. |
 |
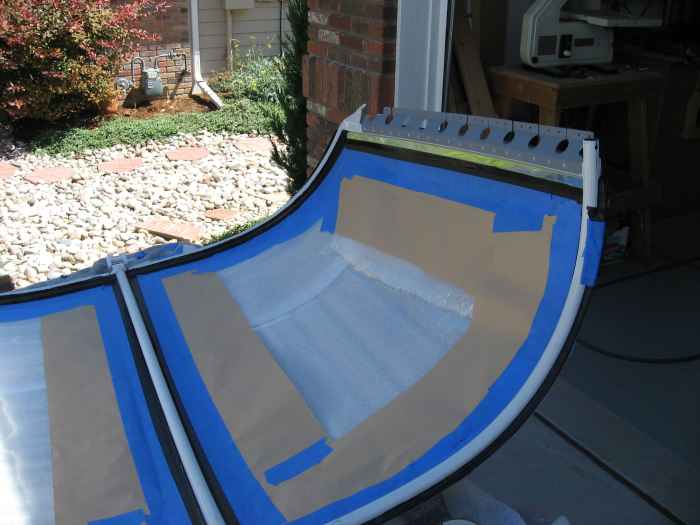
I decided the canopy fairing could use one
more squeegee coat of SuperFil. I cleaned the surface and
then used a rag to wipe on a thin coat of epoxy (pictured). This
was then followed by a coat of Superfil |
 |
While the SuperFil was setting on the
canopy fairing, I masked the inside of the canopy frame in preparation
for pain. |


