Firewall Forward: Firewall


[Up] [1] [2] [3] [4] [5] [6] [7]

August 2008: (15 hrs.)   

I have not been as consistent with updating this web site.  I guess that is how it goes when you start getting to a point in the project where you can see the end. 

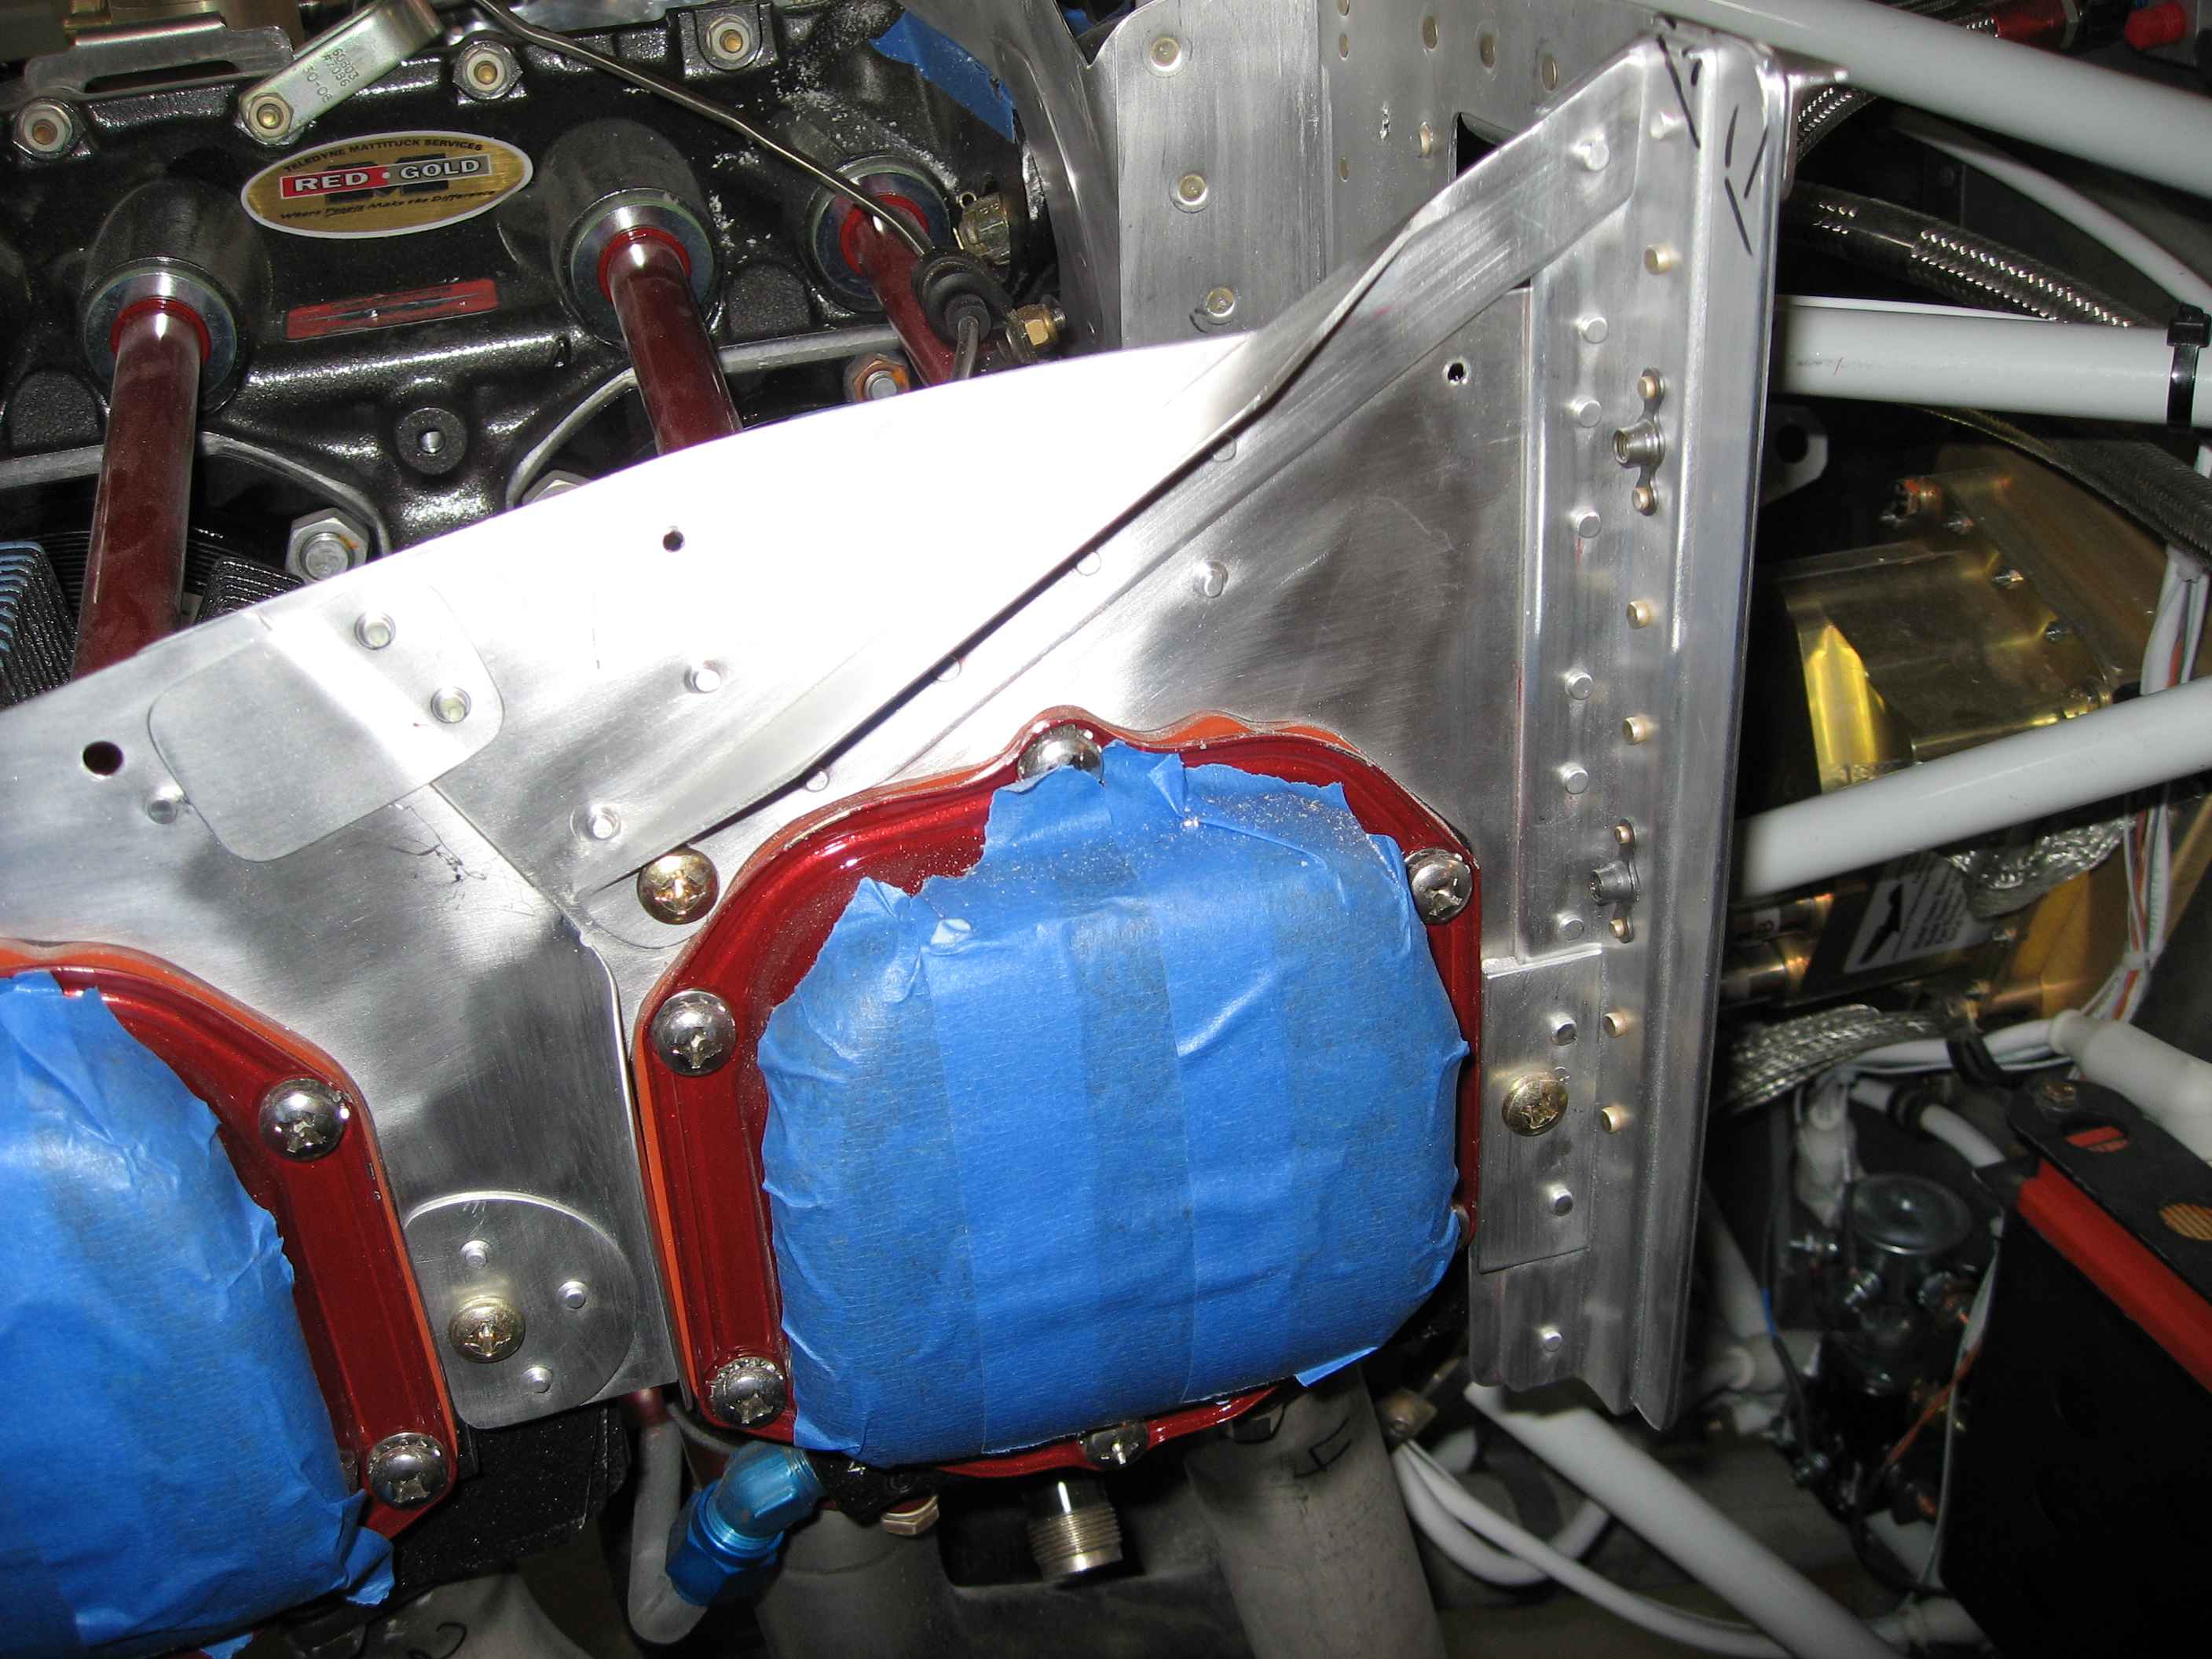
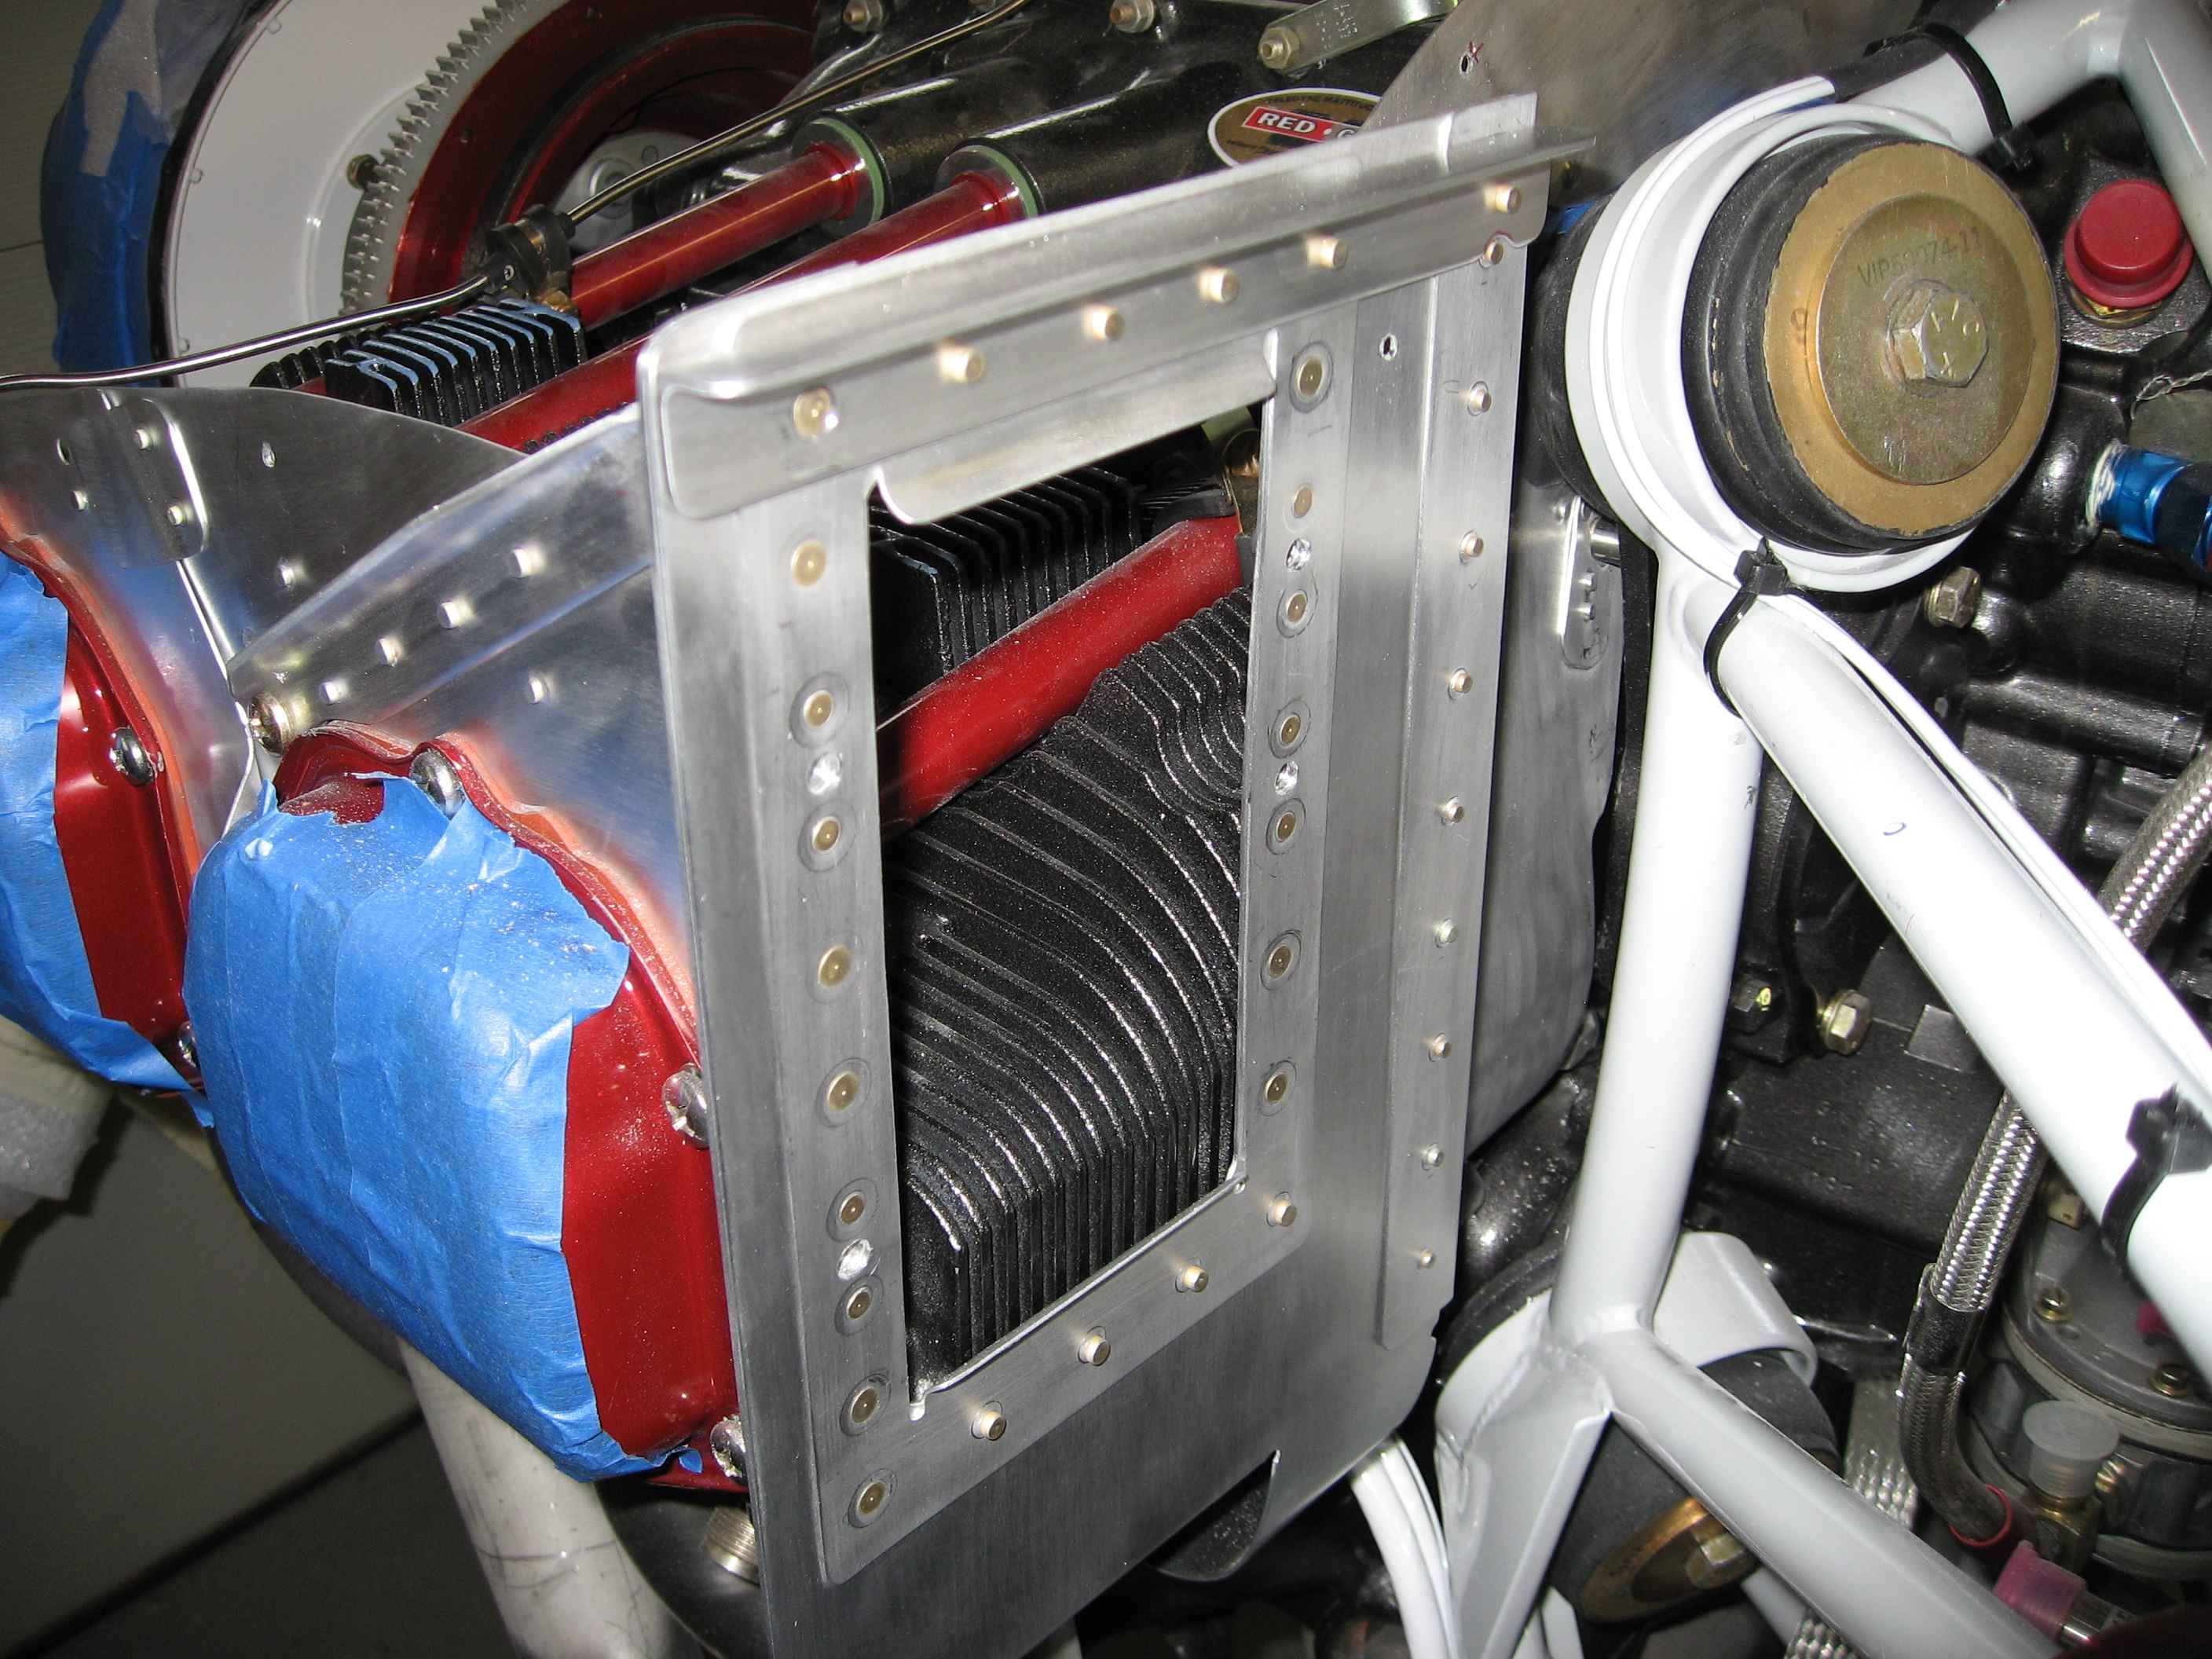
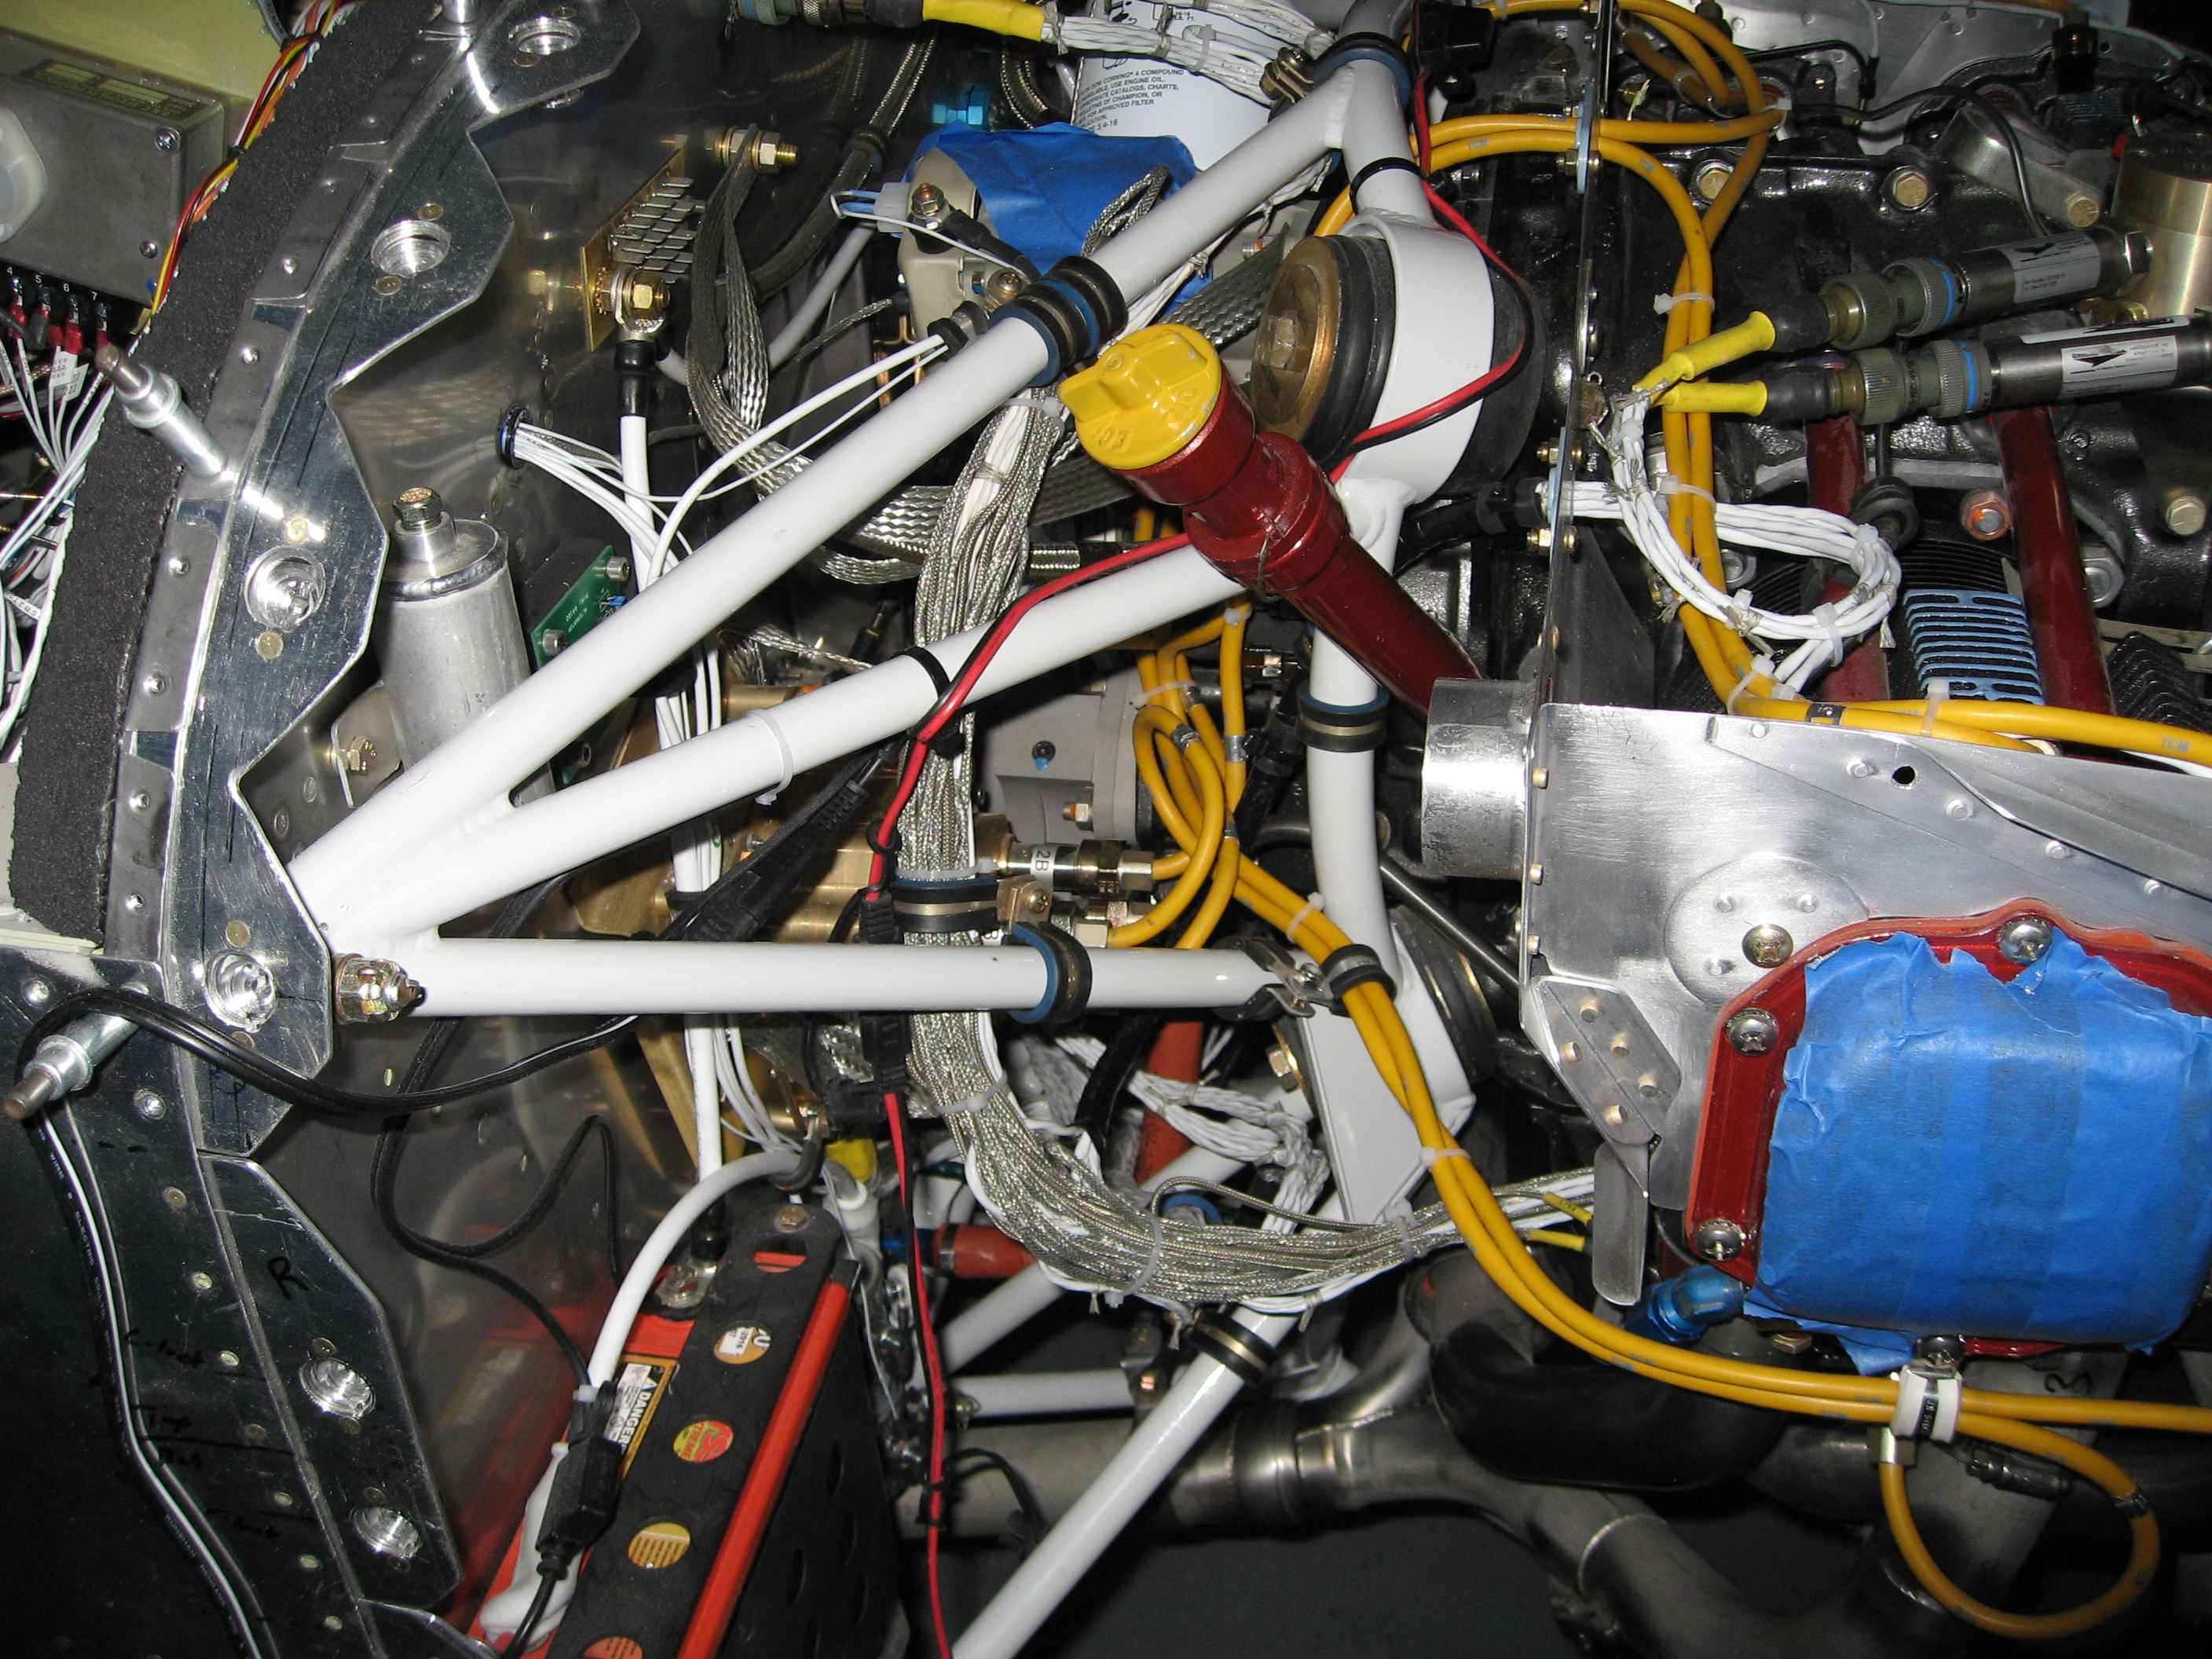
I have been doing a lot of work on the baffles getting them to fit the plenum, setting up the oil cooler mount, and adding reinforcements.  Here you can see the left side baffle and the bracing I have fabricated to hold my oil cooler solid.

Here is the left rear baffle with extra bracing along the top.  The Sam James plenum makes your oil cooler sit very low and behind the #4 cylinder on the baffles.  I was worried I would not get adequate air flow, so I have raised mine a couple of inches.  This required some modification to my plenum to make a ramp up to the top of the cooler (picture in another section).
Here is the front left floor completed to match the plenum intake.
Another shot of the opening for the baffle mounted oil cooler. 

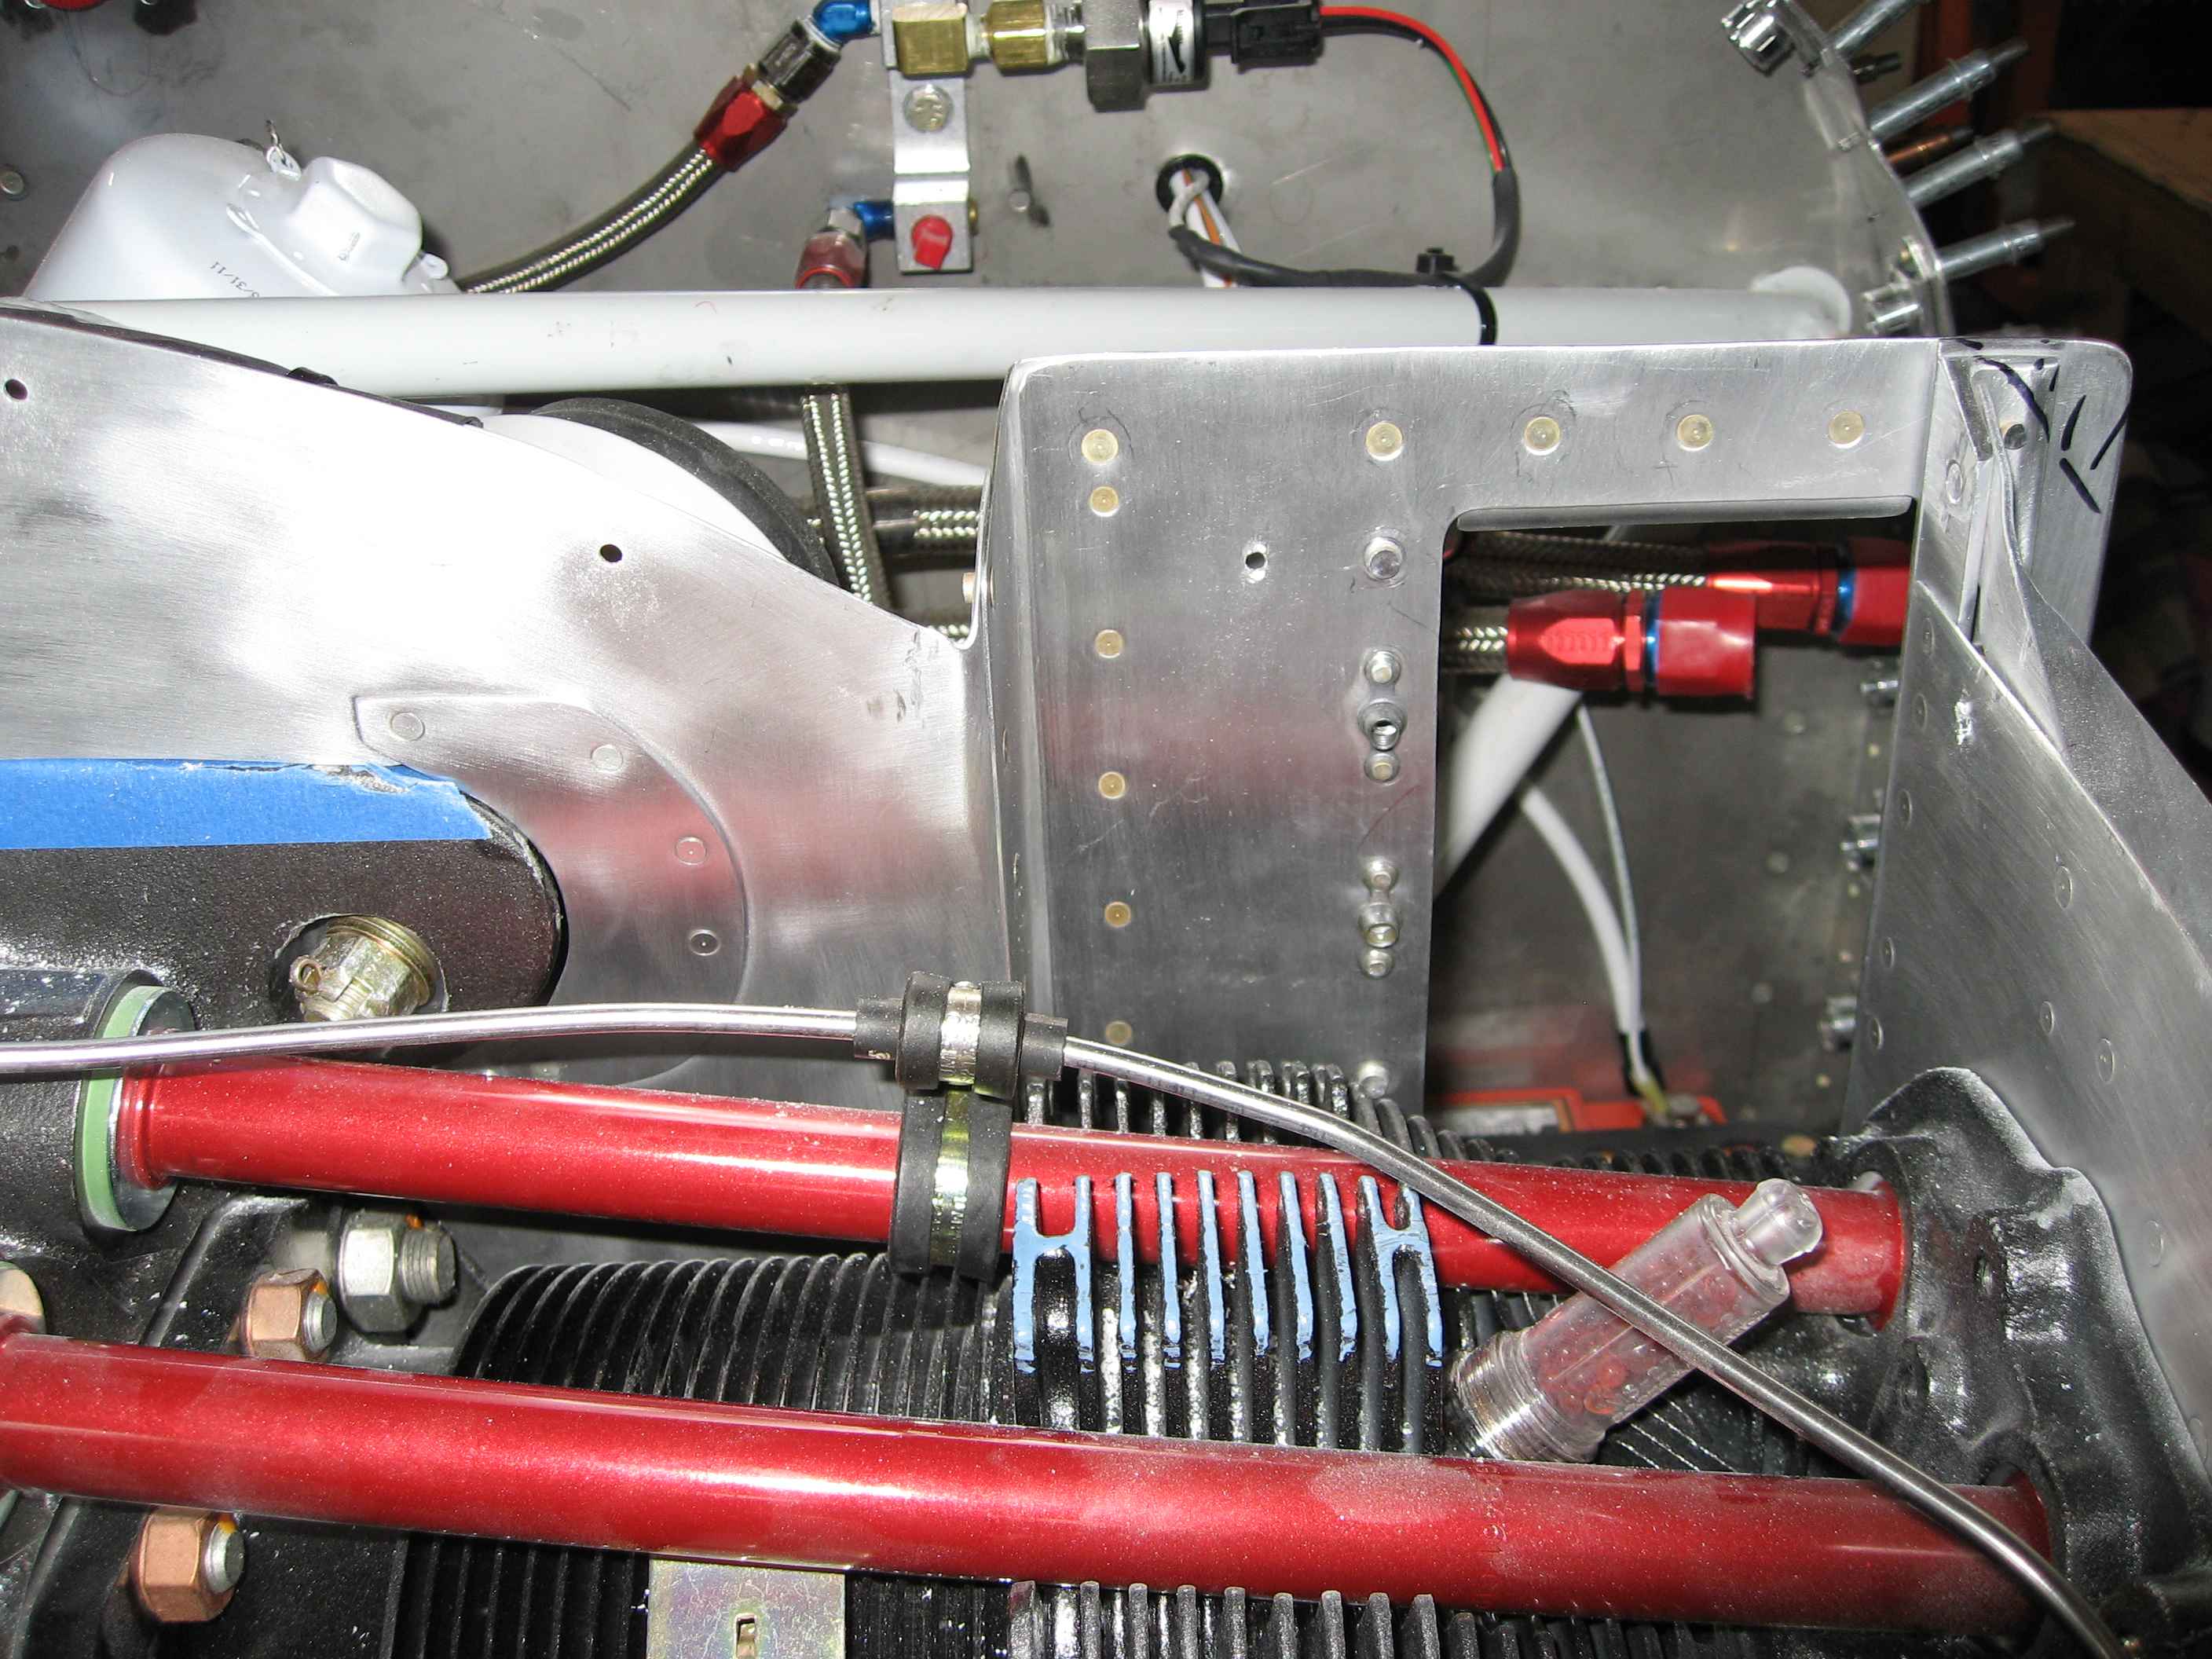
The arrow is pointing to a portion of the oil cooler brace that I need to trim back to provide adequate clearance for the cowl.

Here I have started playing around with how I will route the FADEC harness.  Lots of wires!
A shot of some of the wires that need run to the top of the engine.  The arrow is pointing to the 2" flange and screen I installed for the SCAT tubing that will run to my heat muff.
Here I have installed some special ignition wire Adel clamps made by Champion to keep the ignition wires secure to the valve covers.


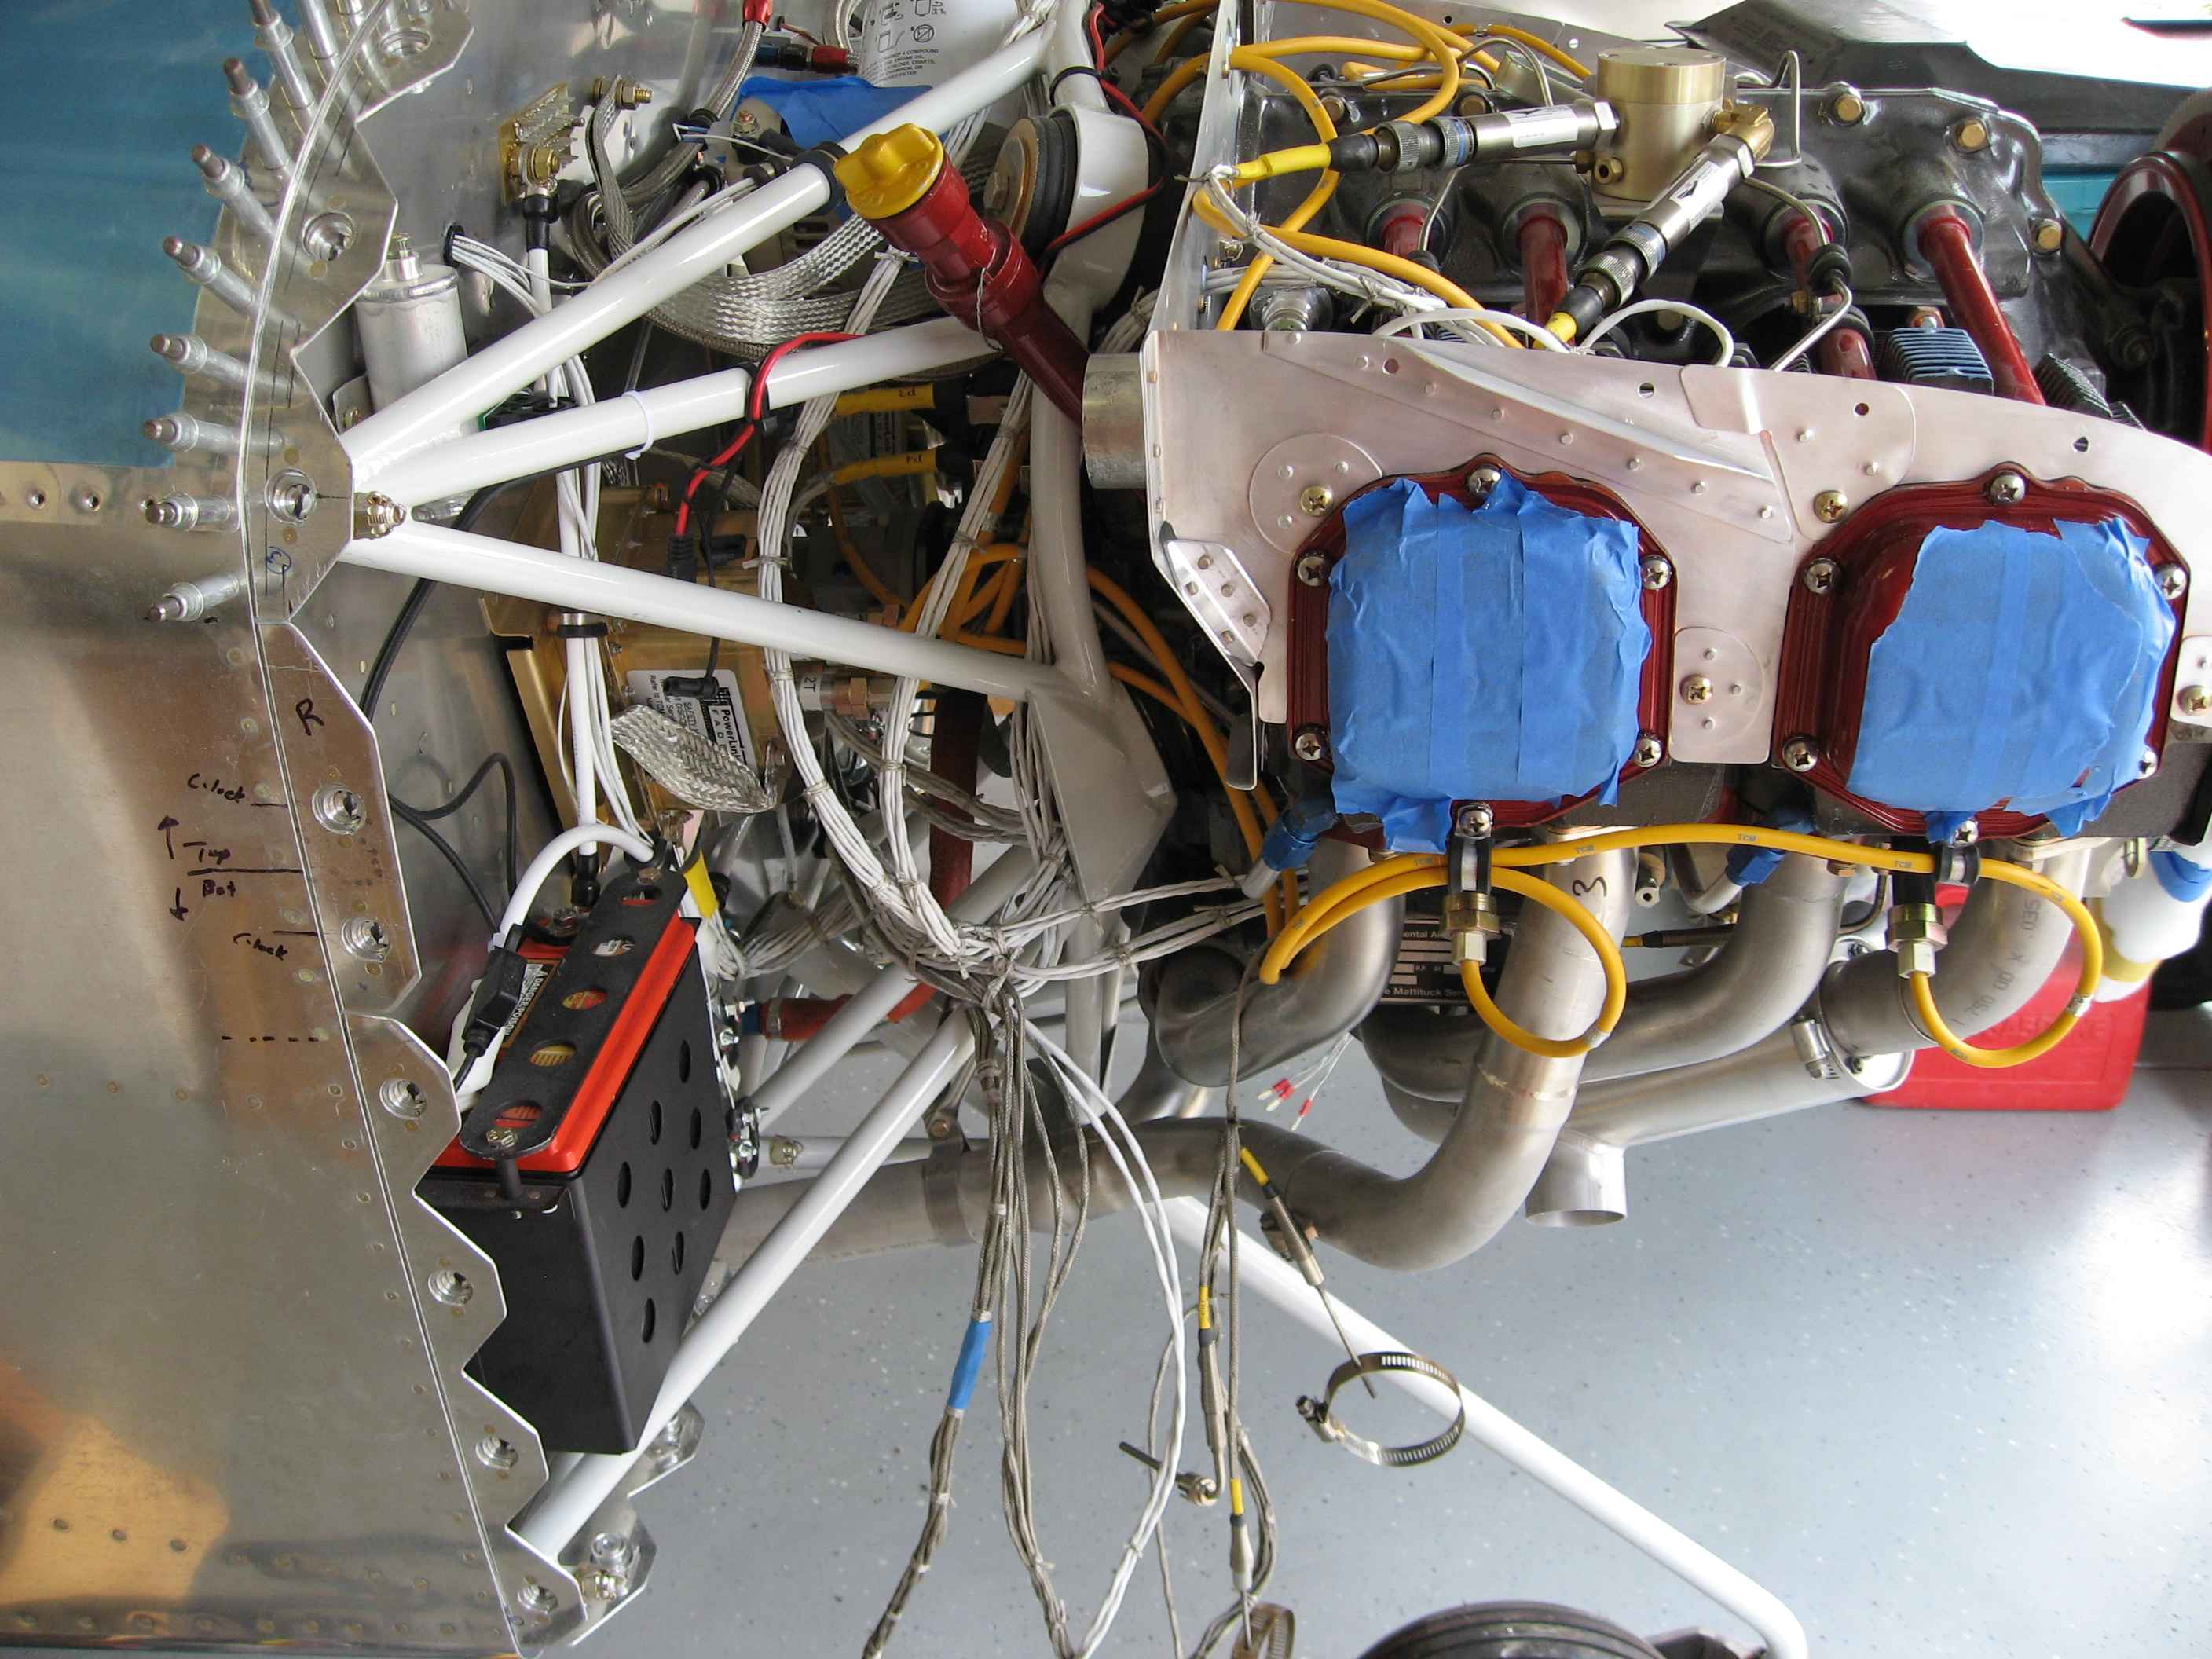
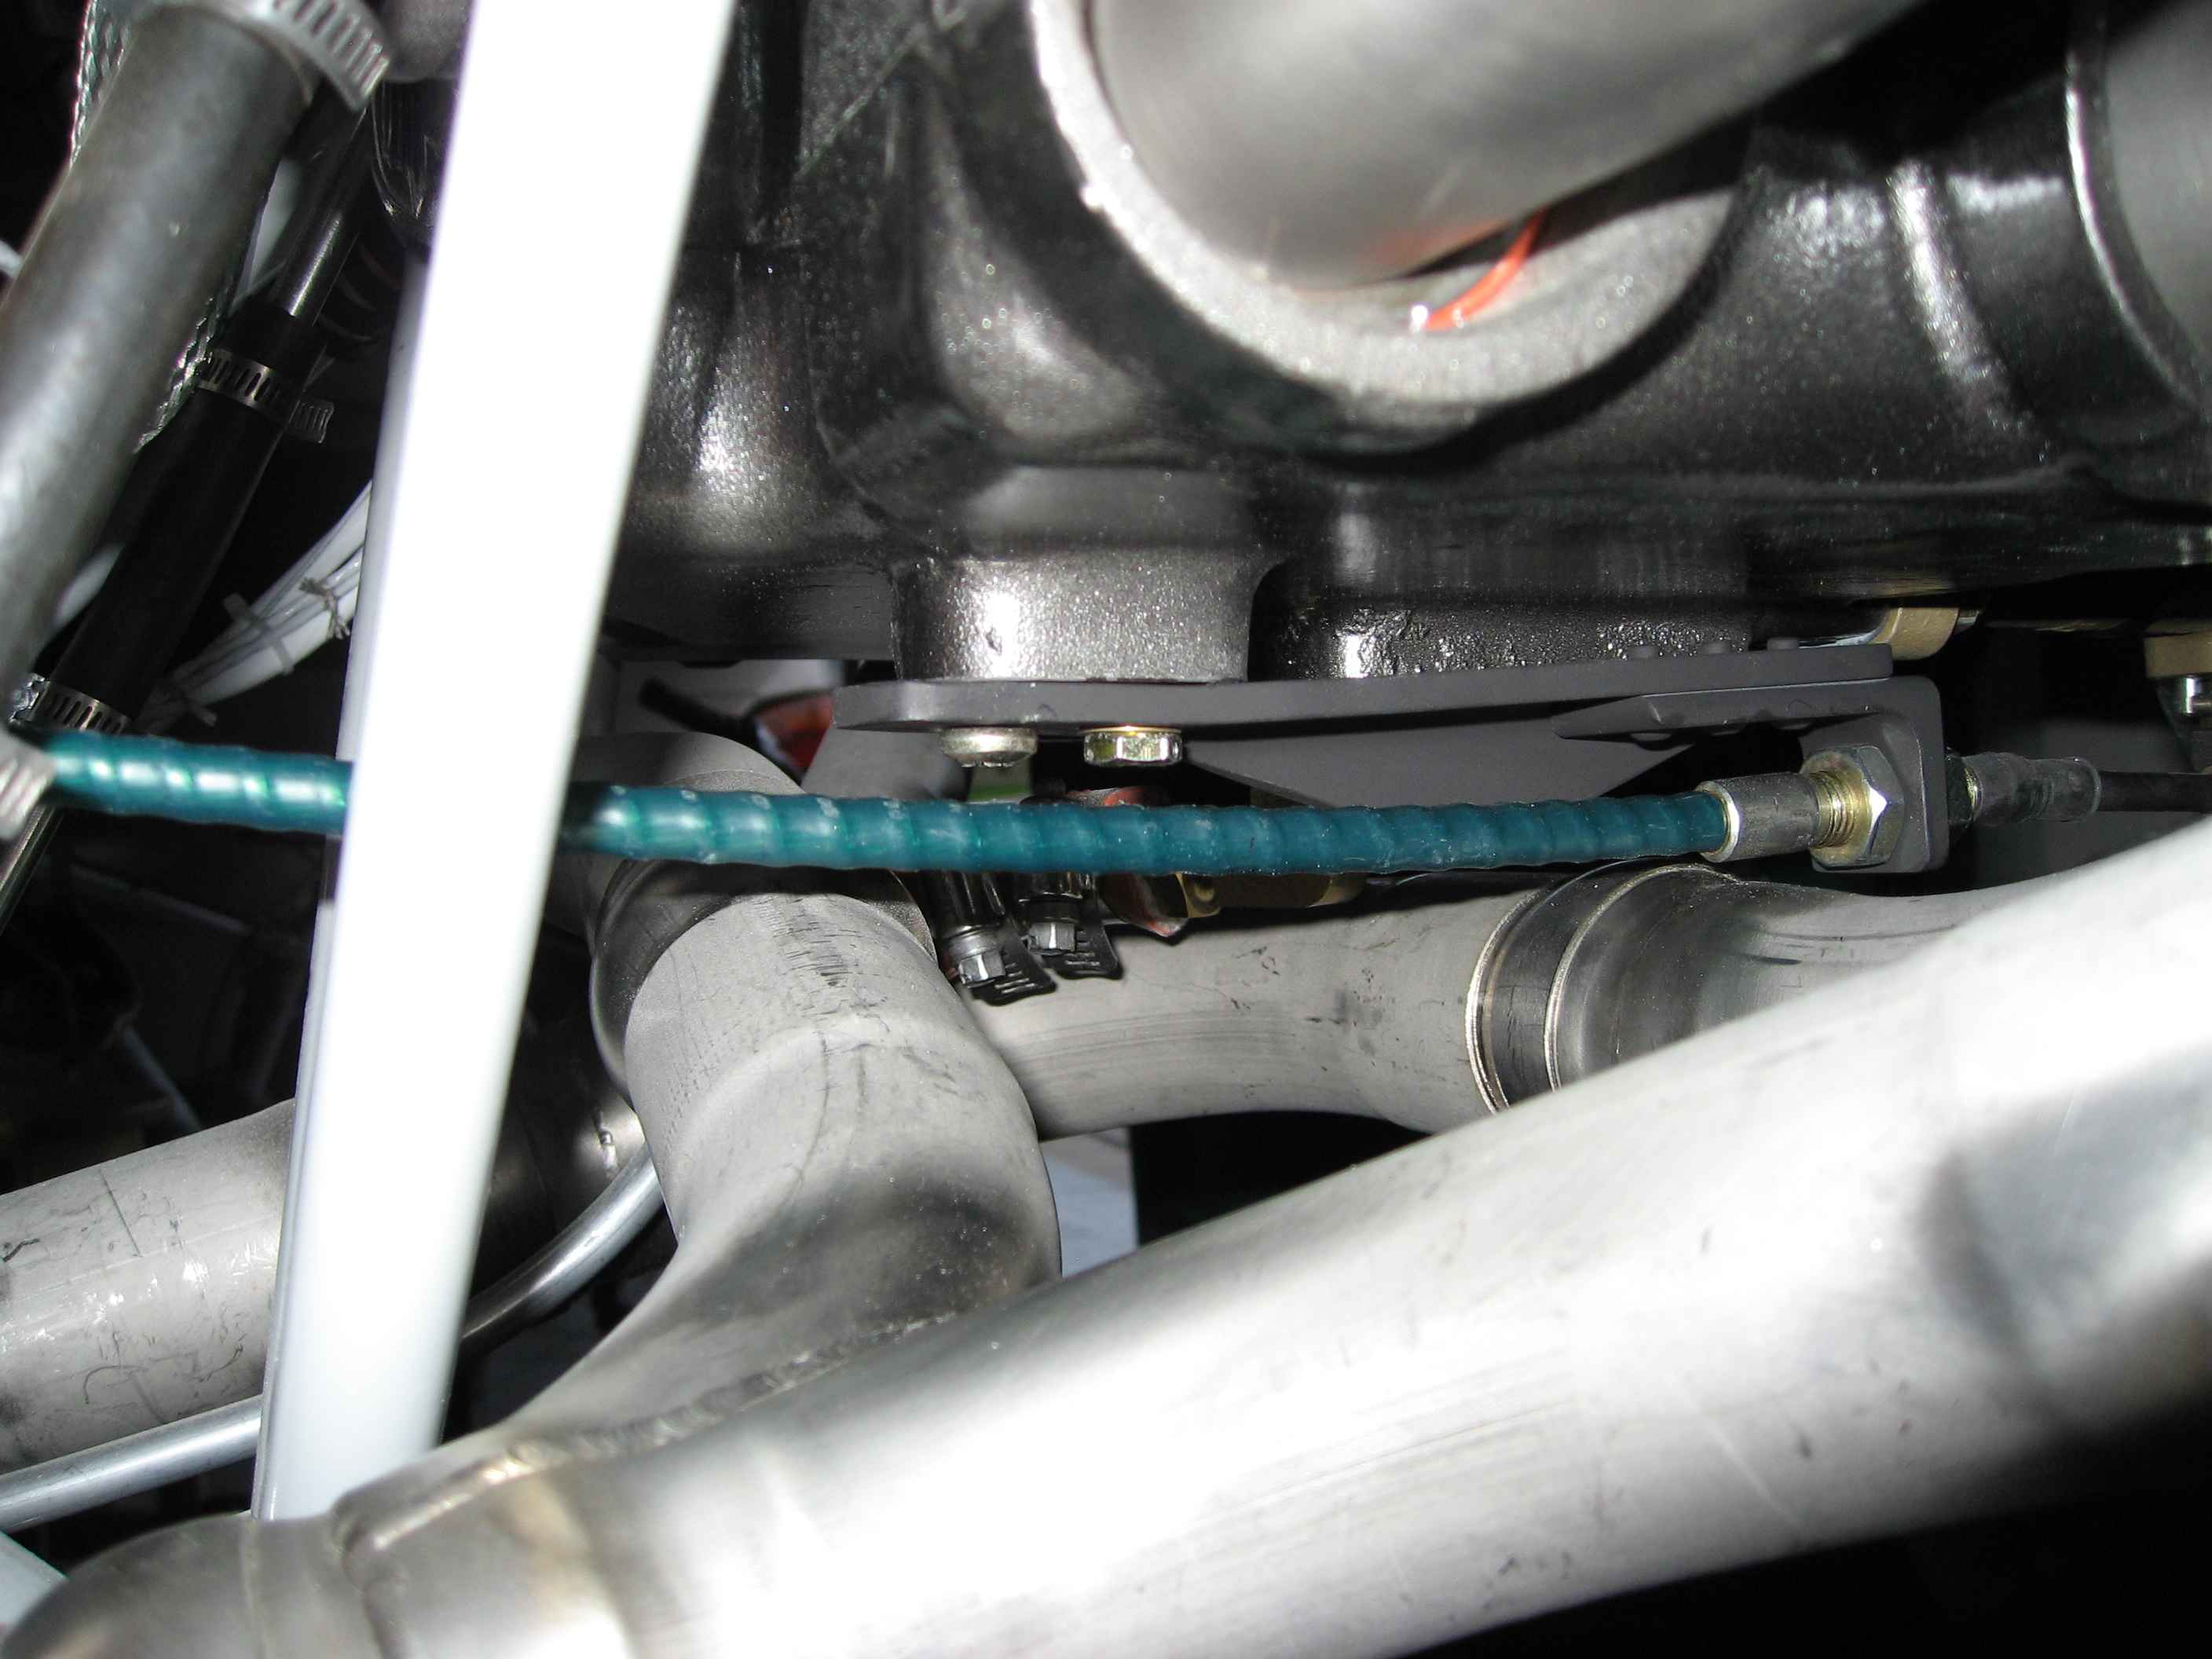
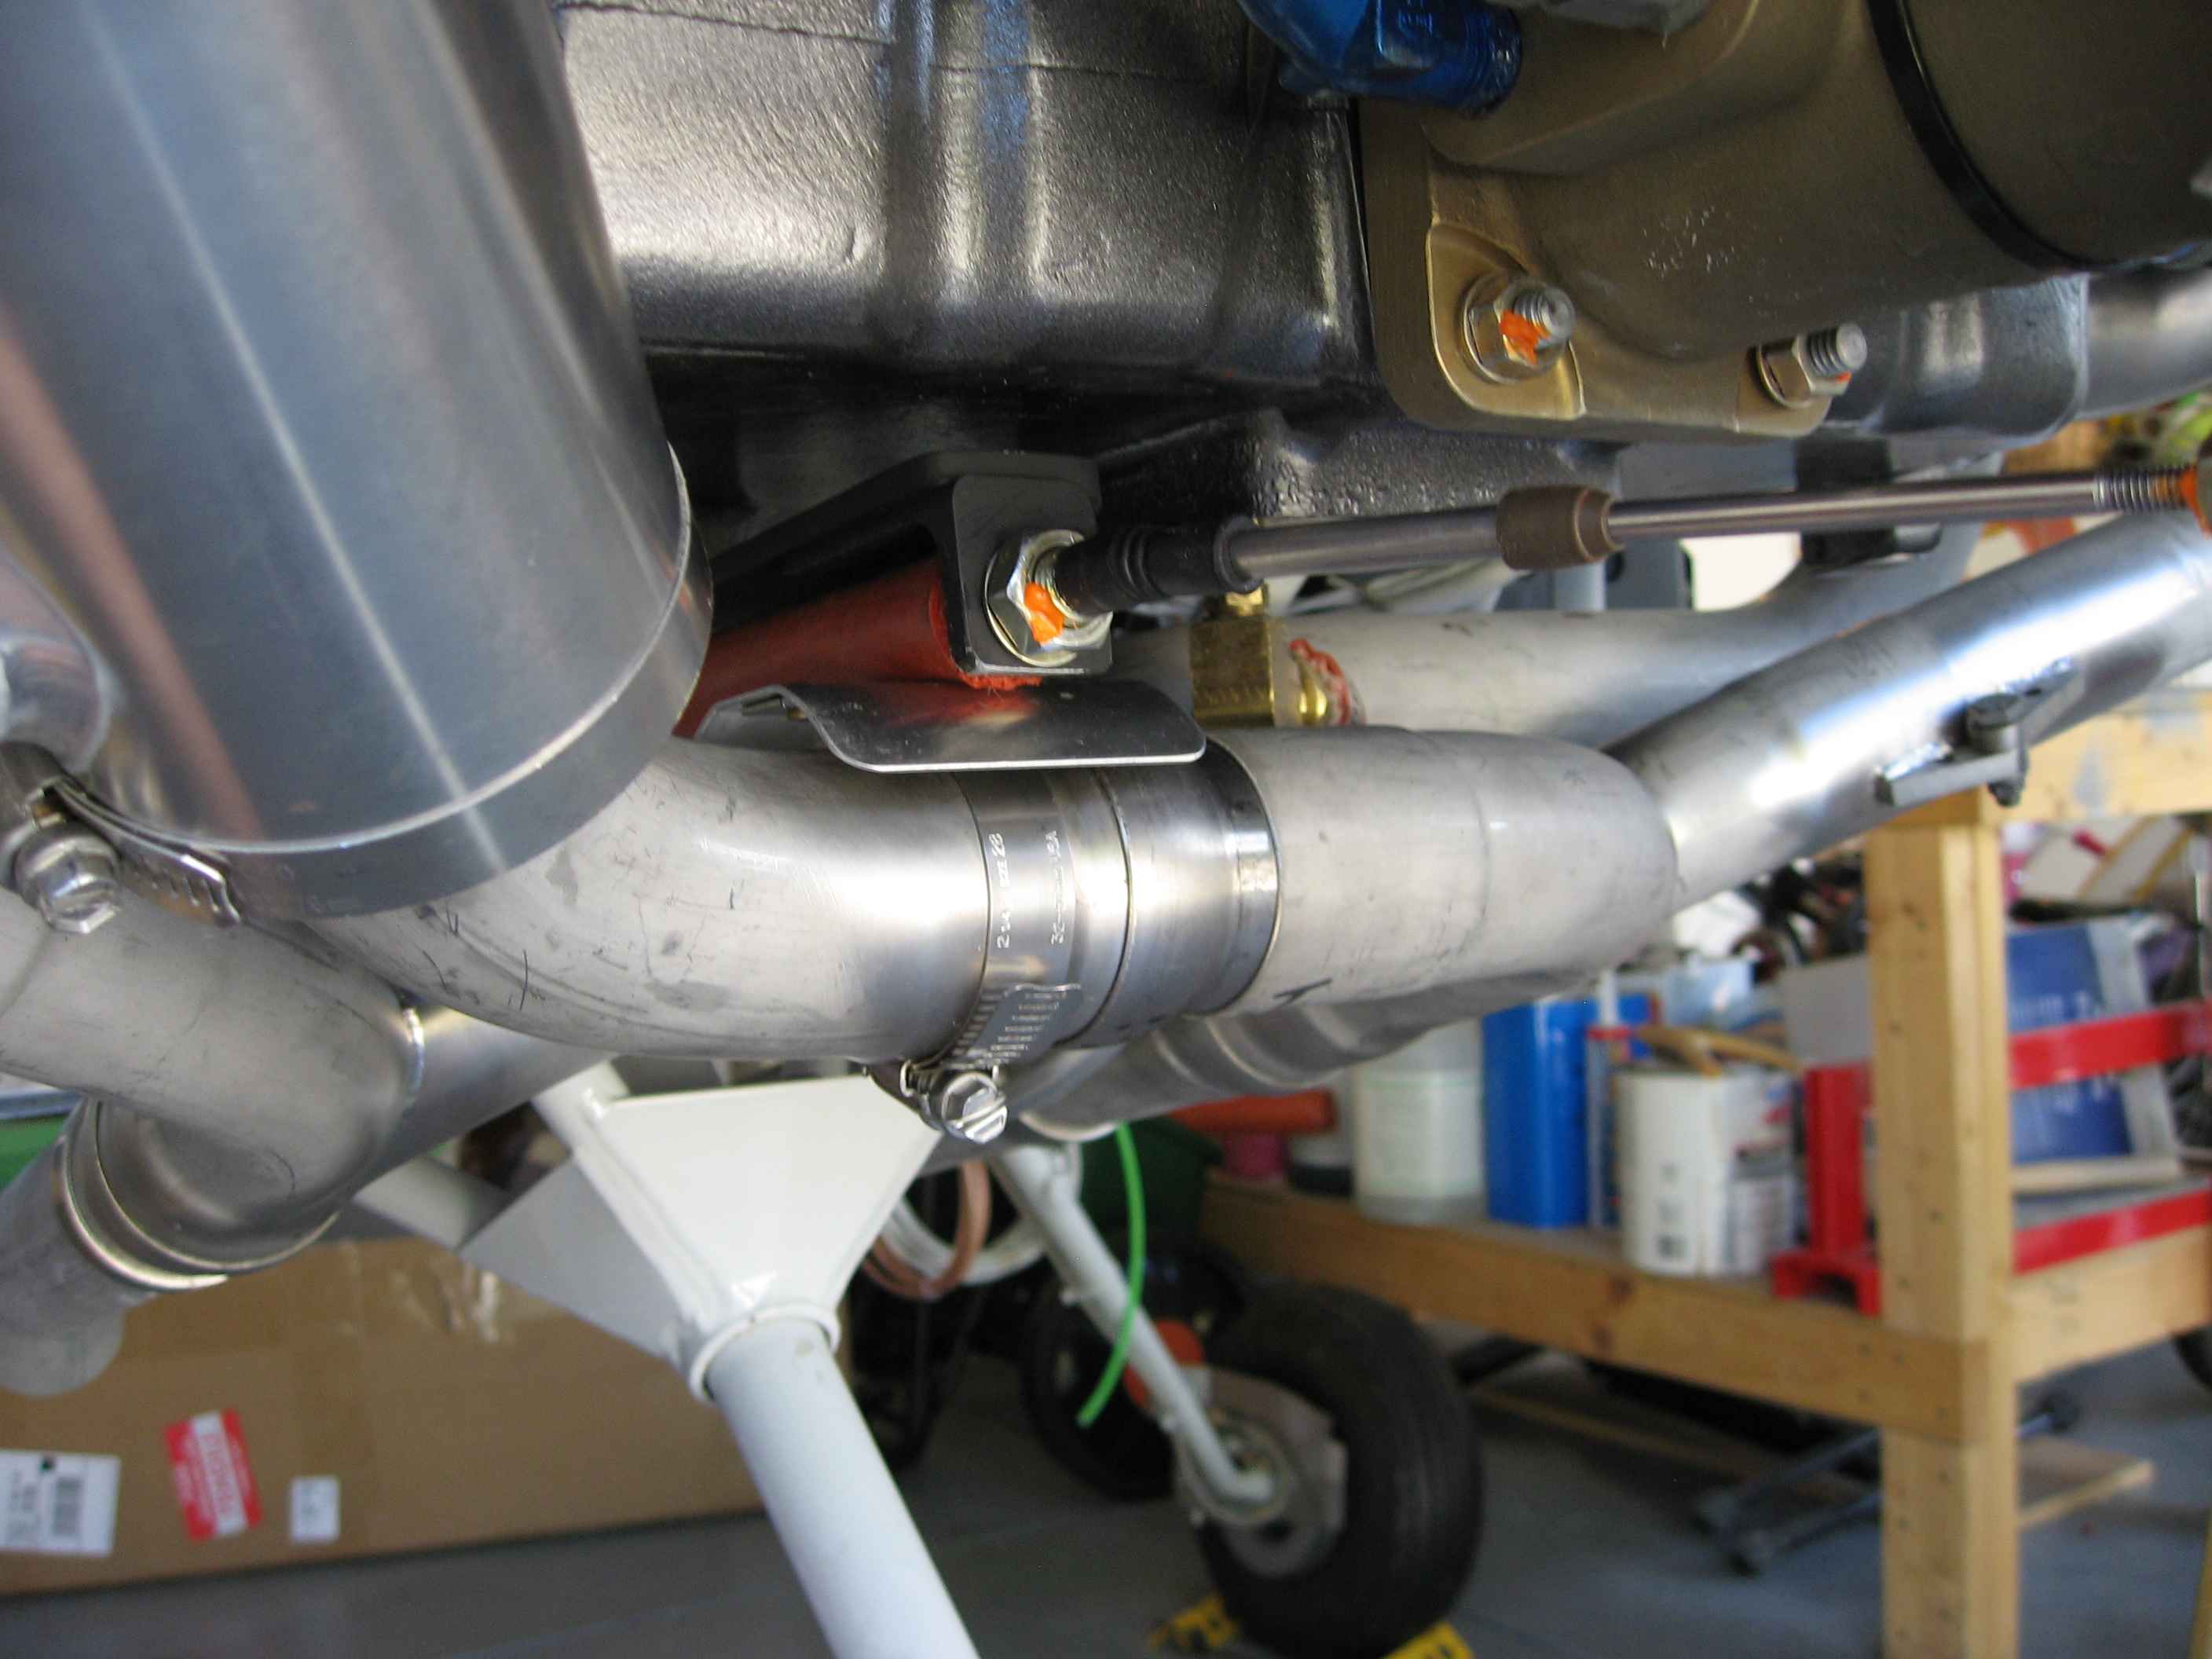
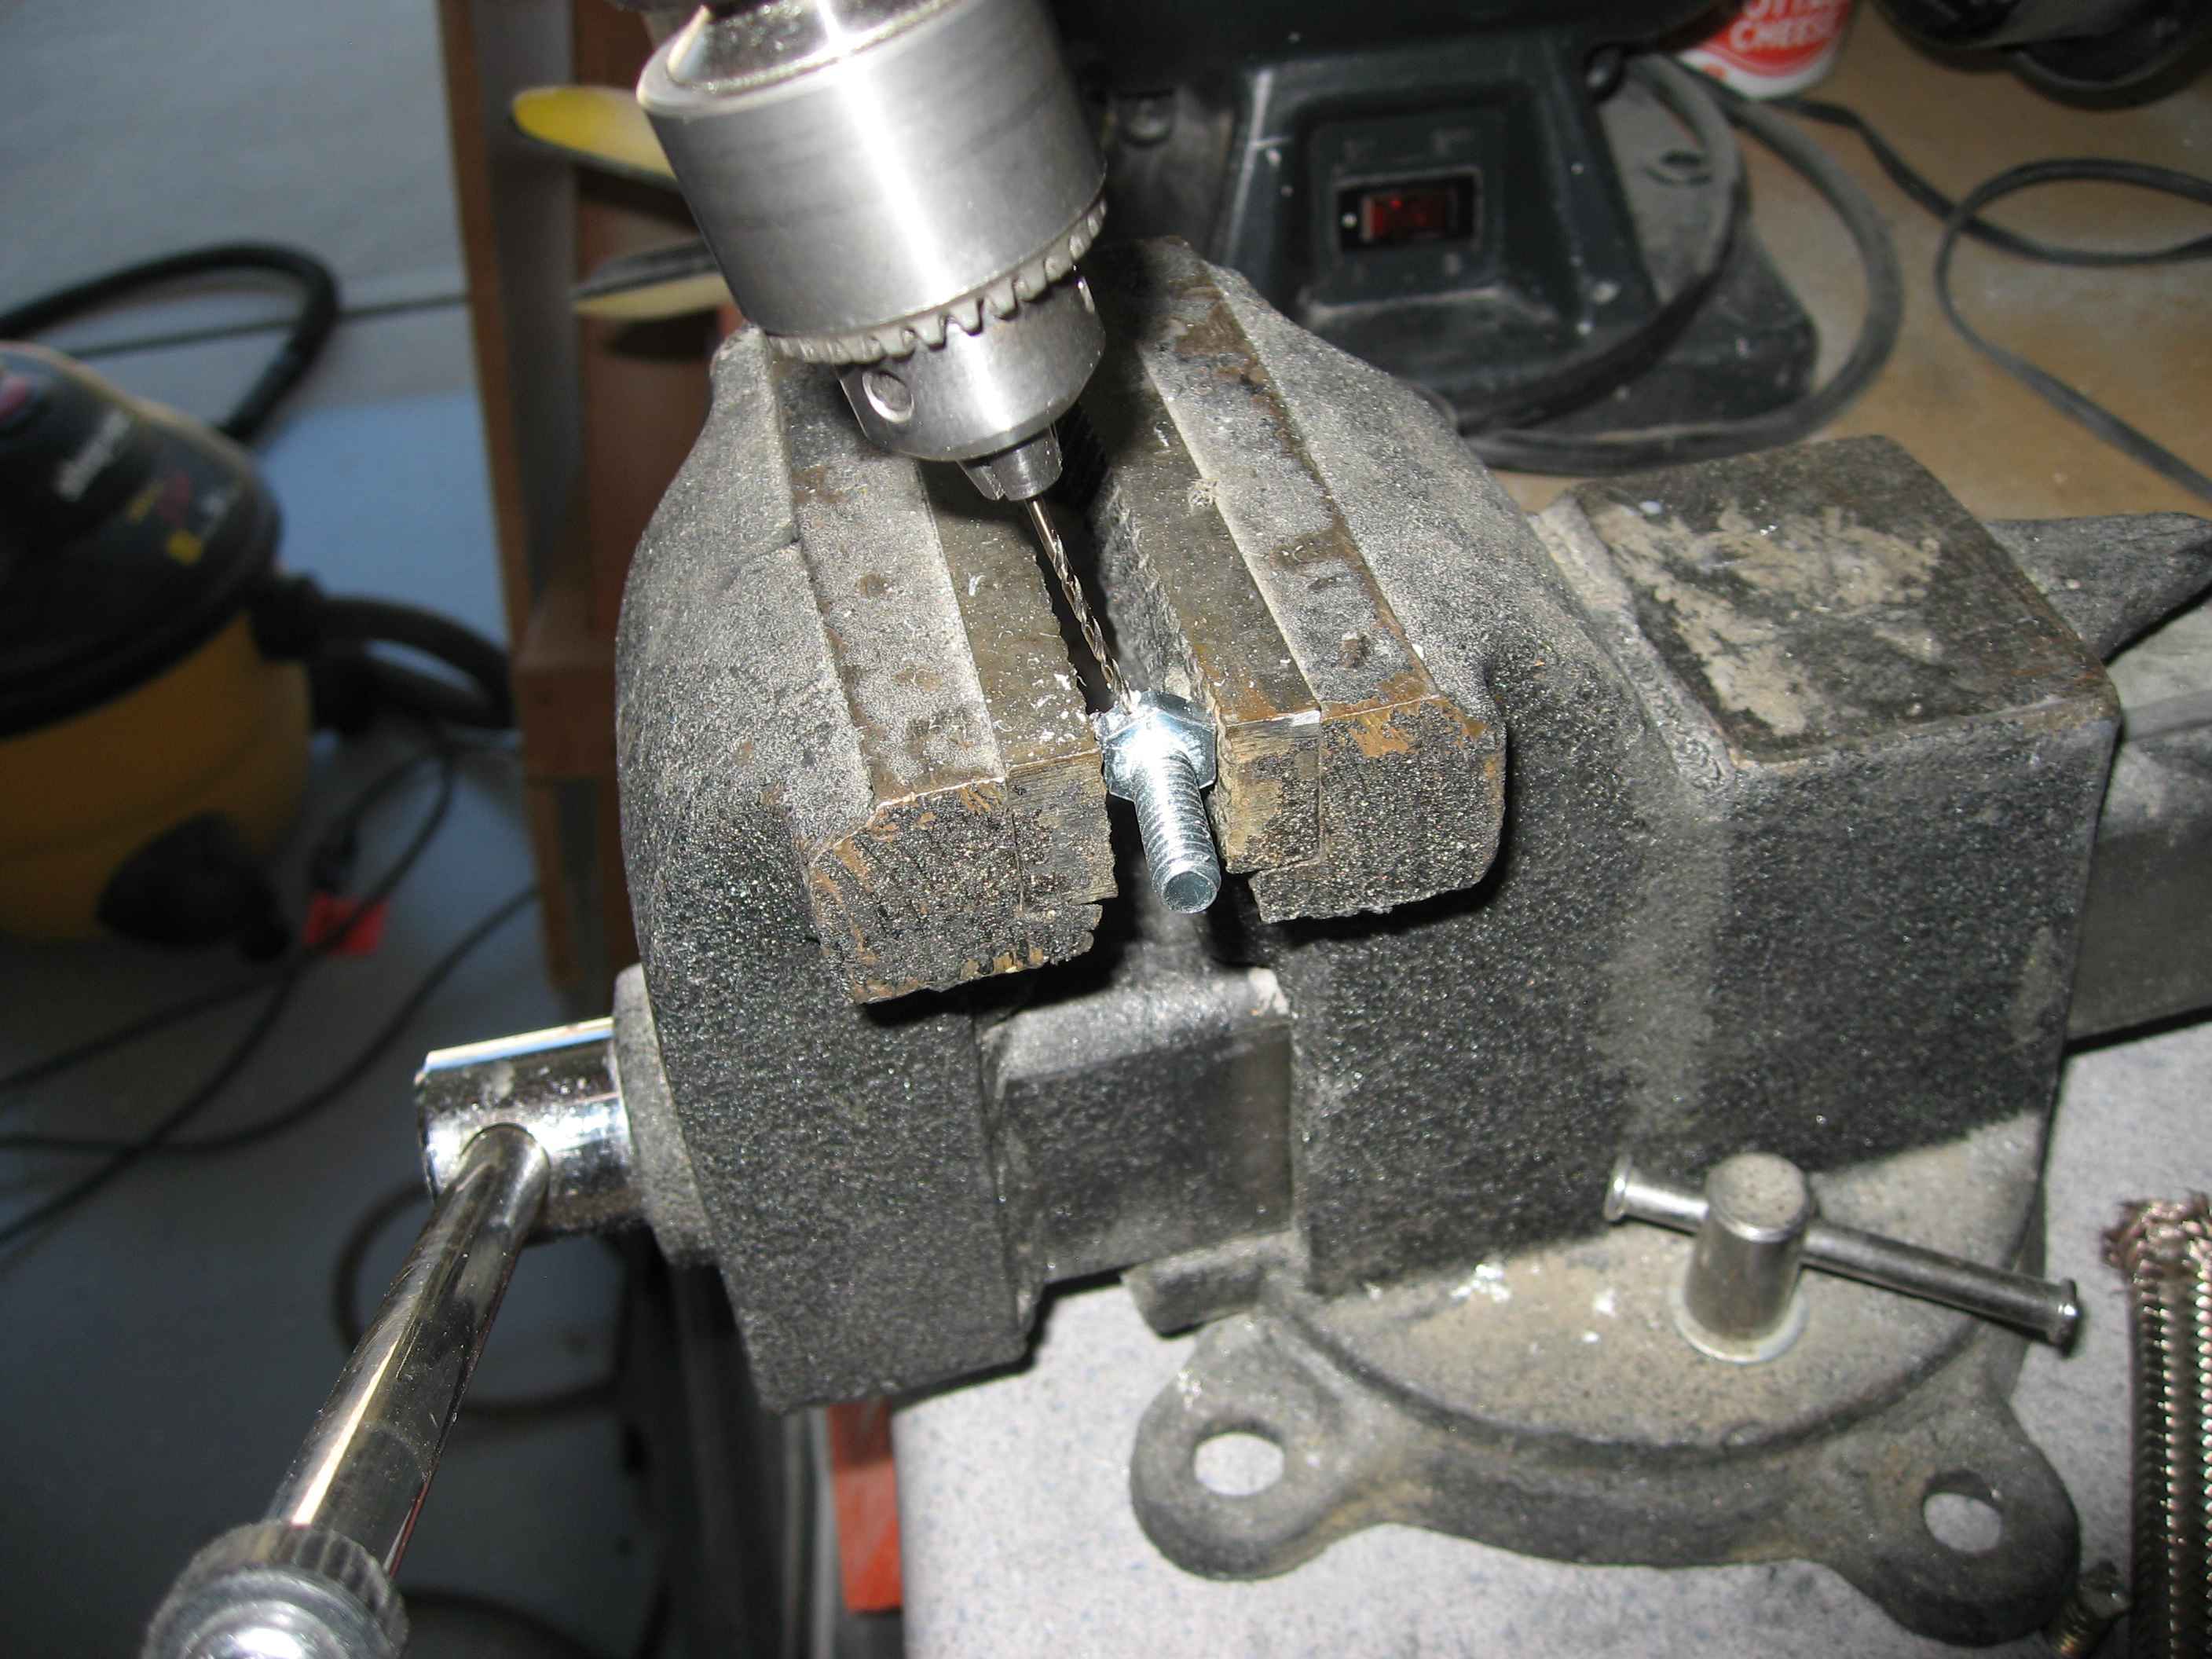
I also installed the EGT probes.  This involved drilling a hole in the exhaust pipes about 2 13/32" down from the top of each exhaust pipe flange.  The probes then get held in with hose clamps.

Doing some initial cleanup on the FADEC wiring by loosely installing Adel clamps at various points.  I have the main harness running up the right side of the engine mount and then fanning out from there.  Once I figure out all the mounting points, I will then wrap the bundles in a heat resistant spiral wrap and then final mount everything.
A shot of the wiring on the top of the engine starting to come together a bit.
This is a picture of the custom throttle cable bracket I made.  The cable looks closer to the exhaust pipe then it really is.  In any case, it needs attention and I will cover the cable with some fire sleeve and put a heat shield on the exhaust pipe.
Another shot of the throttle cable.  I also ran the prop cable while I was at it (sorry no pictures).
September 12-21 2008: (10 hrs.)   

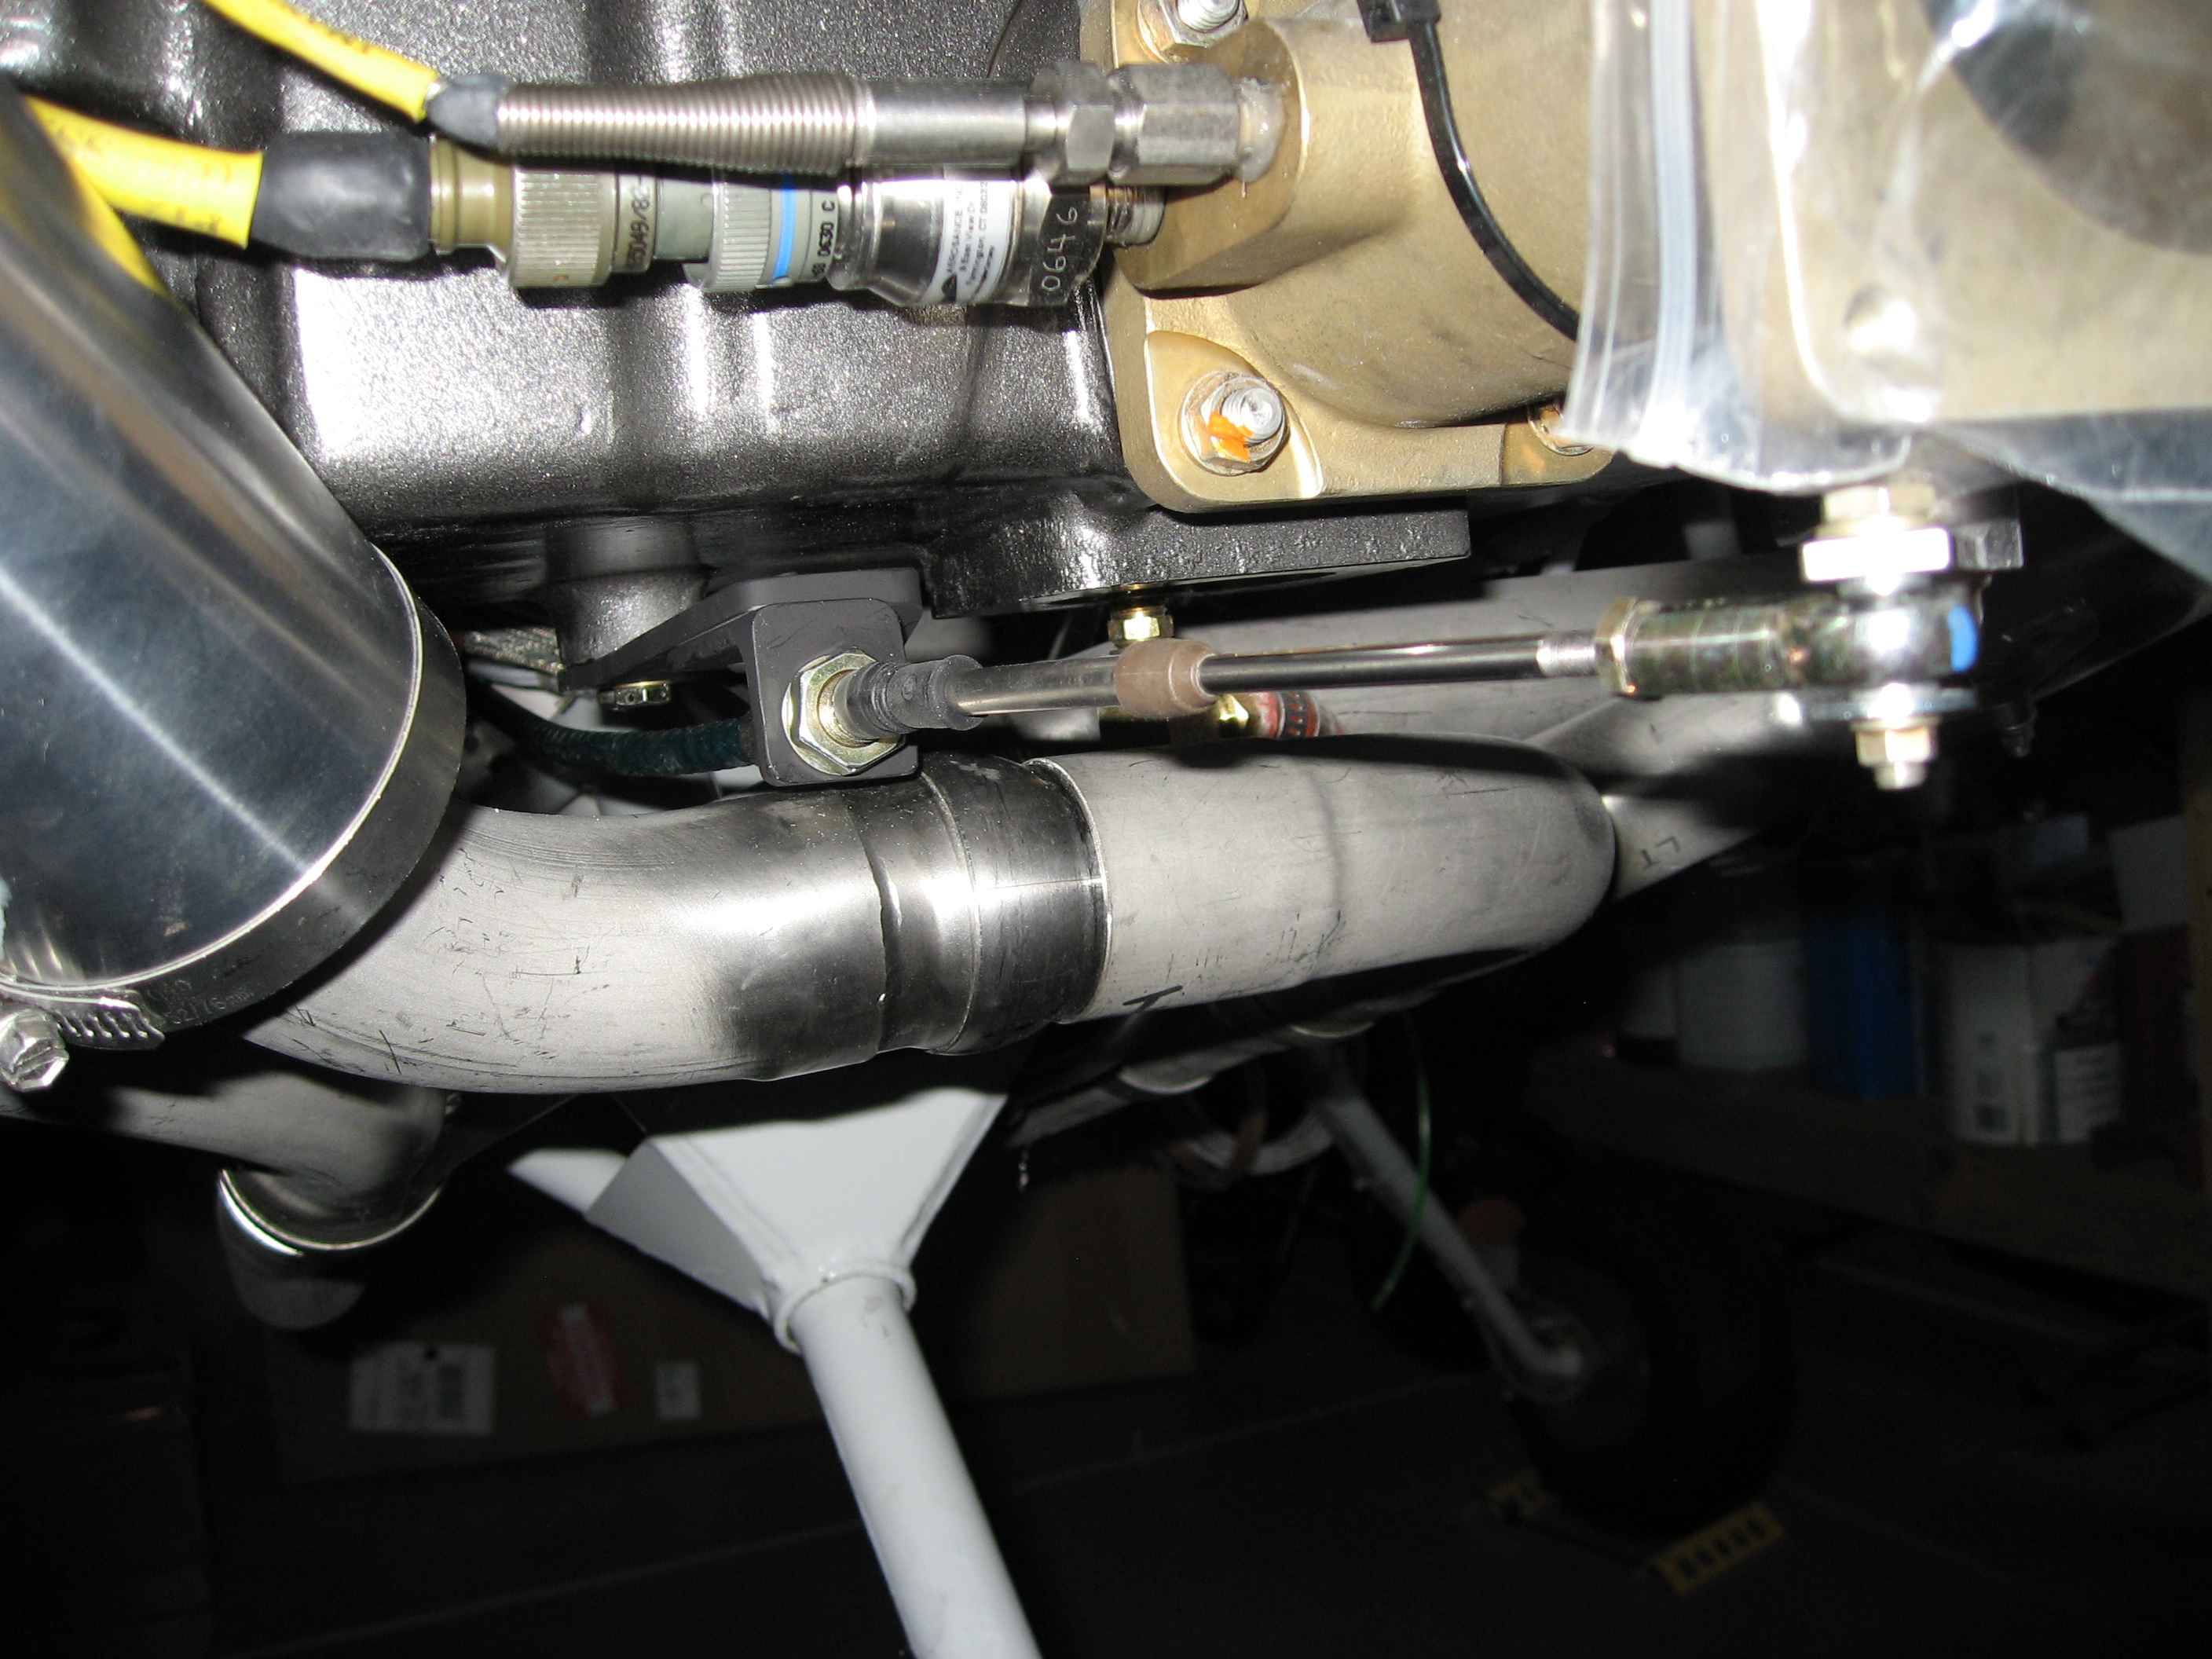
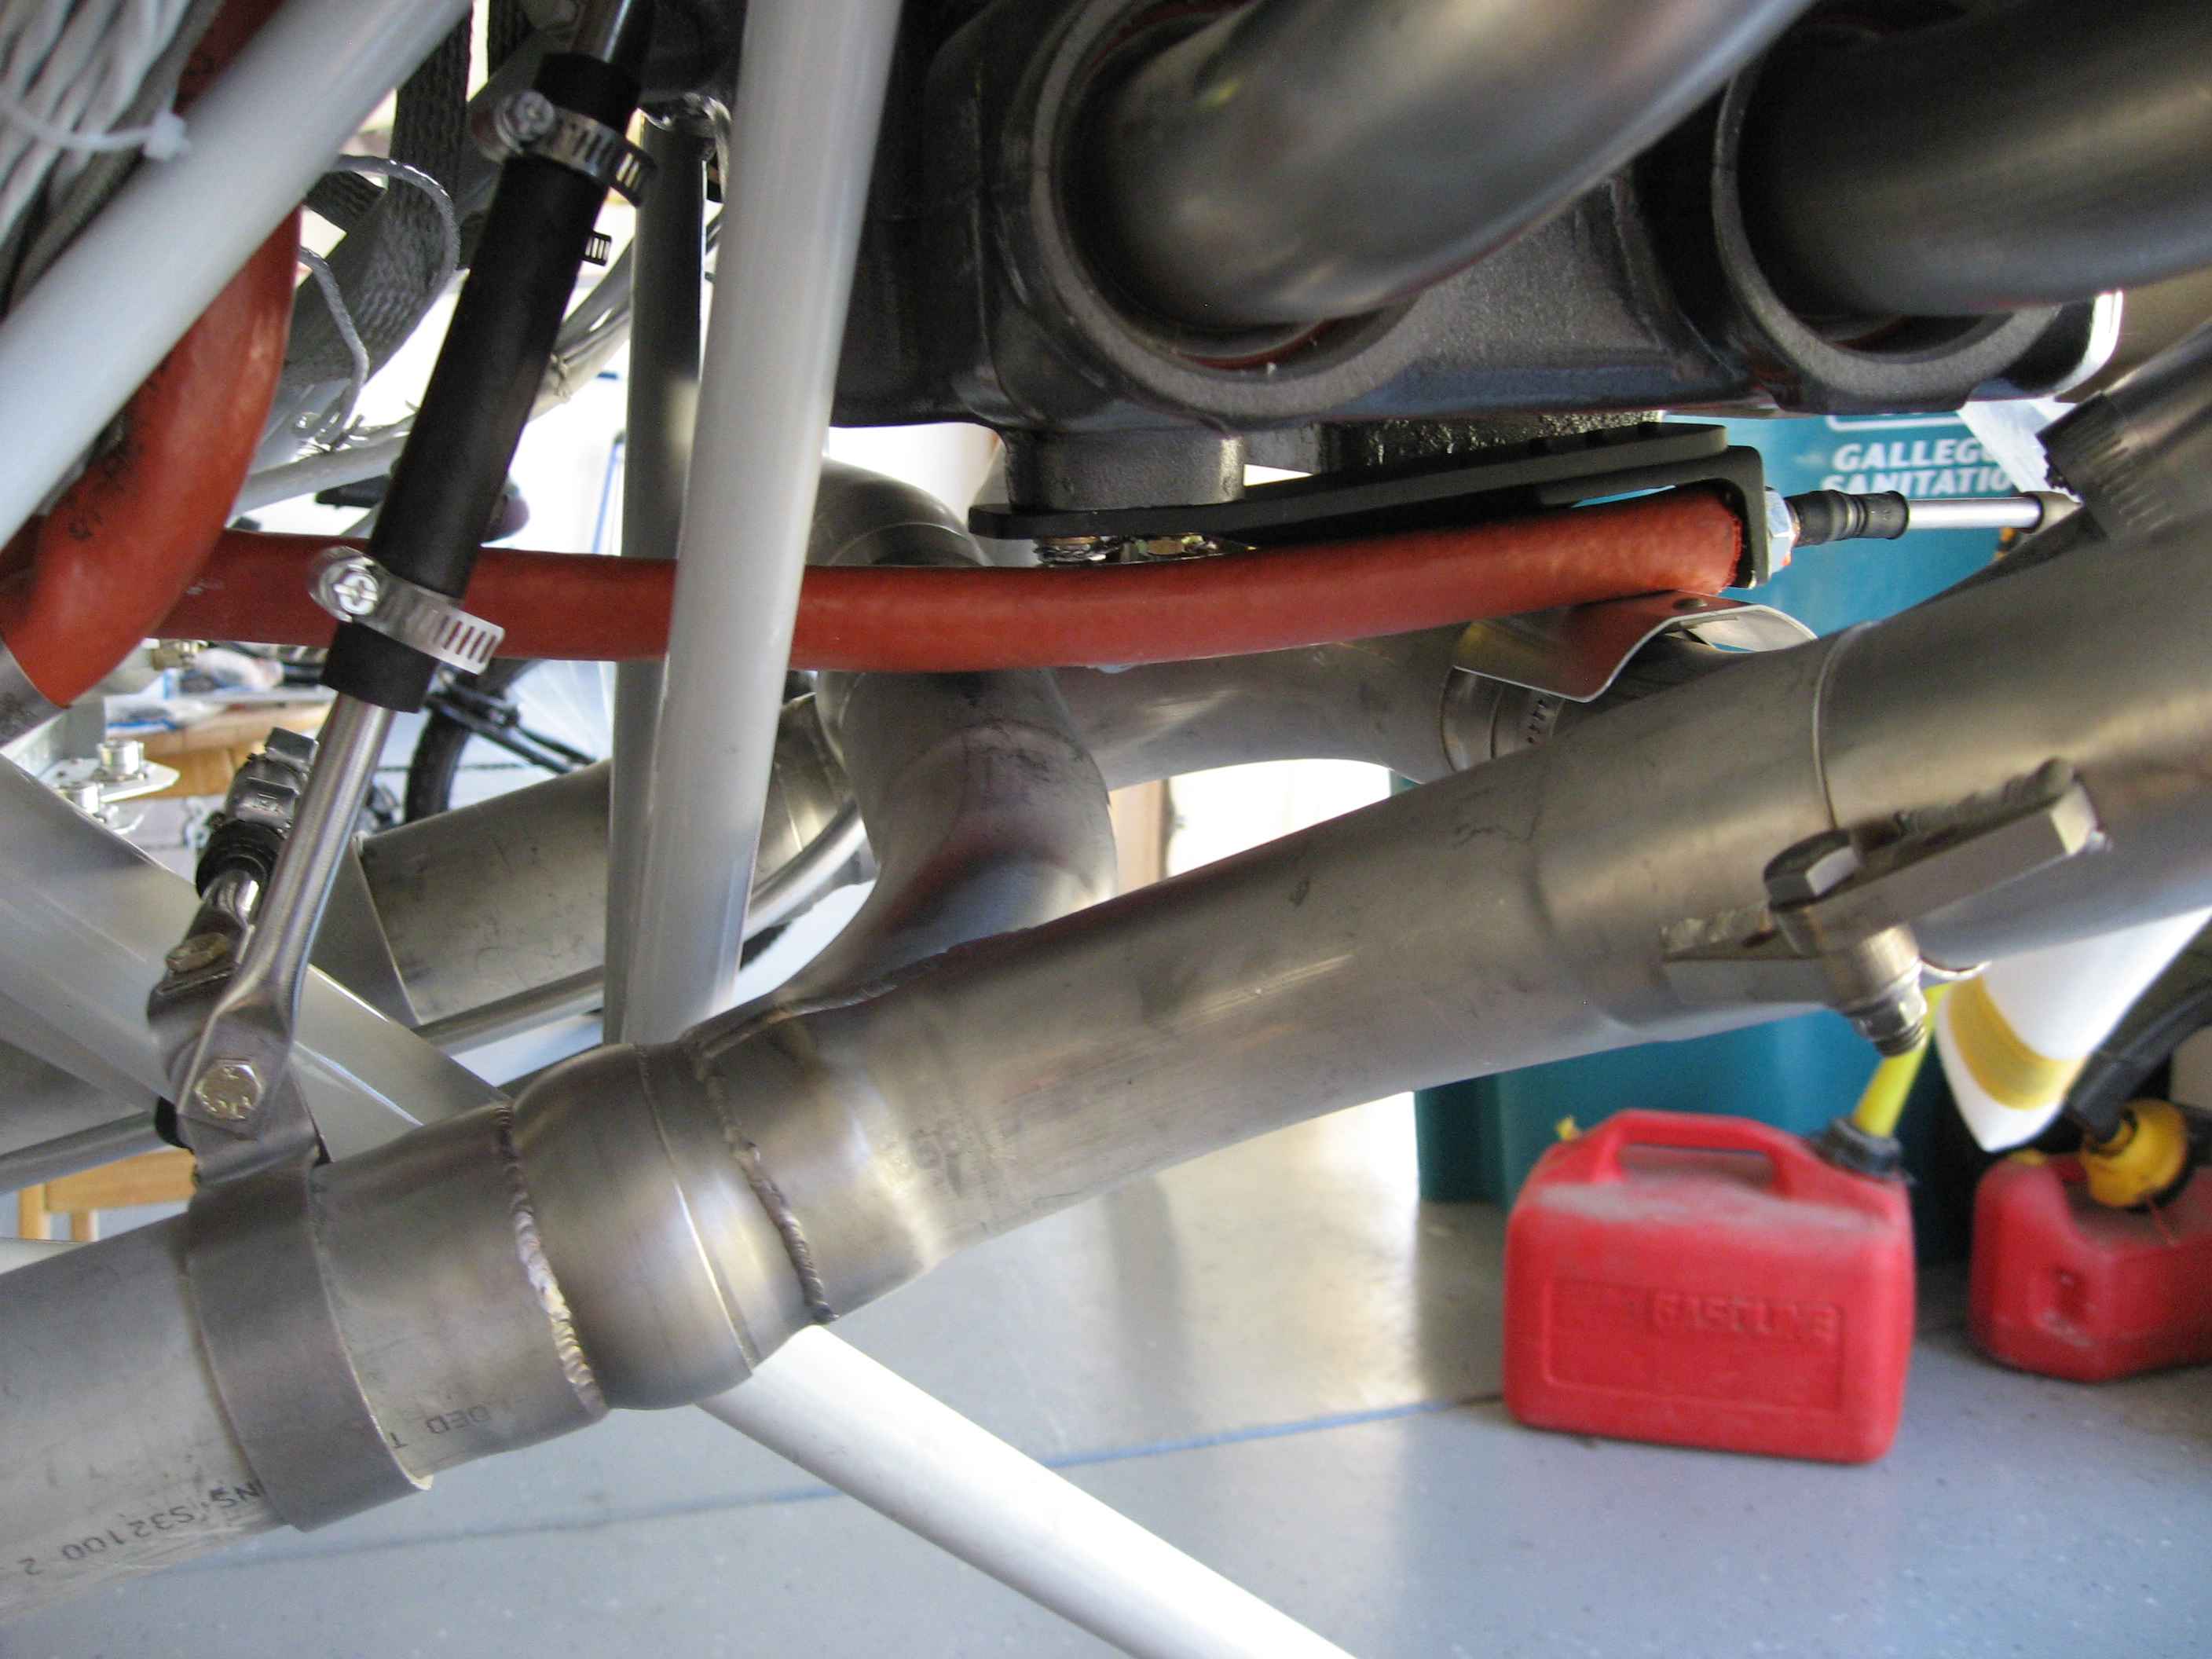
 Here I have added some fire-sleeve over the throttle cable to help protect it from exhaust pipe heat.  I also installed a small shield over the cylinder 1 exhaust pipe.  Things are pretty snug over this pipe.


Here is another shot of the throttle cable.  The fire-sleeve is resting on the heat shield.  I definitely want to fix this.  I might need to make a new throttle bracket.
Drilling the head of 1/4-20 bolt used on the throttle bracket so it can be safety-wired.
Here is the throttle bracket safety-wired in place.  This will be coming off if I decide to fabricate a new bracket.
The engine mount turned out to be a good place to mount my fuel filter.  Here I only have one Adel Clamp installed... I ended up using two.

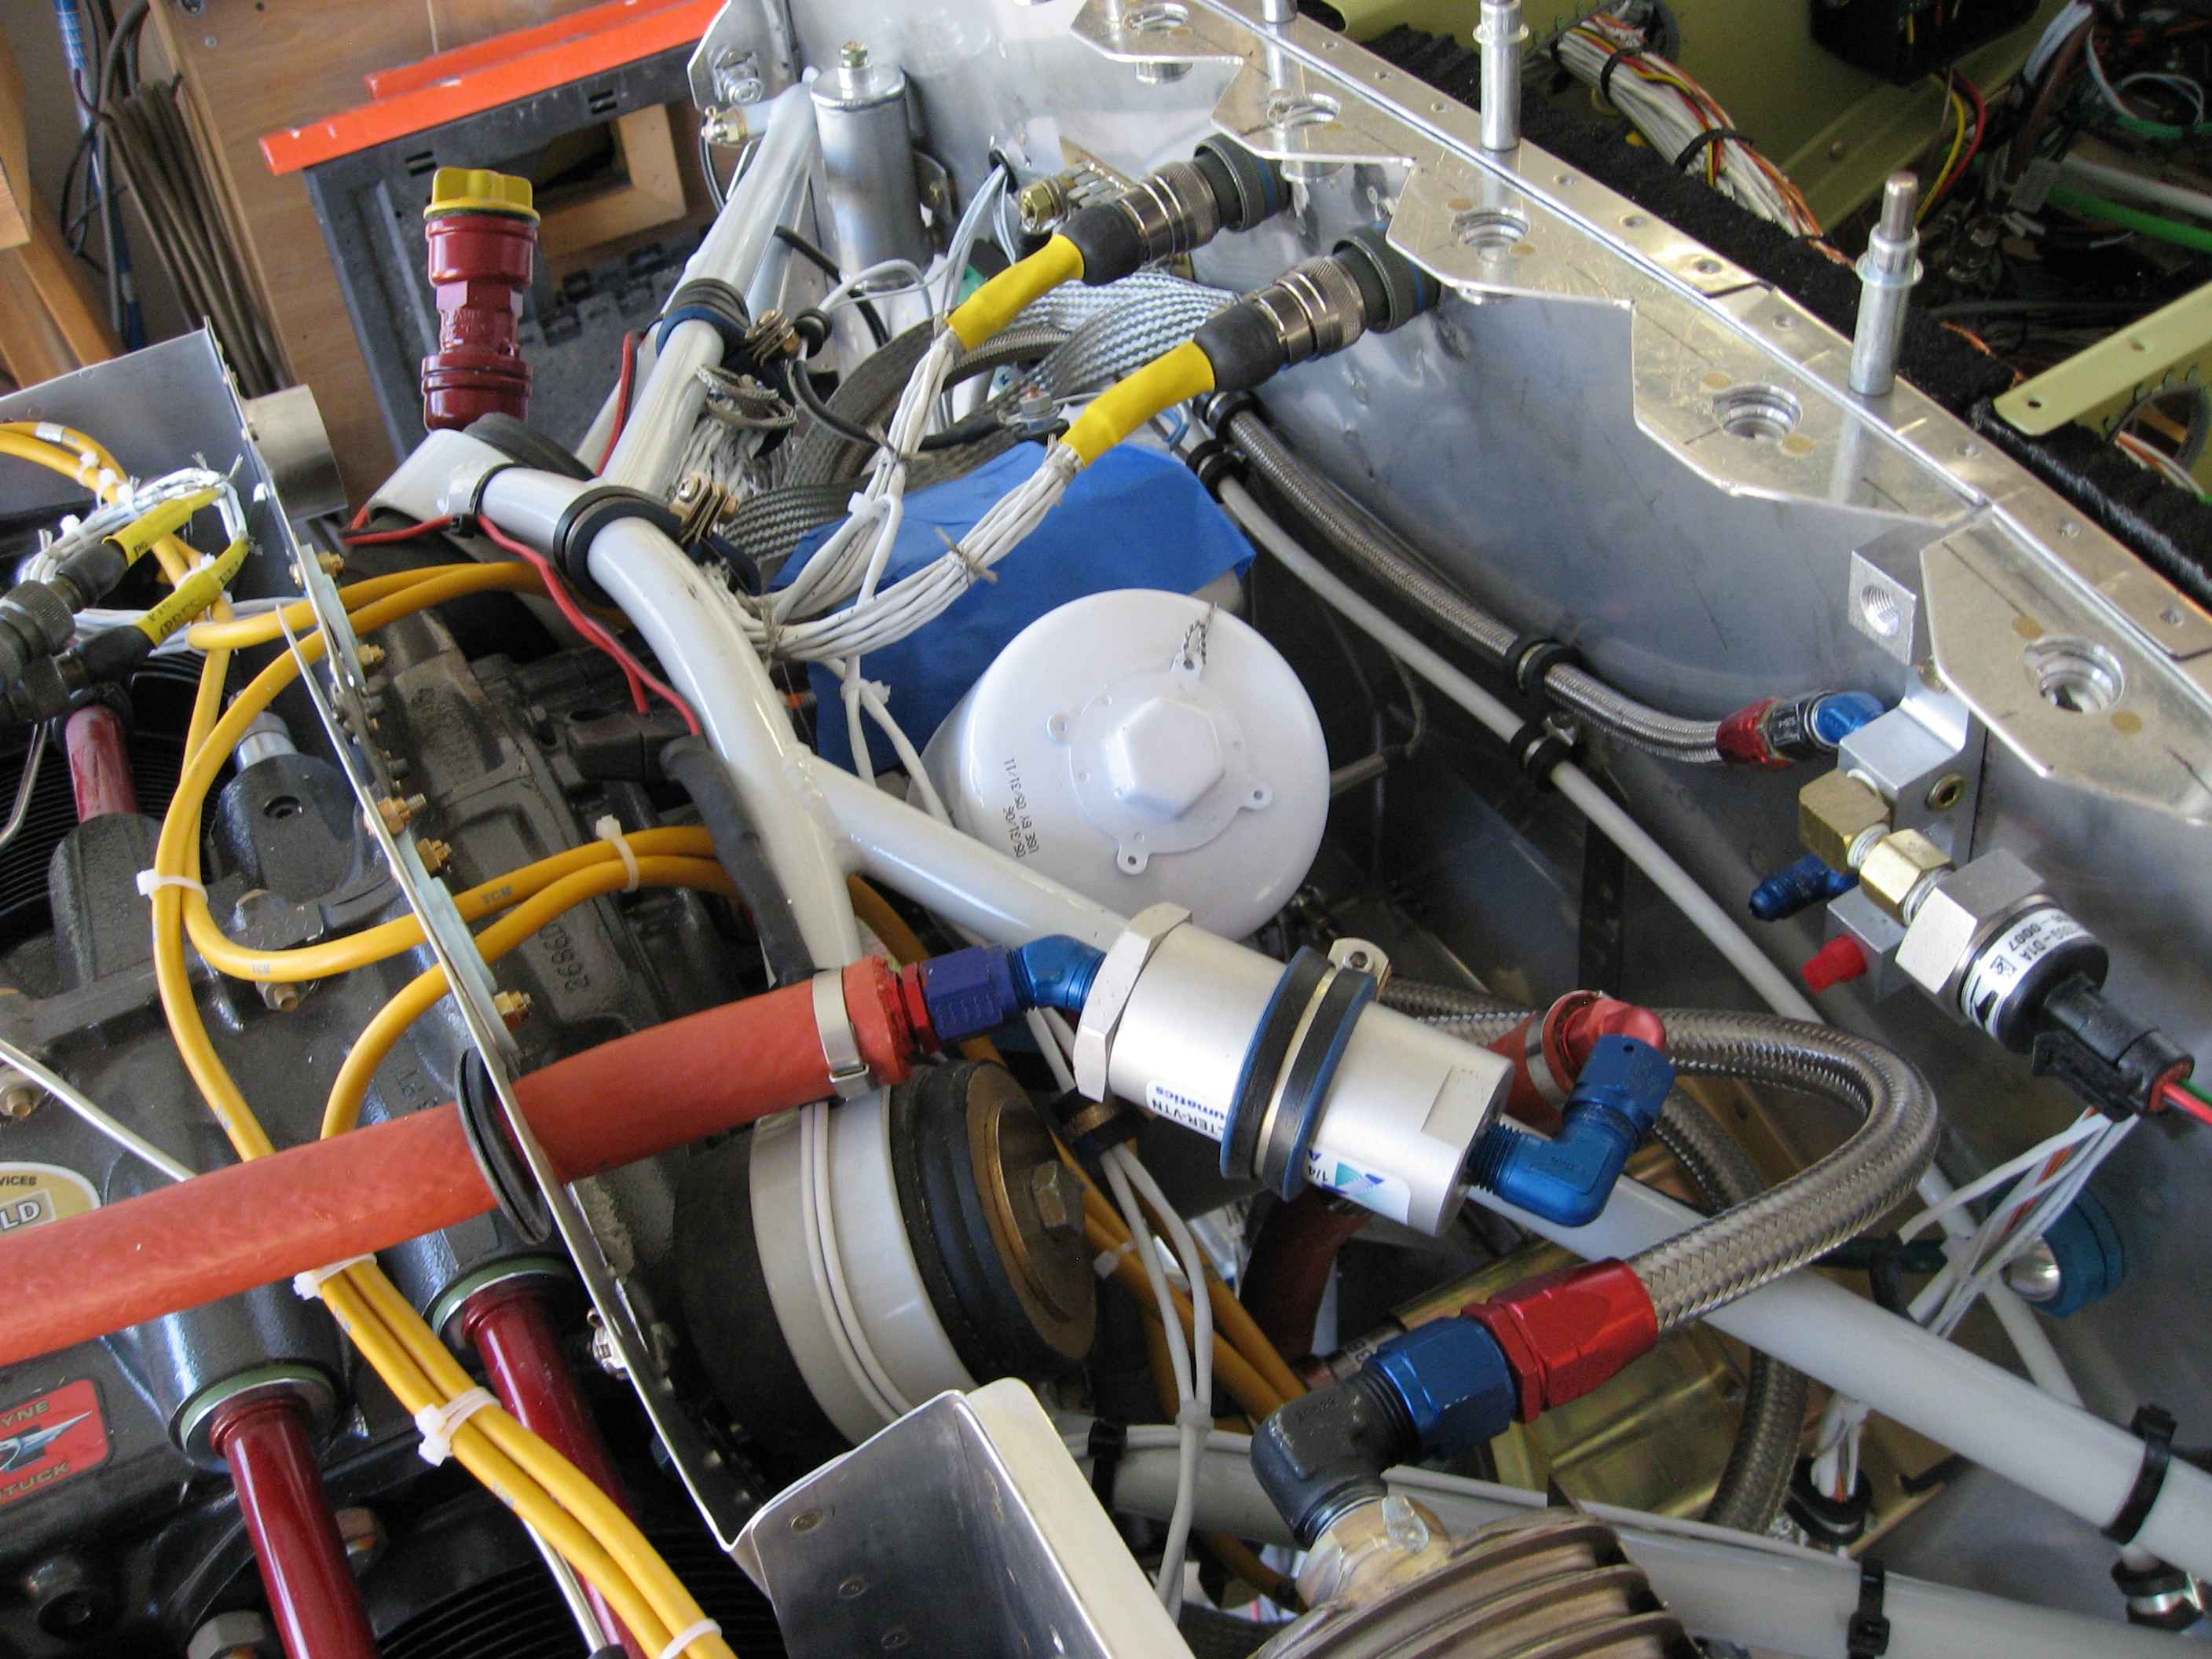
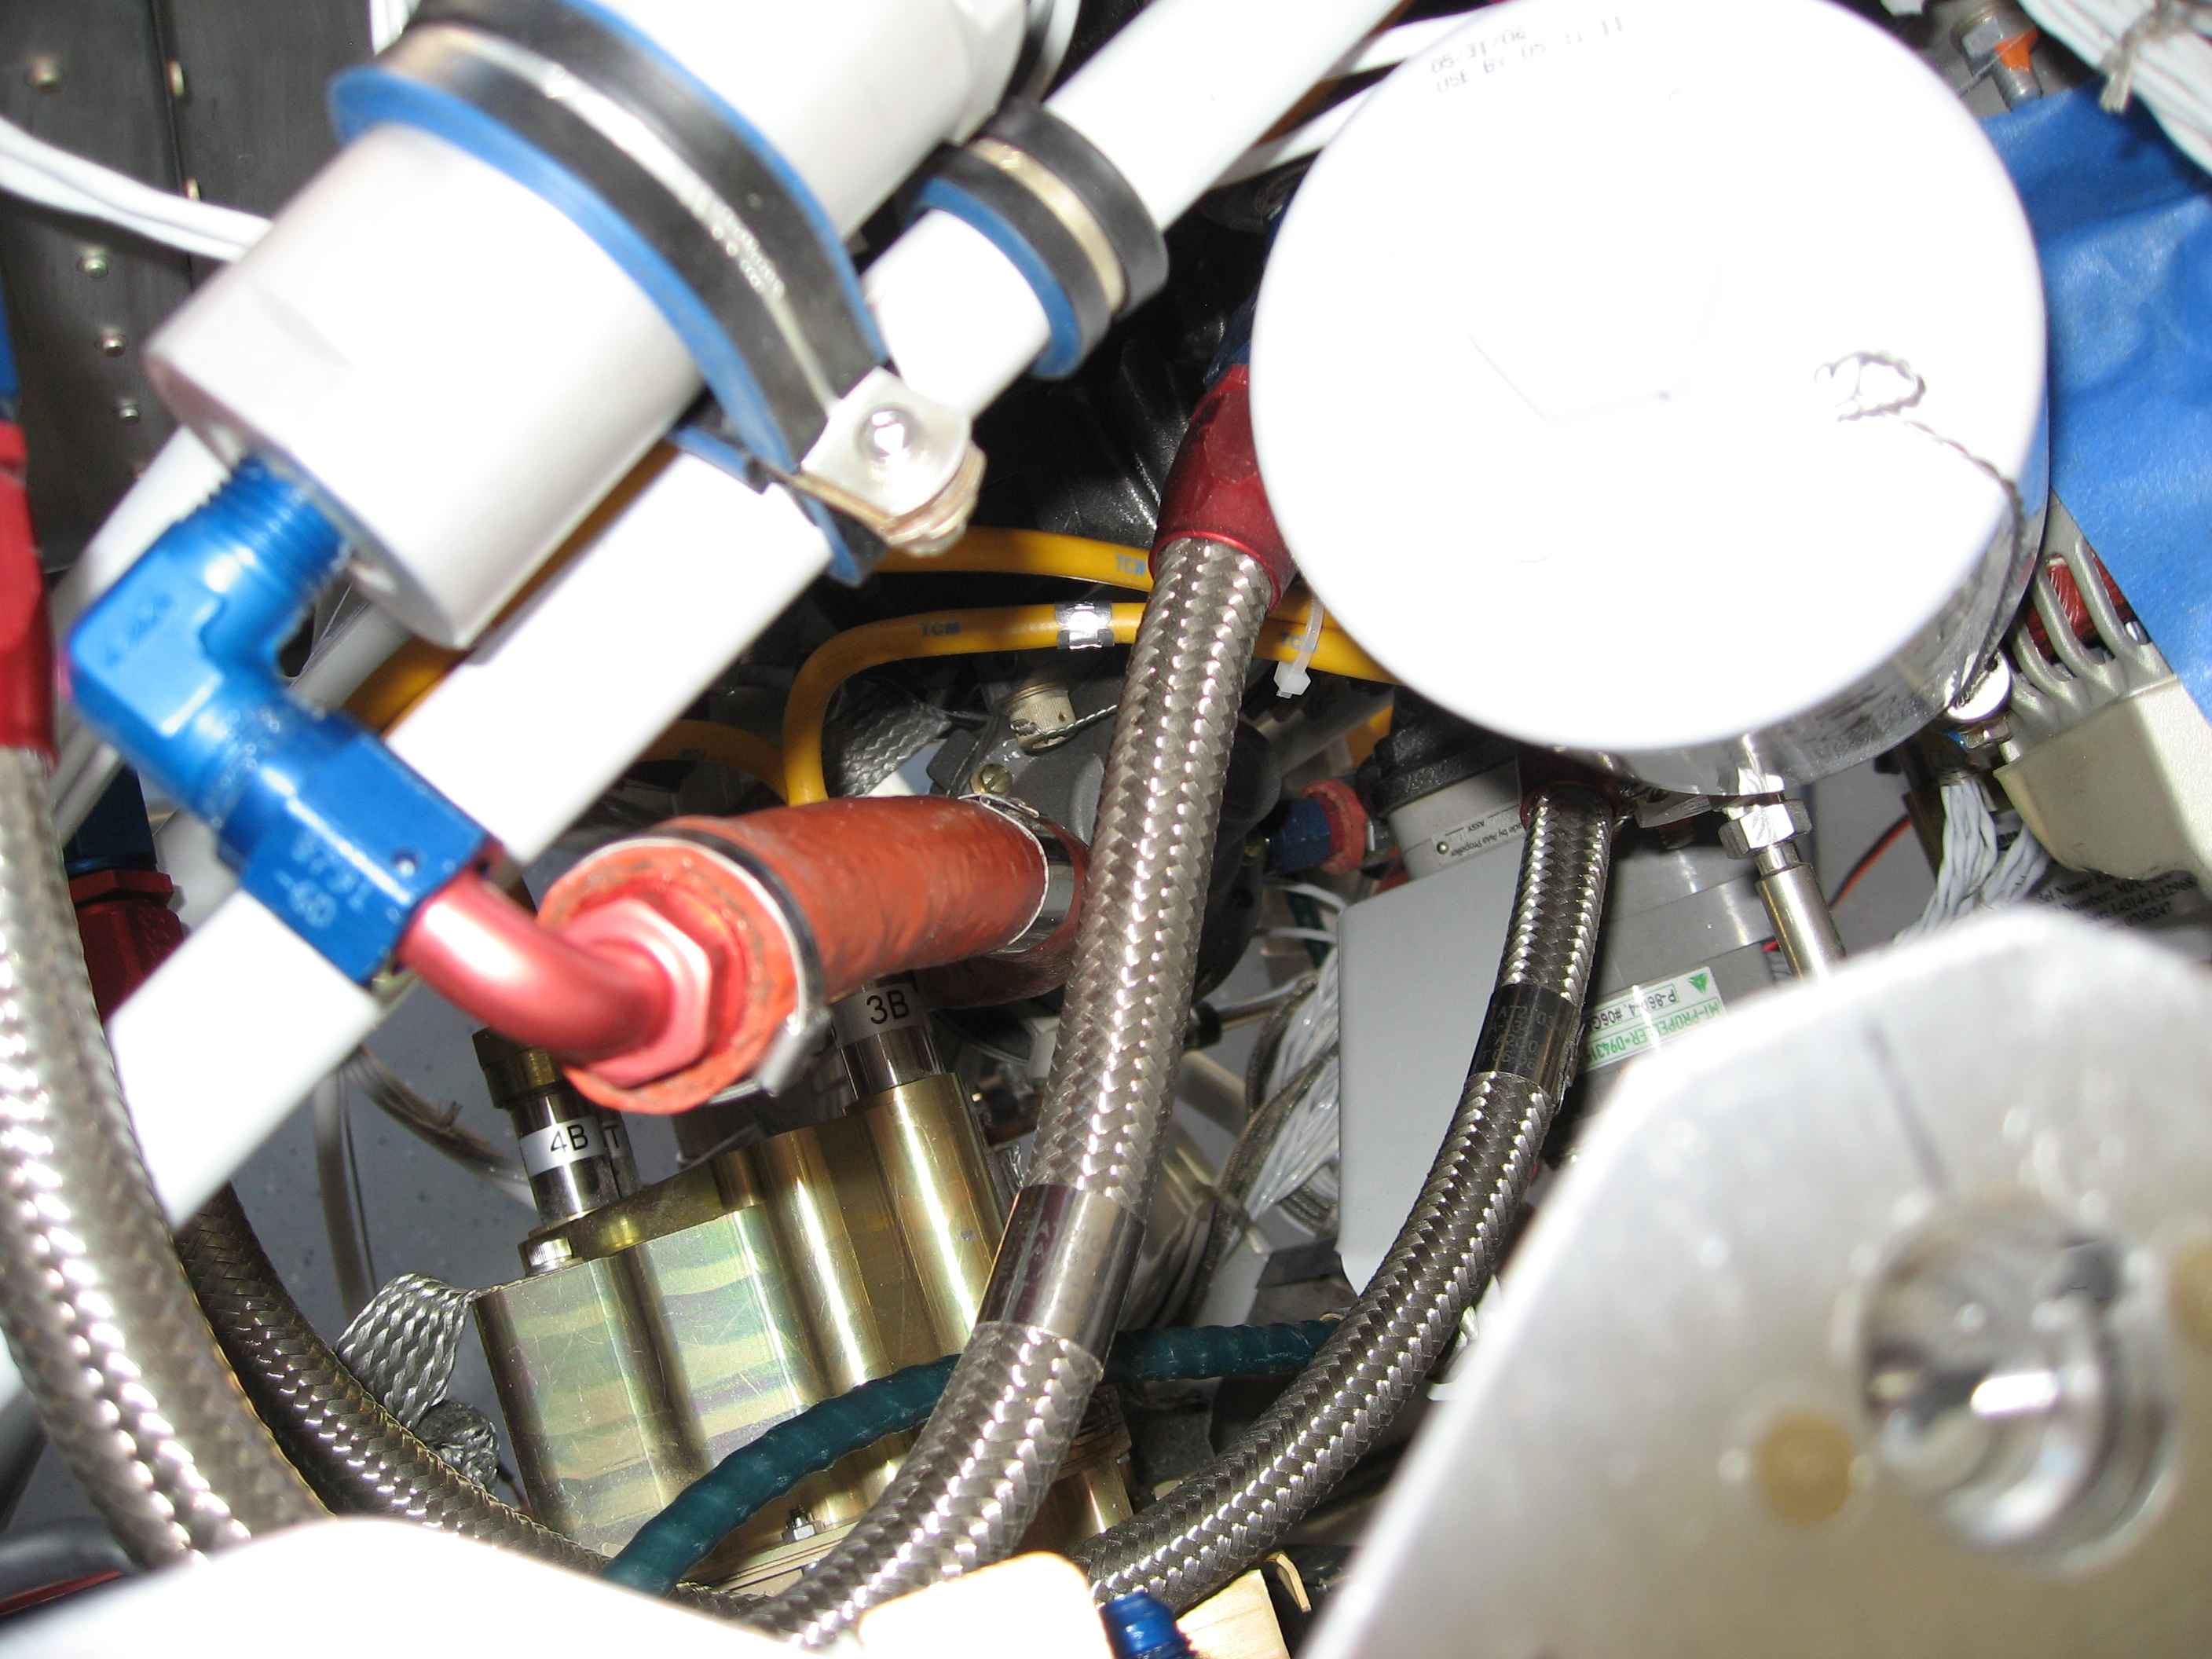
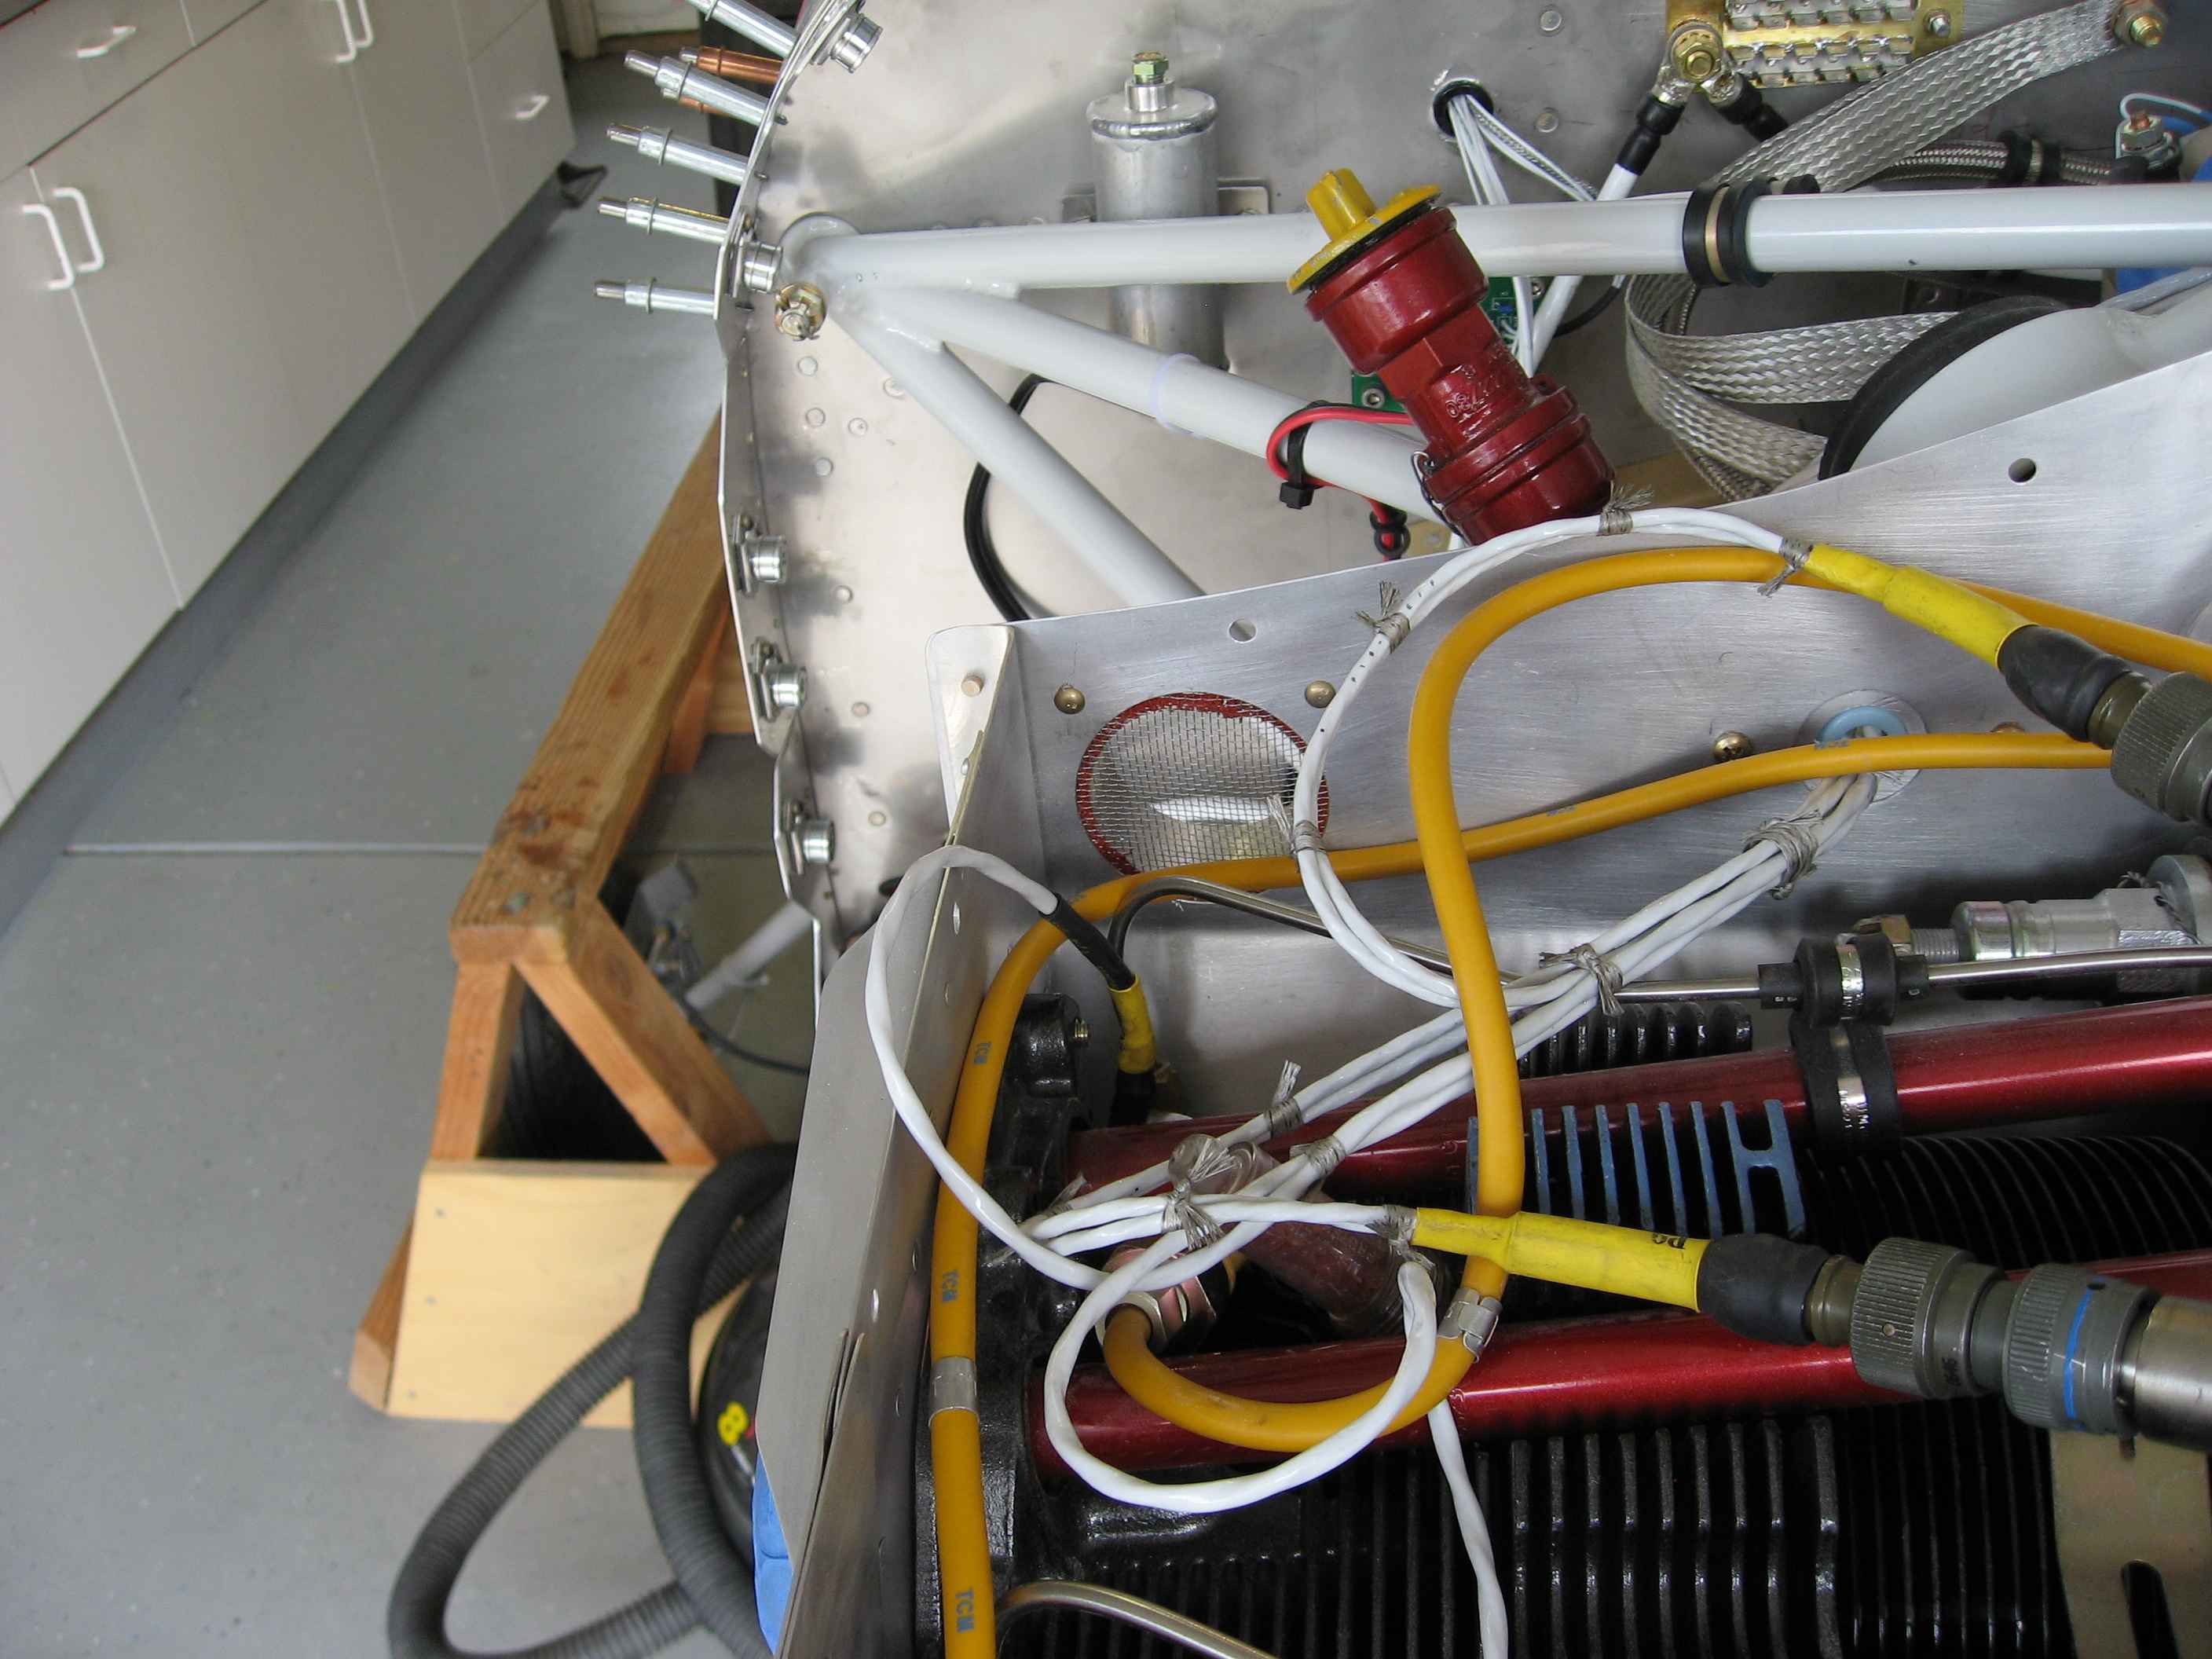
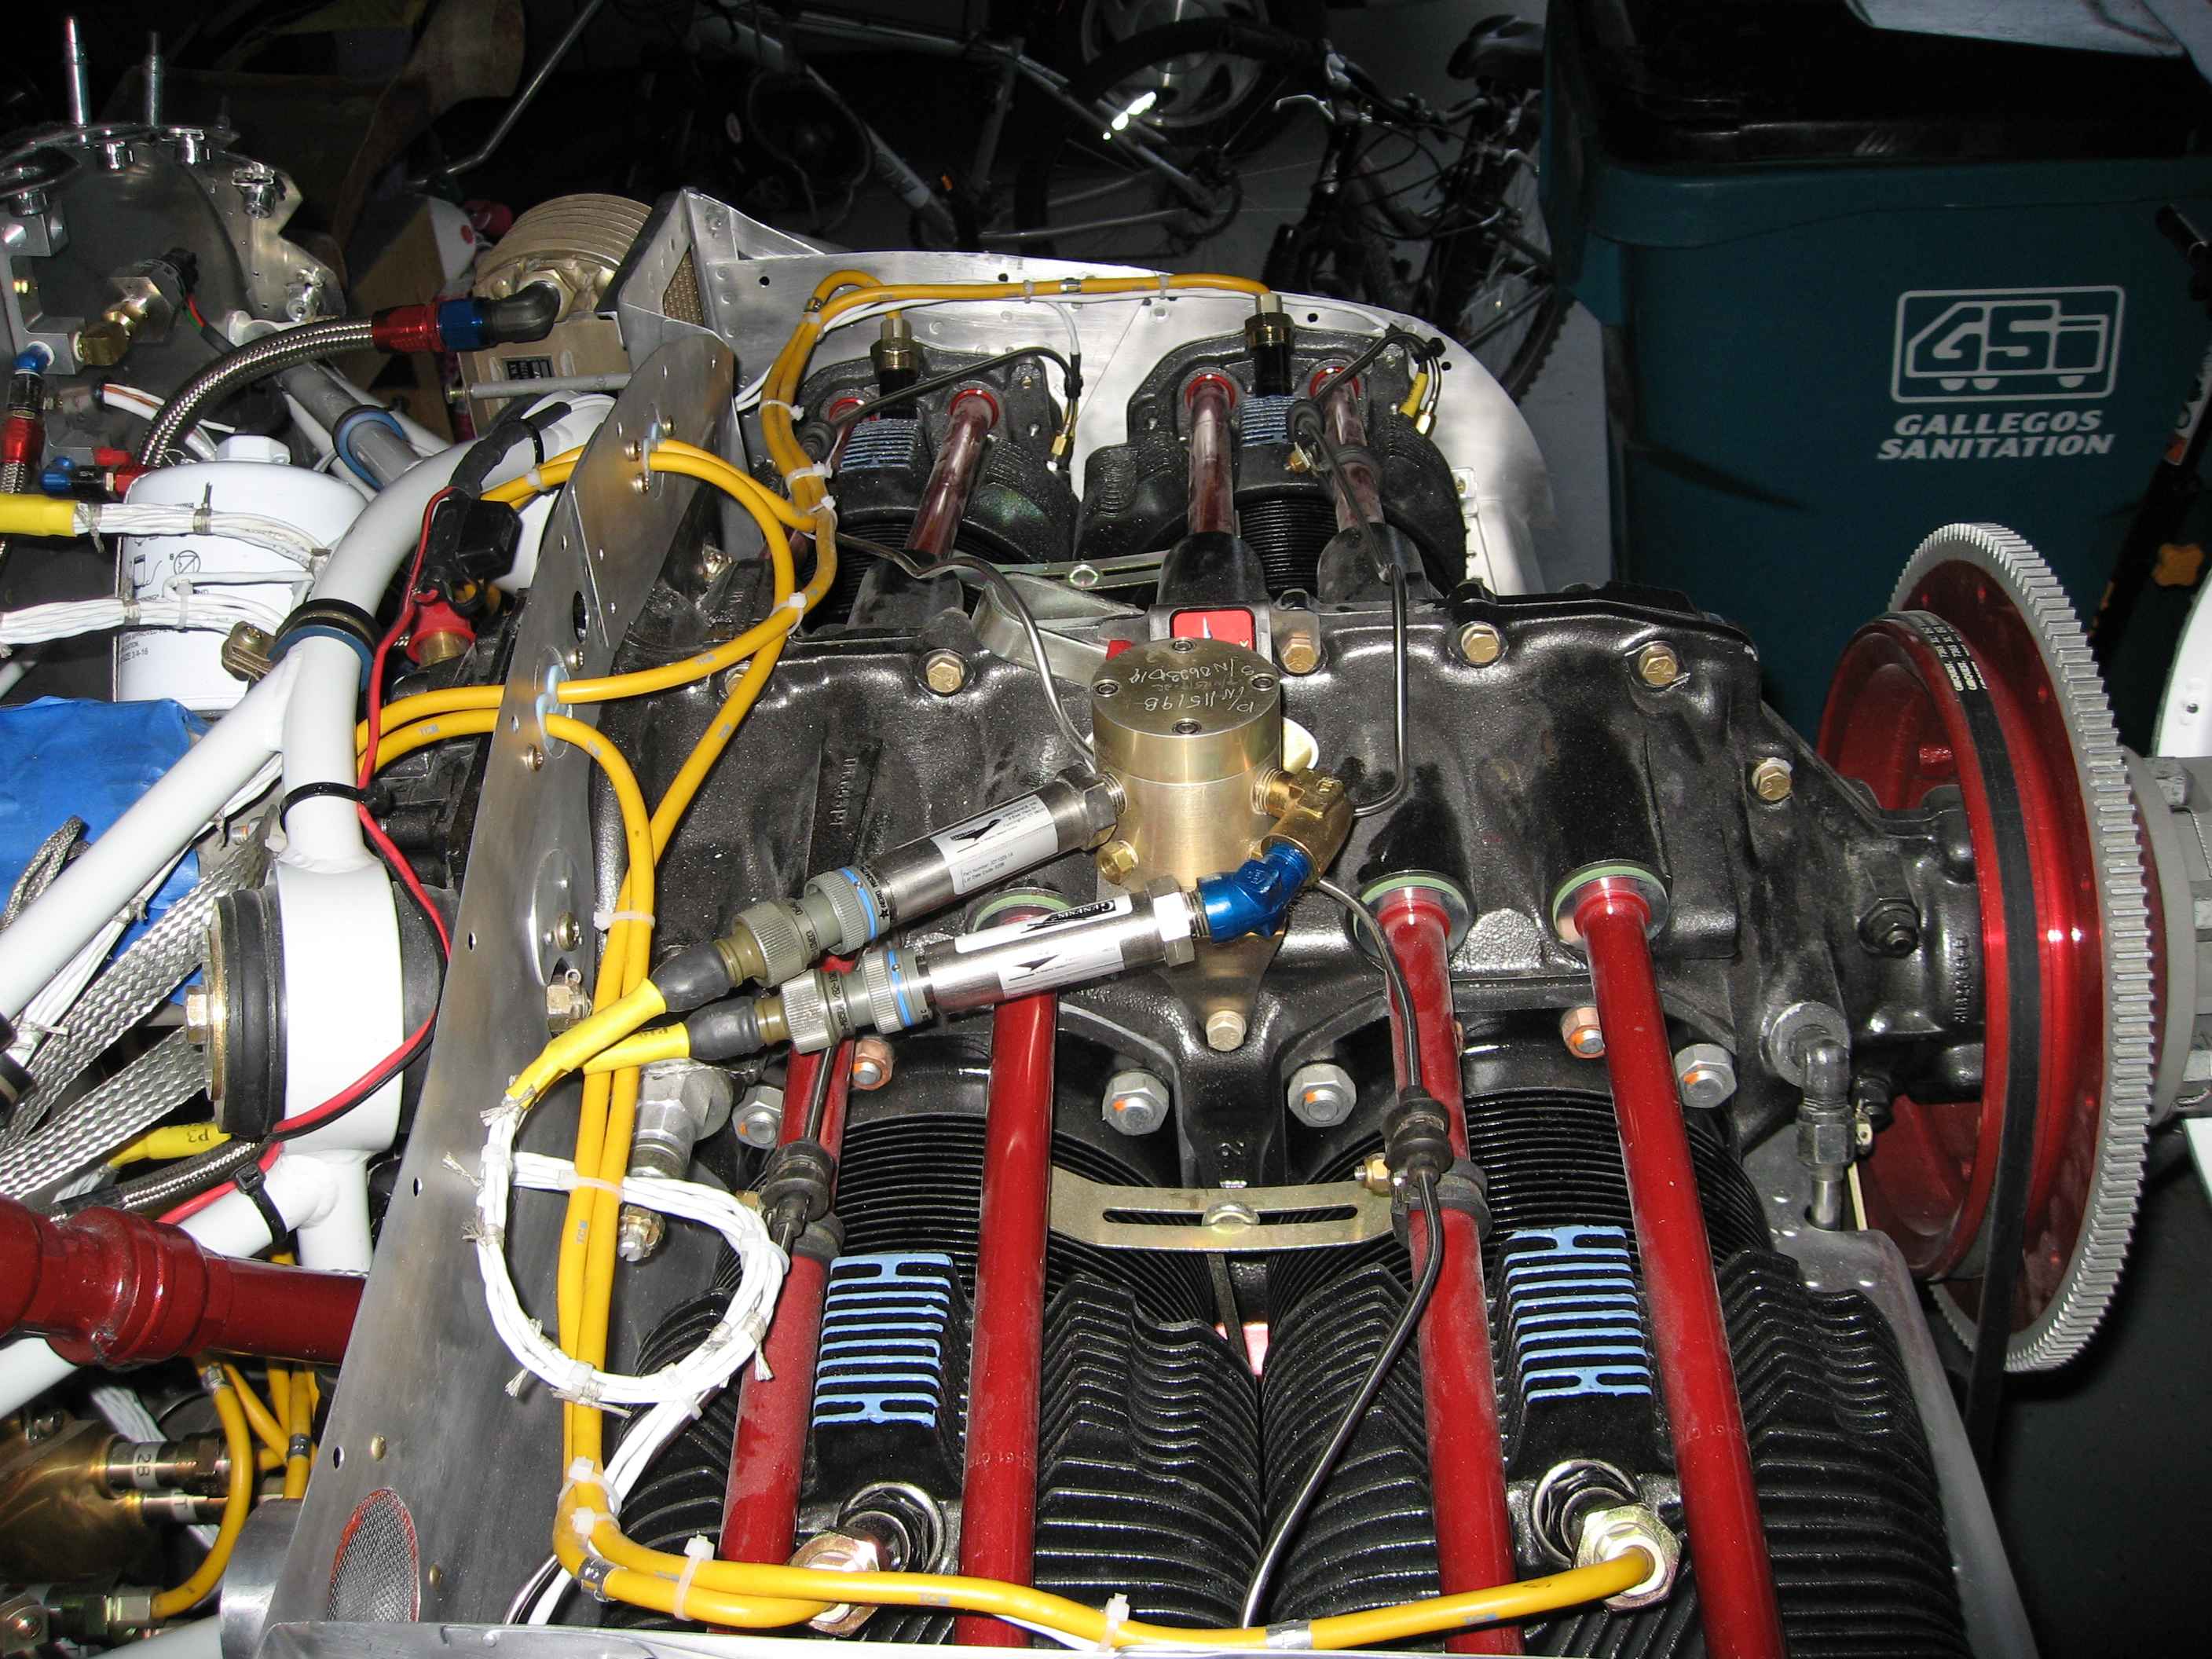
The fuel lines going into and out of the filter were fabricated by me using Aeroquip hose and fittings.

Here is another shot of the fuel filter and its fuel inlet hose coming from the fuel pump.
   

[Up] [1] [2] [3] [4] [5] [6] [7]