|
December
16, 2007 - January 5 2008:
(8.0 hrs.)
I decided to check and see if the throttle and prop control cables I
ordered a while back from Van's would fit my setup with the control
quadrant in the center console. The cable I ordered were 55"
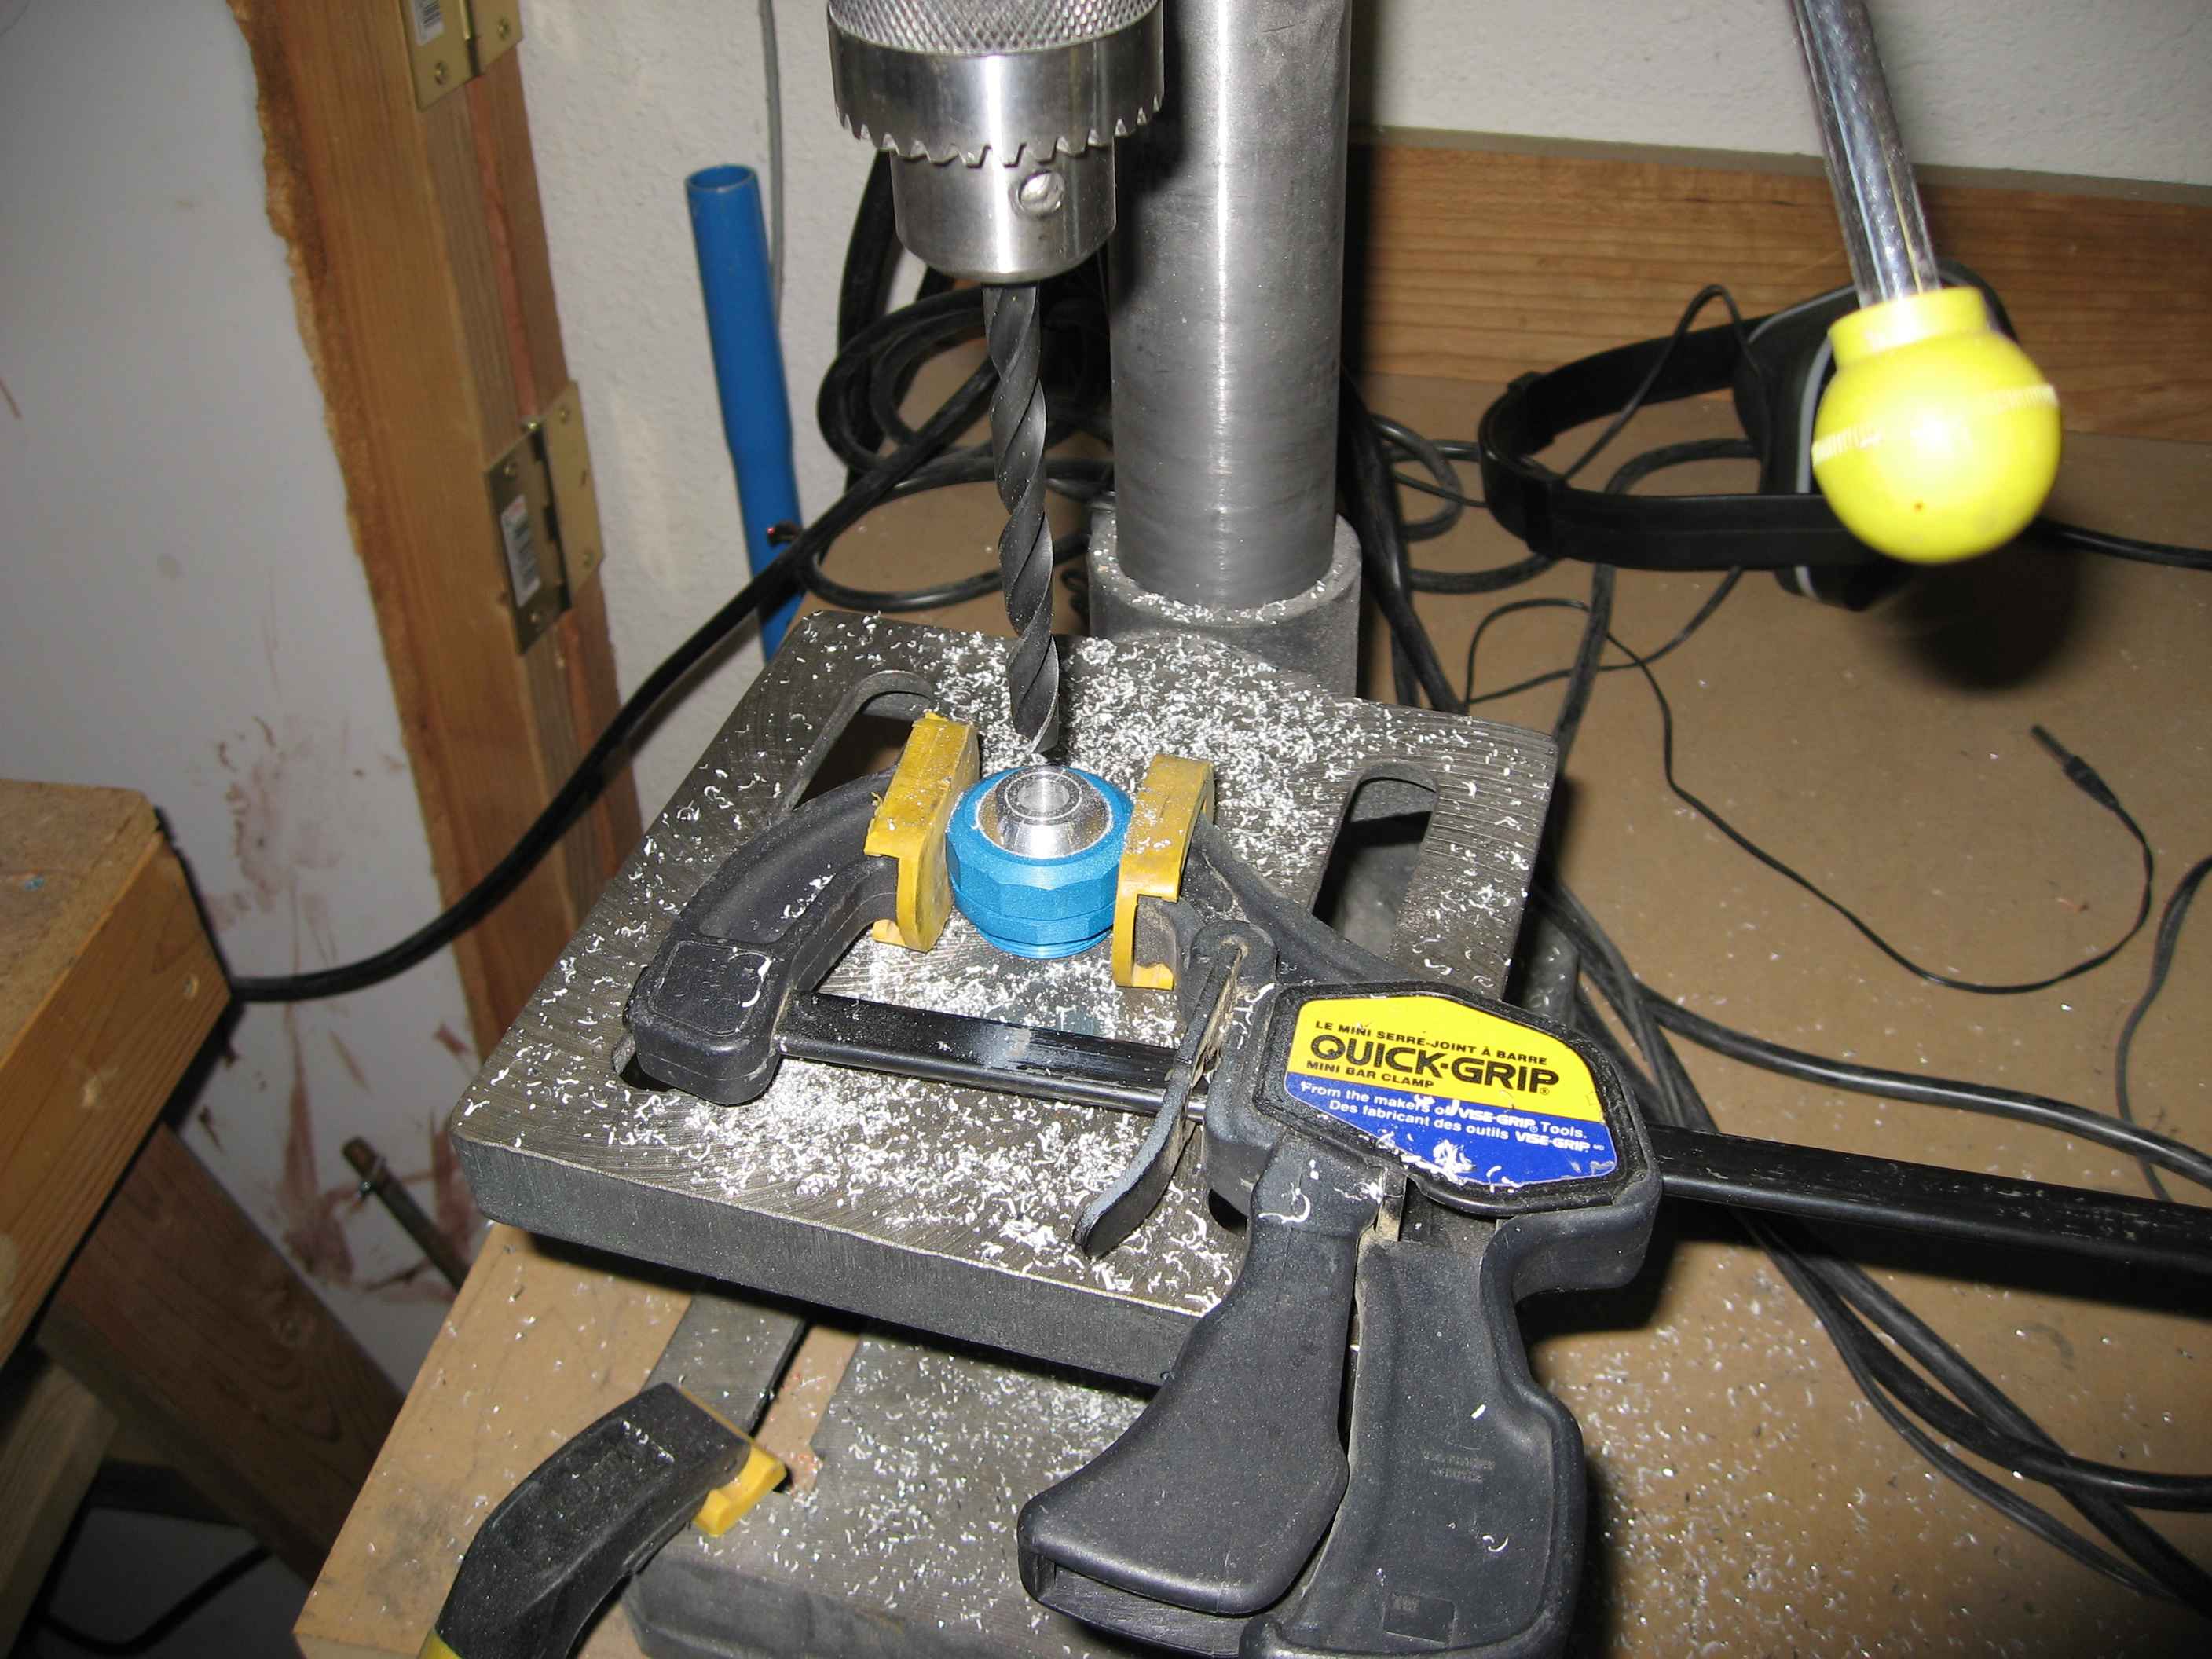
First things first, I needed to drill out the firewall swivel eyeball
pass-through's to match the diameter of the cables. I used my
drill press to achieve this. |
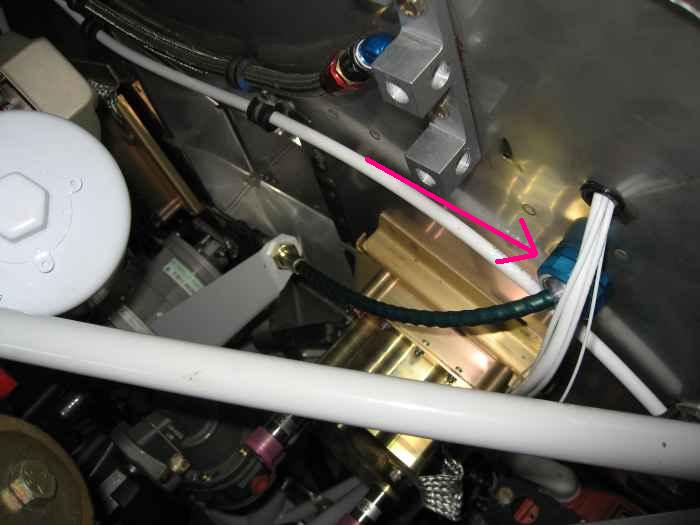 |
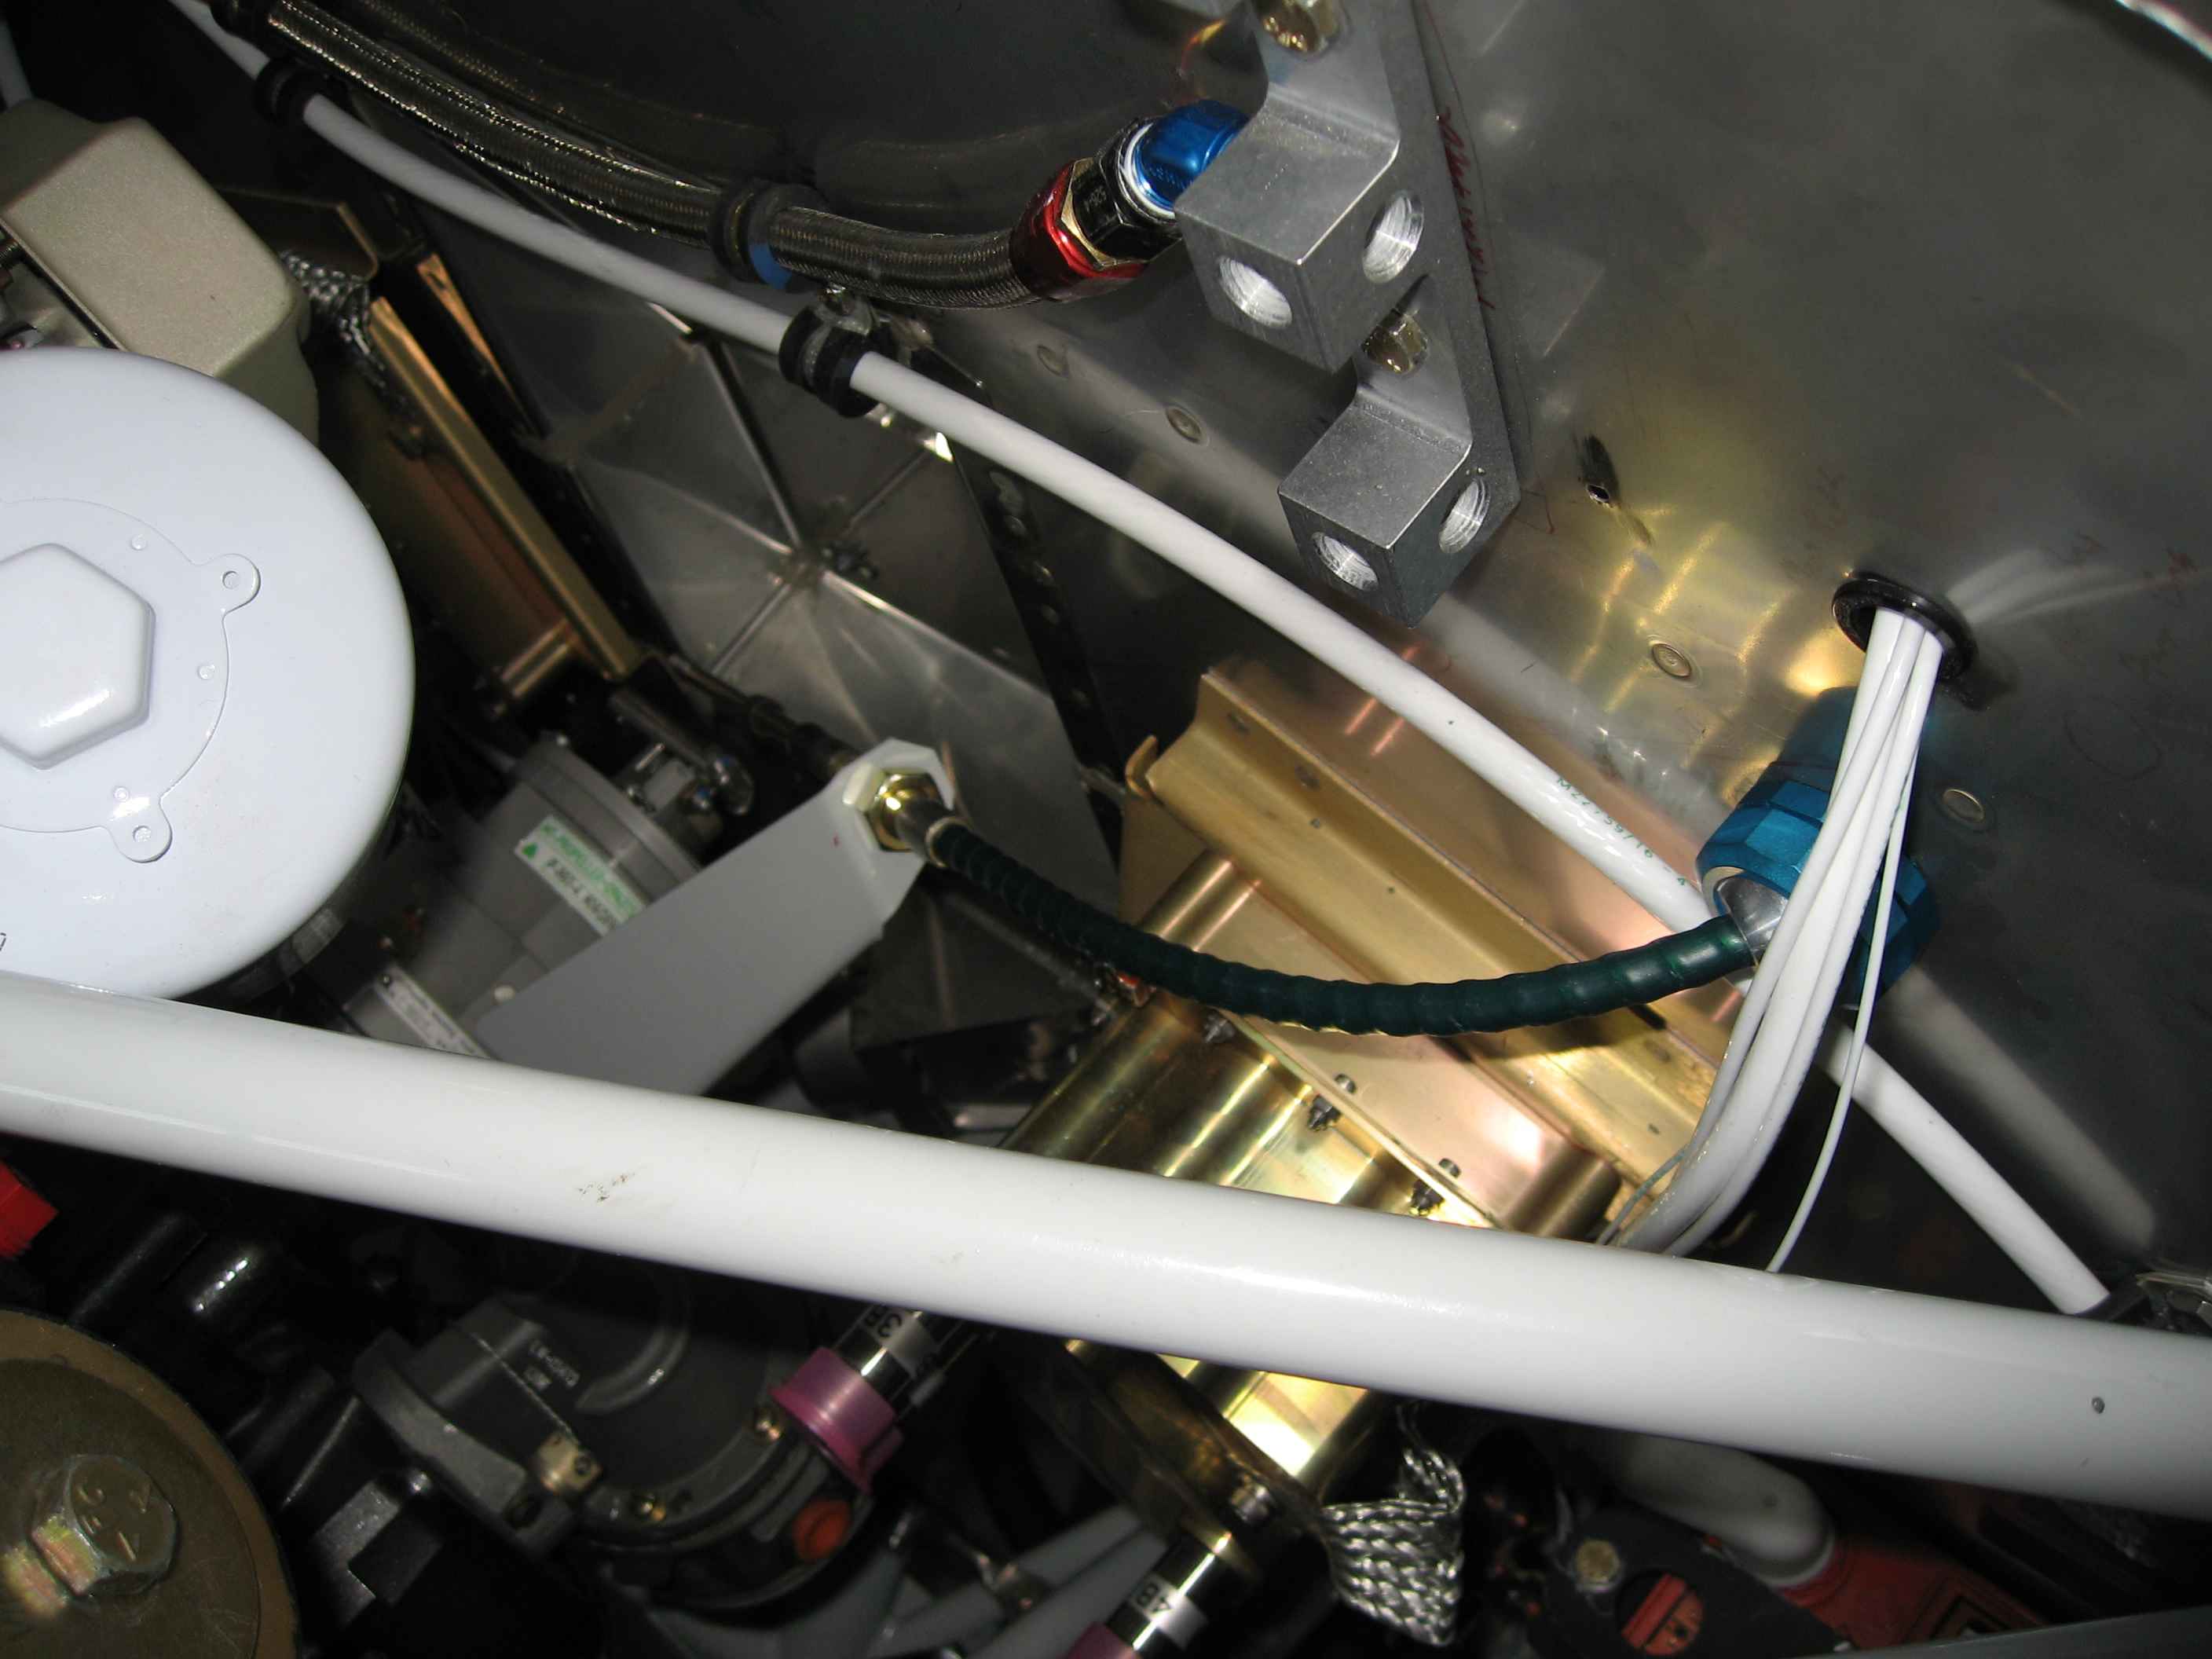
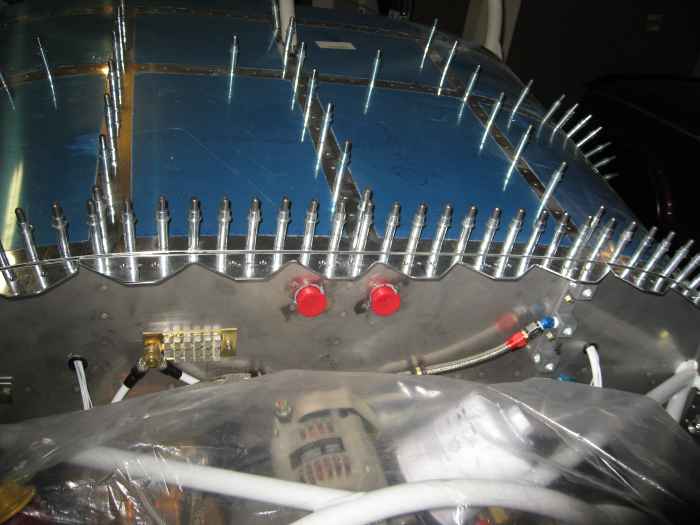
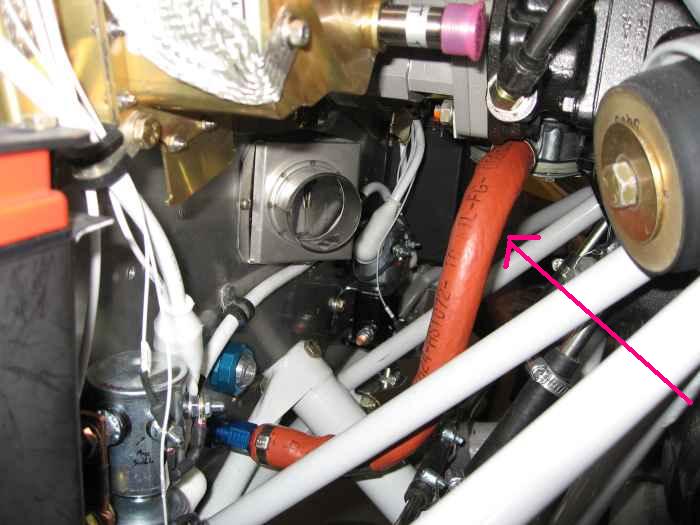
Here I have run the prop governor control
cable. The arrow is pointing to the swivel eyeball pass-through.
It is kind of hidden in this picture below the electrical pass-through.
The 55" cable worked great for this application. However, I was
not so lucky with the throttle control. I did not take a picture,
but it ended up being a couple inches short. I am going to have to
order a 60" cable for that. |
 |
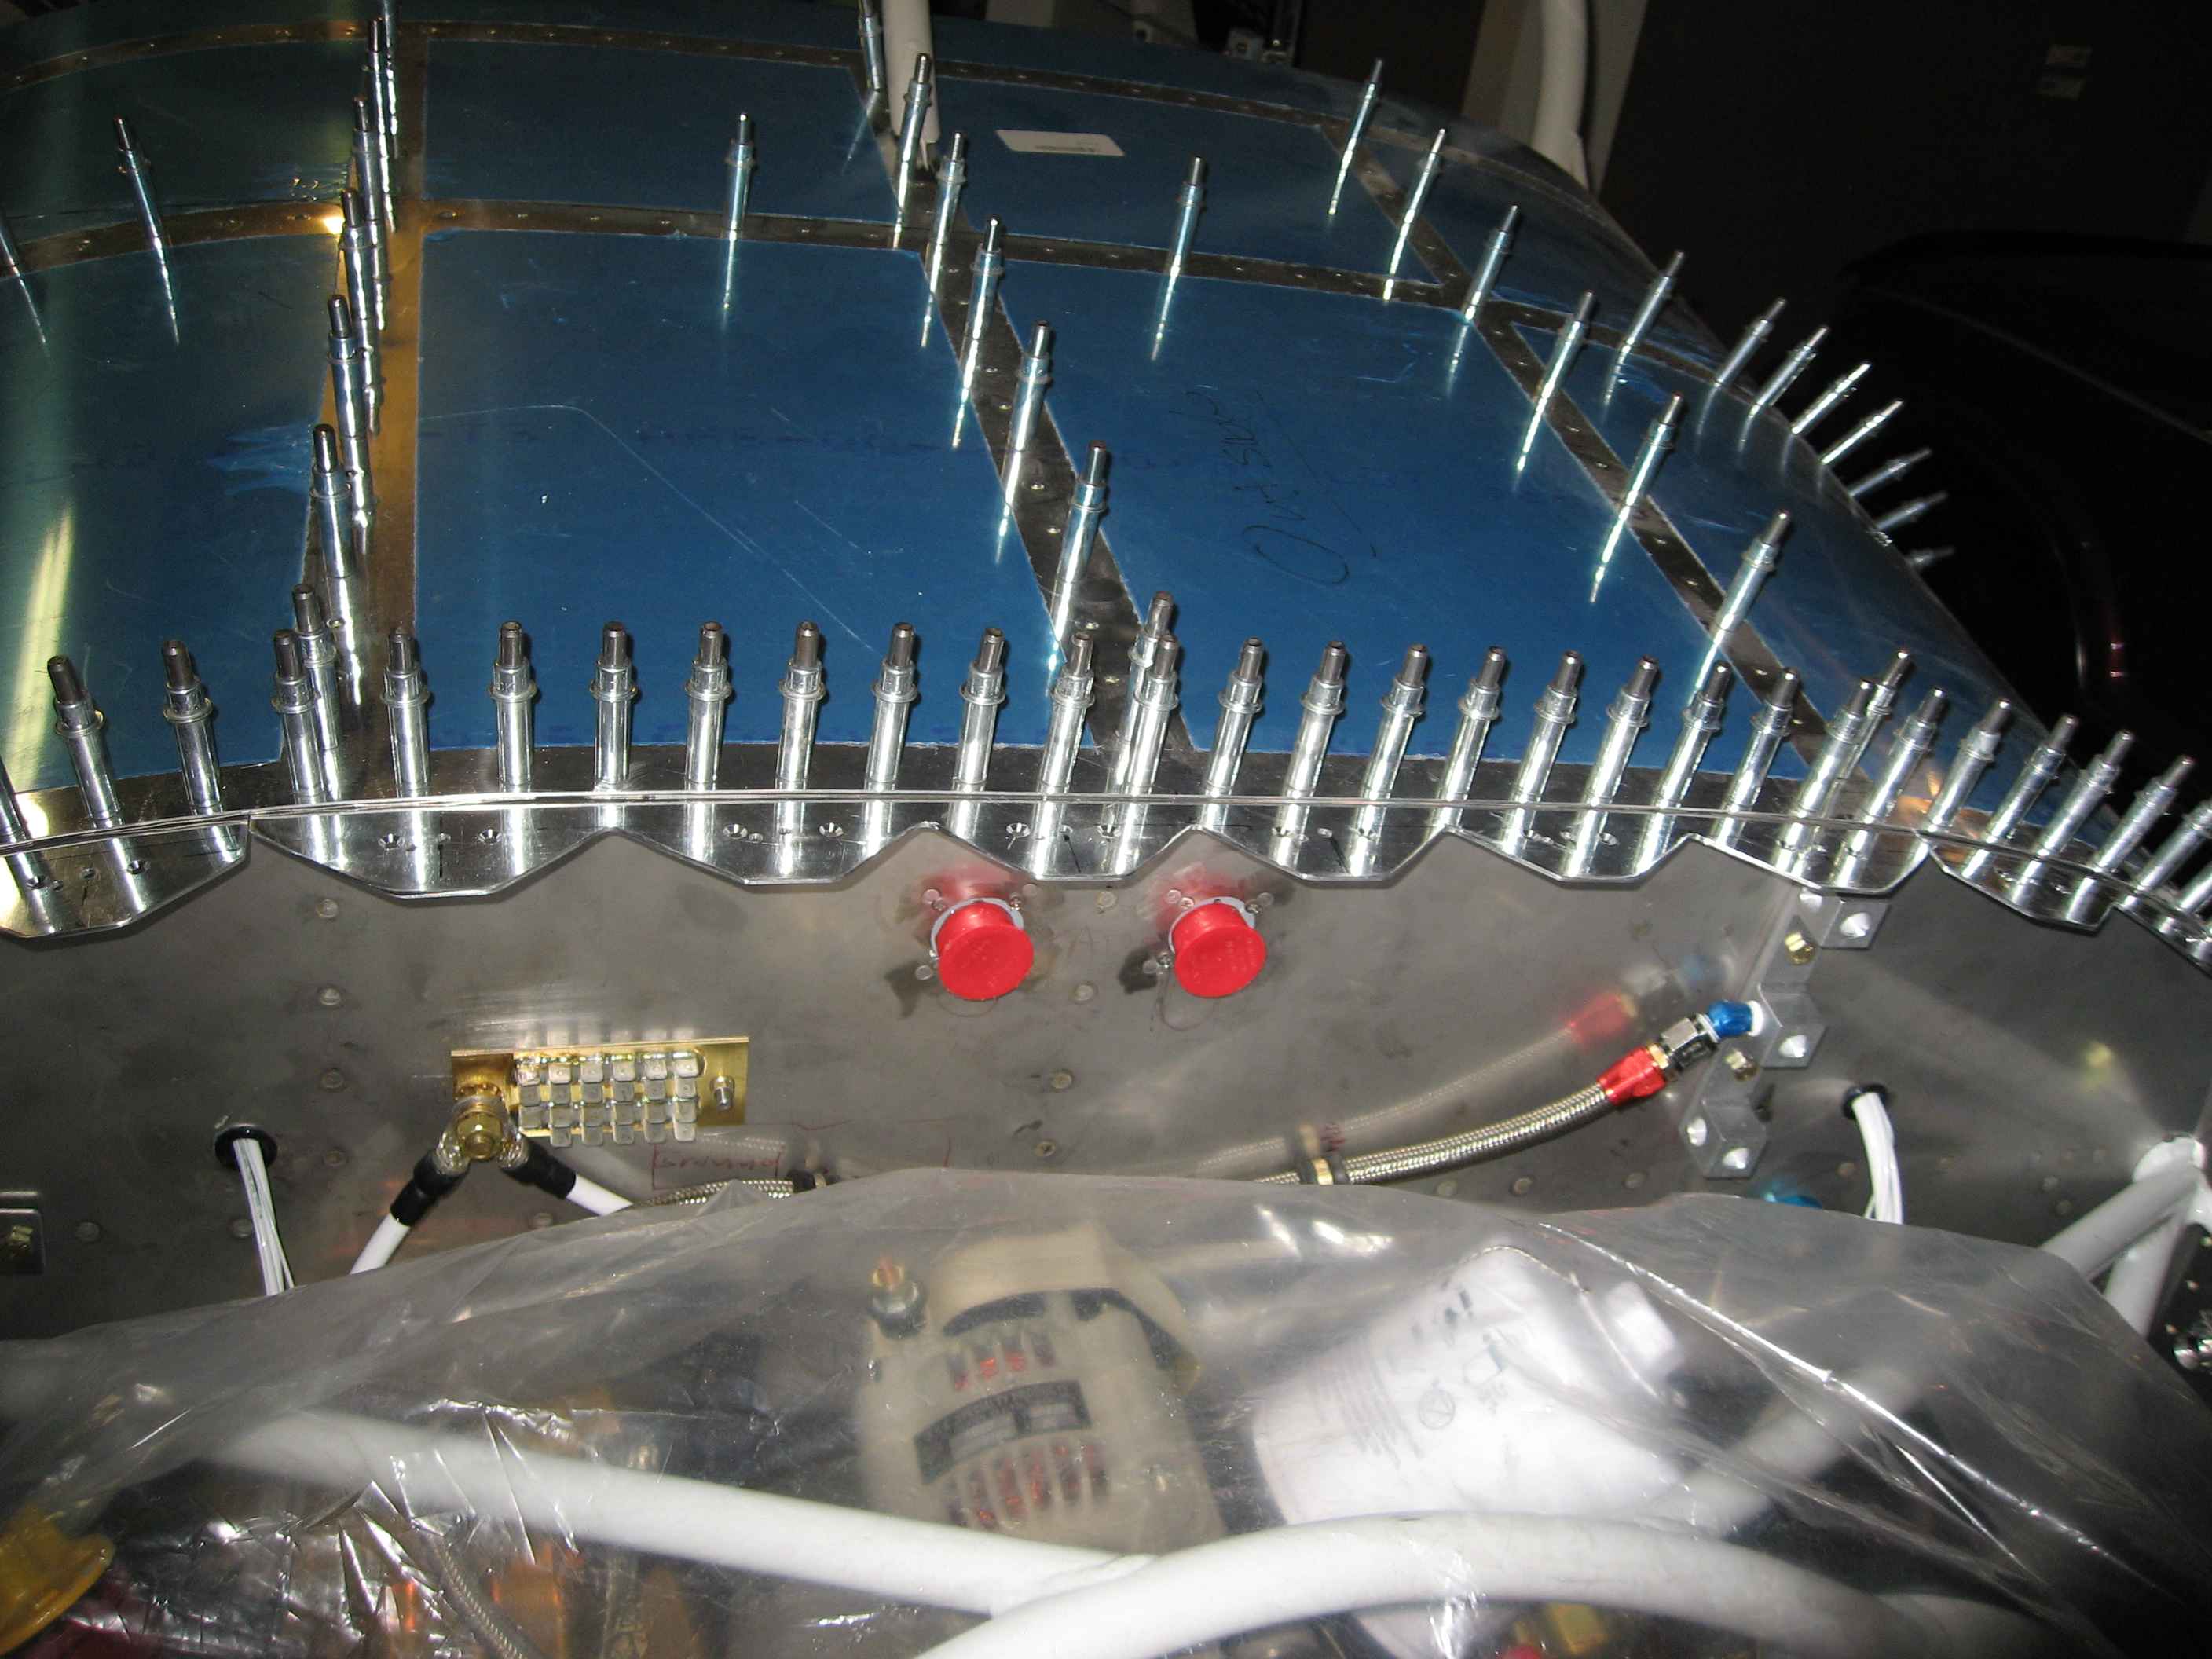
I cleco'd the top skin on and finished the
fabrication of the camlock attach points along the top of the firewall
for the top cowl. It turns out the the work I had done prior on
this was wrong. I messed up on a couple of my measurements and my
spacing between the camlocks was uneven in a couple places.
|
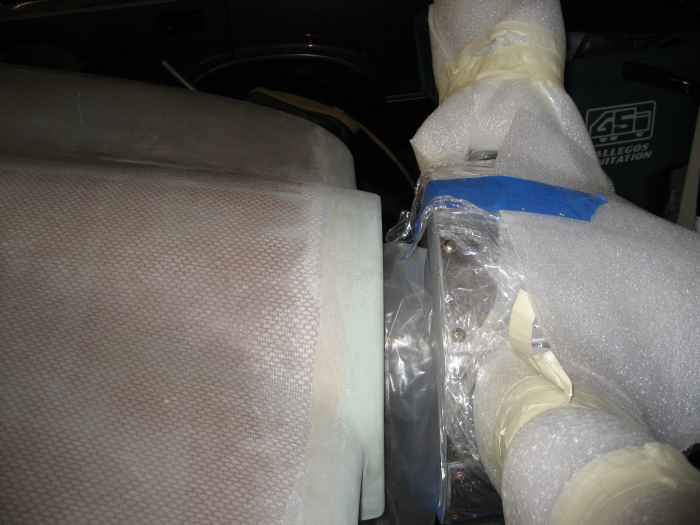 |
Next, I laid the top portion of the Van's
stock panel in place to see how things were going to fit. Not
good! To my surprise, the cowl appeared to be almost 2
inches short. In this picture you can see the big gap between the
front of the cowl and the back of the prop spinner. Well, after
much head scratching and number of calls to Vans and MT propeller, I
think what happened is that MT built me a spinner and hub for the Sam
James cowl setup, which uses a longer cowl. Now I need to decide
if I want to wait for a new prop to be built (the last one took 5
months), or replace my stock cowl with the Sam James unit. |
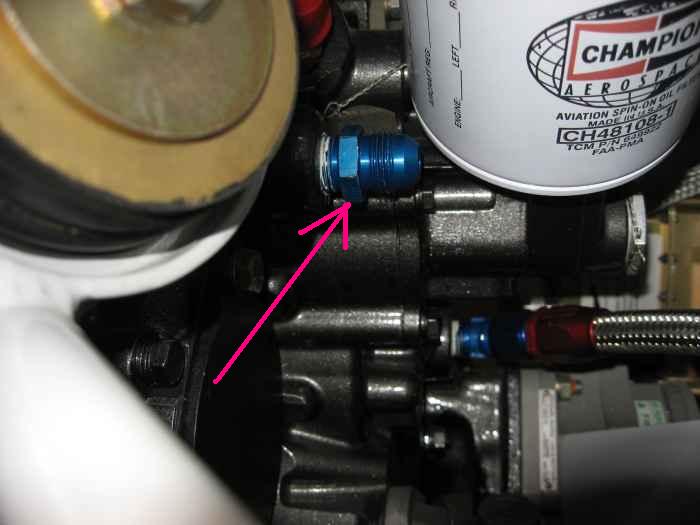 |
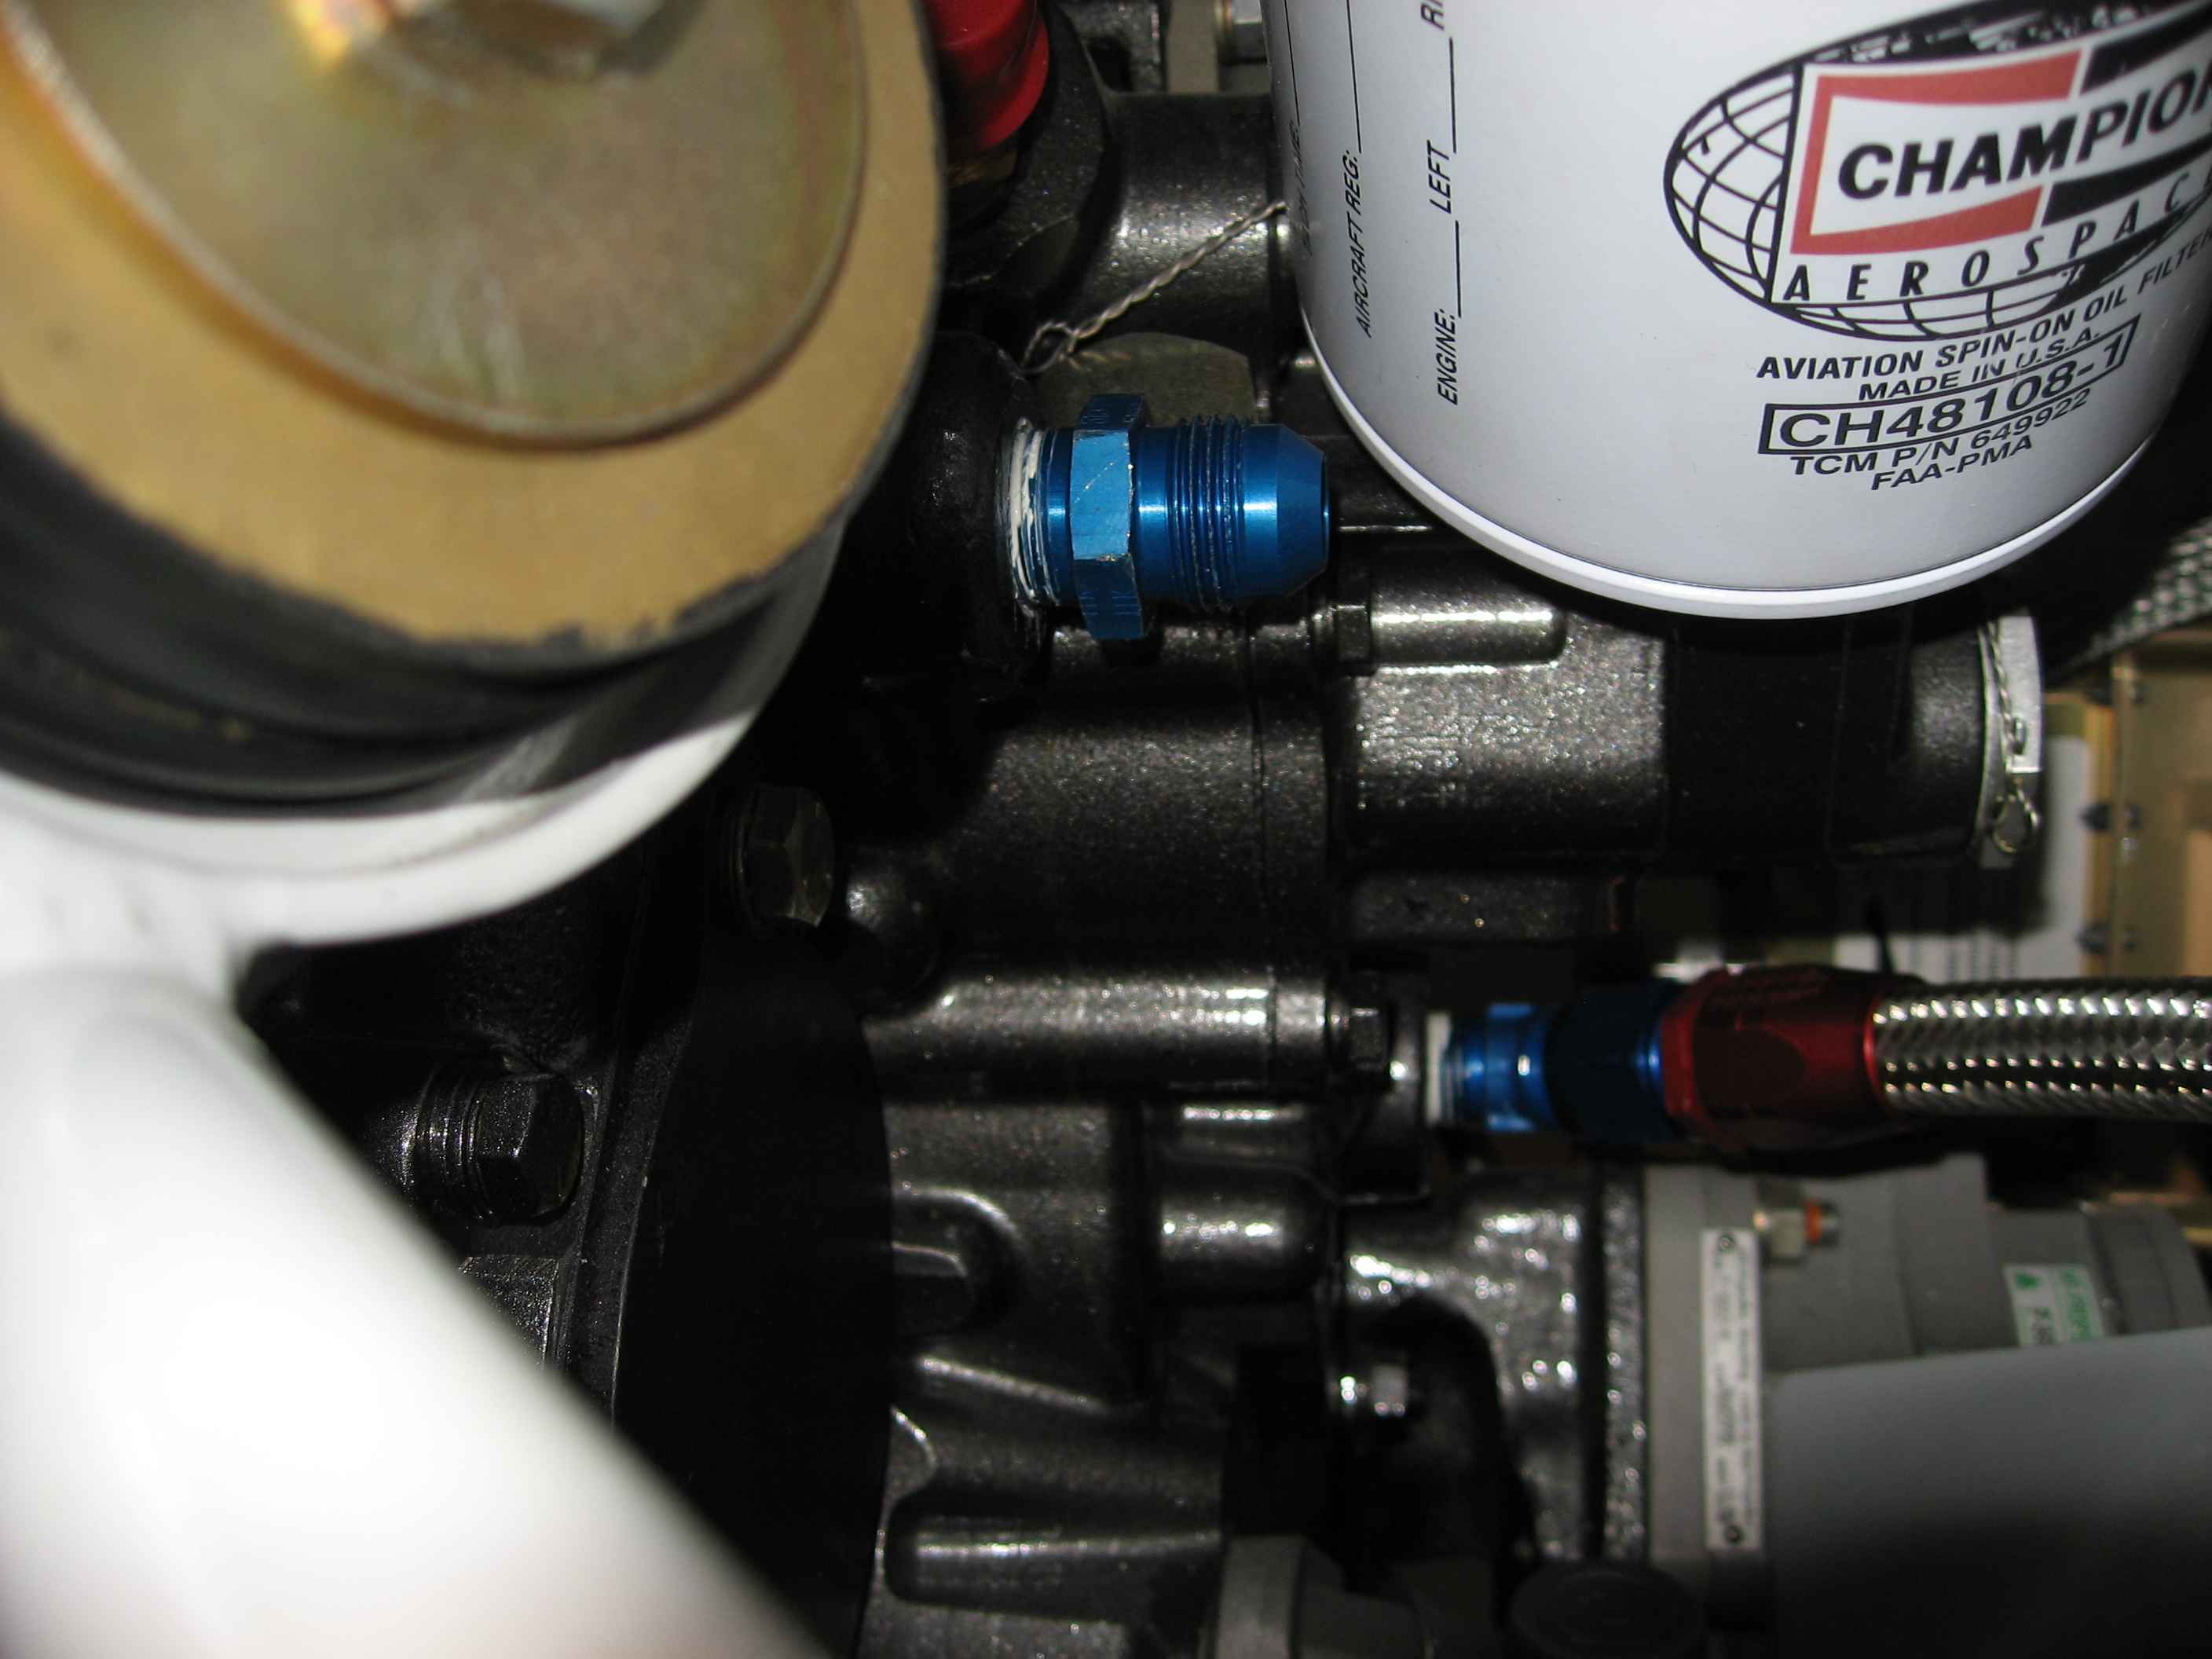
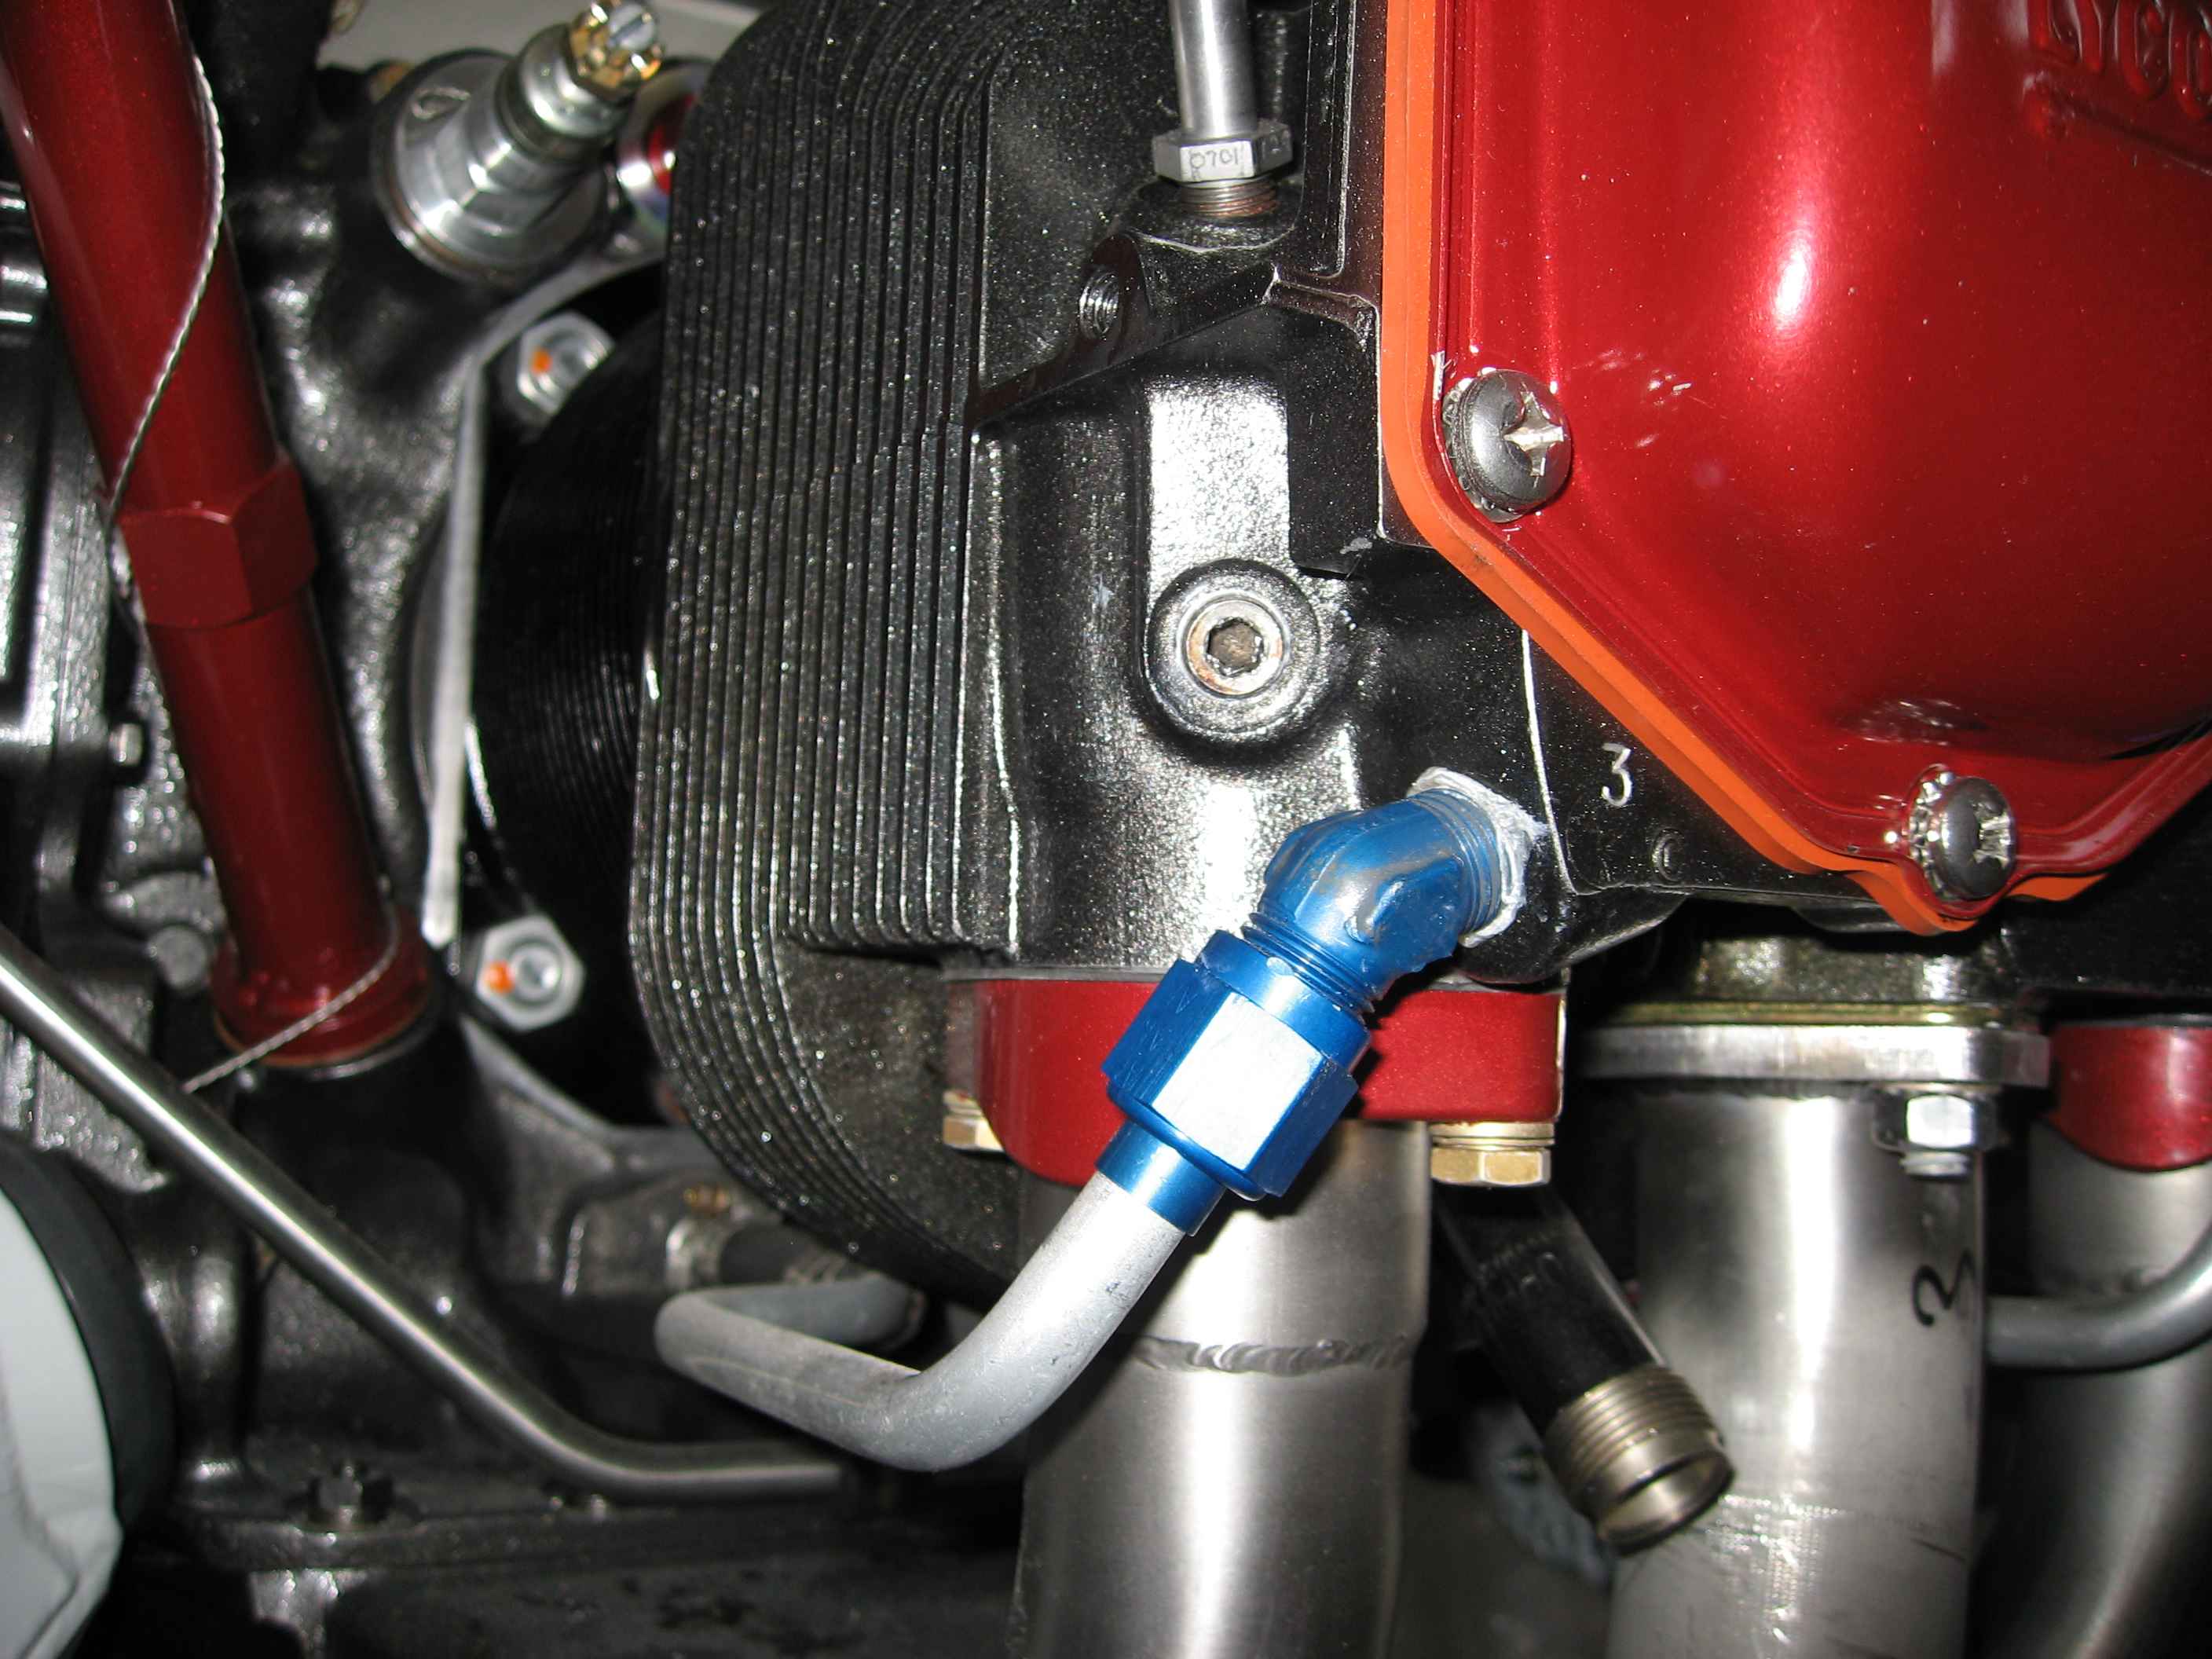
Since I could not work on fitting the
cowl, I decided to do some miscellaneous work. I installed the oil
cooler return line fitting on the engine. And what do you know, another
problem. The straight fitting suggested by Vans interferes with
the oil filter so that I cannot put the hose on the end. At least
this is an easy fix, I can use a 45 degree elbow instead. I just
need to order one. |
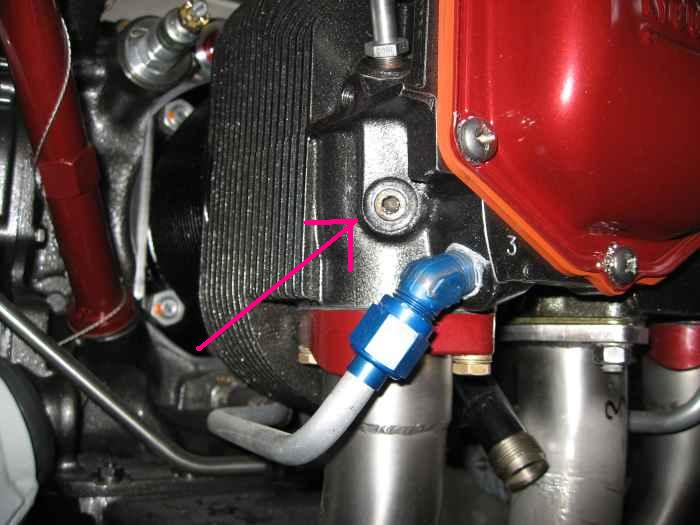 |
I put a plug in this hole meant for the
manifold pressure connection. I don't think I will be using this
with the FADEC. I believe it measures and reports manifold
pressure differently. We will see... |
 |
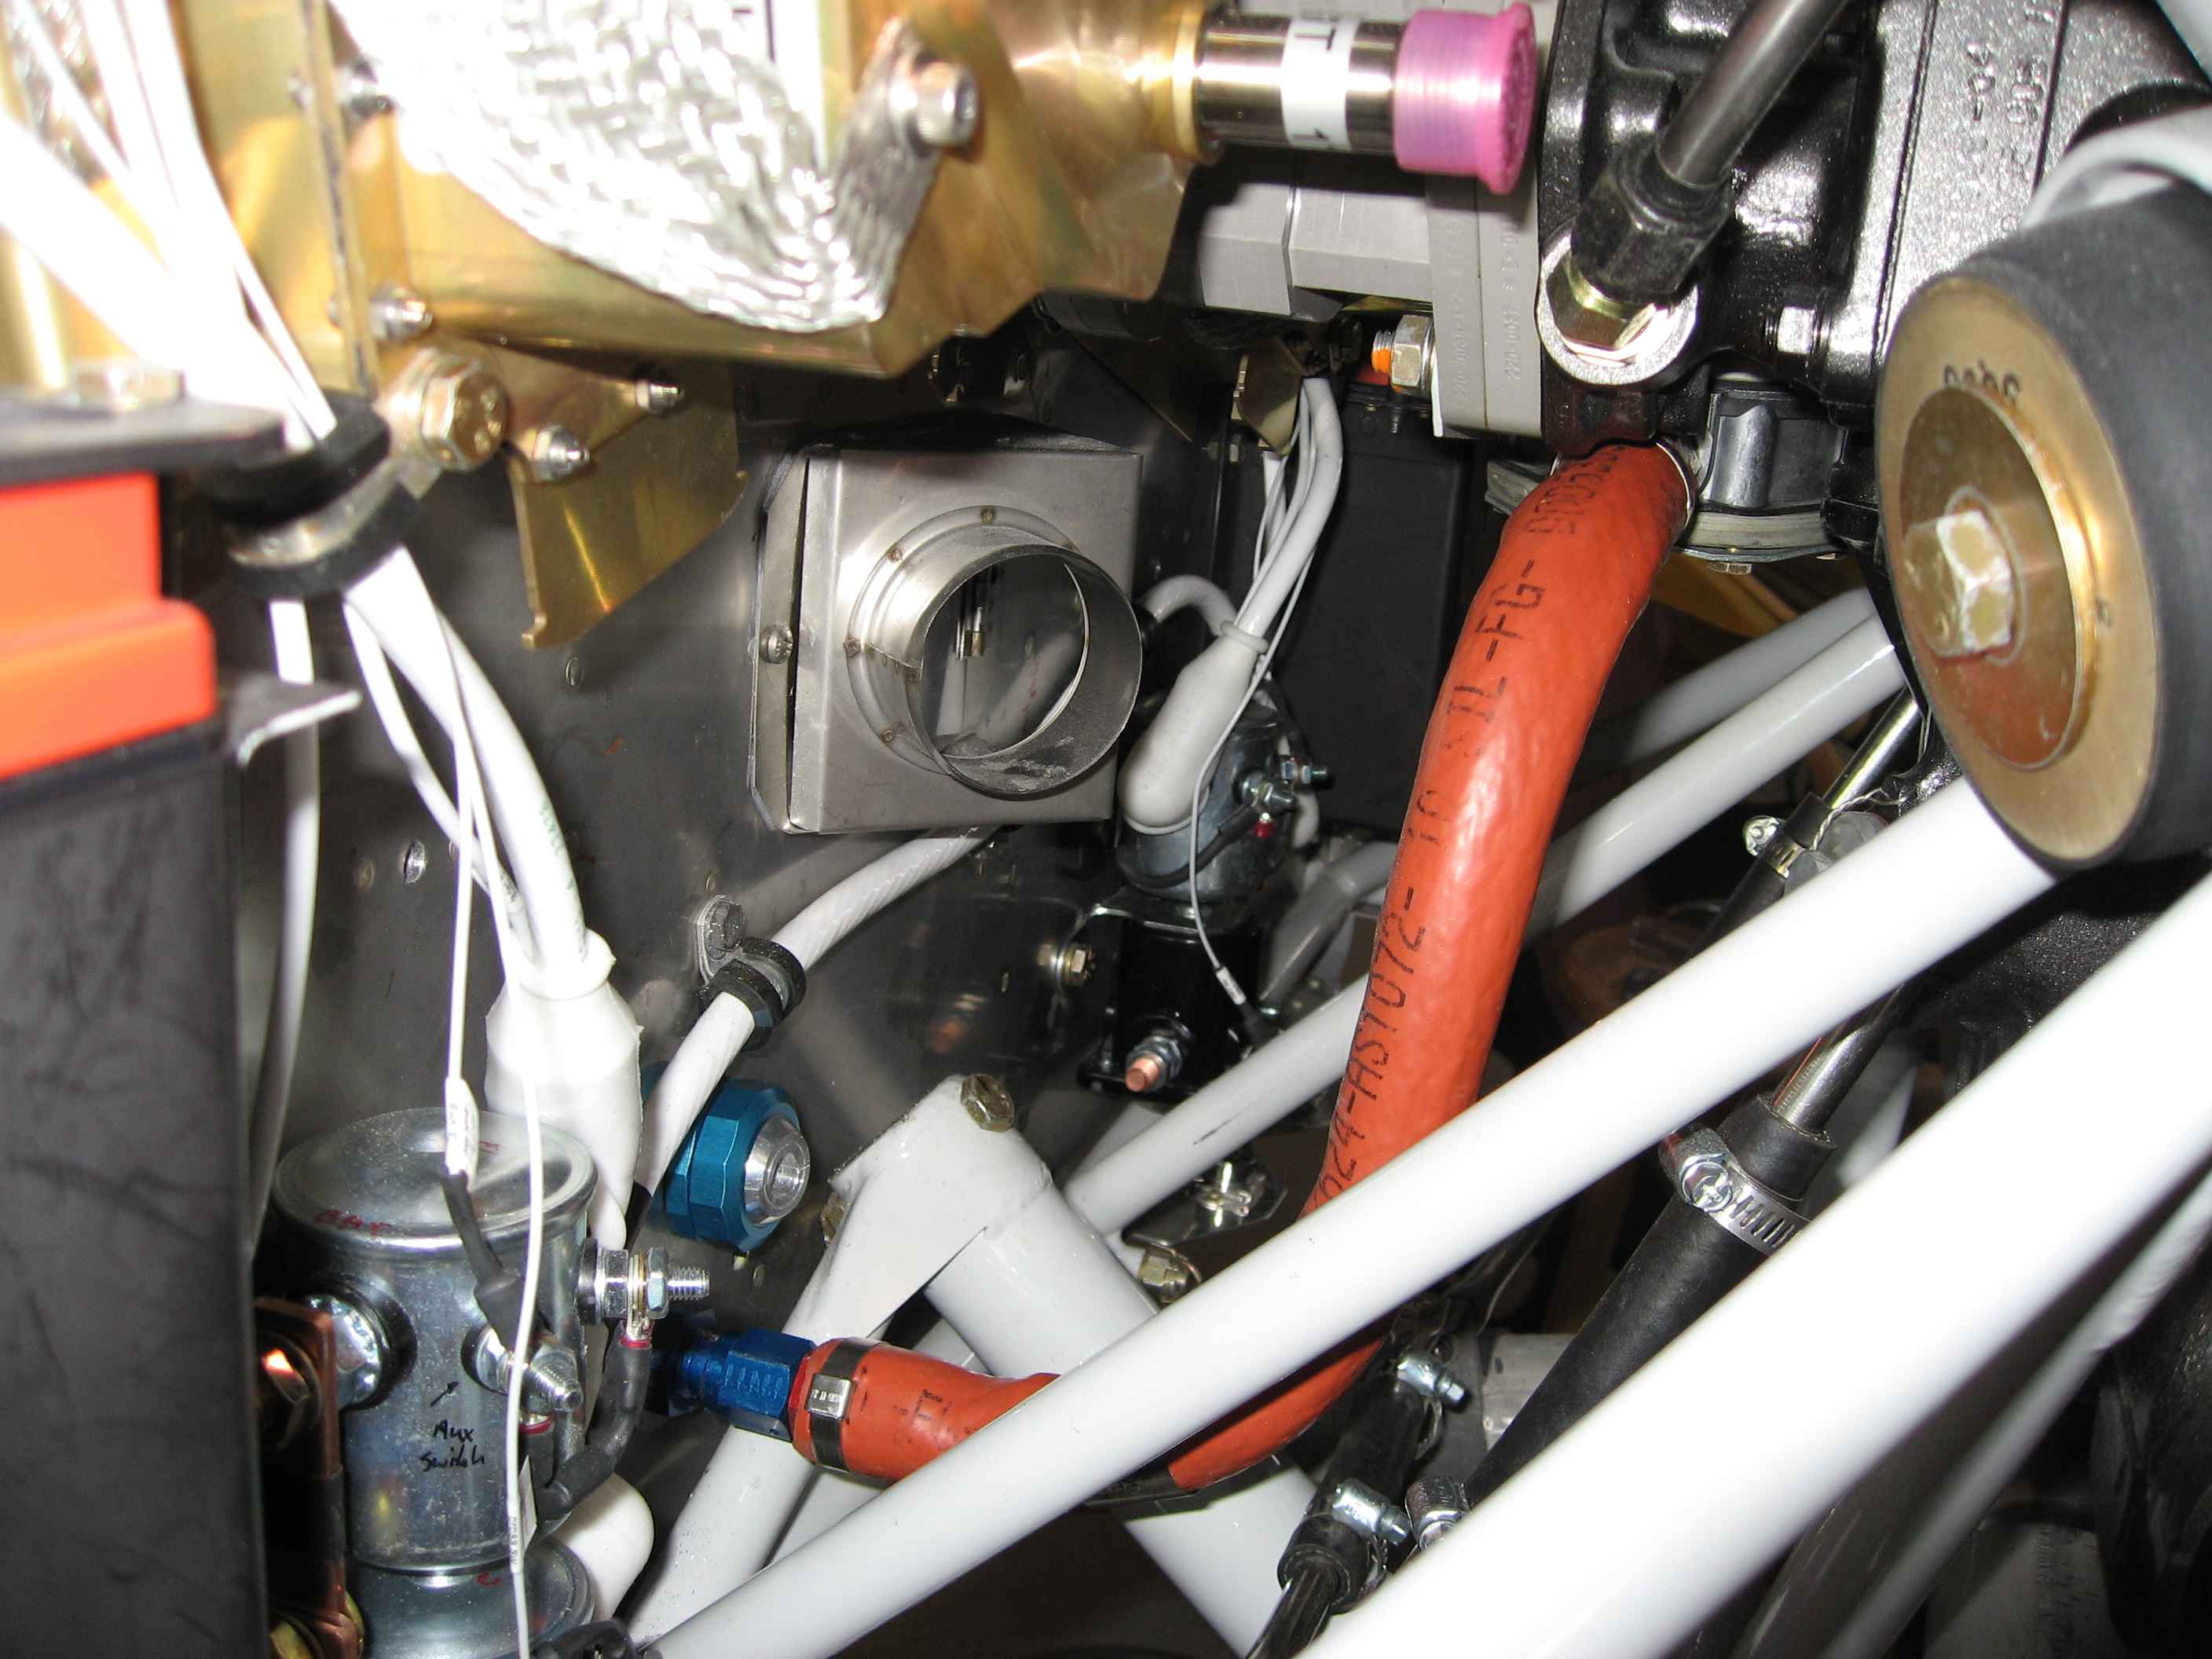
I ran the fuel supply line from the
bulkhead fitting on the firewall to the engine driven fuel pump. |
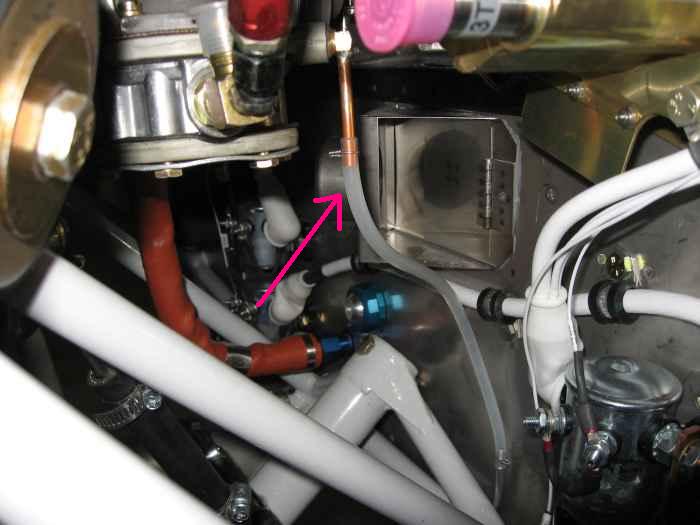 |
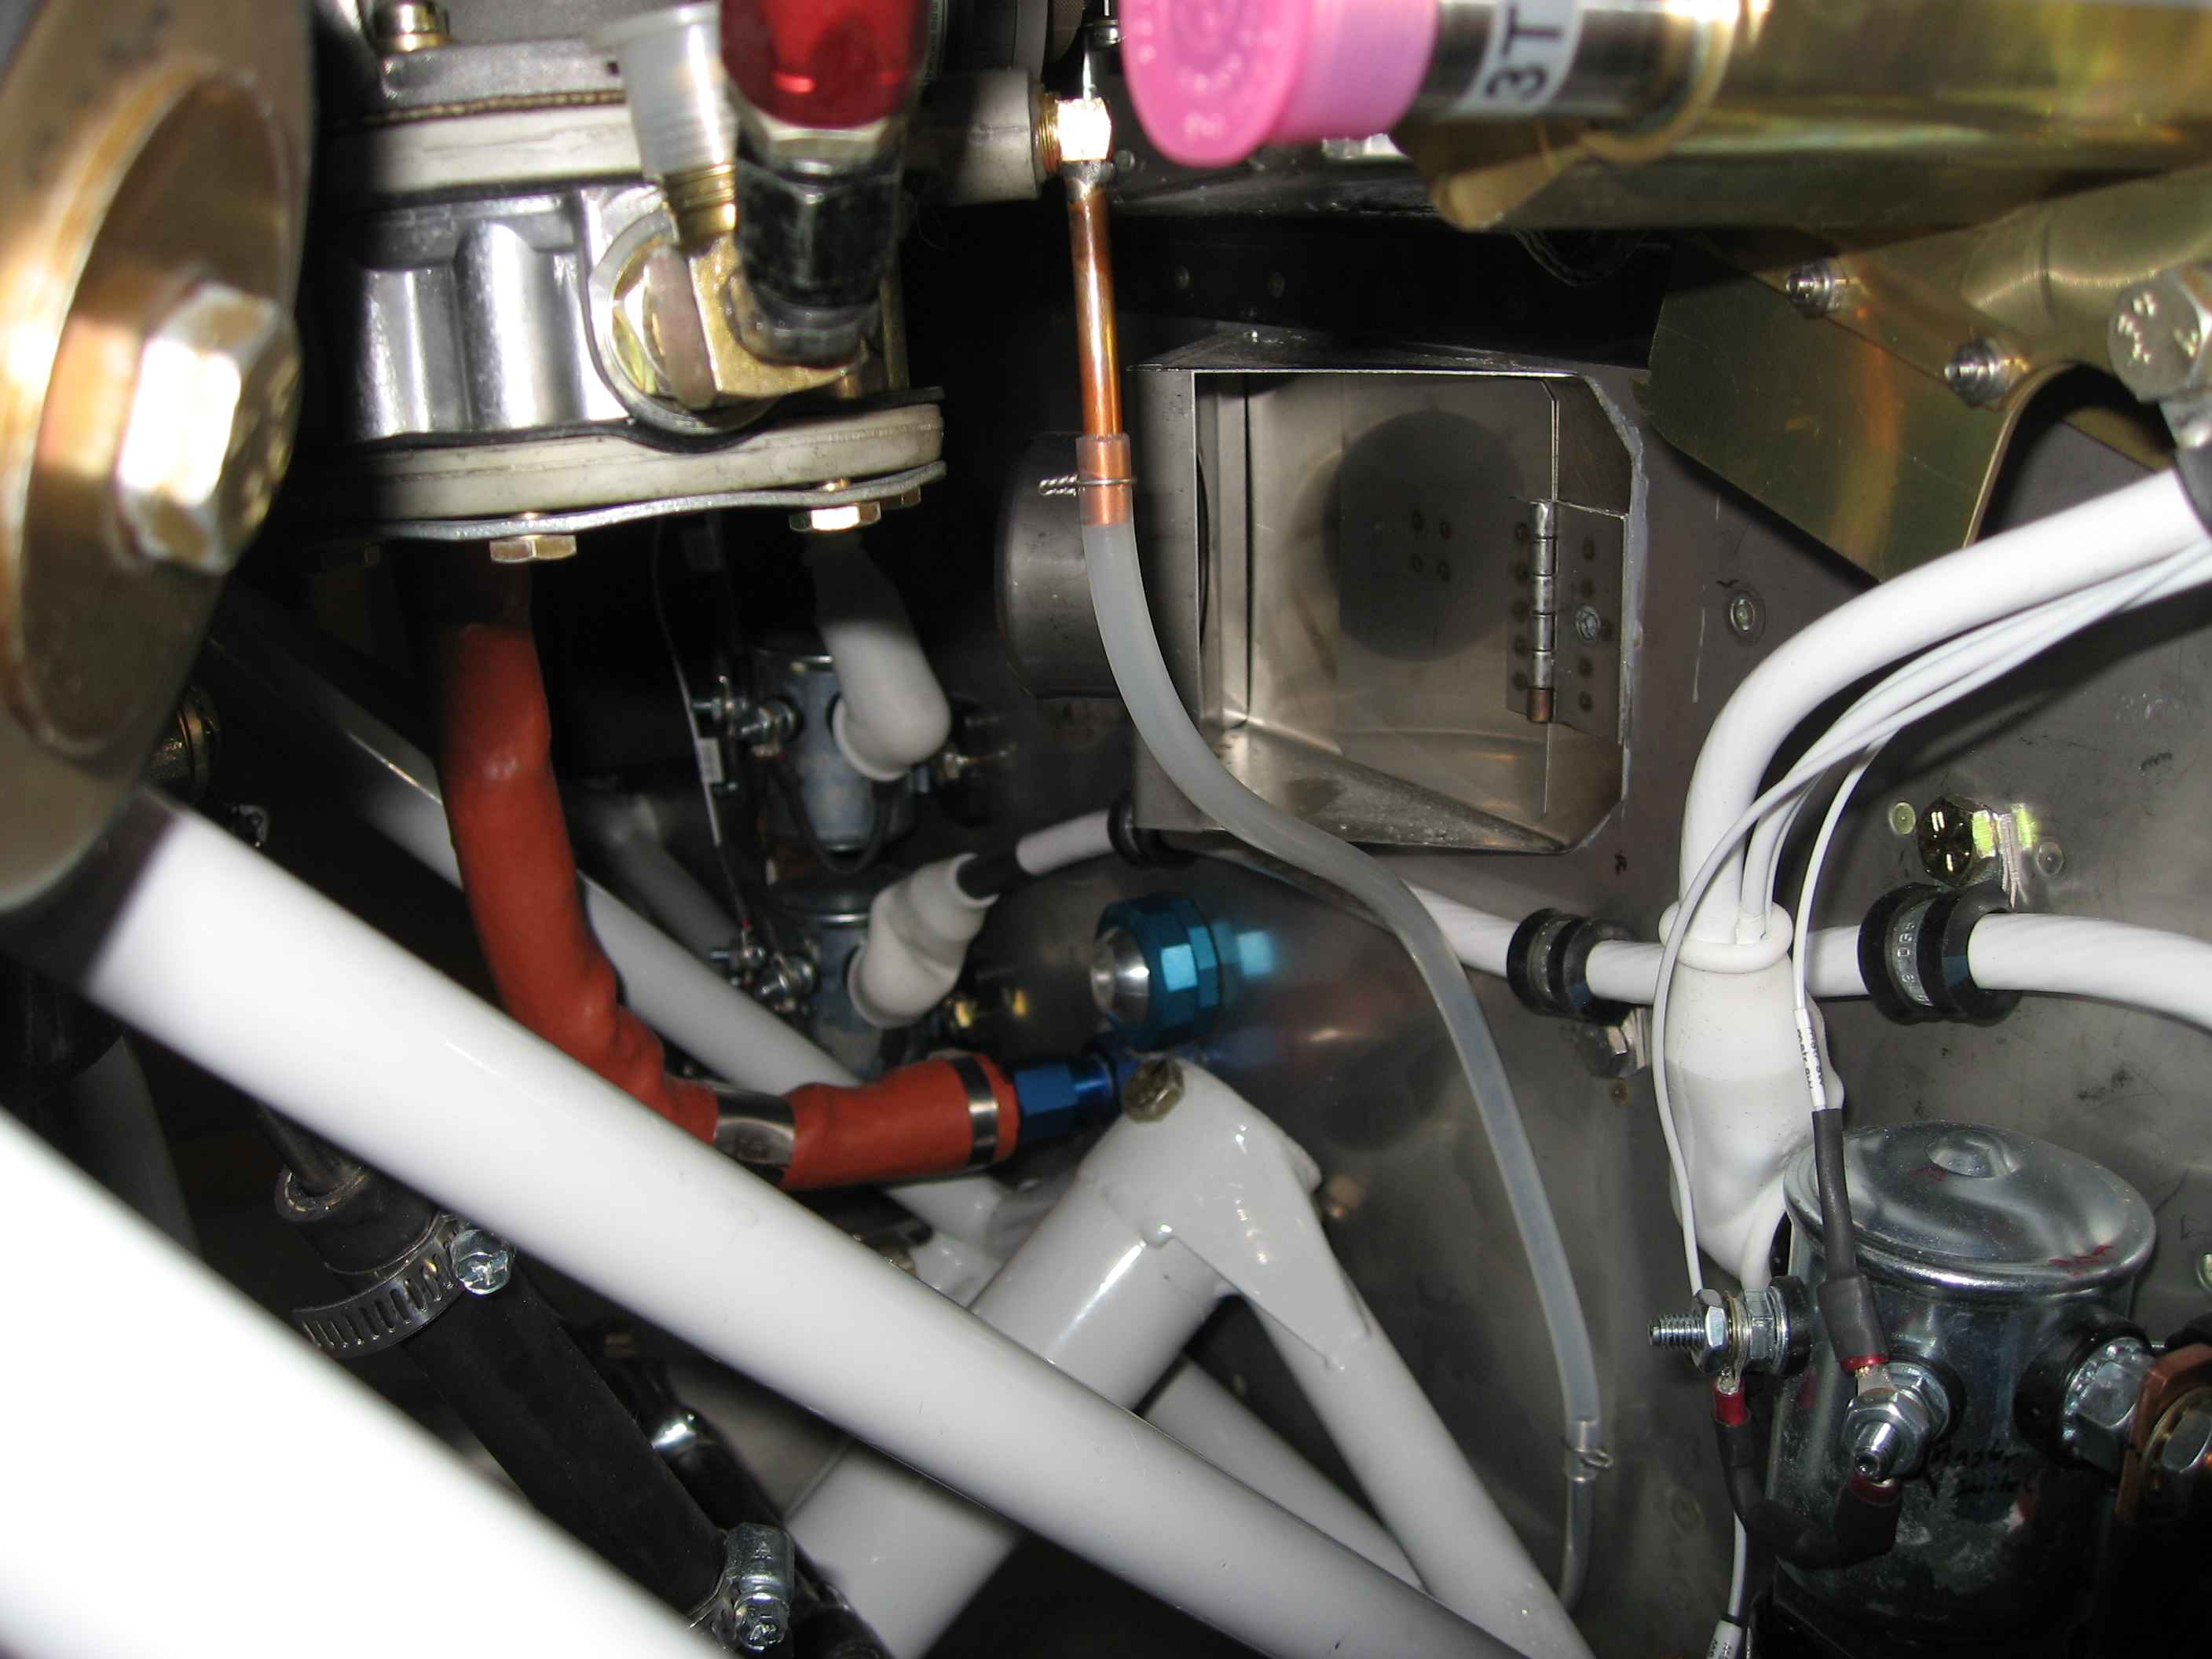
Installed this engine driven fuel pump
over-flow line. It meanders down to the bottom of the firewall and
exits out the bottom skin. |
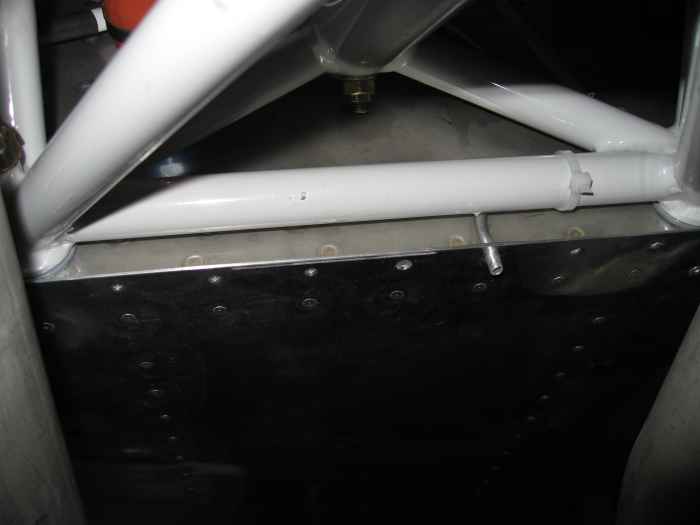 |
Here is the where it exits. I just
opened up one of the bottom skin rivet holes and popped the aluminum
tubing through. |
 |
While I was working down here, I decided
to squeeze the few bottom skin attach rivets along the bottom of the
firewall between the two exhaust pipes. |
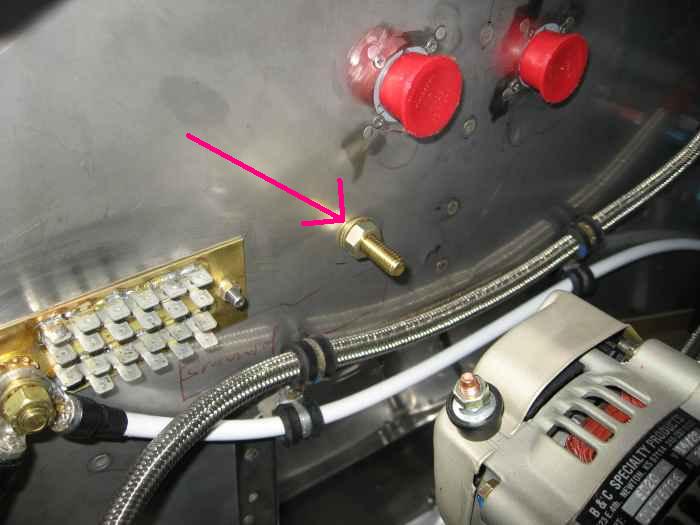 |
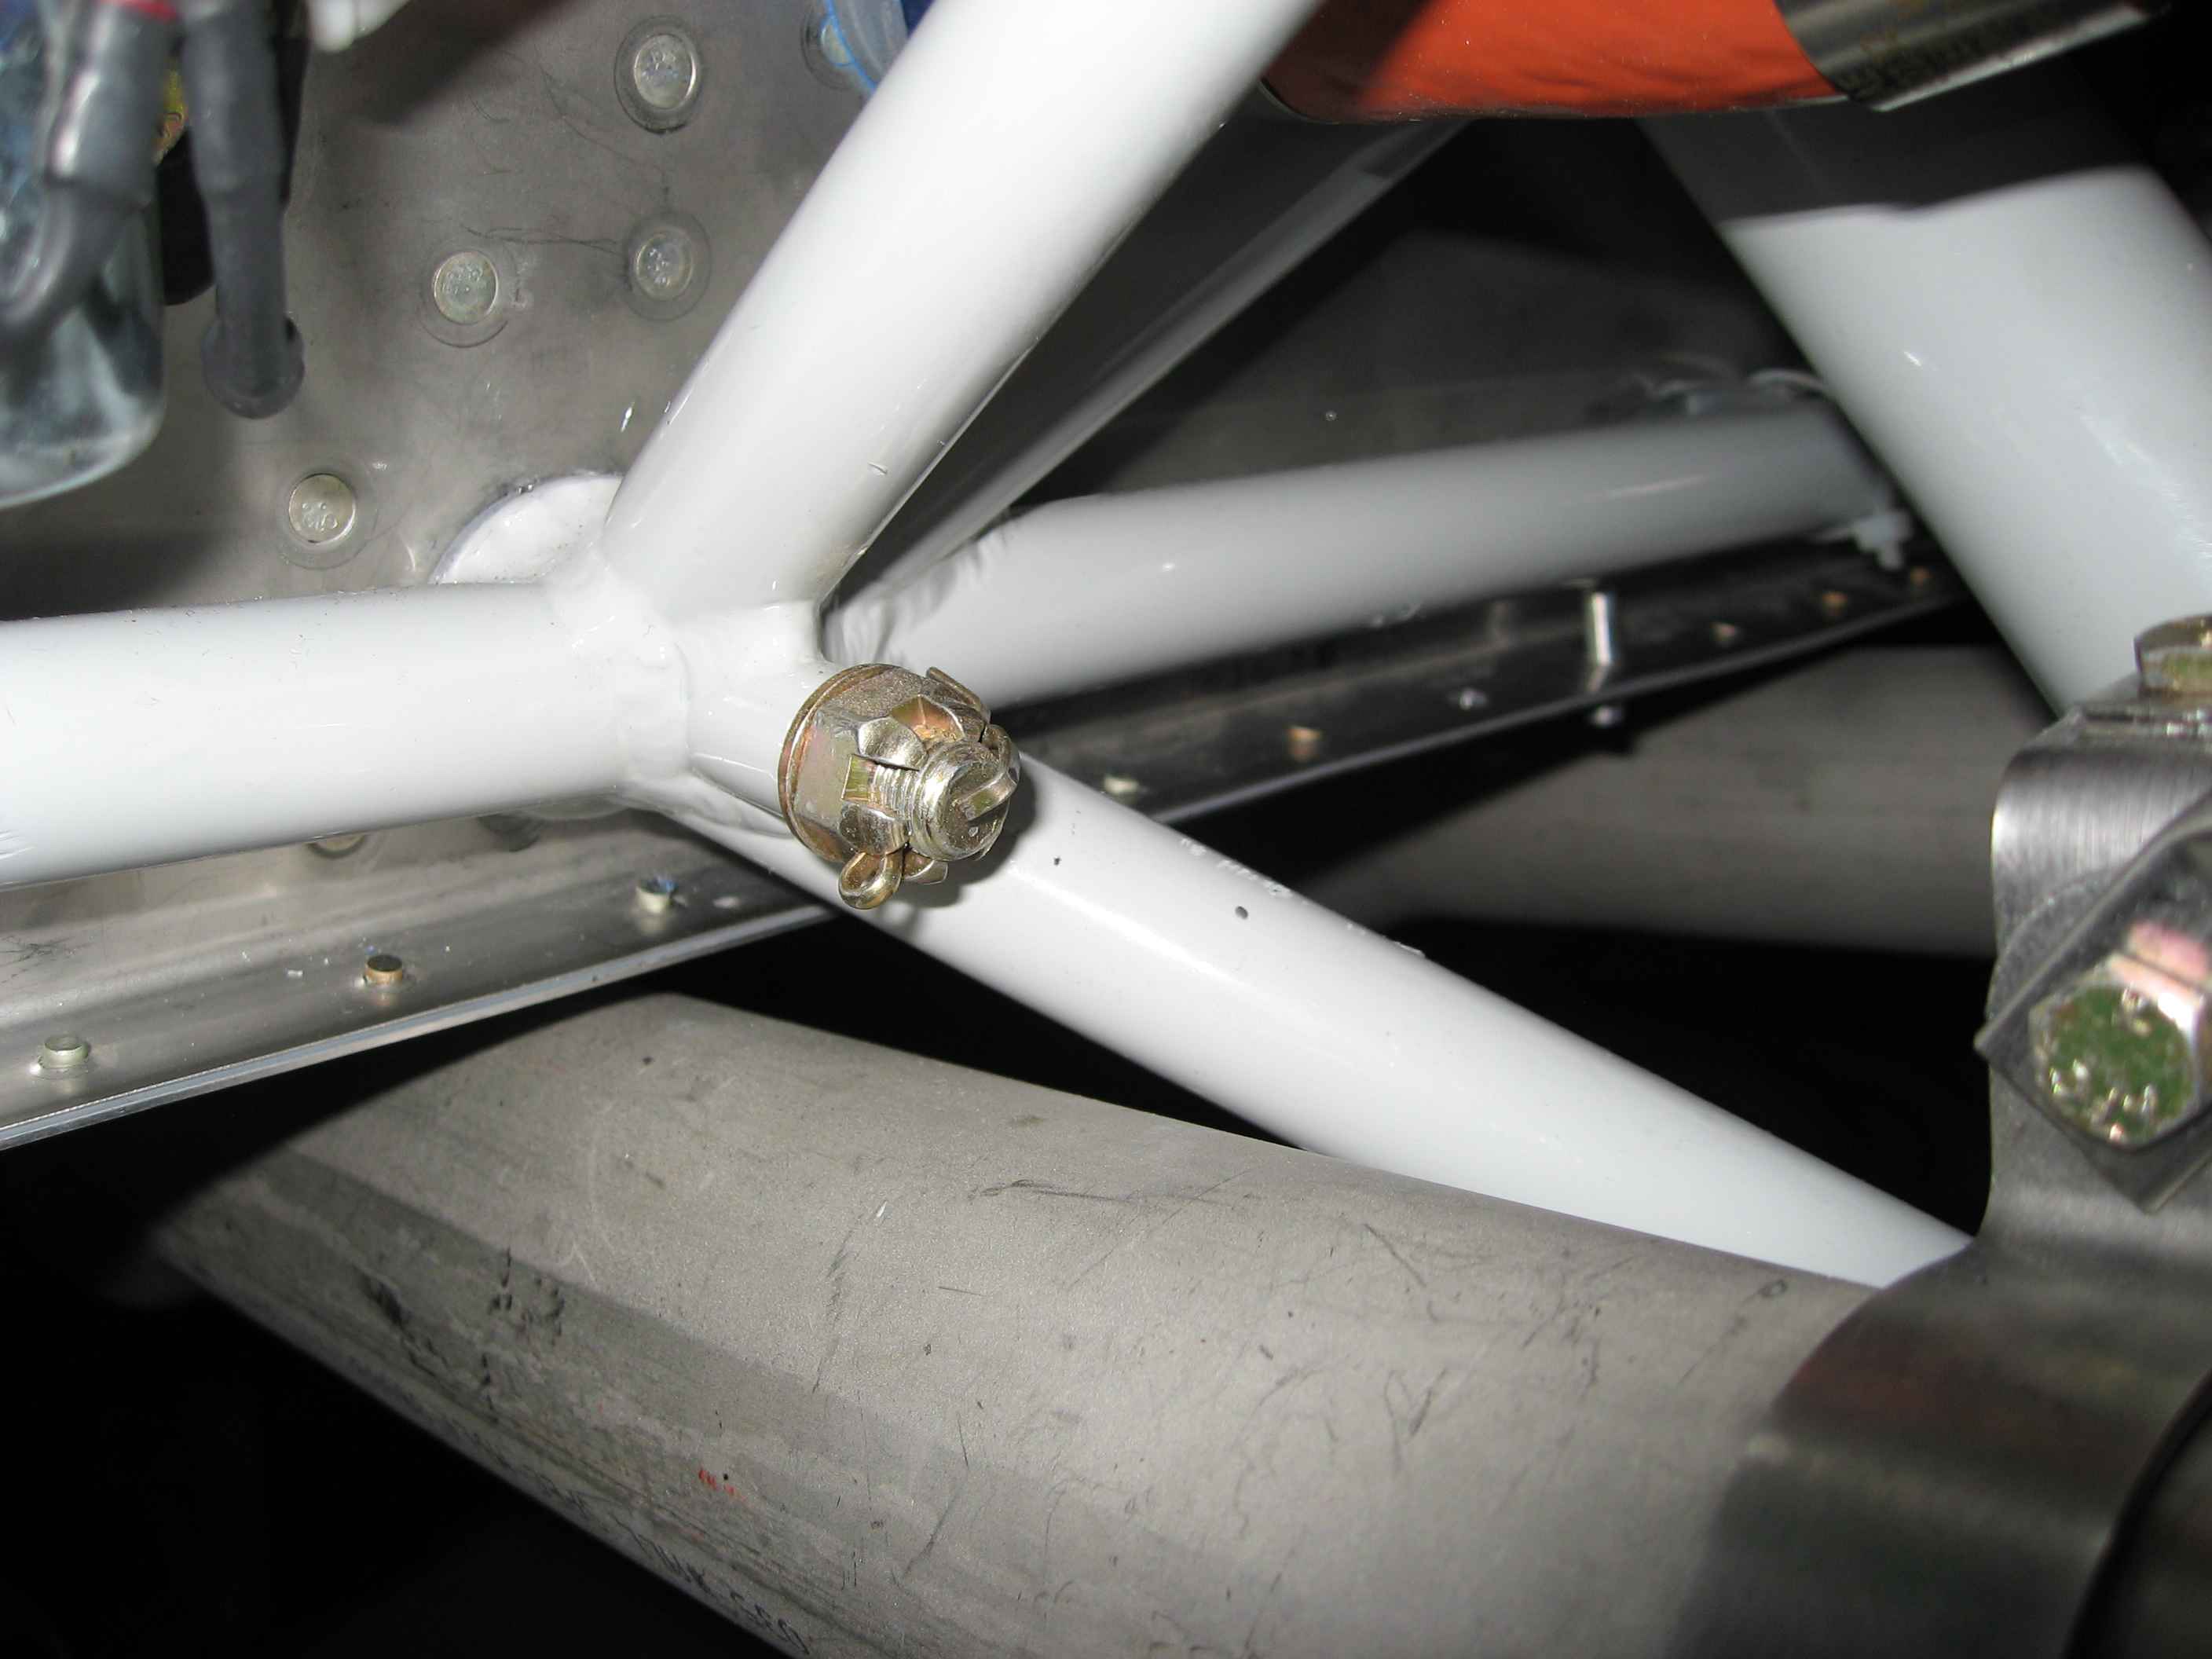
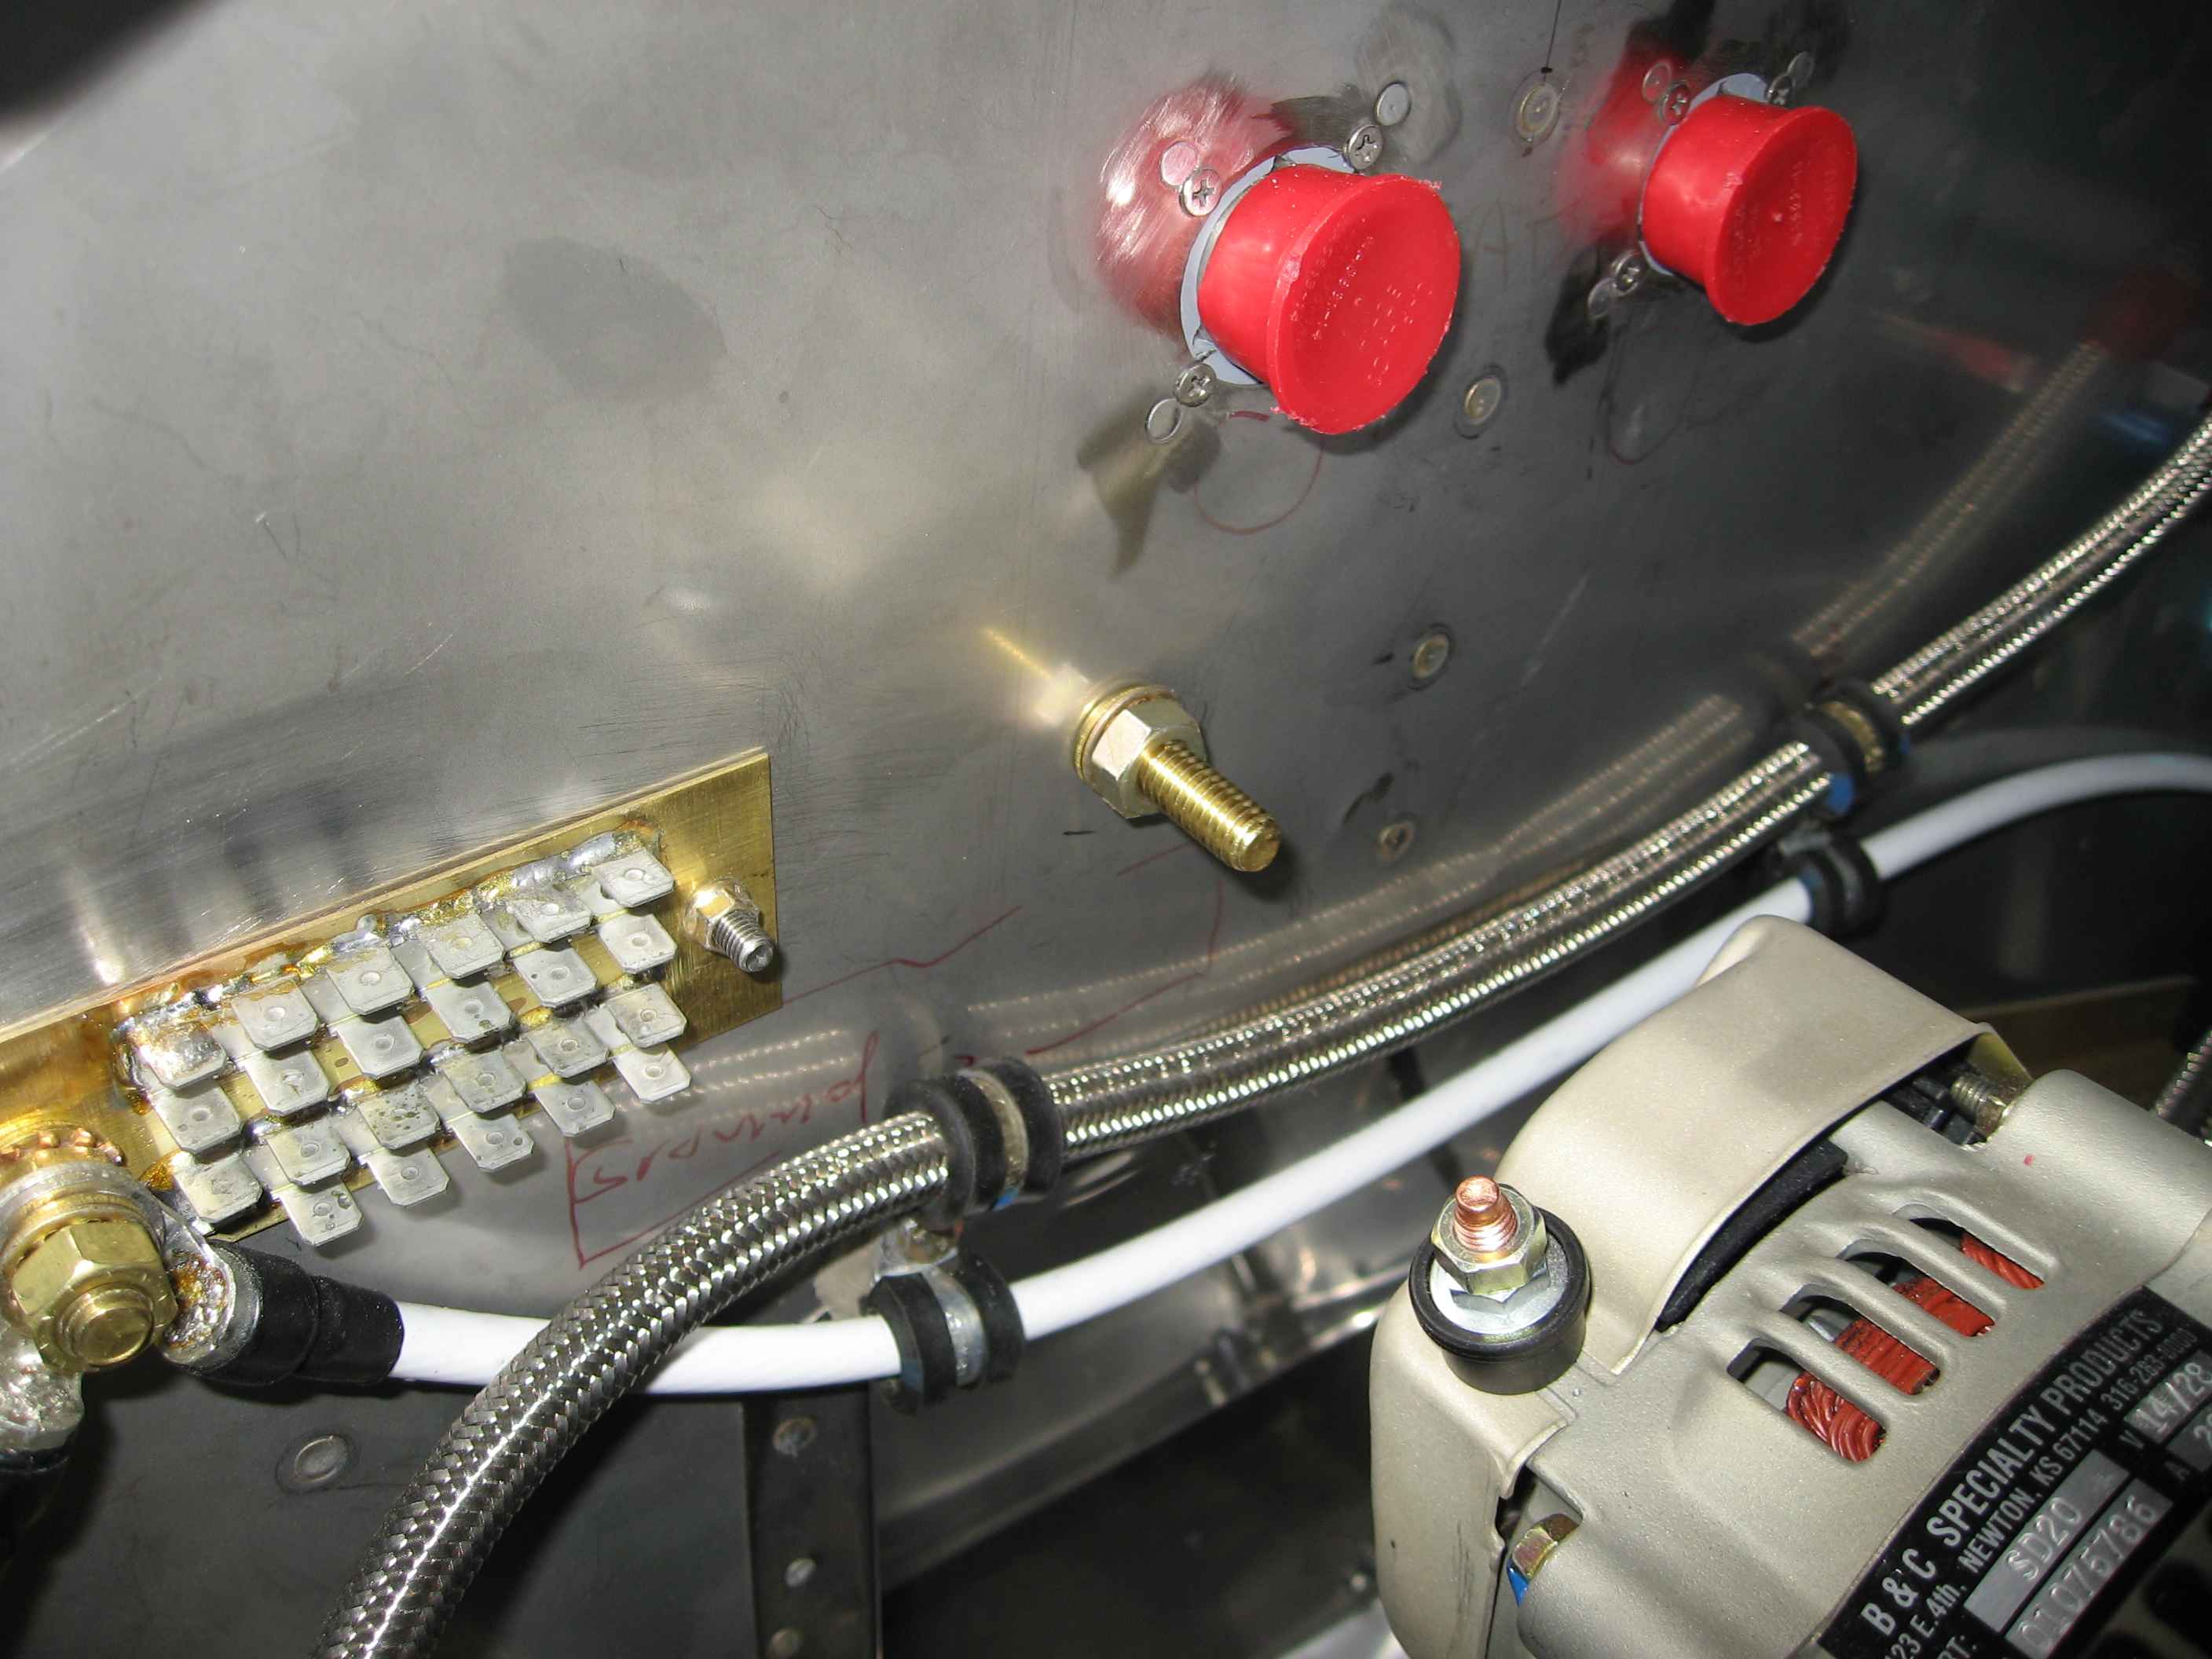
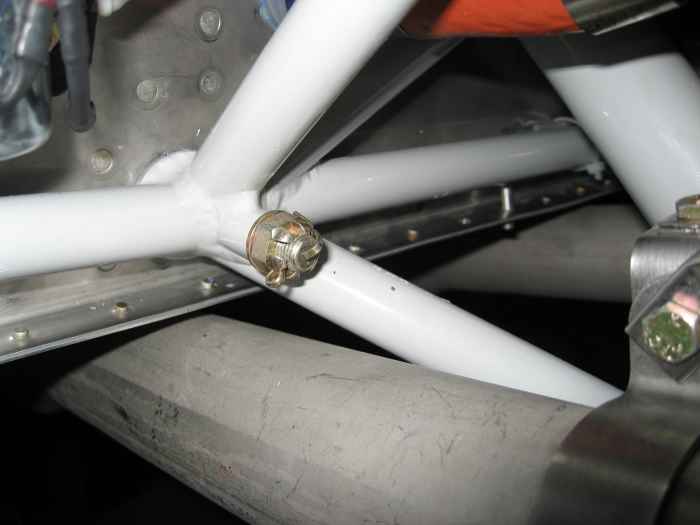
I installed a brass bolt through the
firewall and the ground bus. The ground bus on the front side of
the firewall (not pictured) is larger, so this bolt actually passes
through it.
This will be used as one of the grounding points for the engine.
The Aersance FADEC system calls for 4 engine ground strap wires, so I
need some places for these to attach. |
 |
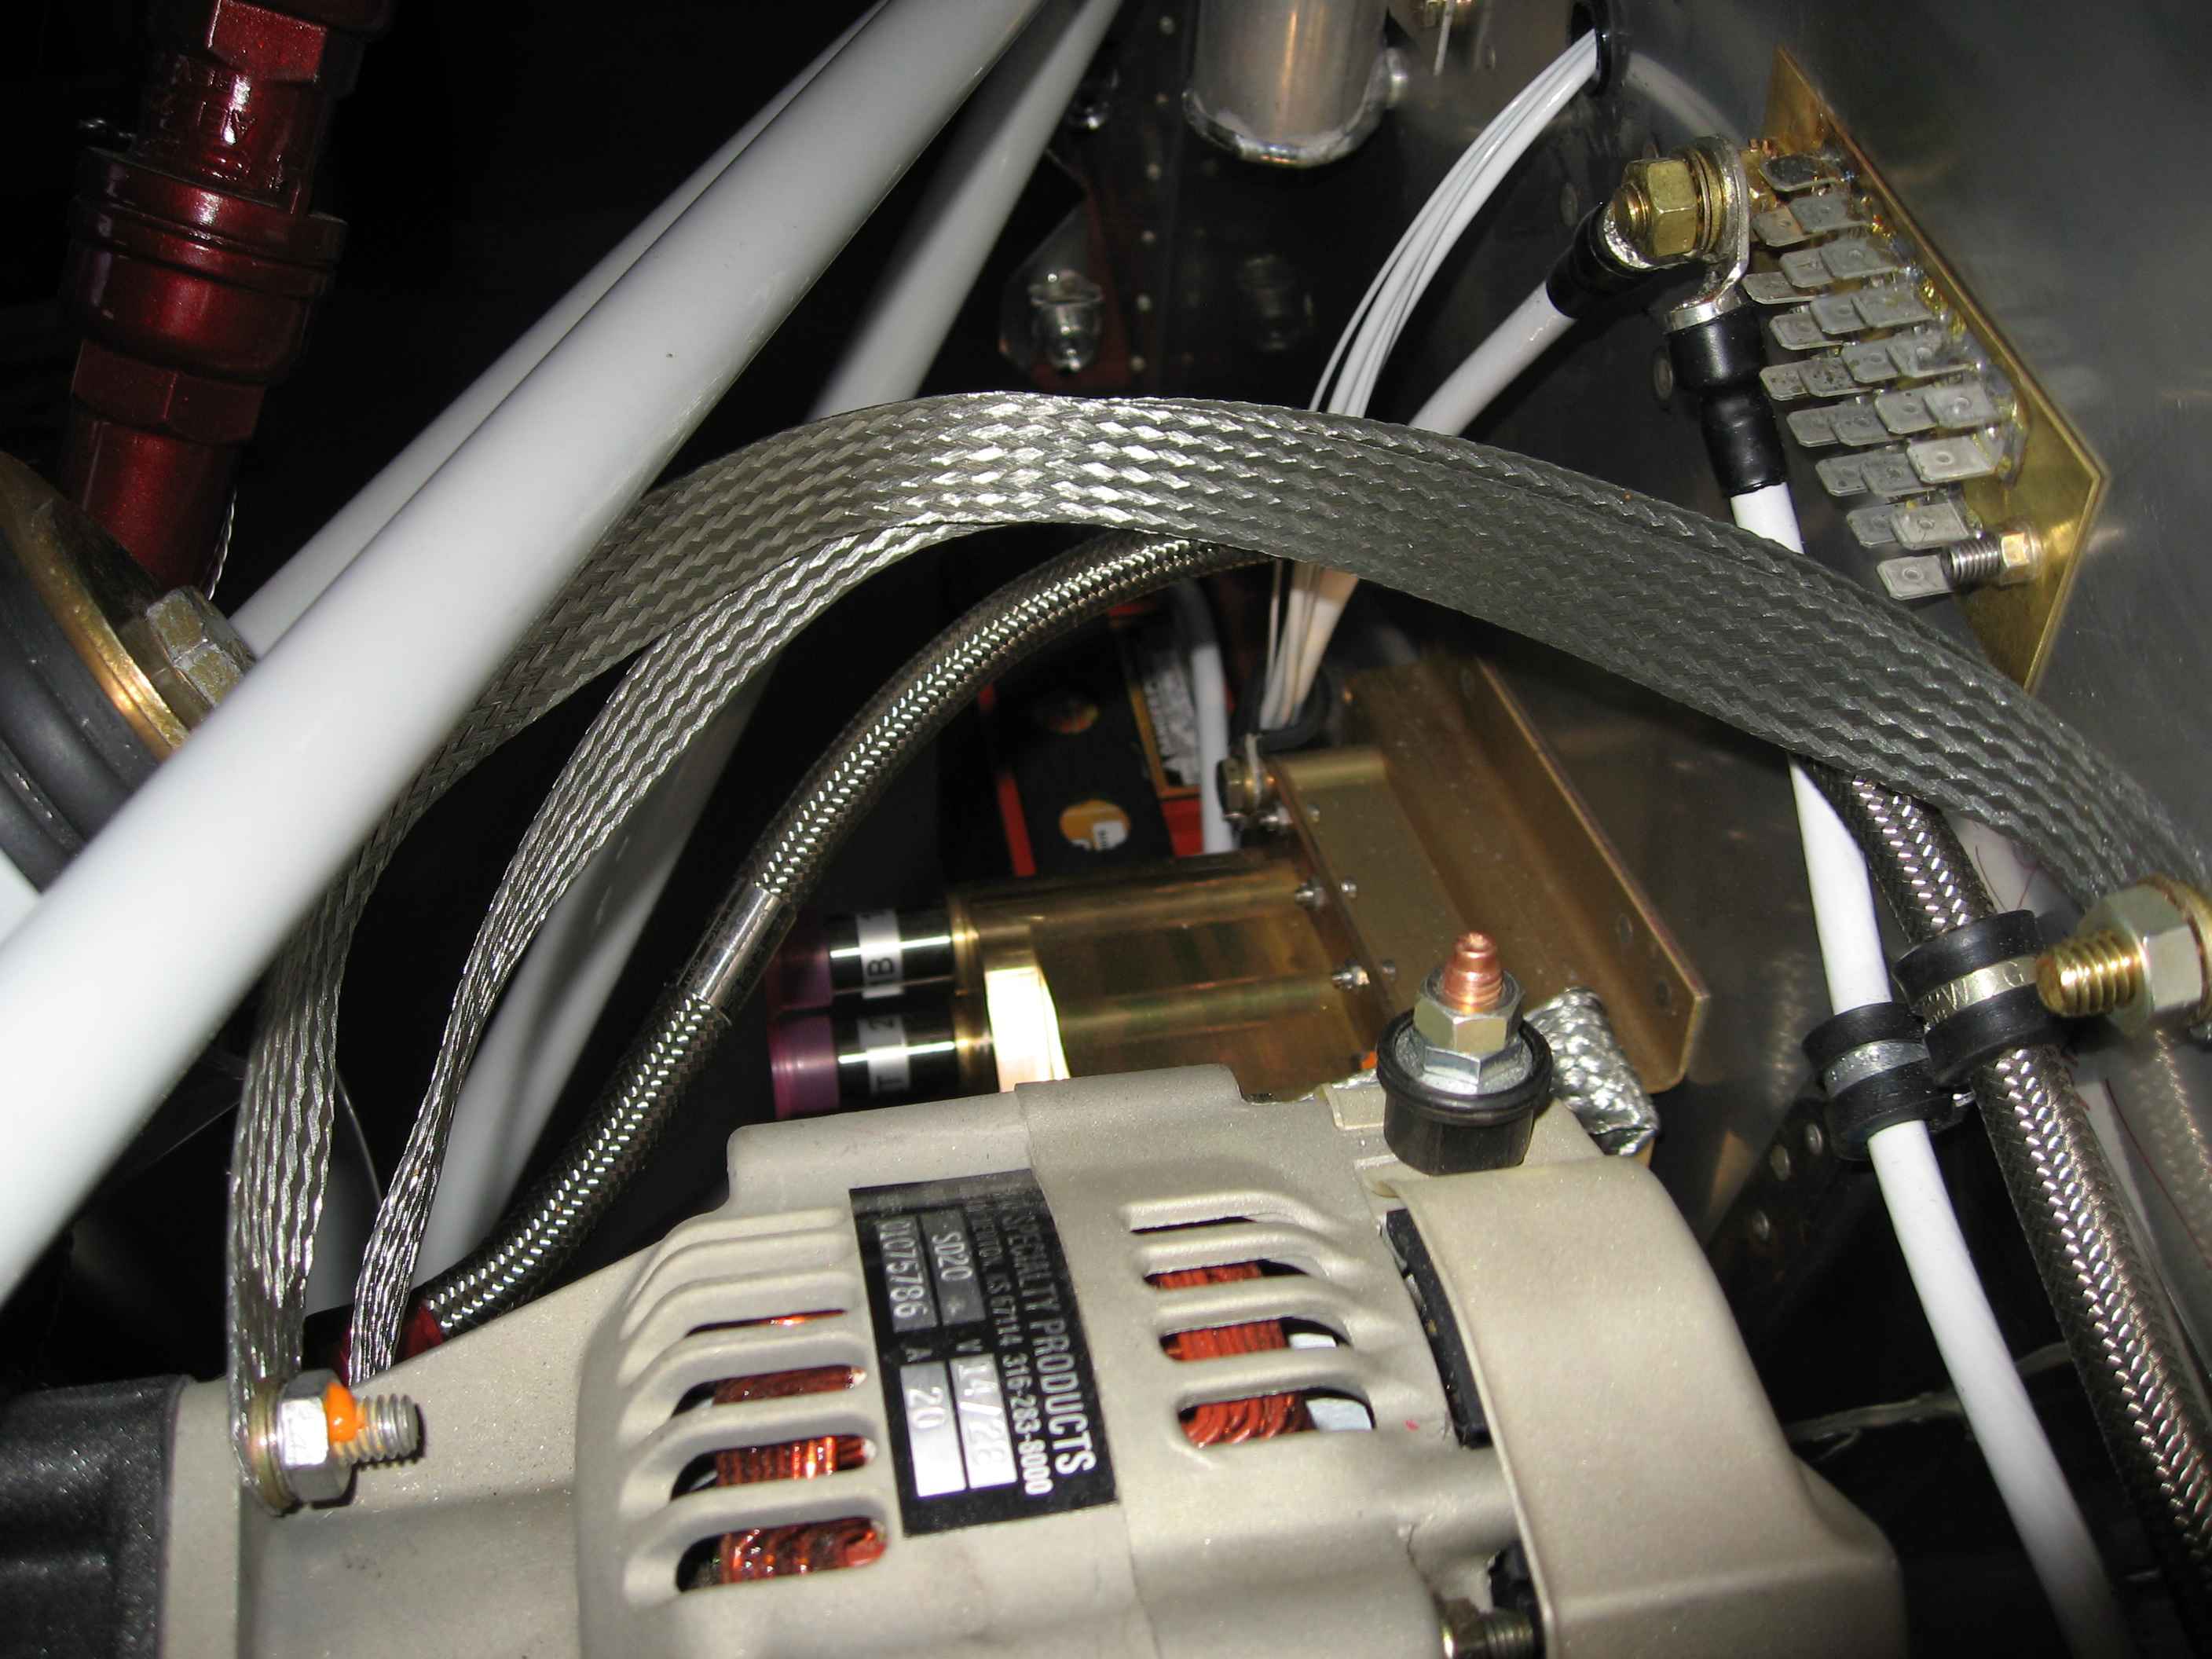
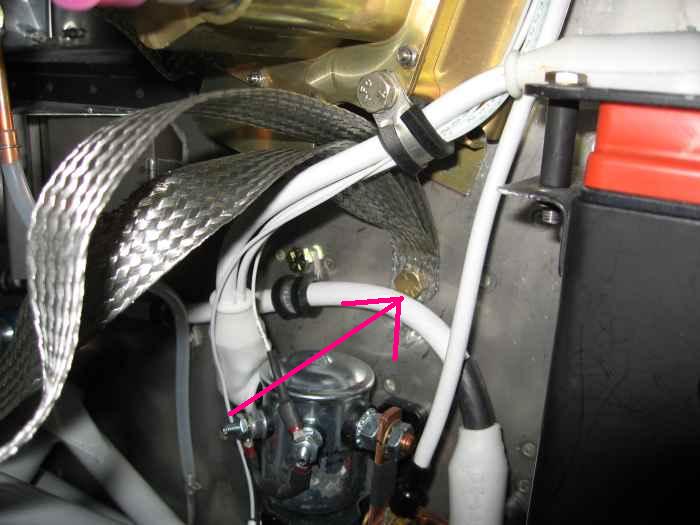
Here I have run two ground straps from two
separate mount screws for the auxiliary alternator. These connect
to brass bolt I just installed |
 |
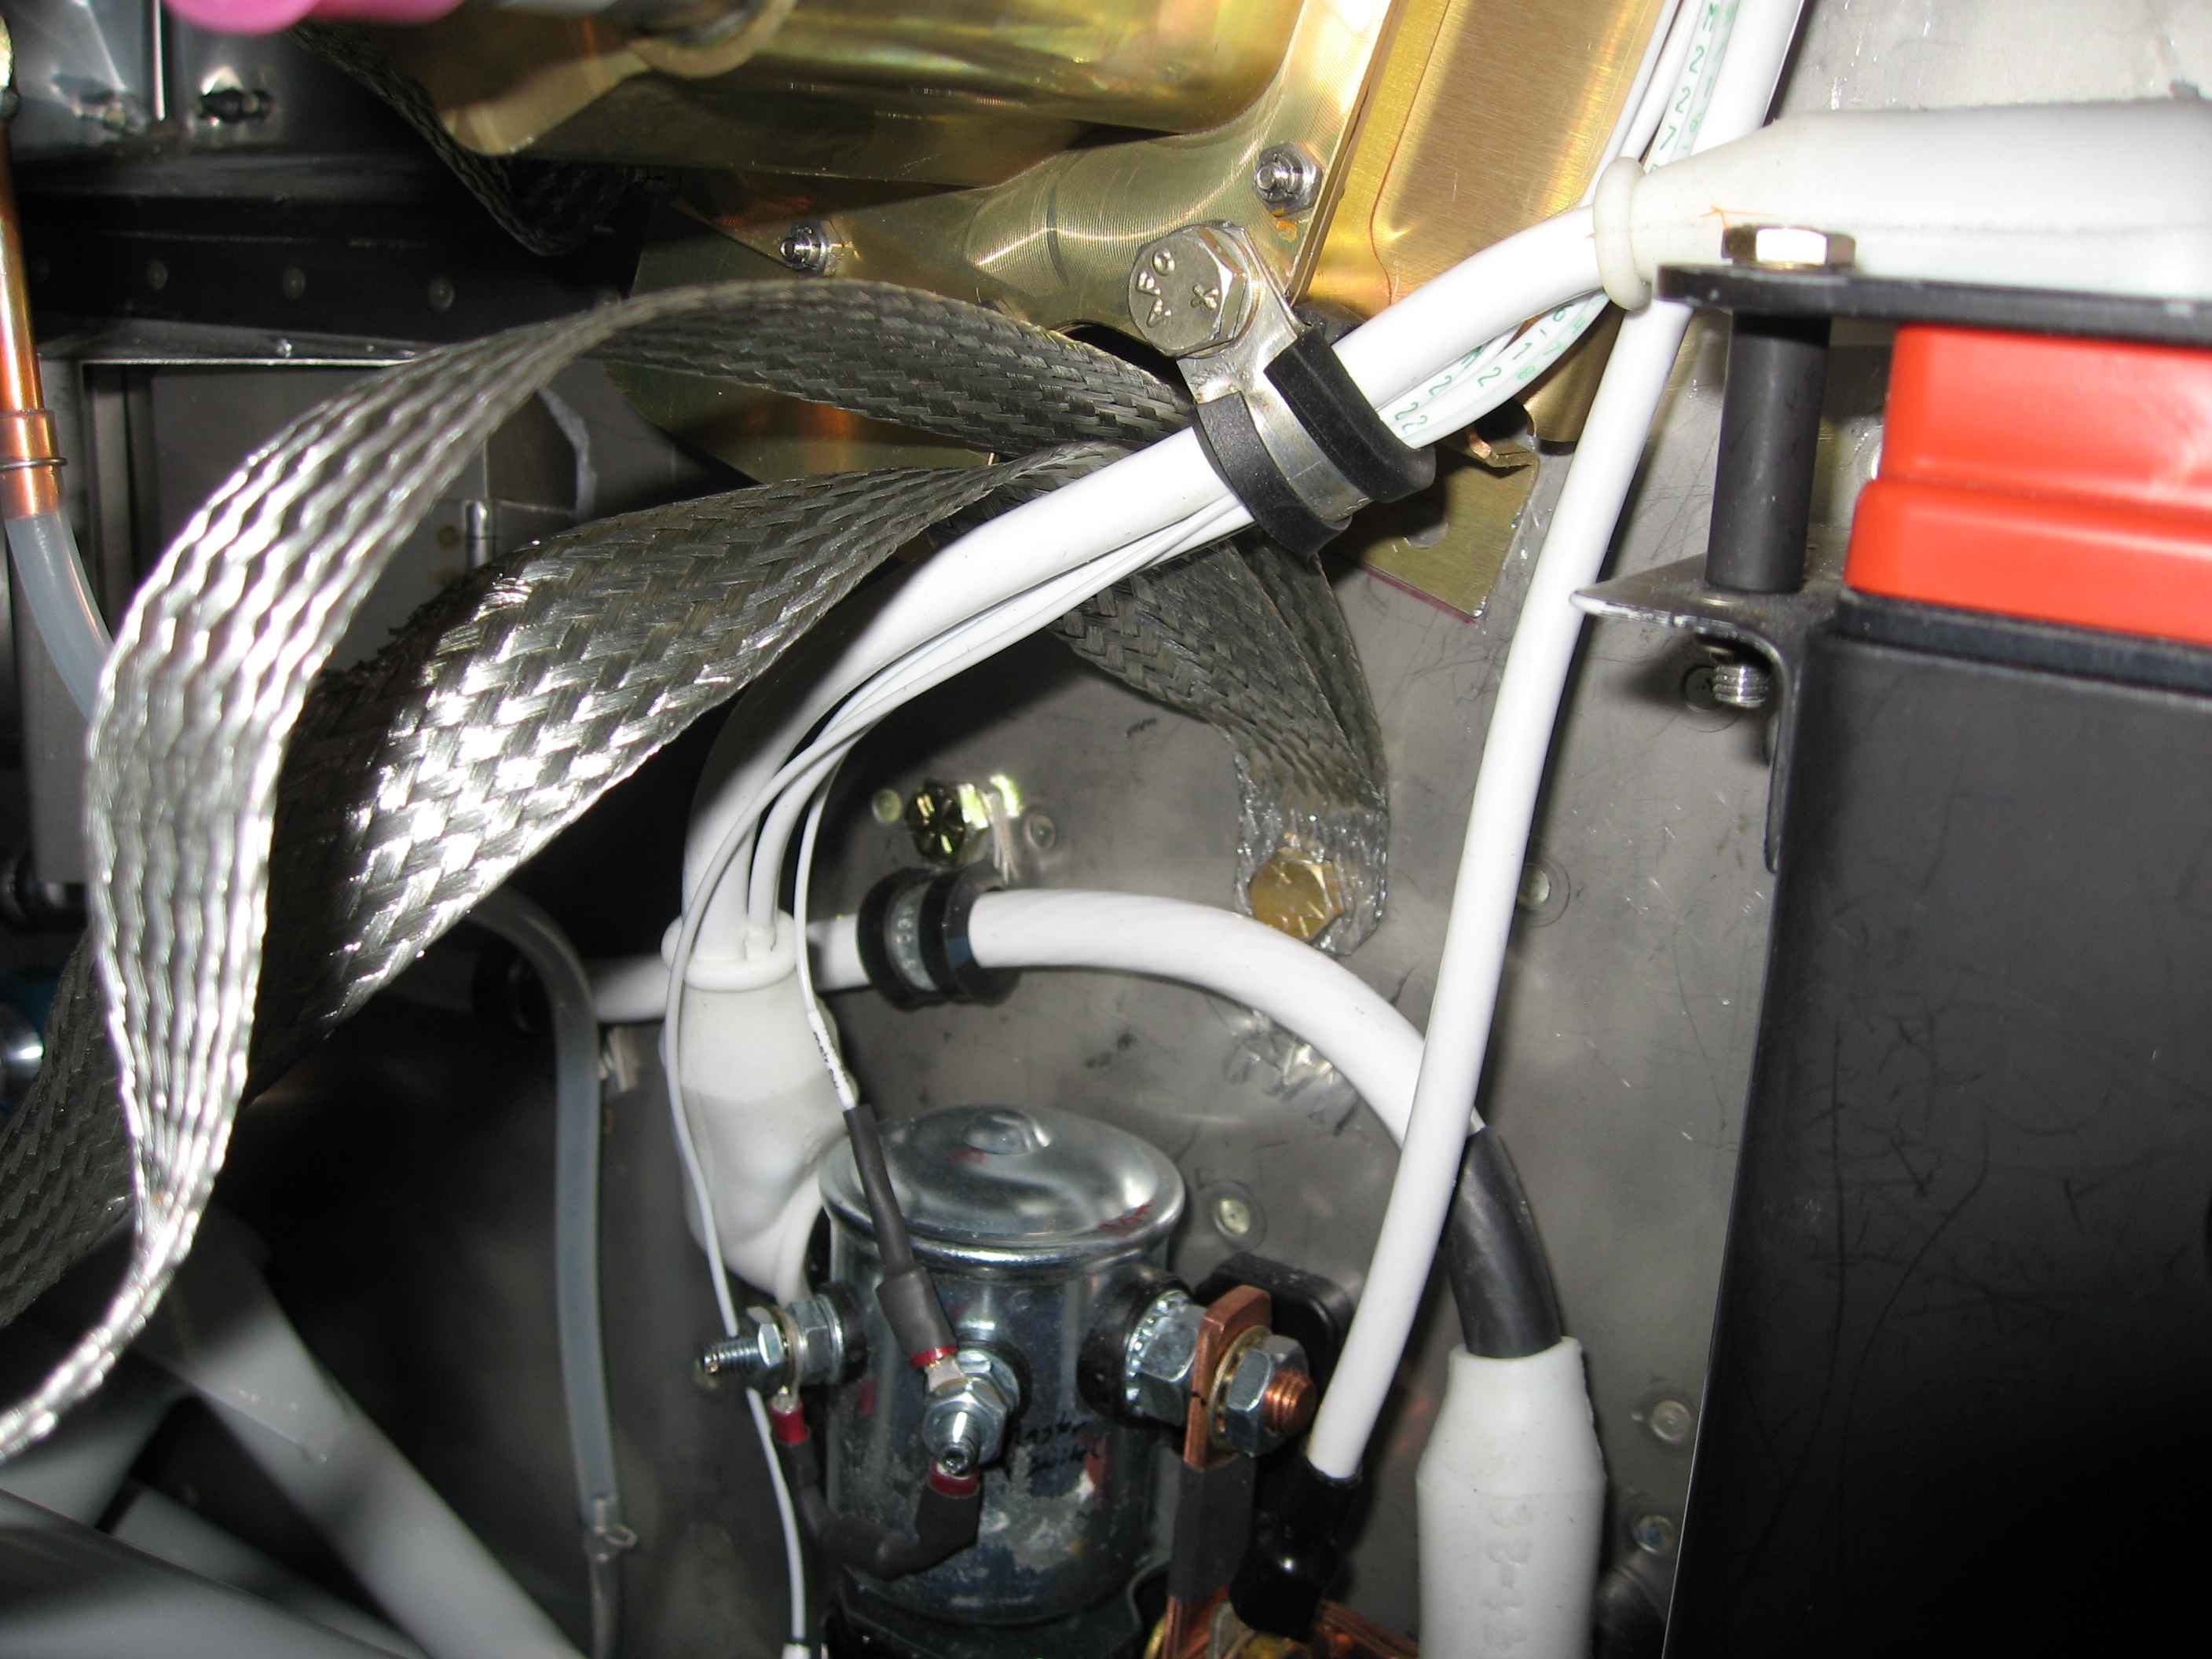
I had a spare mounting point (nut-plate
installed) on the left side of the firewall just below the ECU. I
figured I would use this for the other engine ground straps. |
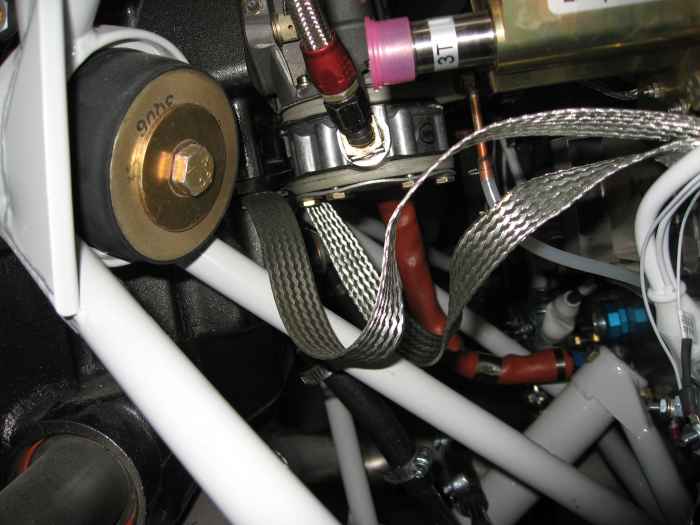 |
These two ground straps then ran to two
bolts on the sump case in front of the engine driven fuel pump. |