It has been unusually humid here in Colorado the last few weeks, so I thought it would be prudent to 'recharge' the desiccant plugs in the new engine.
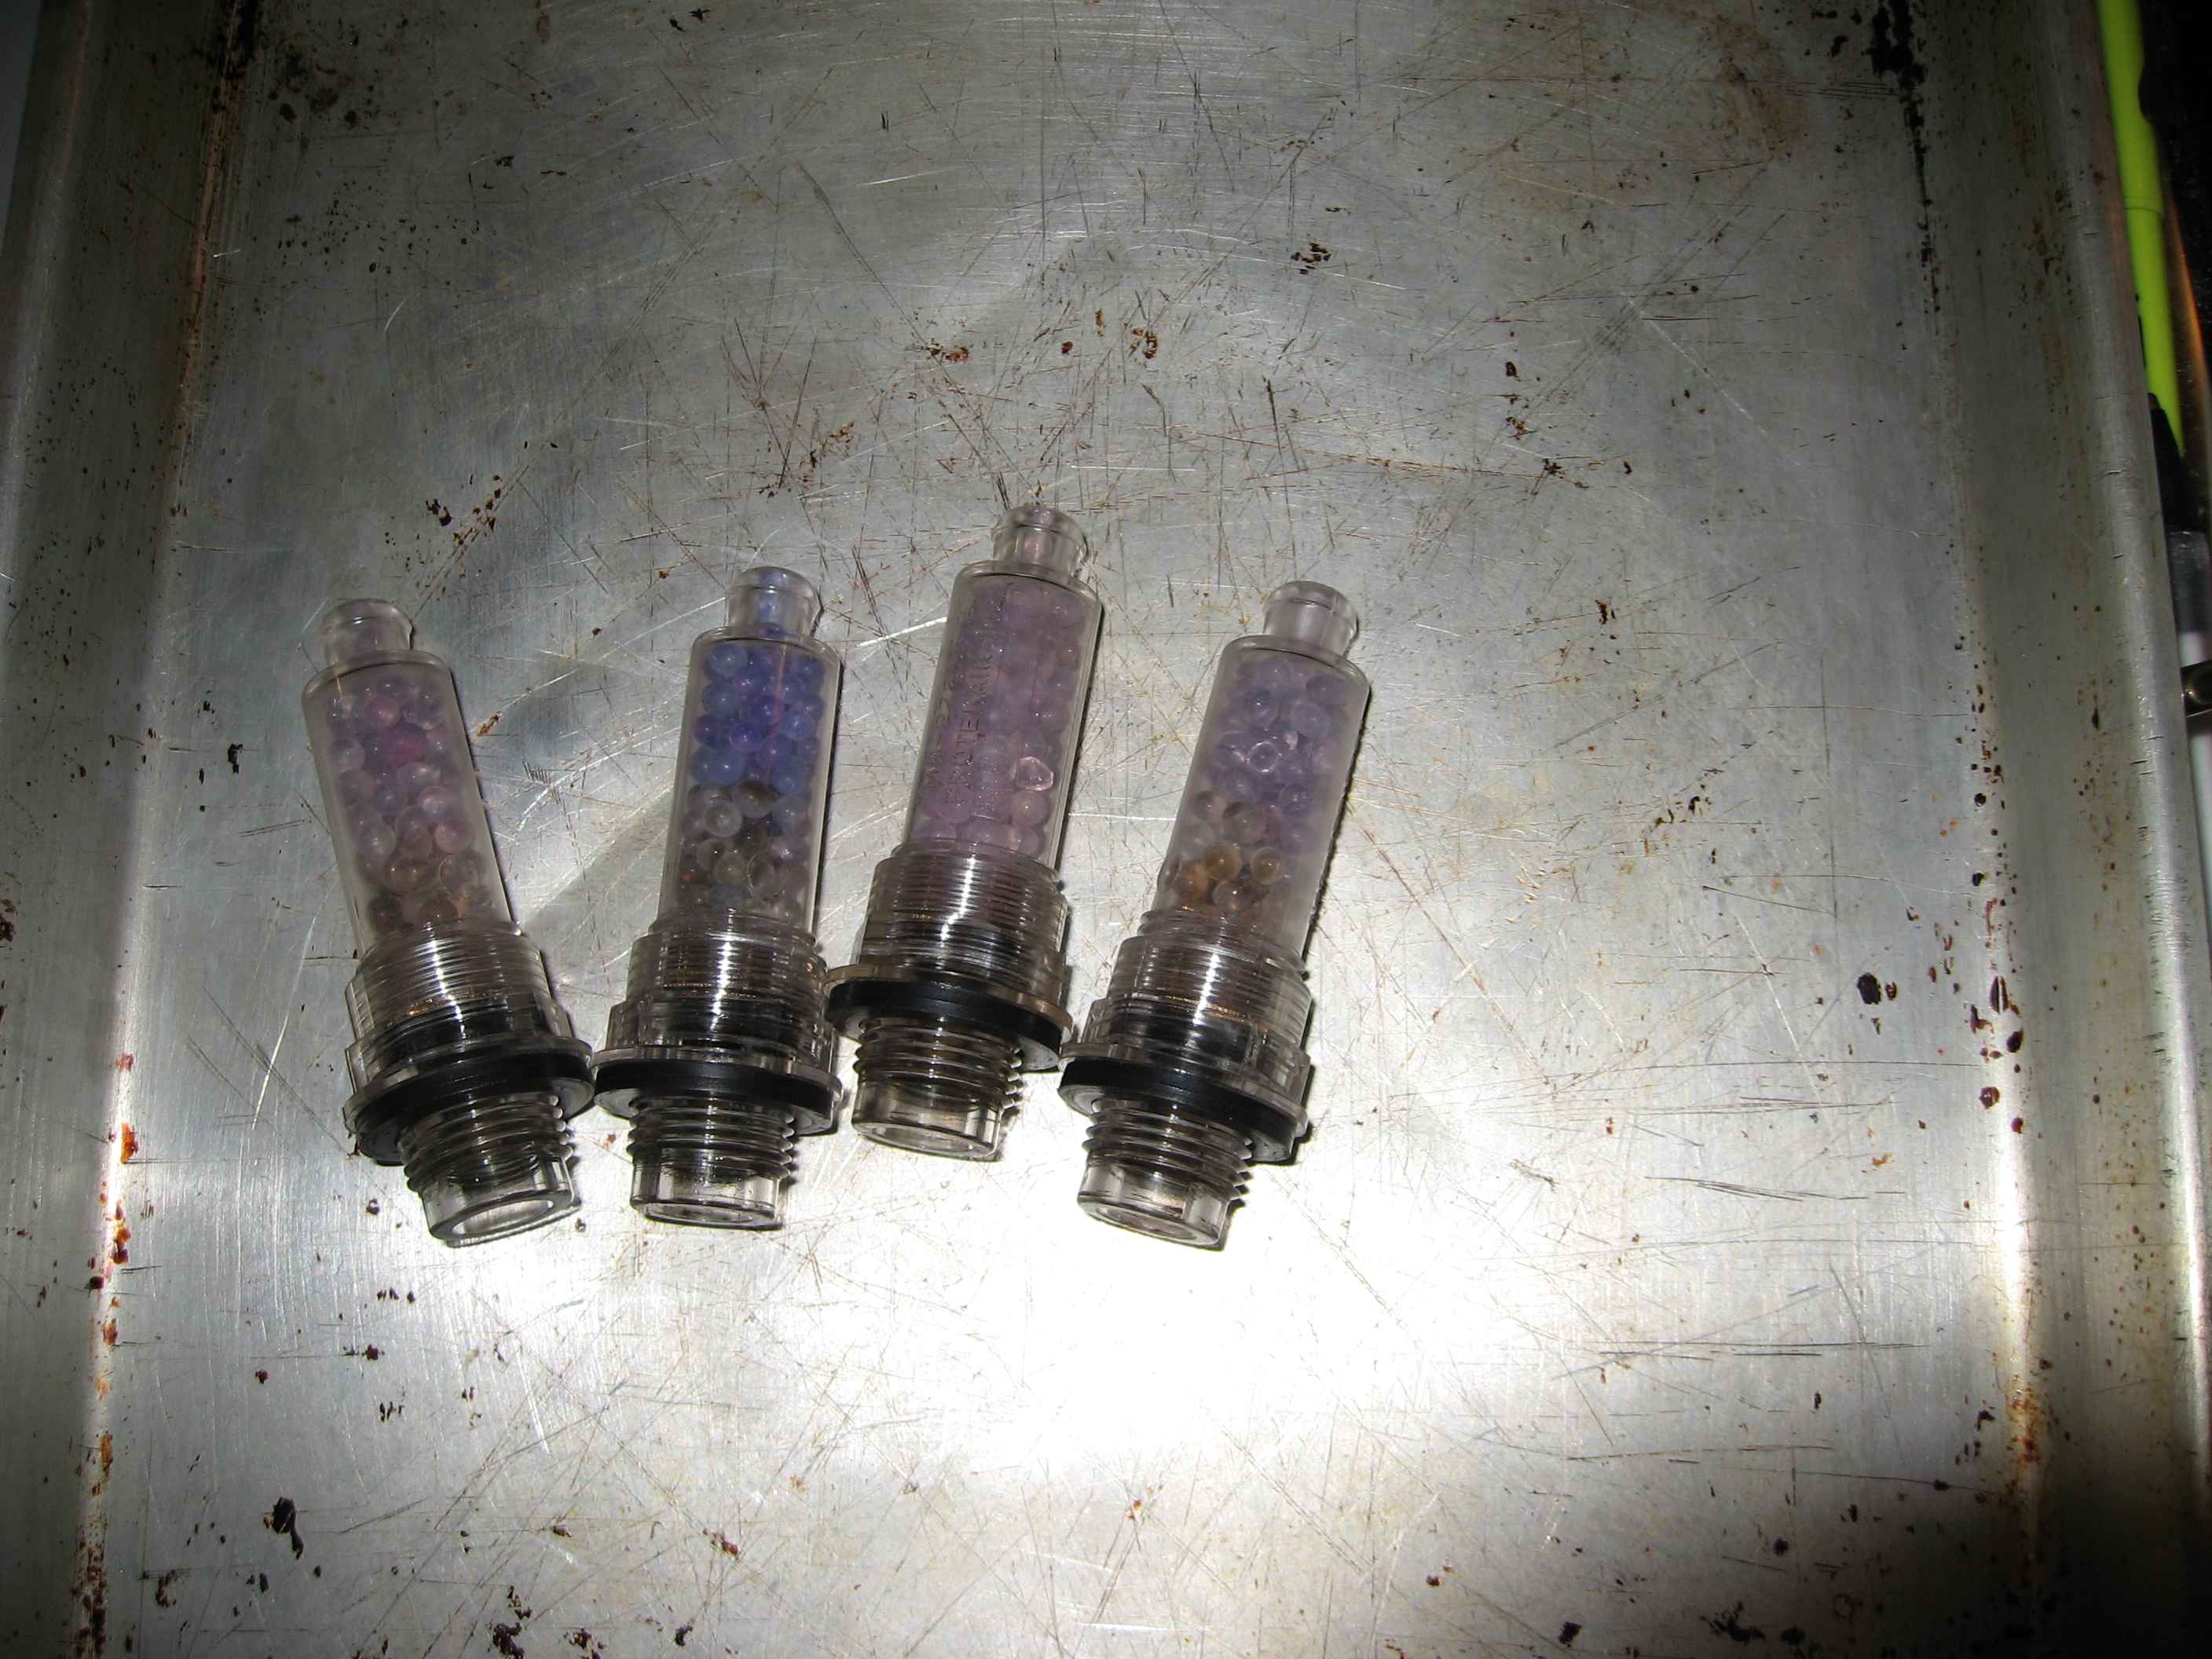
Here are the plugs... Notice how they are pink. This means they have done there job and soaked up any moisture in the crank case.
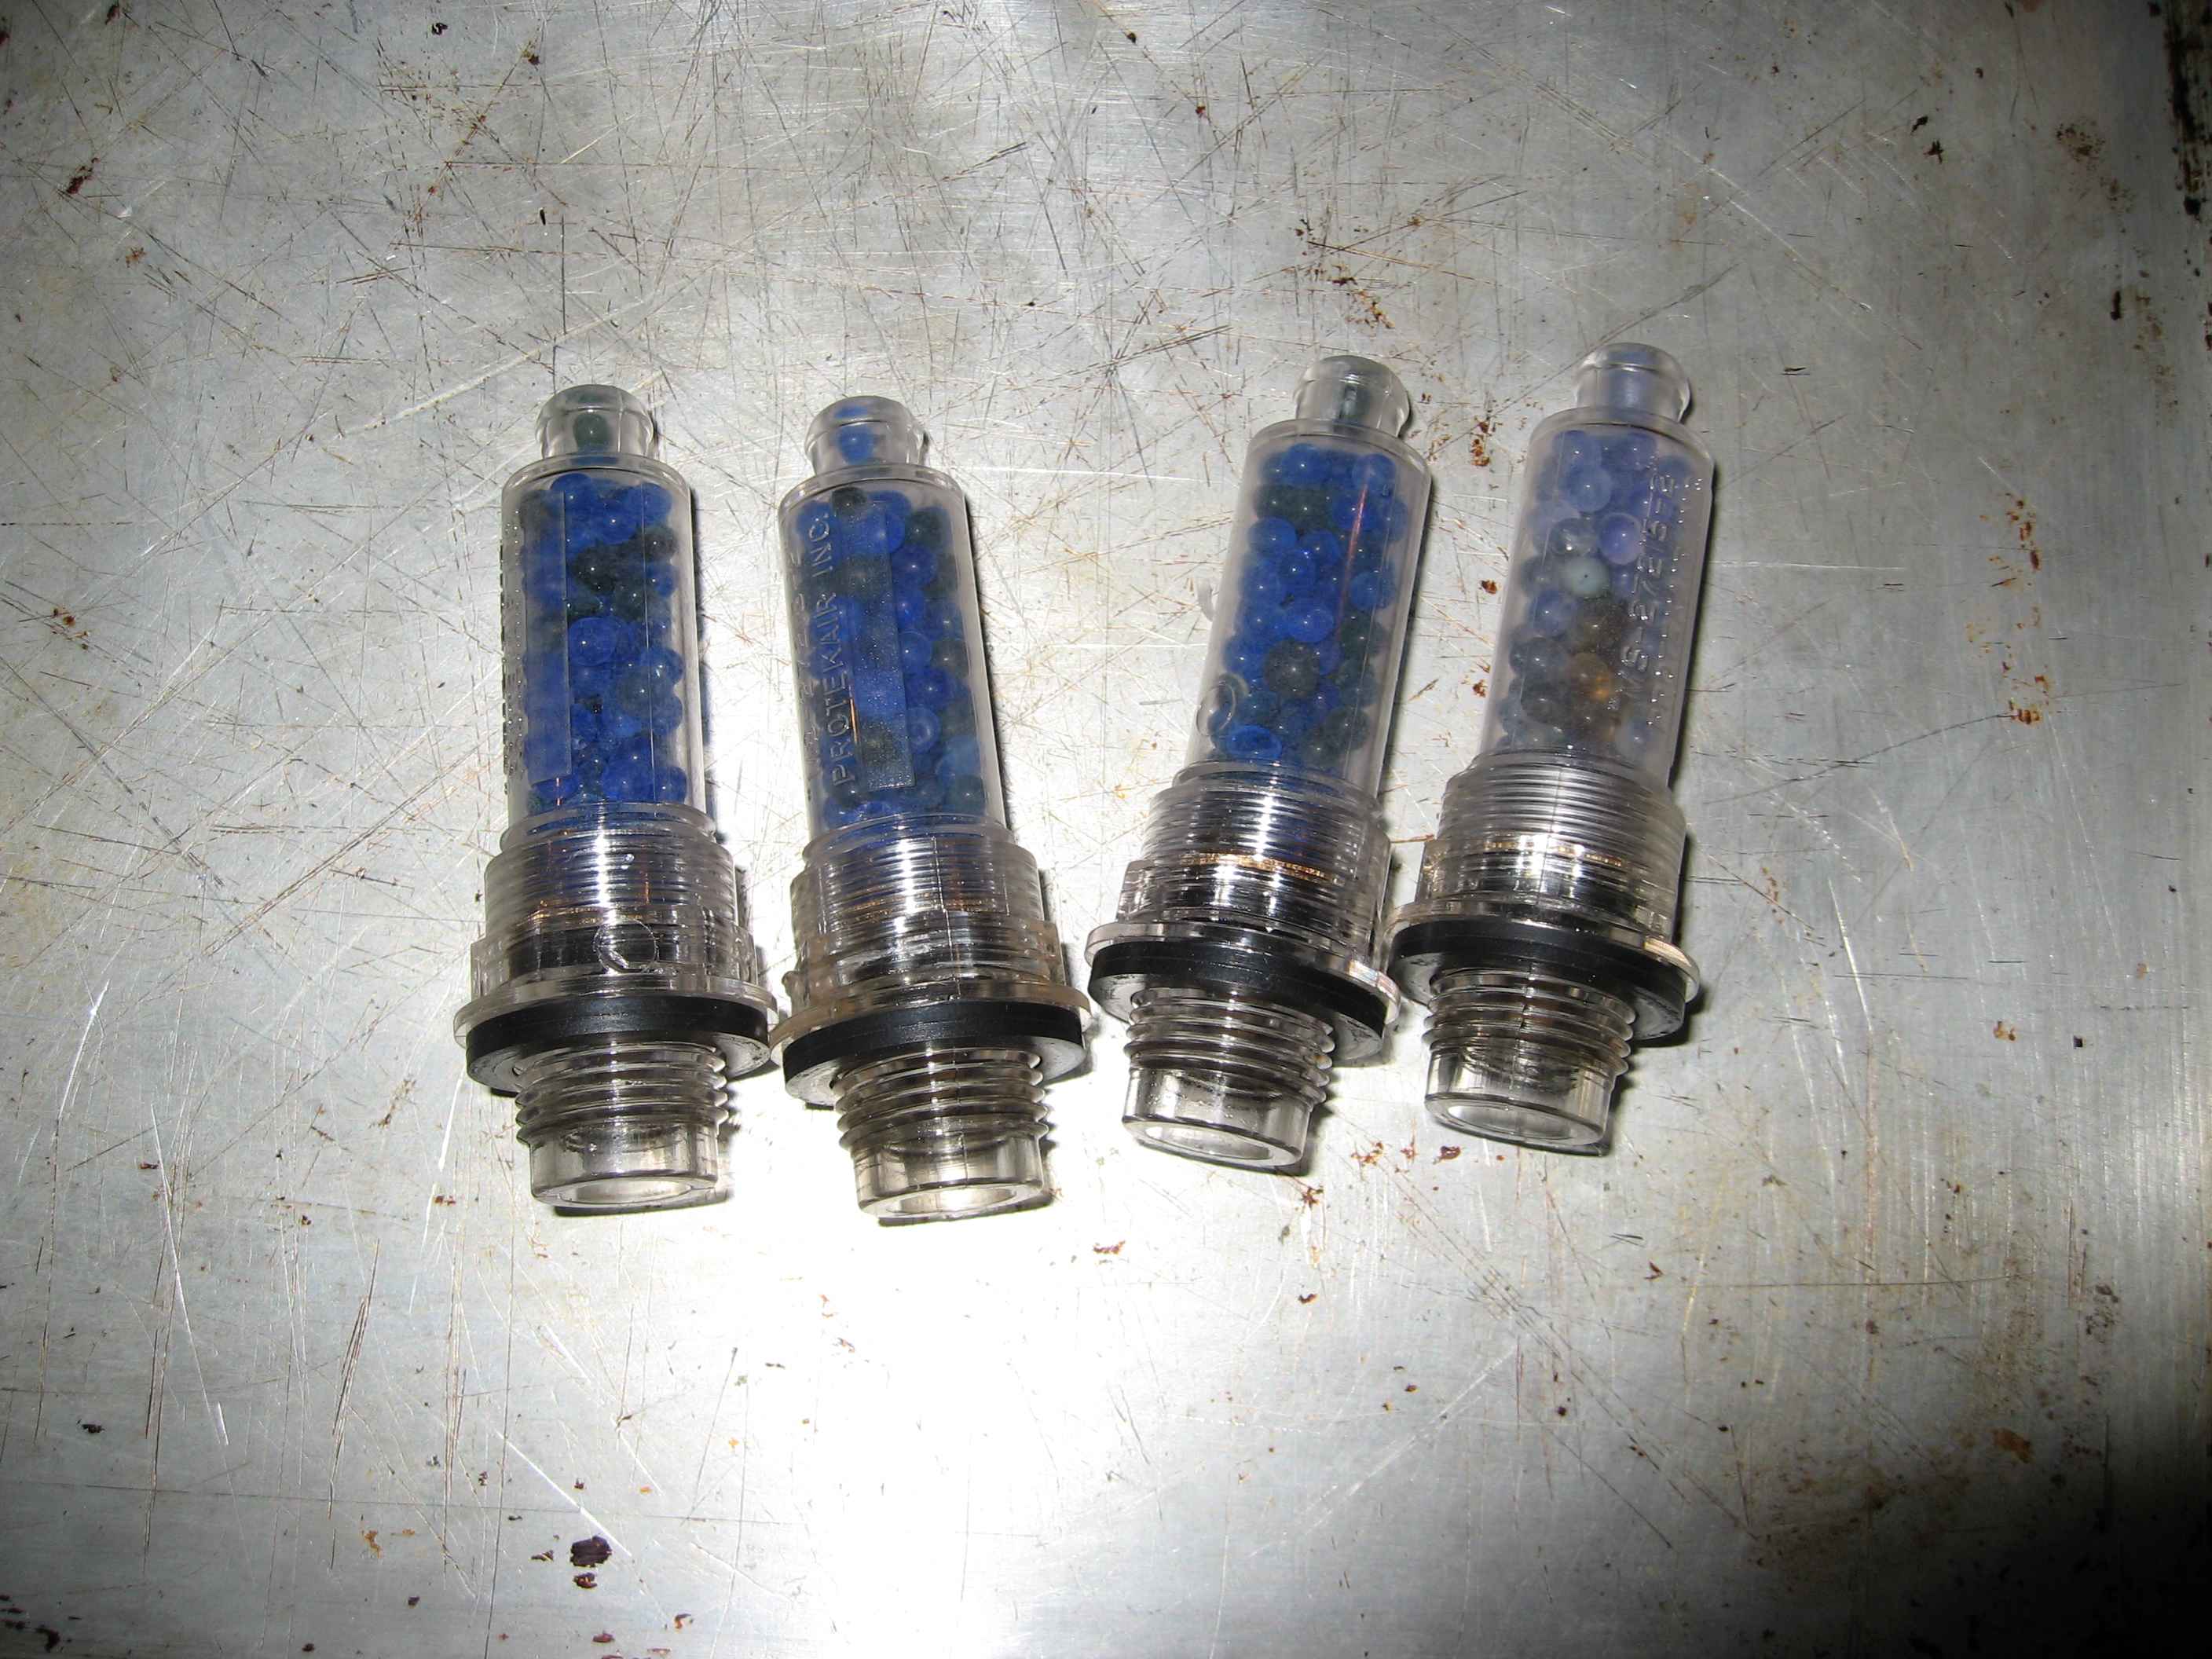
I unscrewed the plugs and dumped all the desiccant balls onto a cookie sheet and put them in the oven on 180 degrees F for about 2 hrs. This dried them out nicely

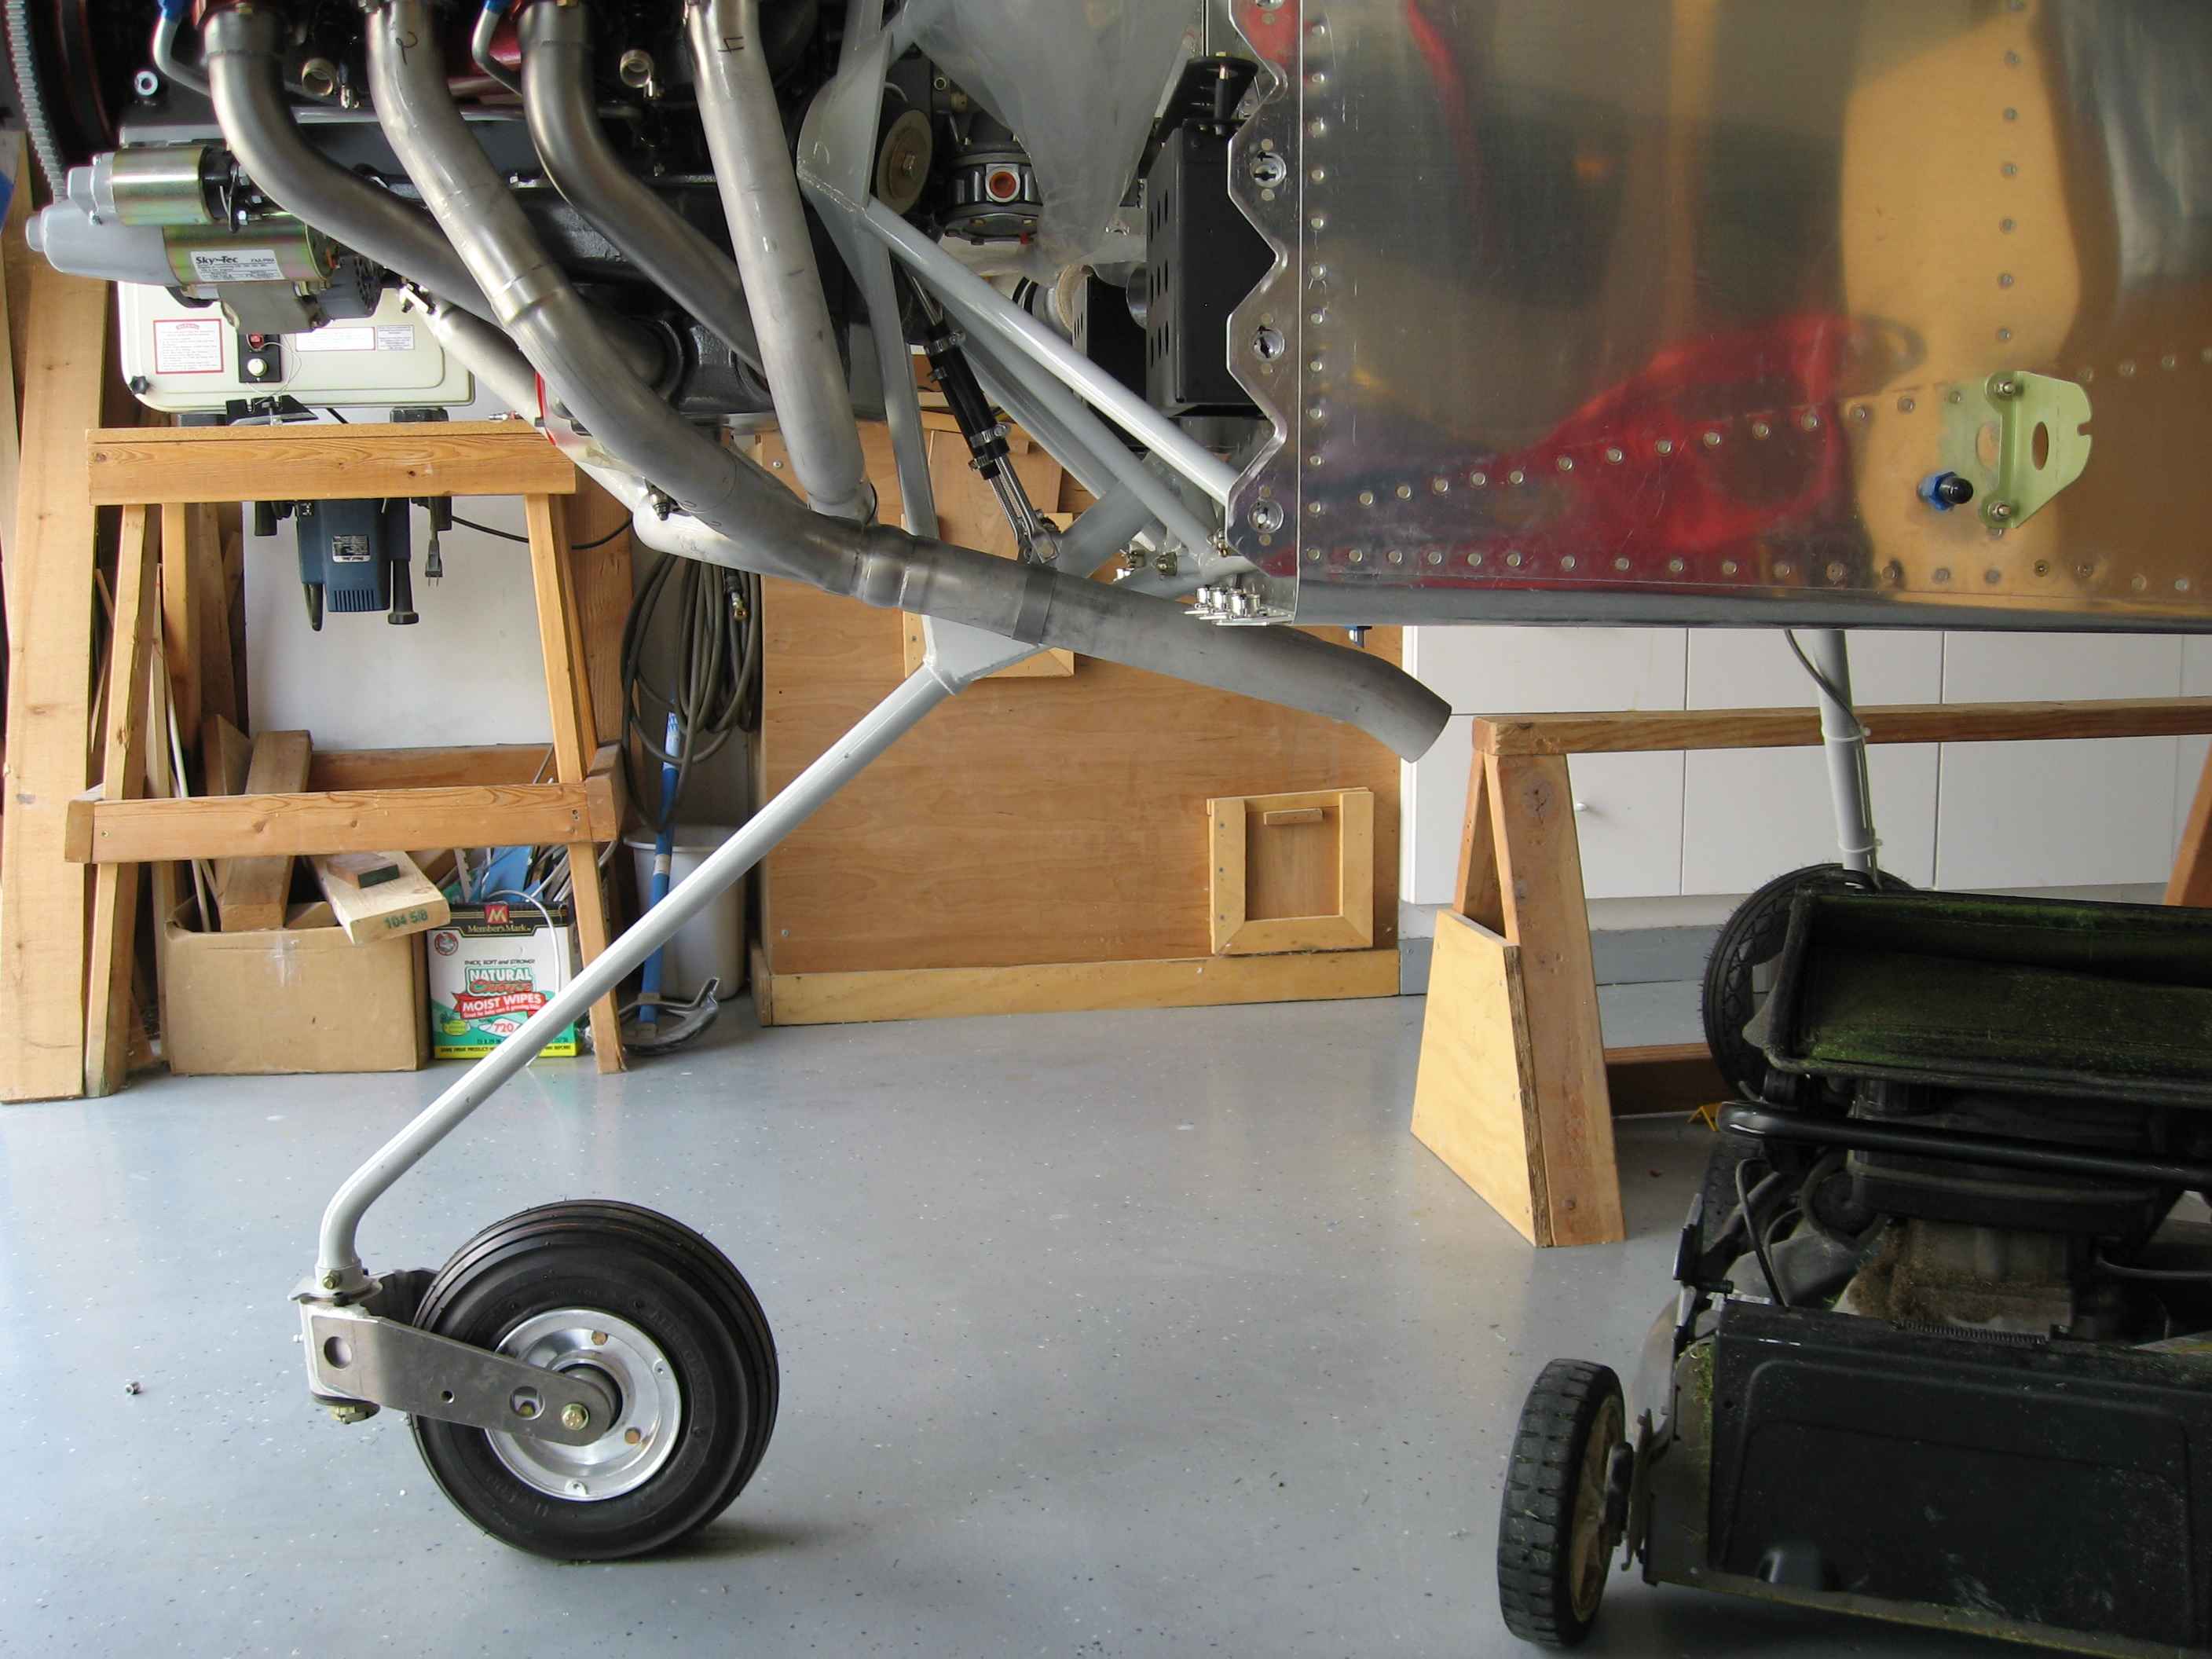
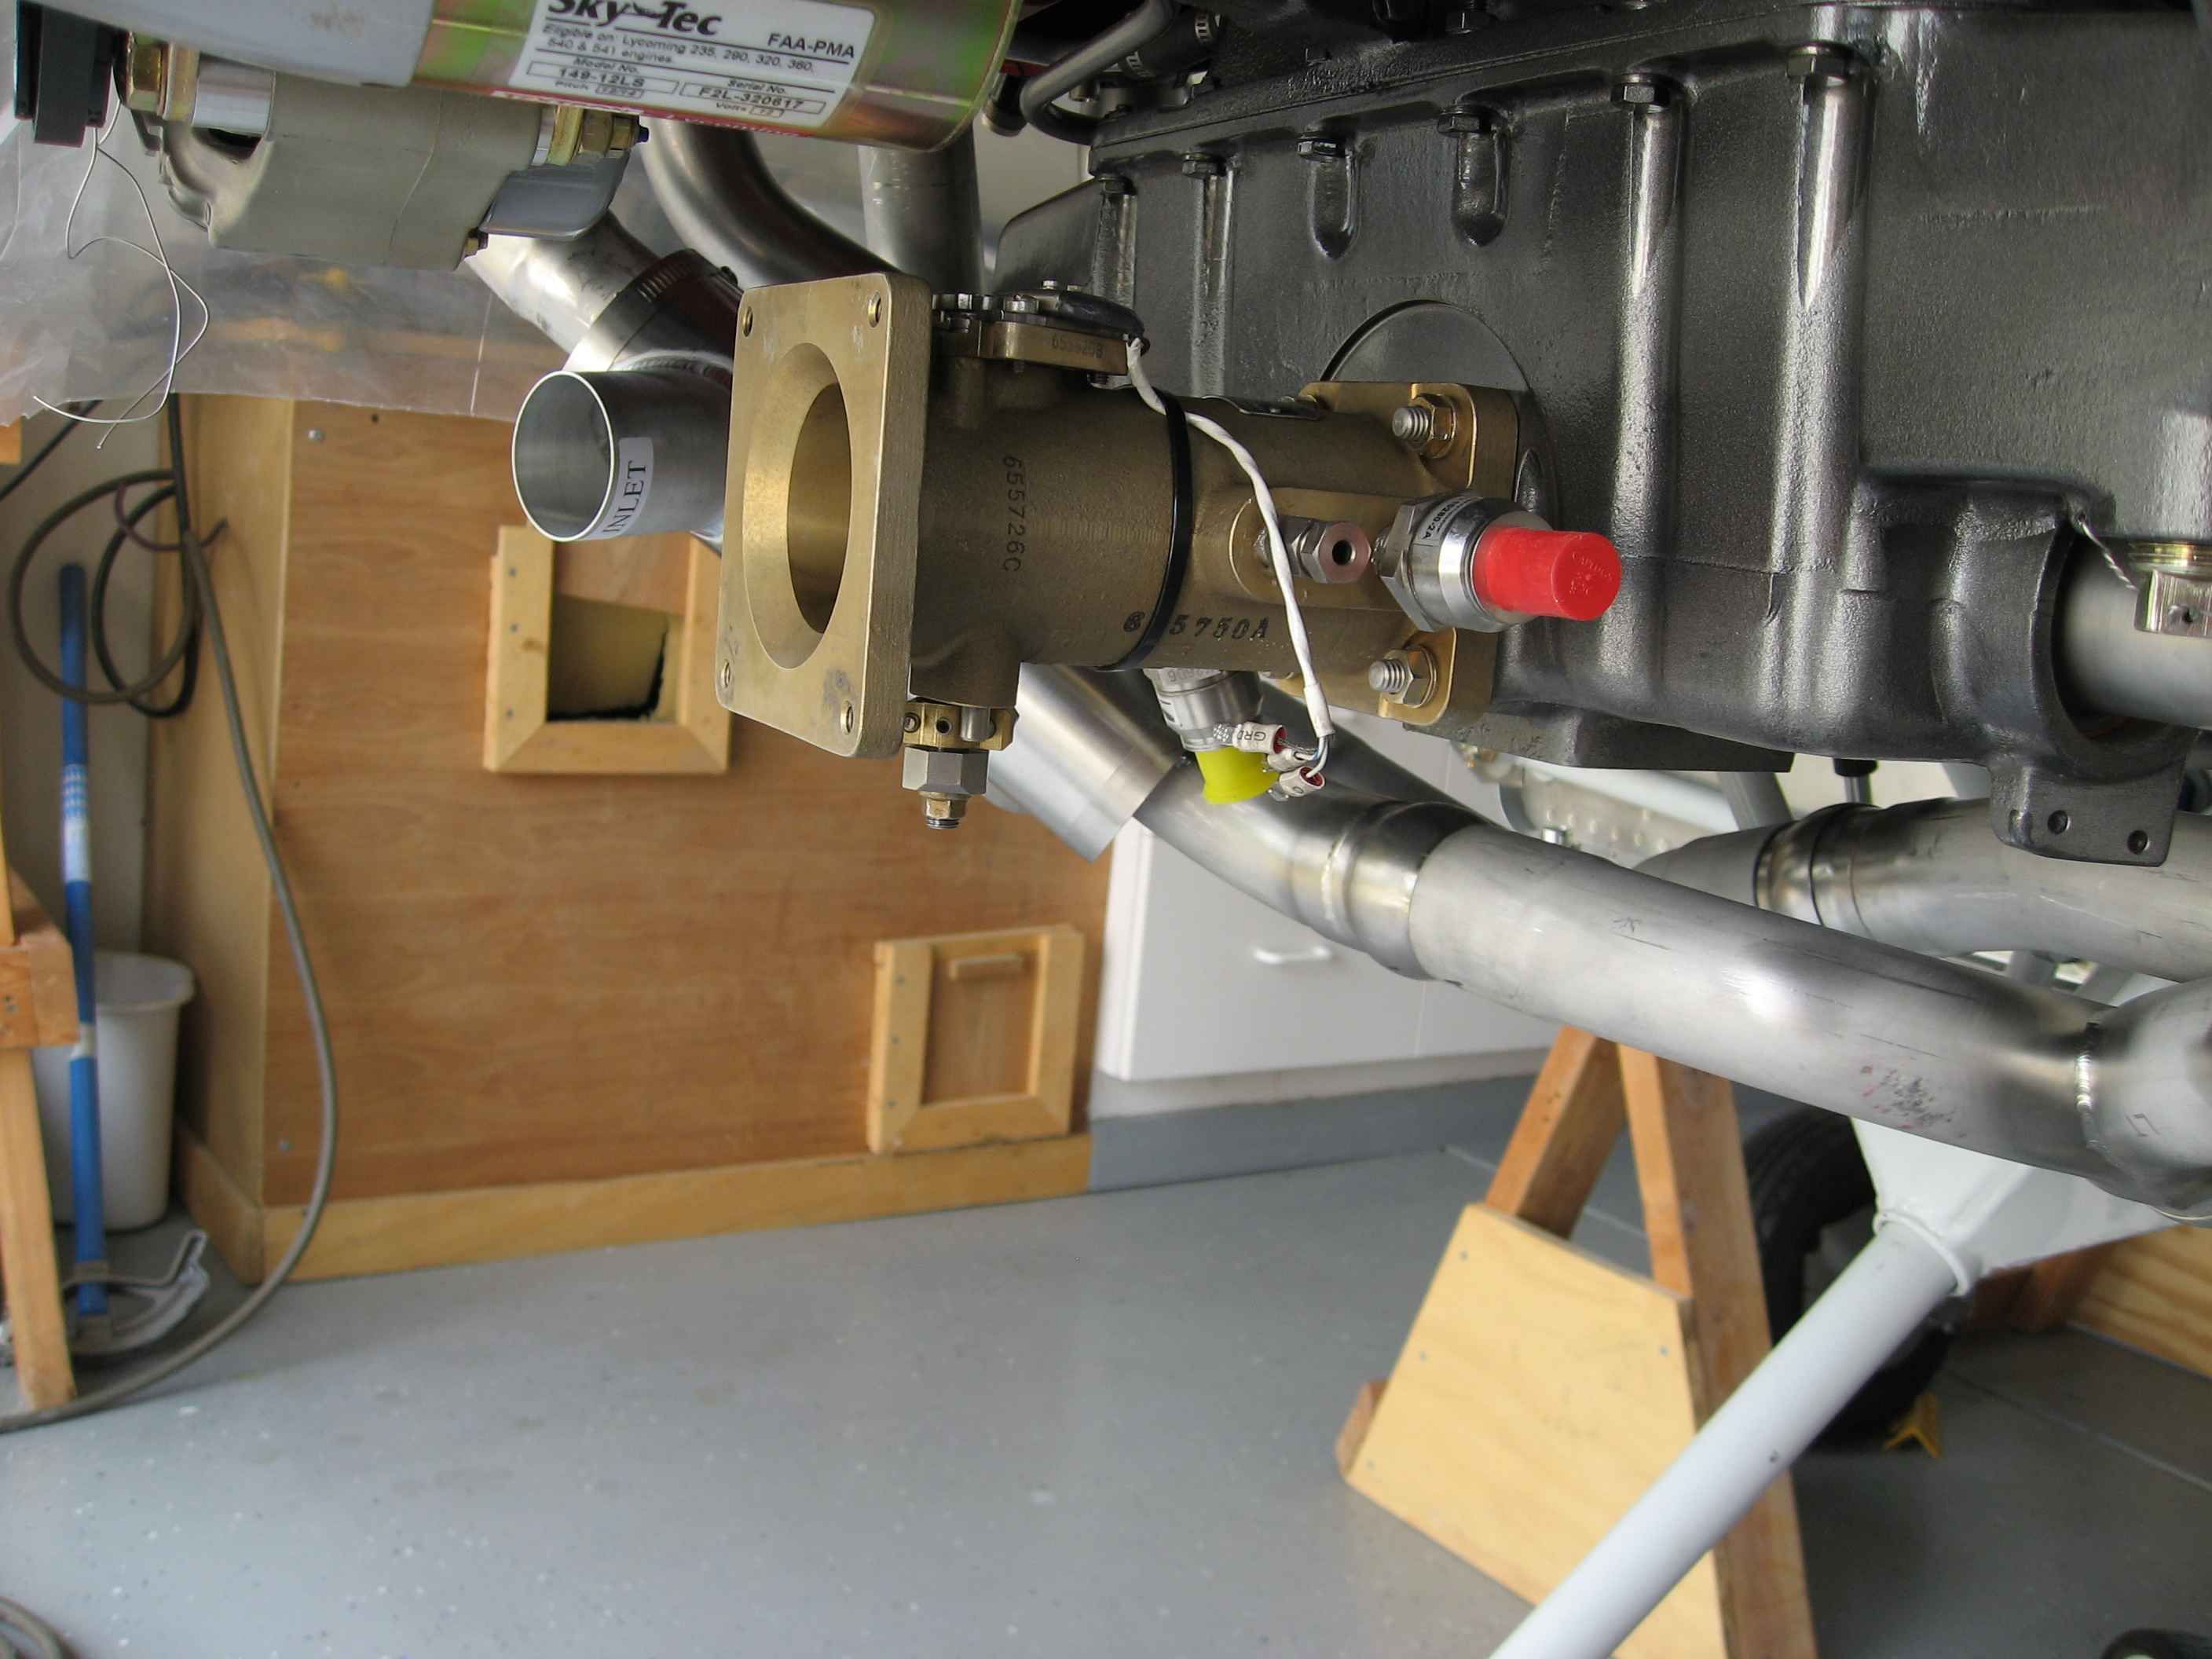
In between doing a lot of stuff around the house, I did manage to get the Vetterman cross-over exhaust installed. I was tempted to get a 4 into 1 system, from Aircraft Exhaust Systems, but after much back and forth via email, determined that it would not work with how I have my dual batteries mounted on the firewall.
The Vetterman exhause went together really nicely. I did not torque down the bolts as I suspect this will be coming off again.
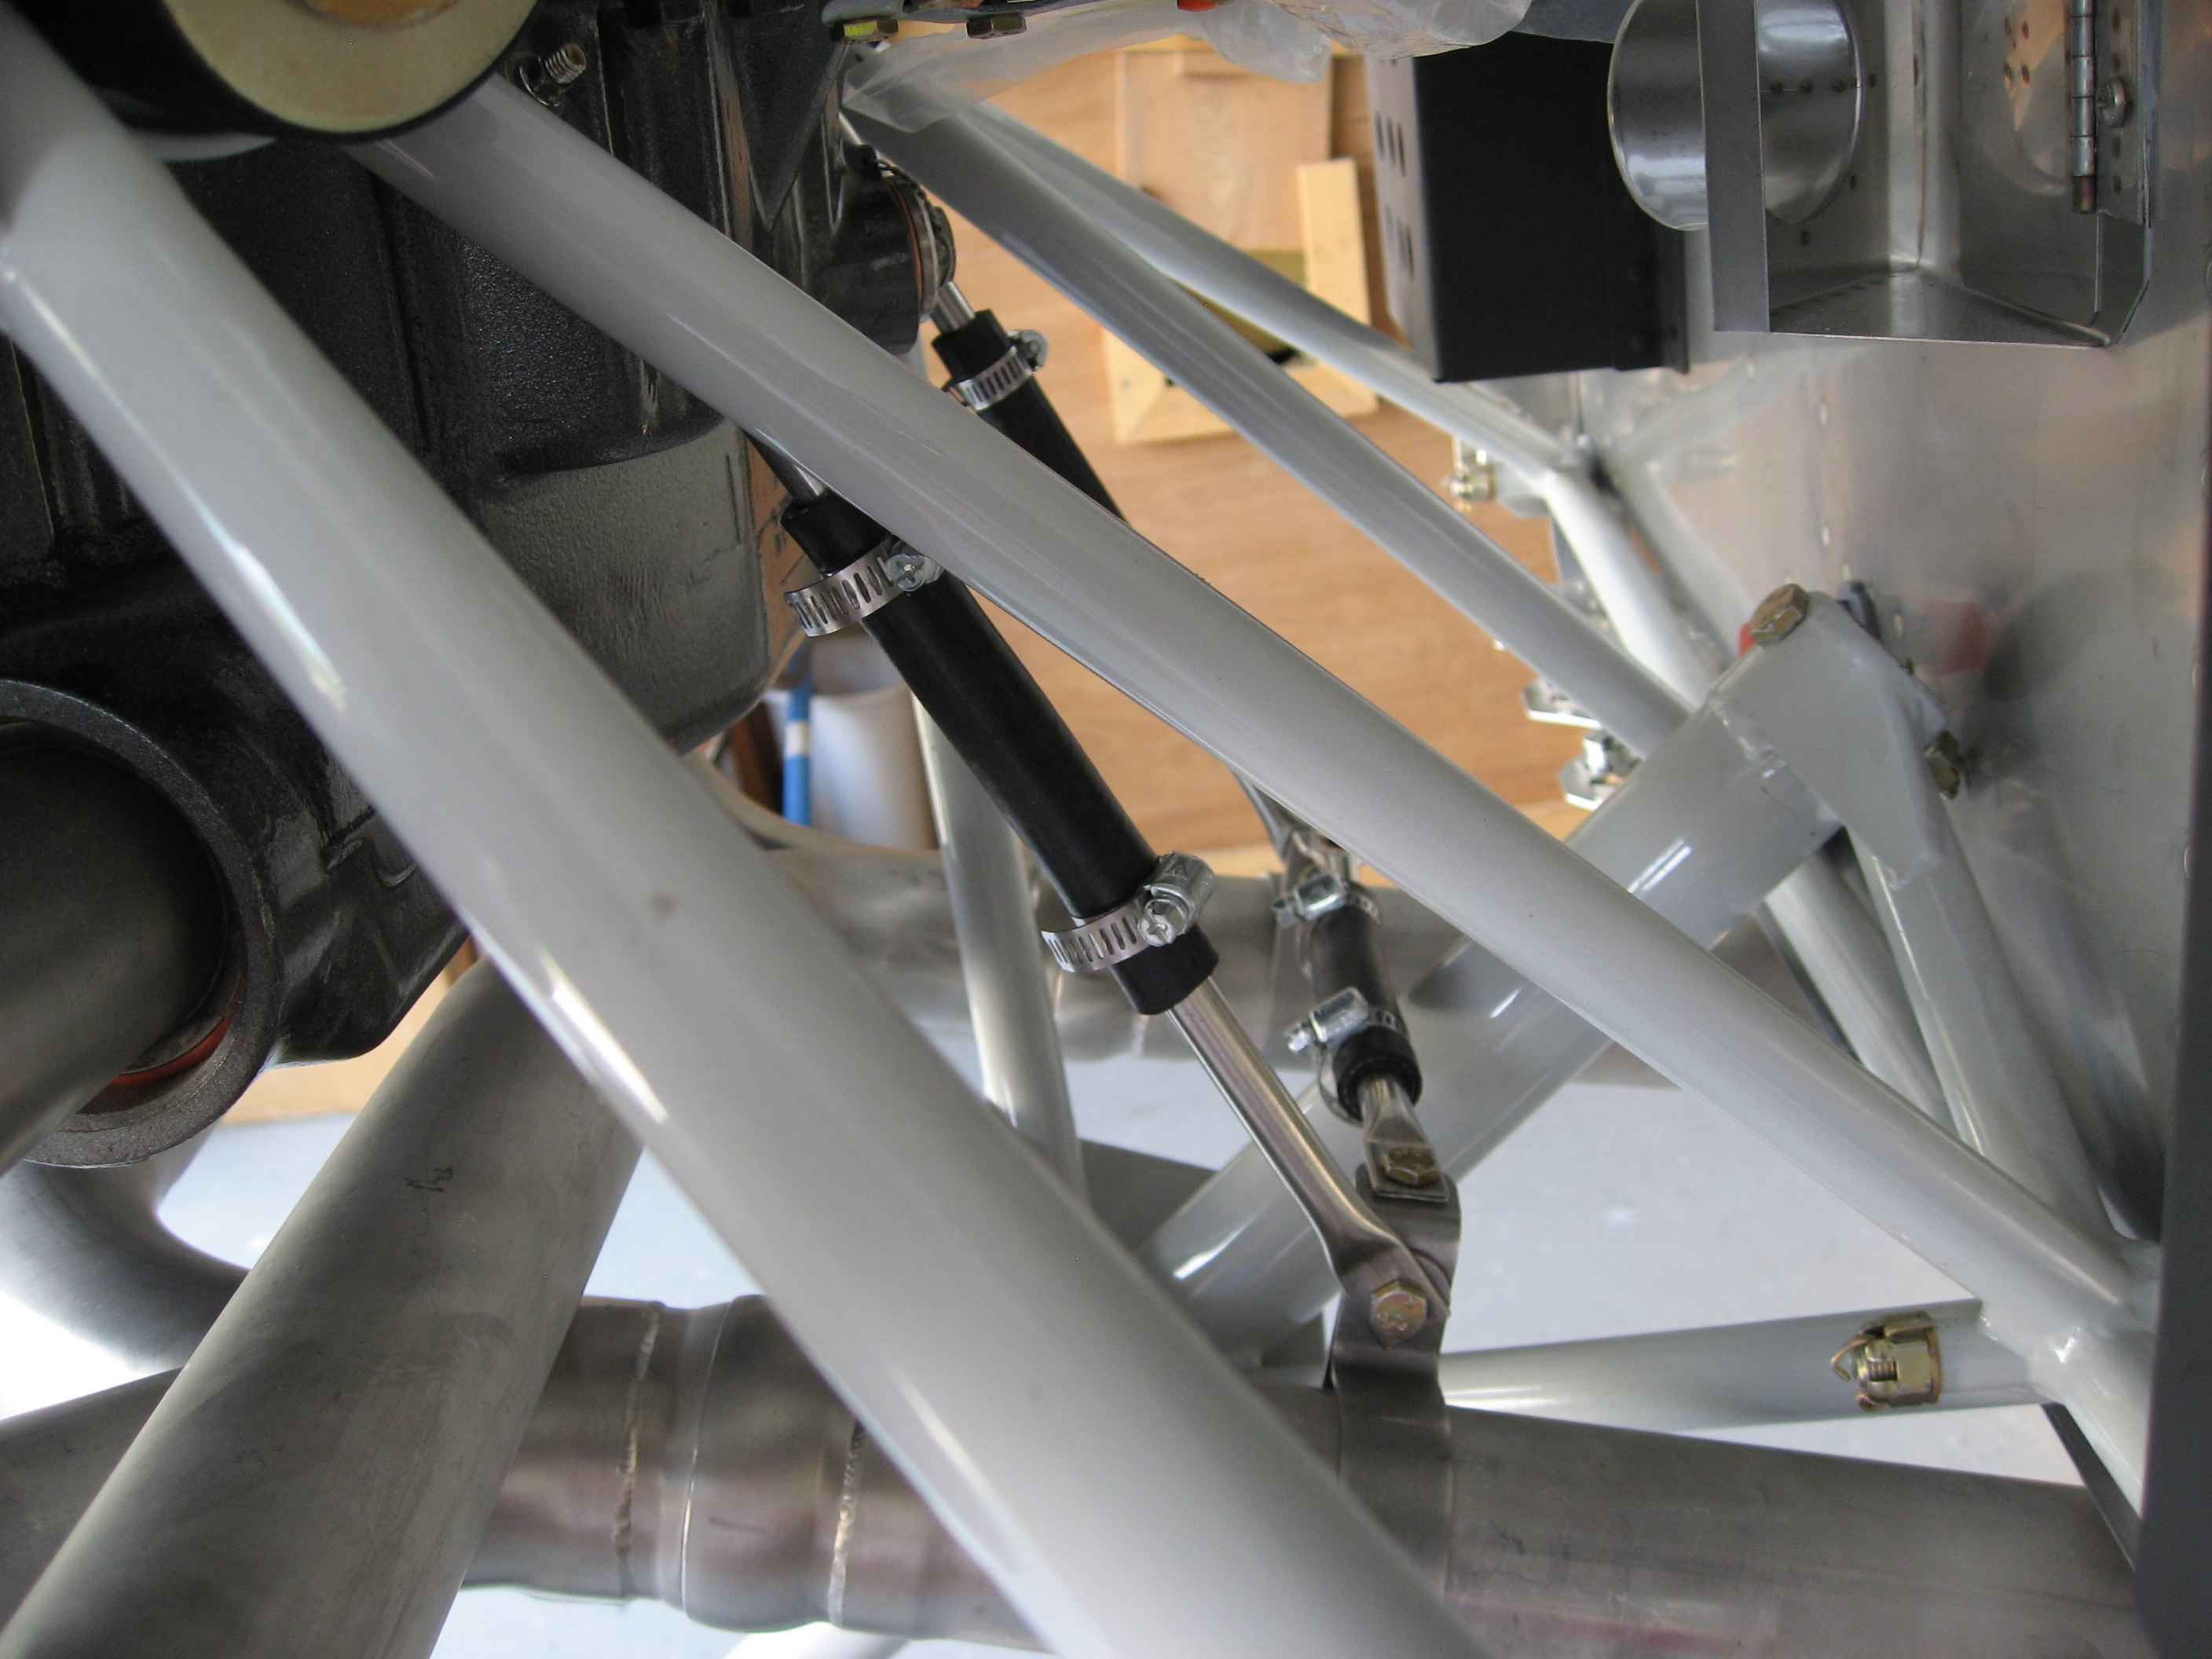
Here is a shot of the number 2 and 4 exhaust ports
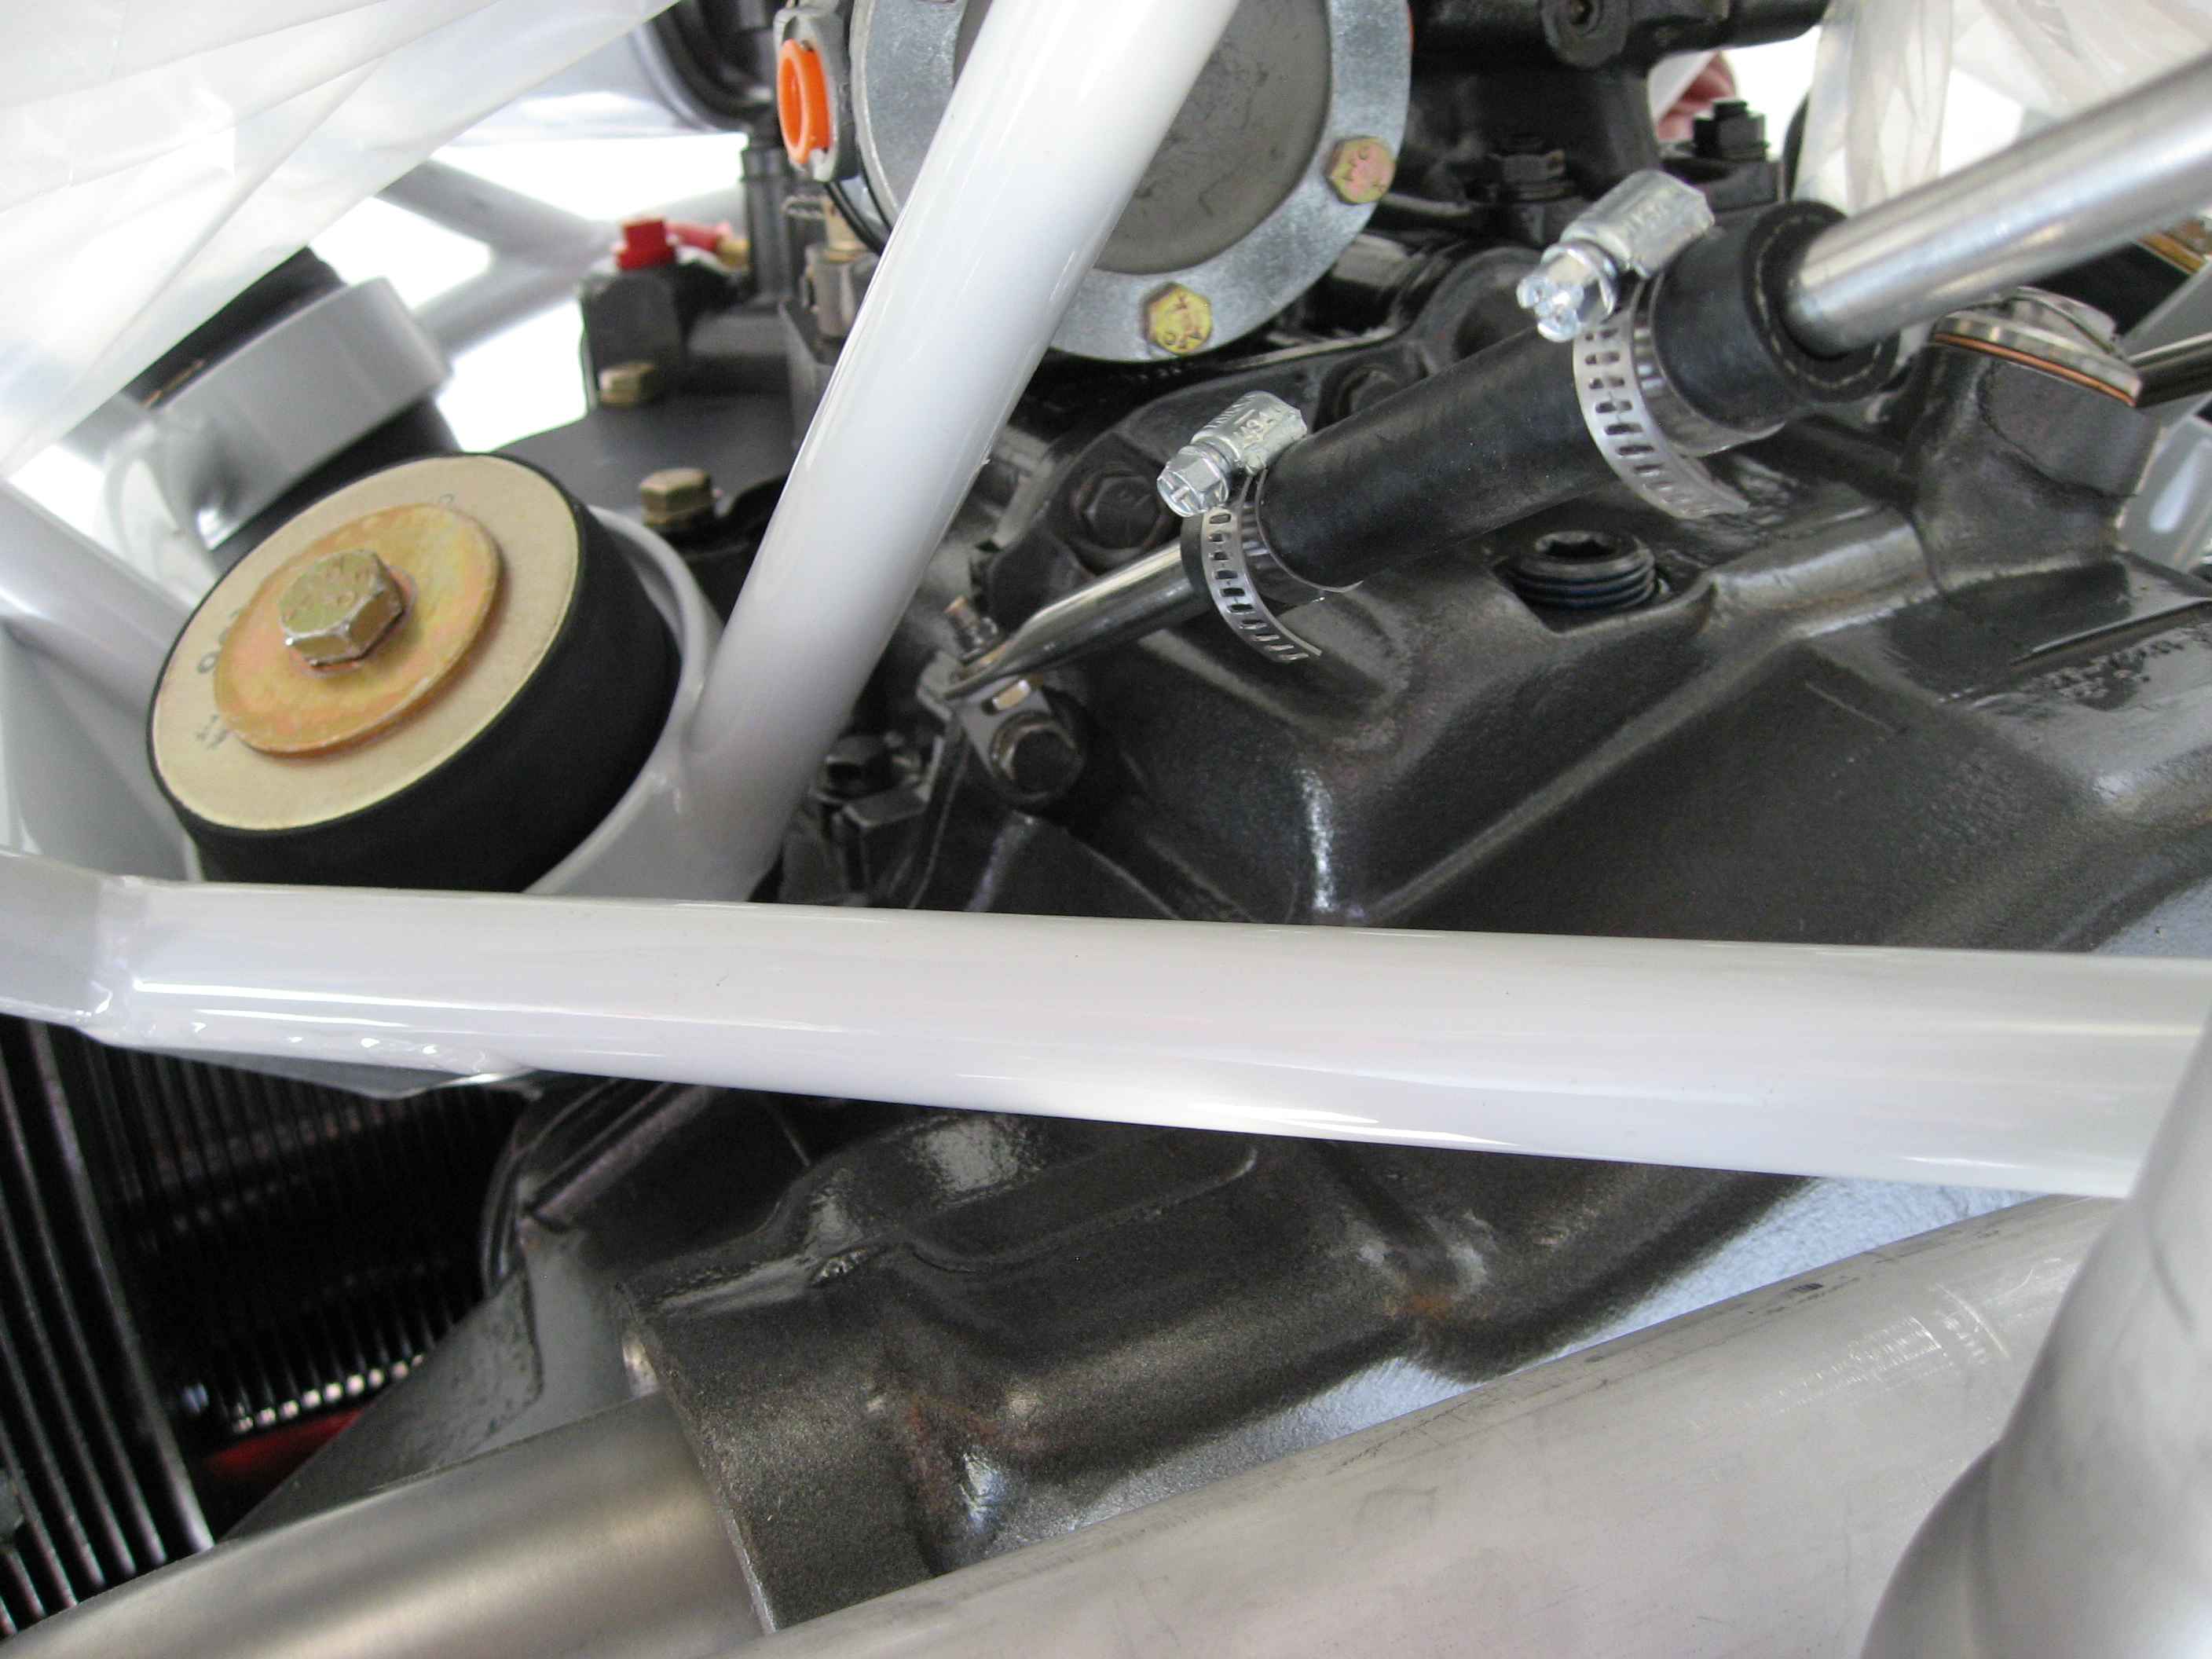
I received an order from Aircraft Spruce with some star locking washers and was able to install and torque the throttle body. I also spend some time determining the best place to have my throttle and prop cables to exit the firewall.