 |
February 2 - 9,
2008:
(8.0 hrs.)
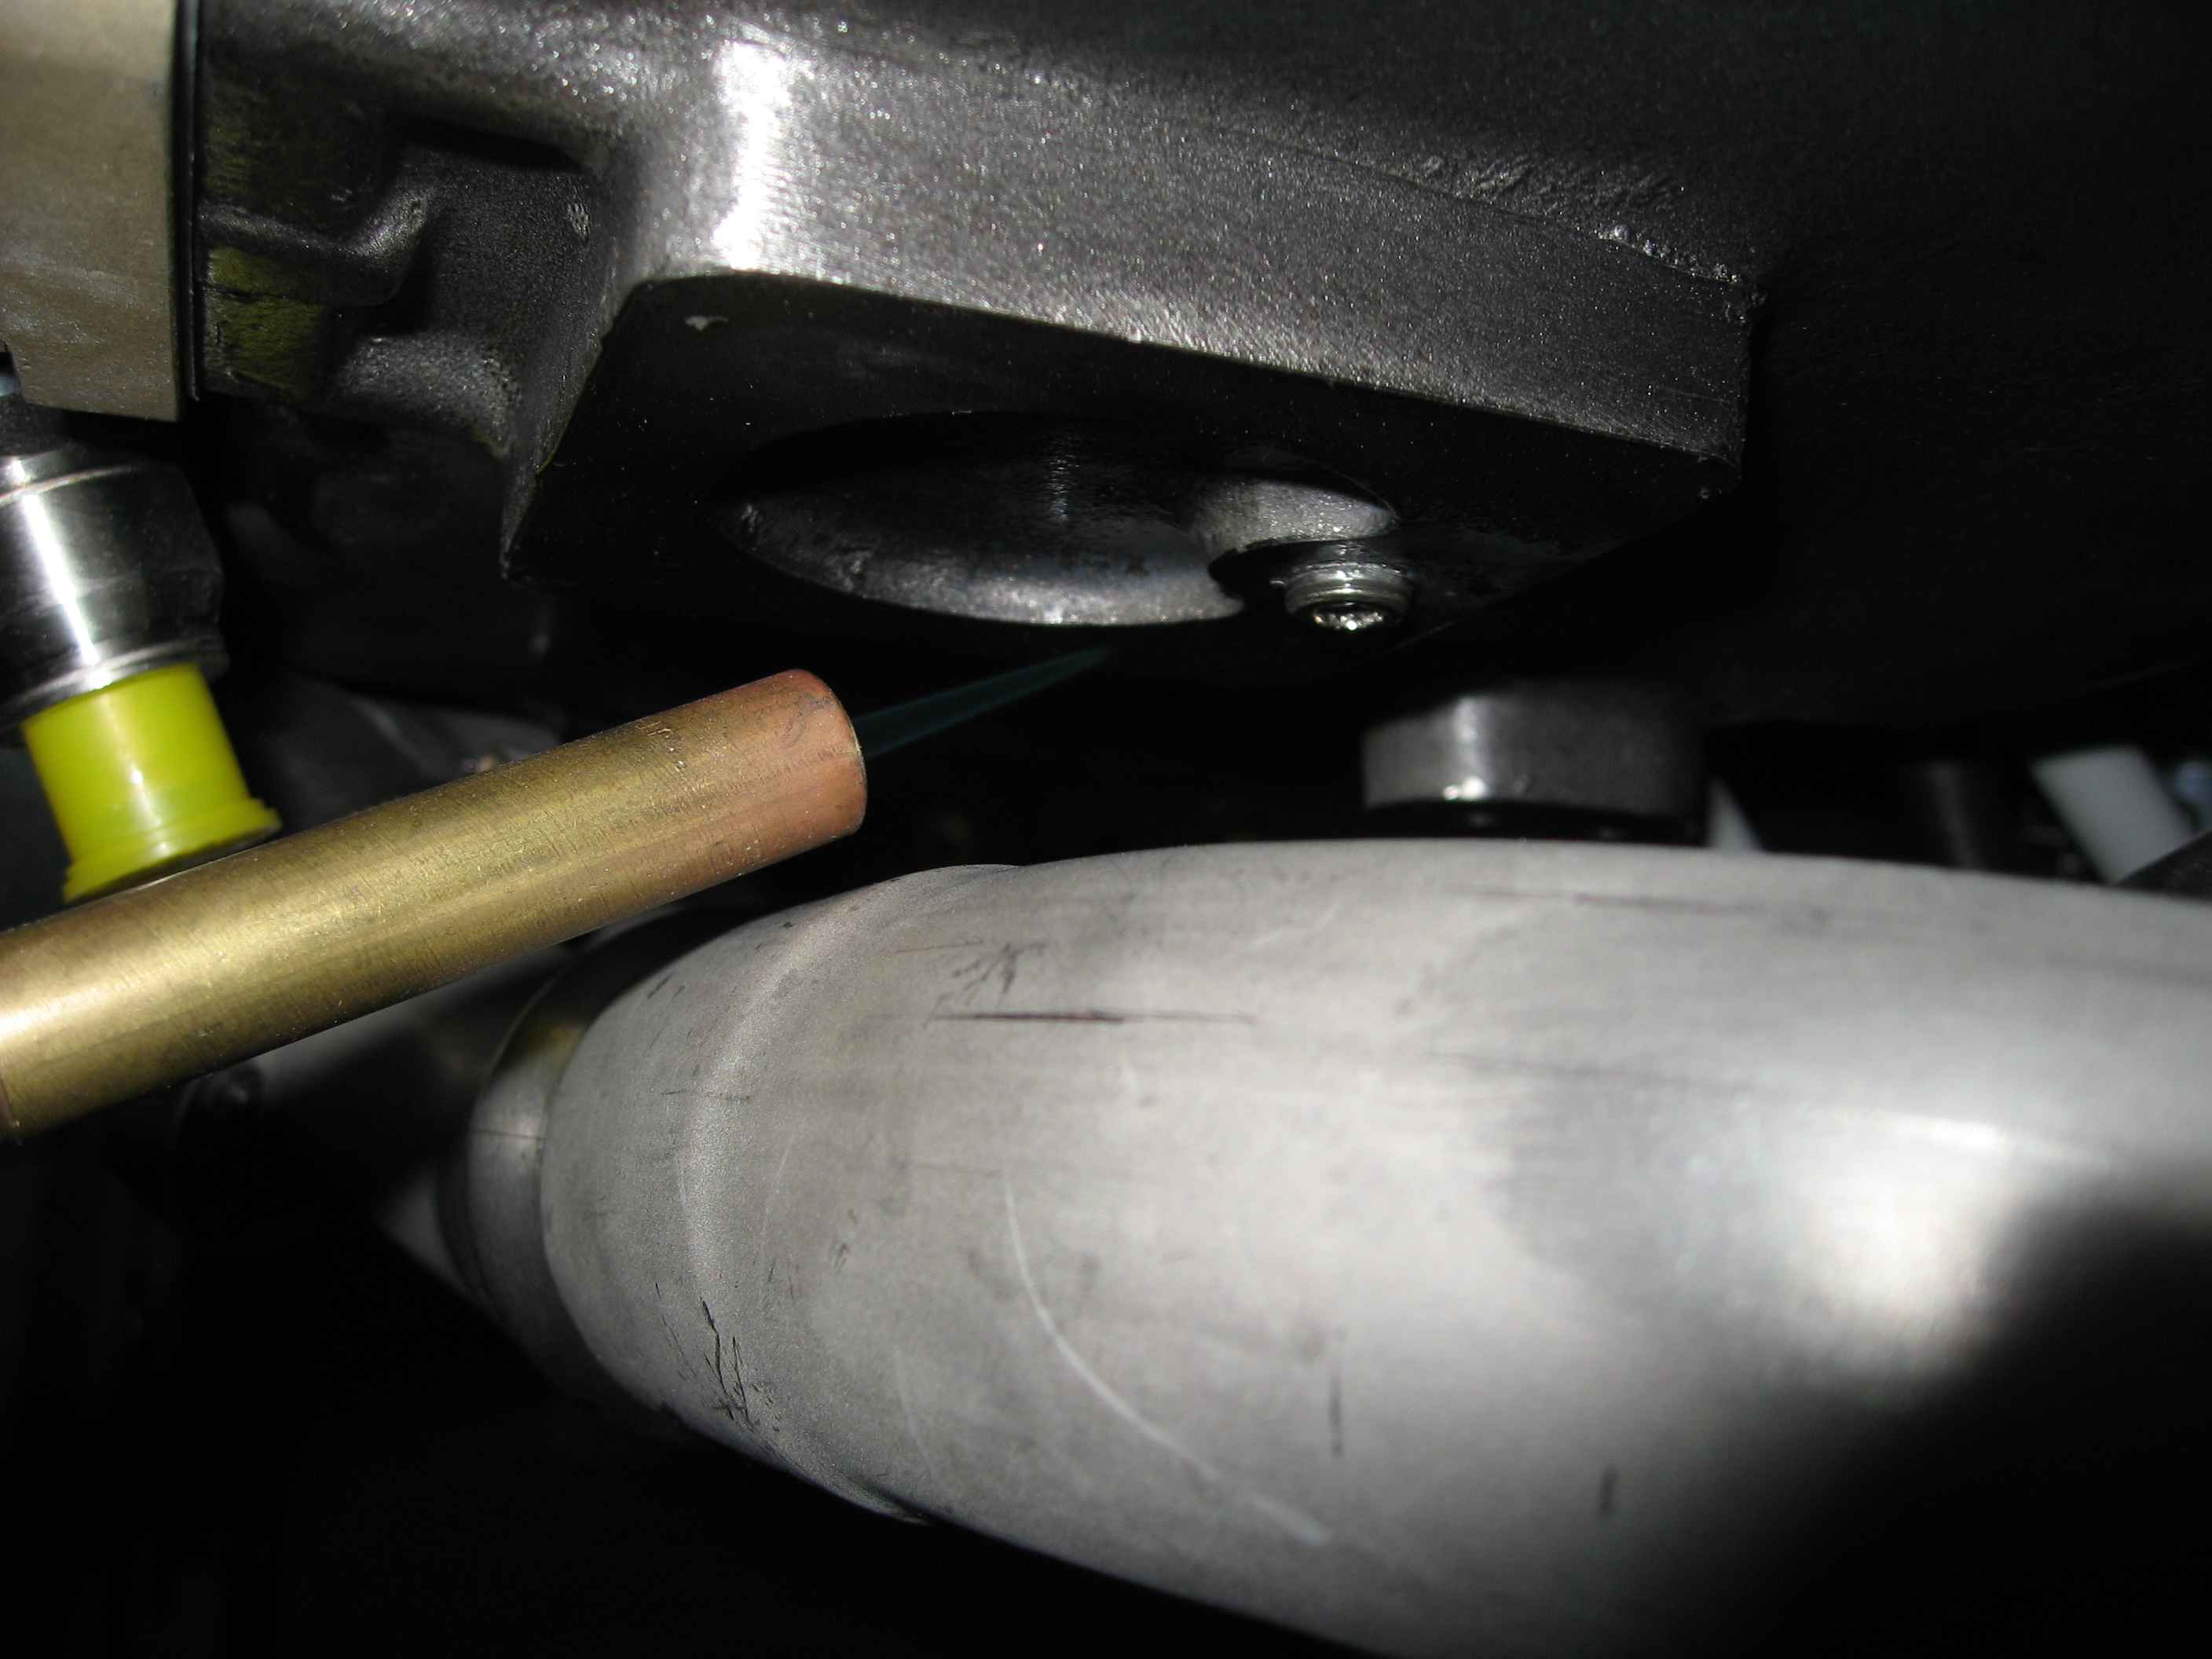
I started out working on something that I thought
would be a simple job, but turned out to be quite an ordeal. I
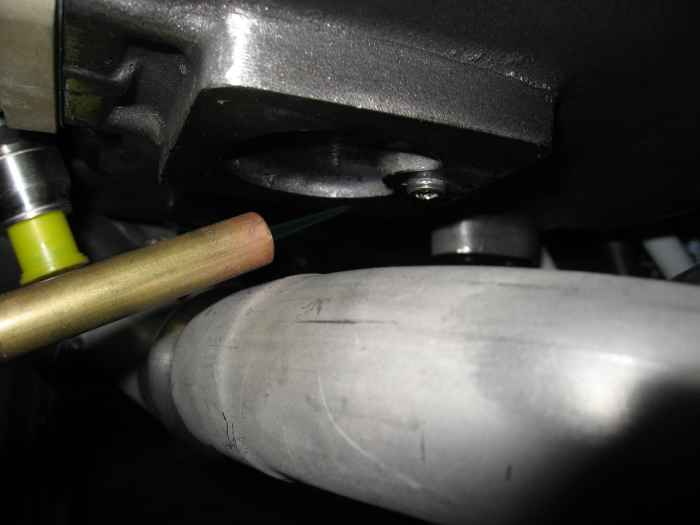
wanted to install the sniffle valve on the bottom of the sump.
There is a set-screw that gets removed and the sniffle valve installed.
My set-screw was extremely tight. I got it to turn about 1
revolution and then it seized up. Worse, the allen head began to
strip. What to do? Well, after much deliberation over a couple of
days, I decided on this: Heat the sump area up around the
set-screw plug with a blow torch (pictured), bought a Allen Head socket
so I could apply some up-word pressure, and walla, the plug came out.
The internal threads still looked good, so I was happy. |
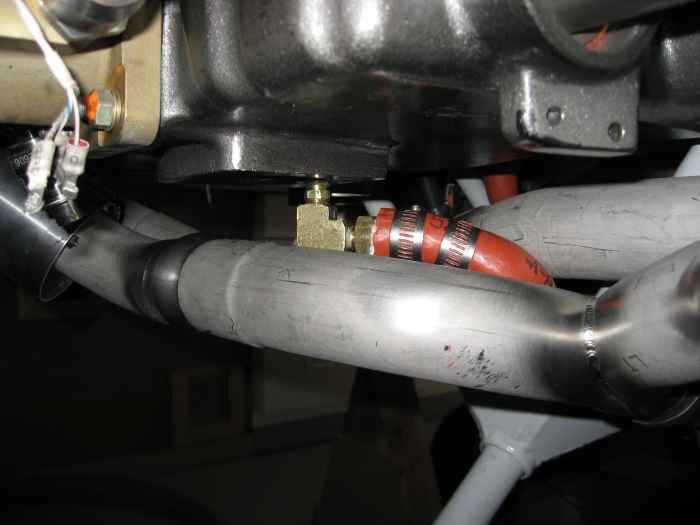 |
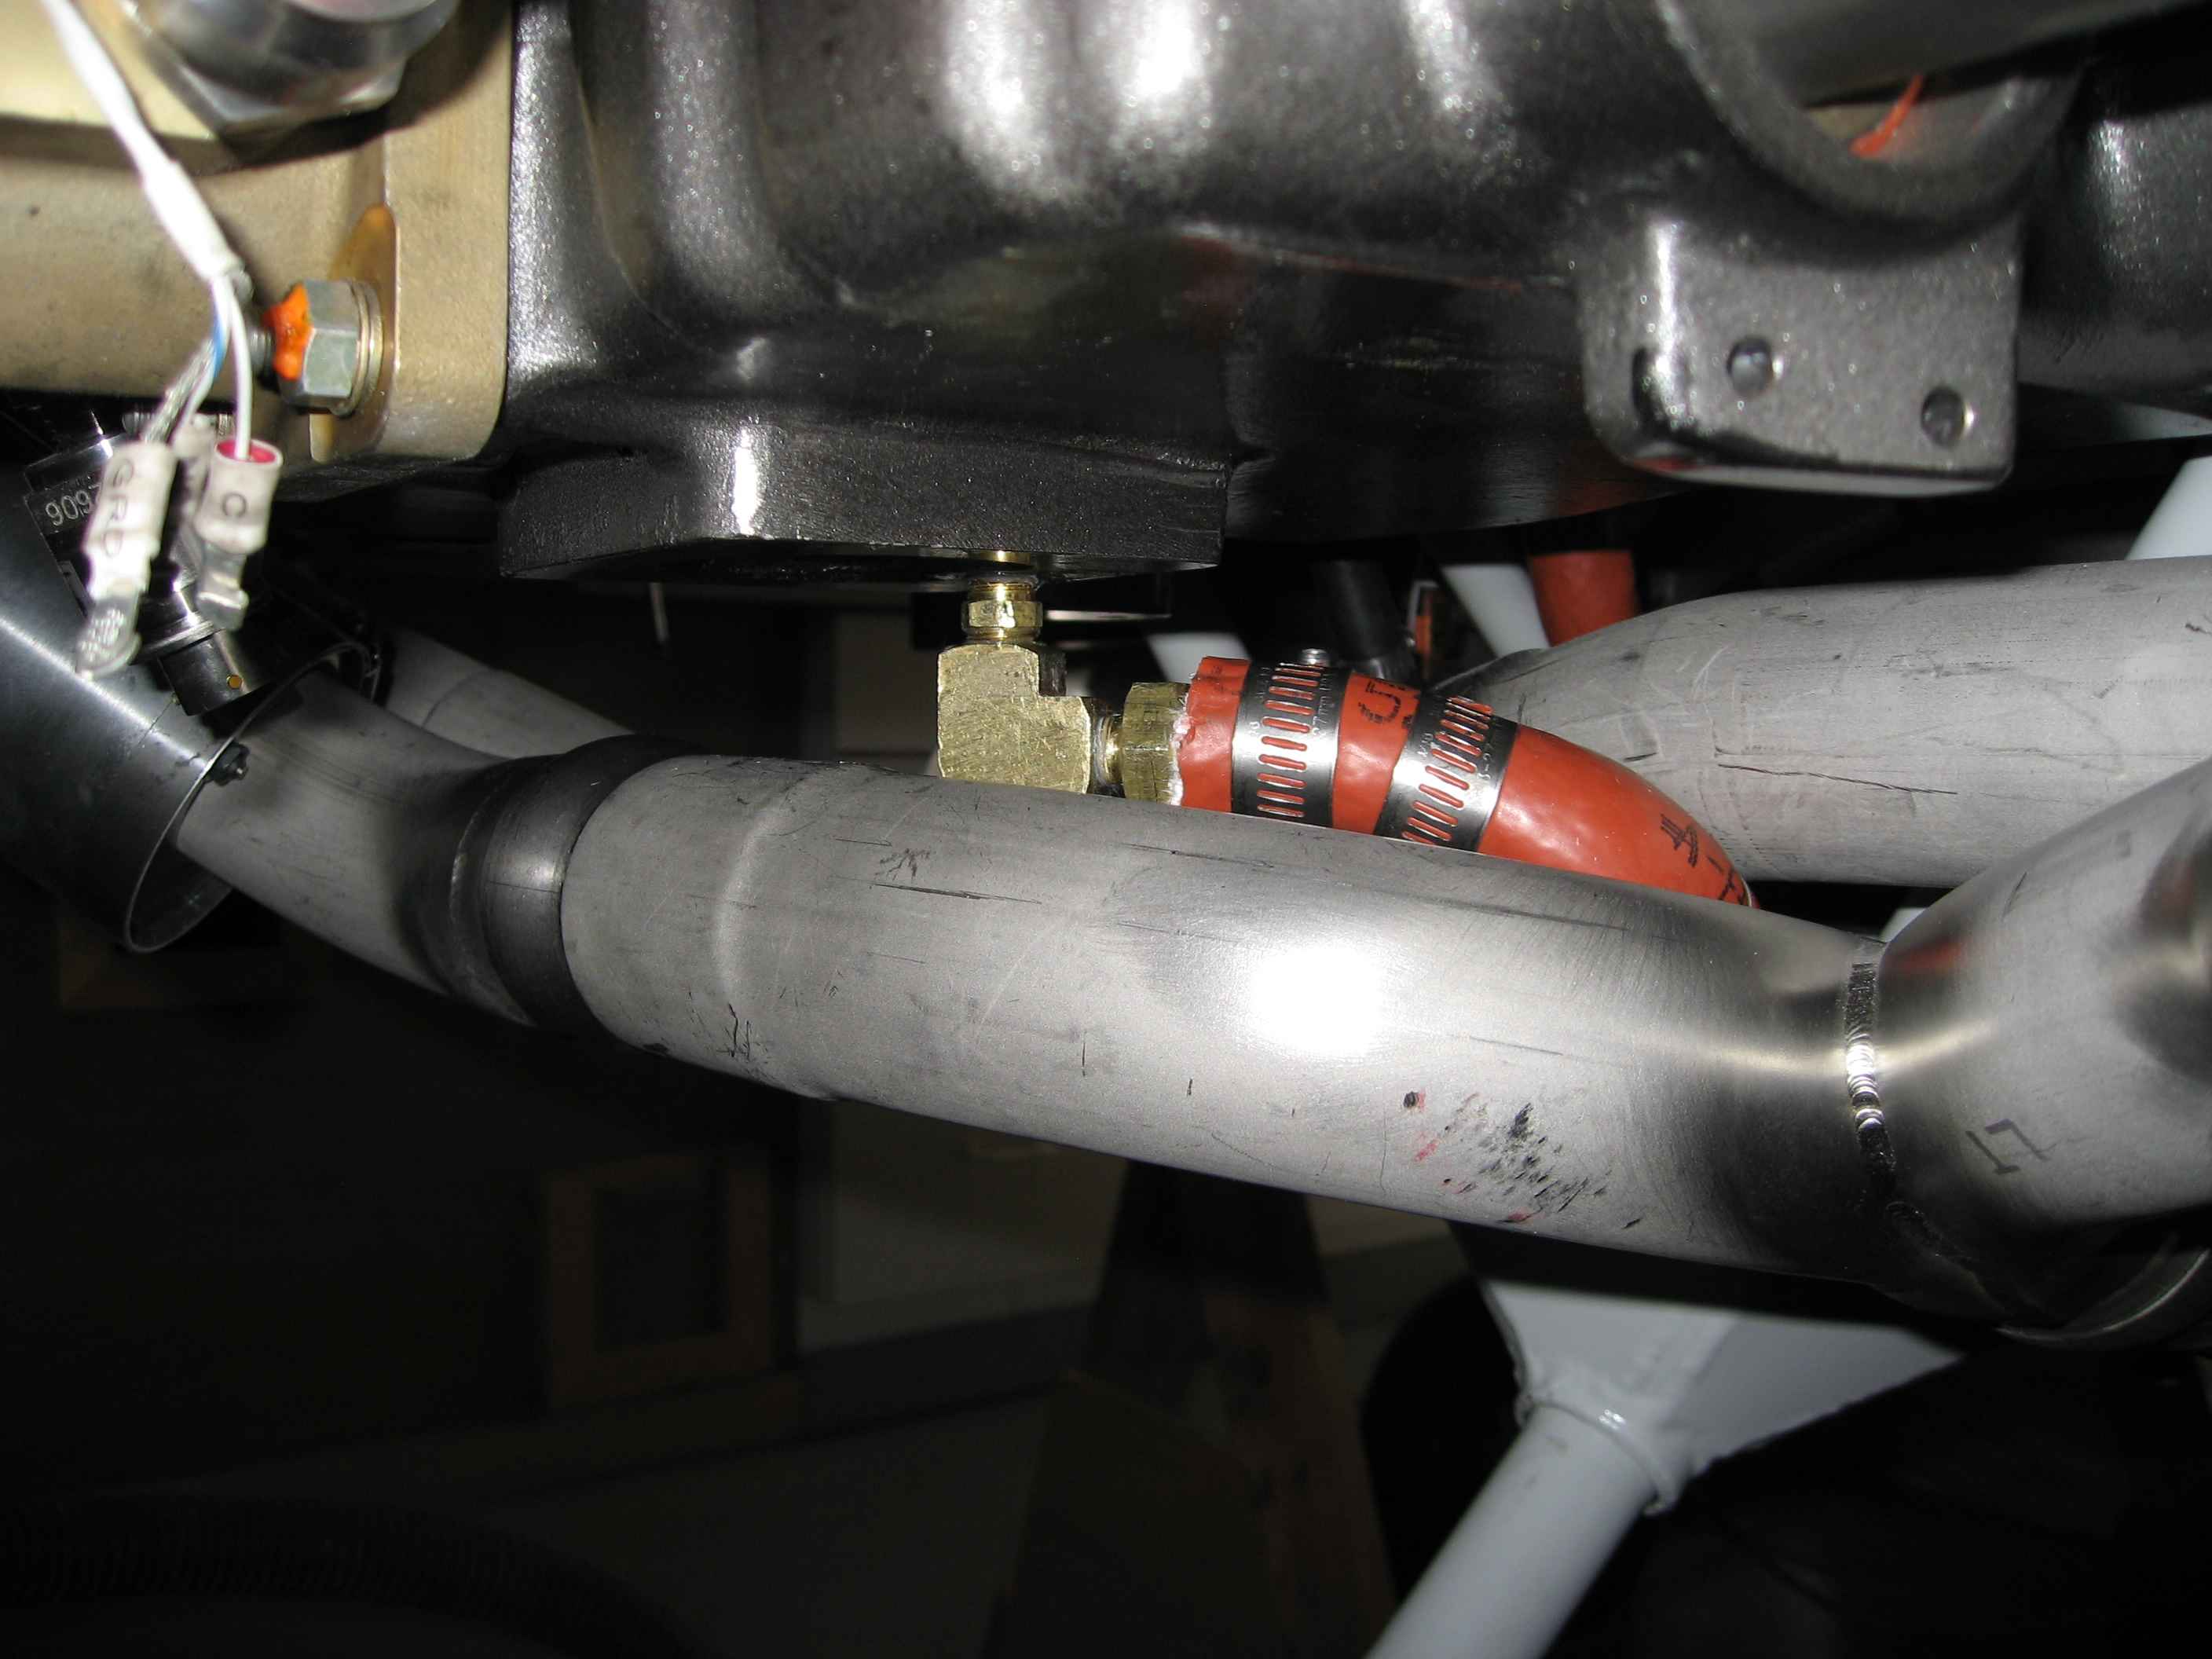
Next part of the ordeal... The sniffle
valve when installed was so close to the exhaust, I could not get the
tubing for the drain line installed. That's no good. Again,
much deliberation and study. I ended up purchasing a 90 degree
brass fitting from Ace and that allowed me to move the sniffle valve out
and to the rear. |
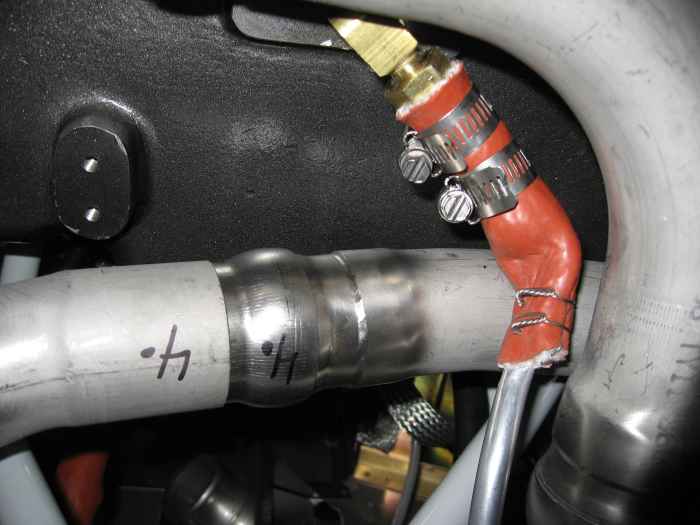 |
I installed some protective fire-sleeve
around the drain line where it was close to the exhaust. I think
this will work. |
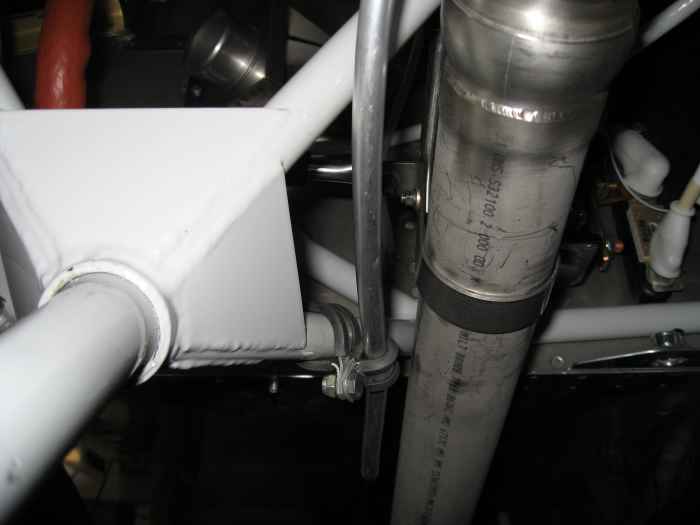 |
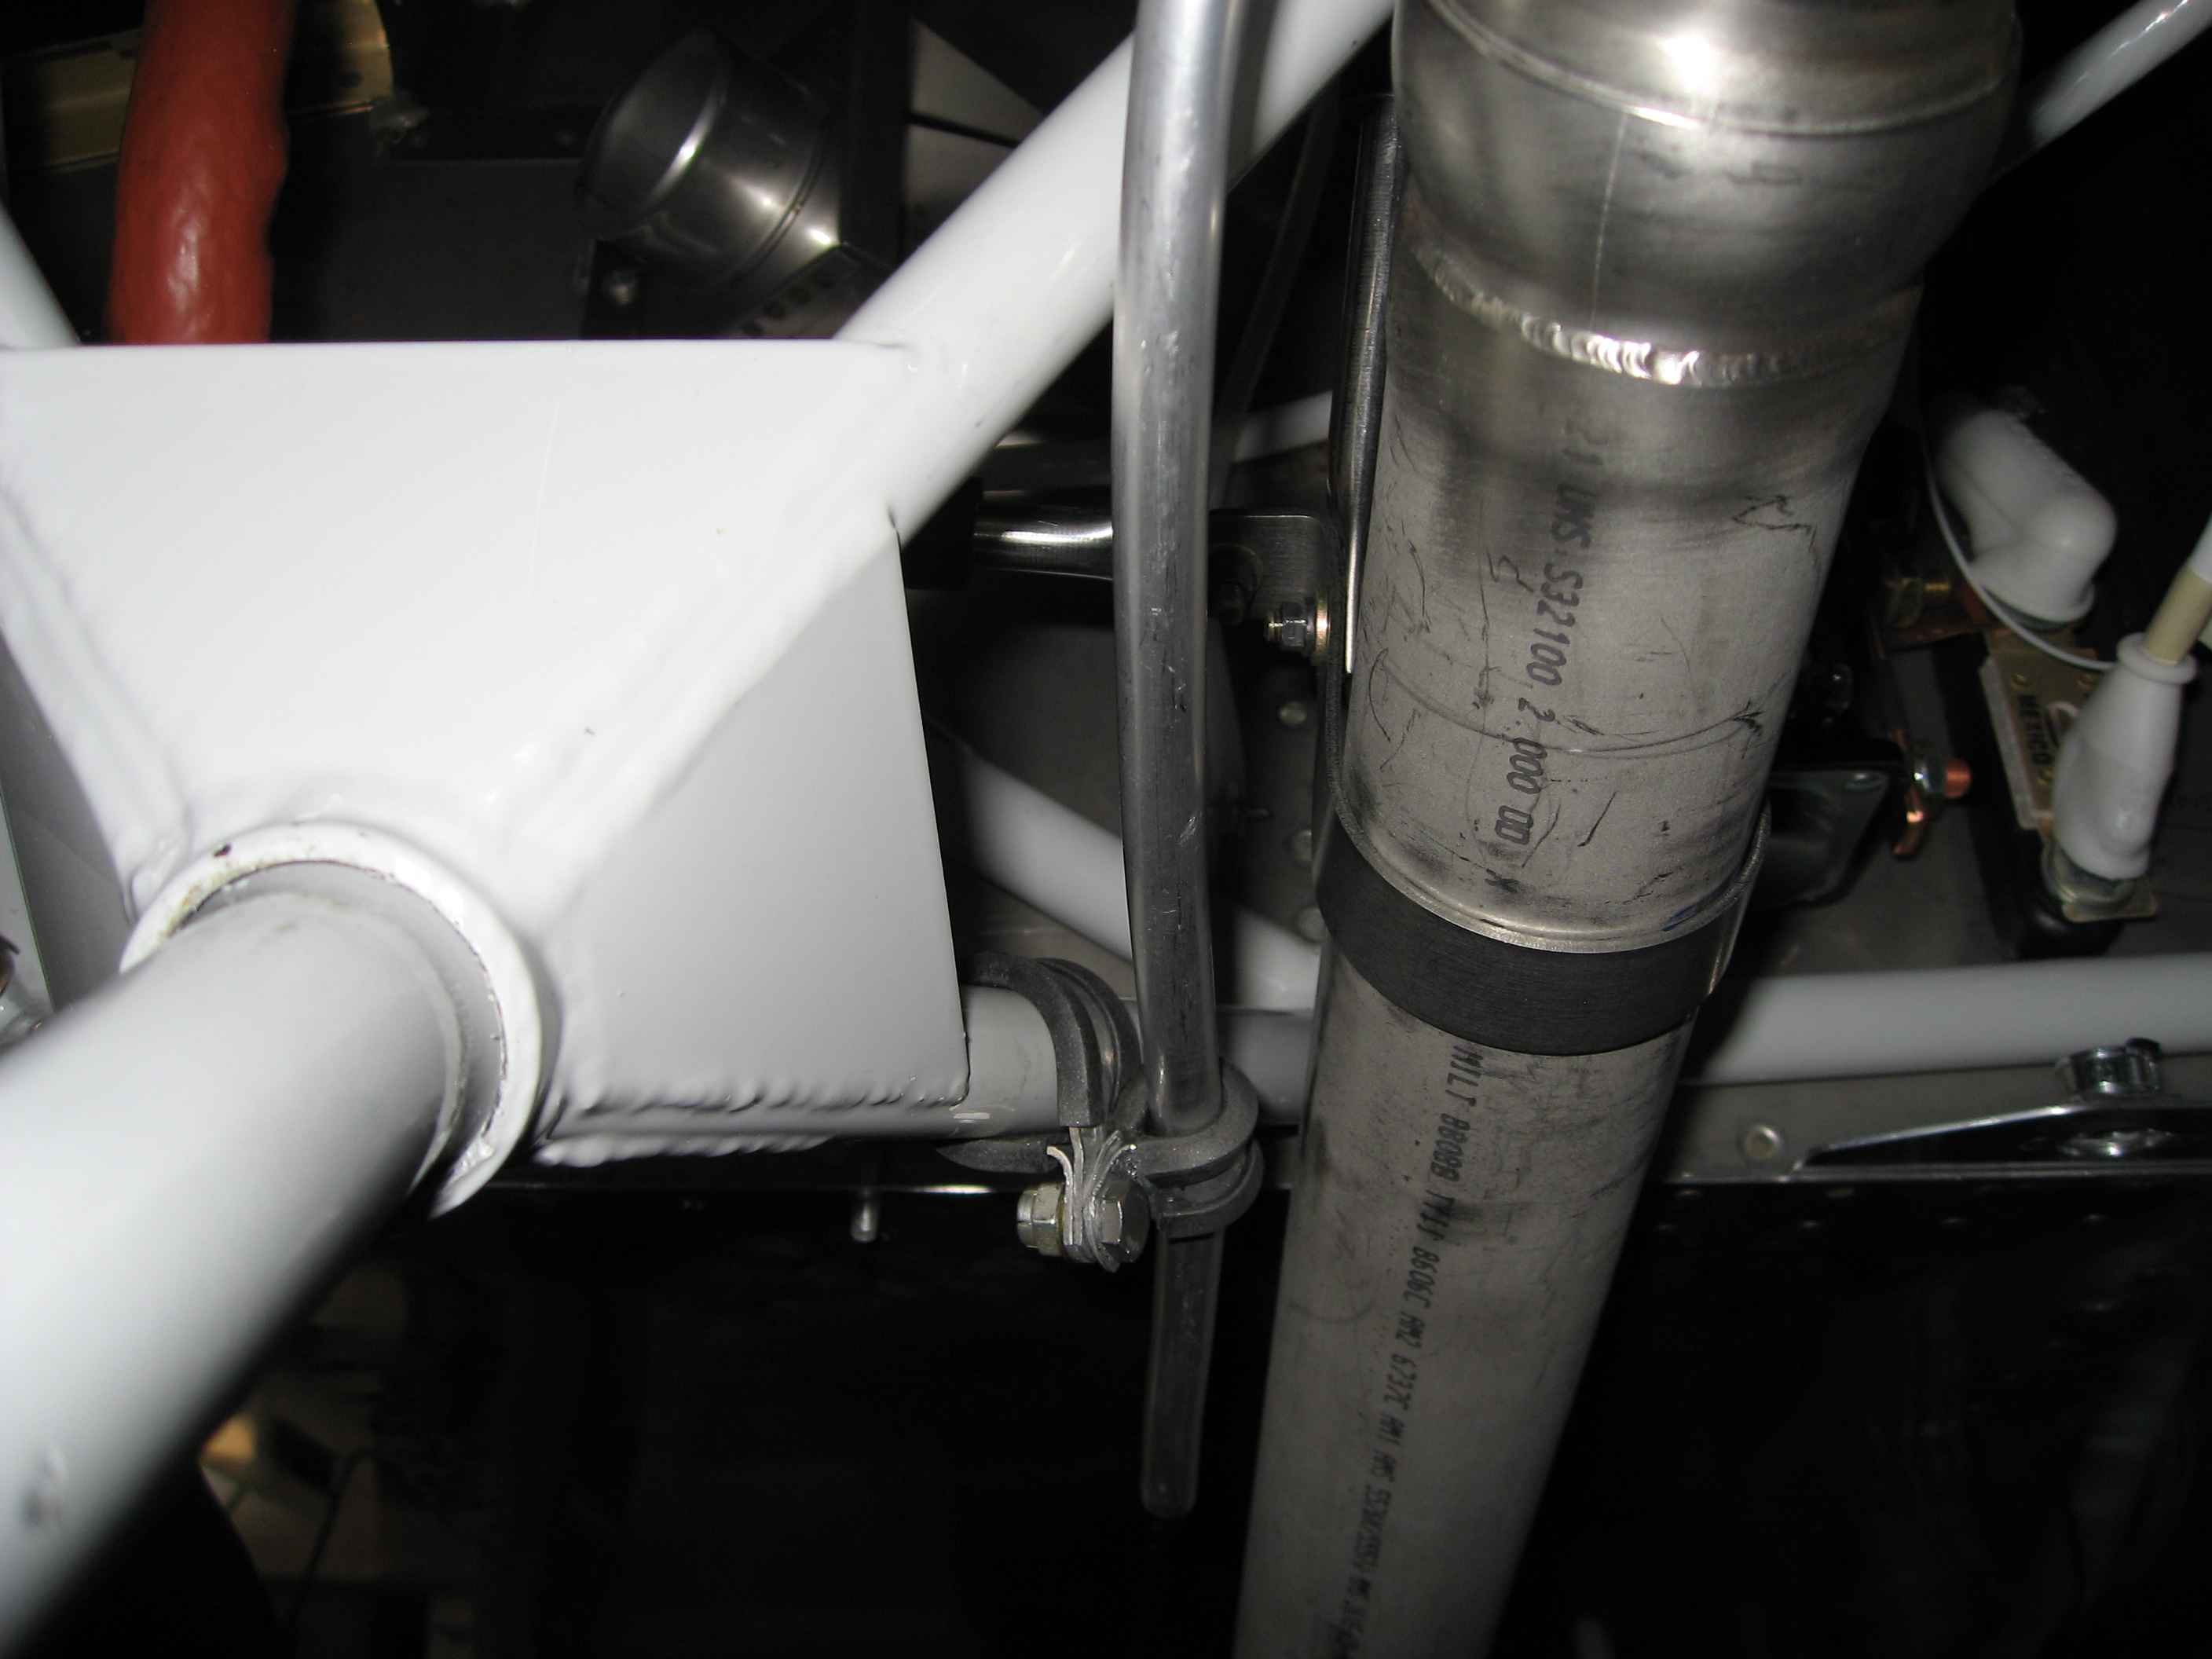
Here is a shot of the drain line running
to the firewall. It is secured to the engine mount frame via two
Adel clamps |
 |
Well, a while ago I decided to go with the
Sam James cowl rather than the Van's stock cowl. As such, I
decided I would also install the Sam James plenum. I already have
the Van's baffle kit, so I will use that as a starting point to my
plenum installation. Sam James provides some plans to build your
own baffles, but it seems like the Van's kit will save me some time.
Normally, you fit and install the Cowl before you start on the baffles
and plenum, but I don't have my cowl yet, so will try to get as much
done on the baffles as I can.
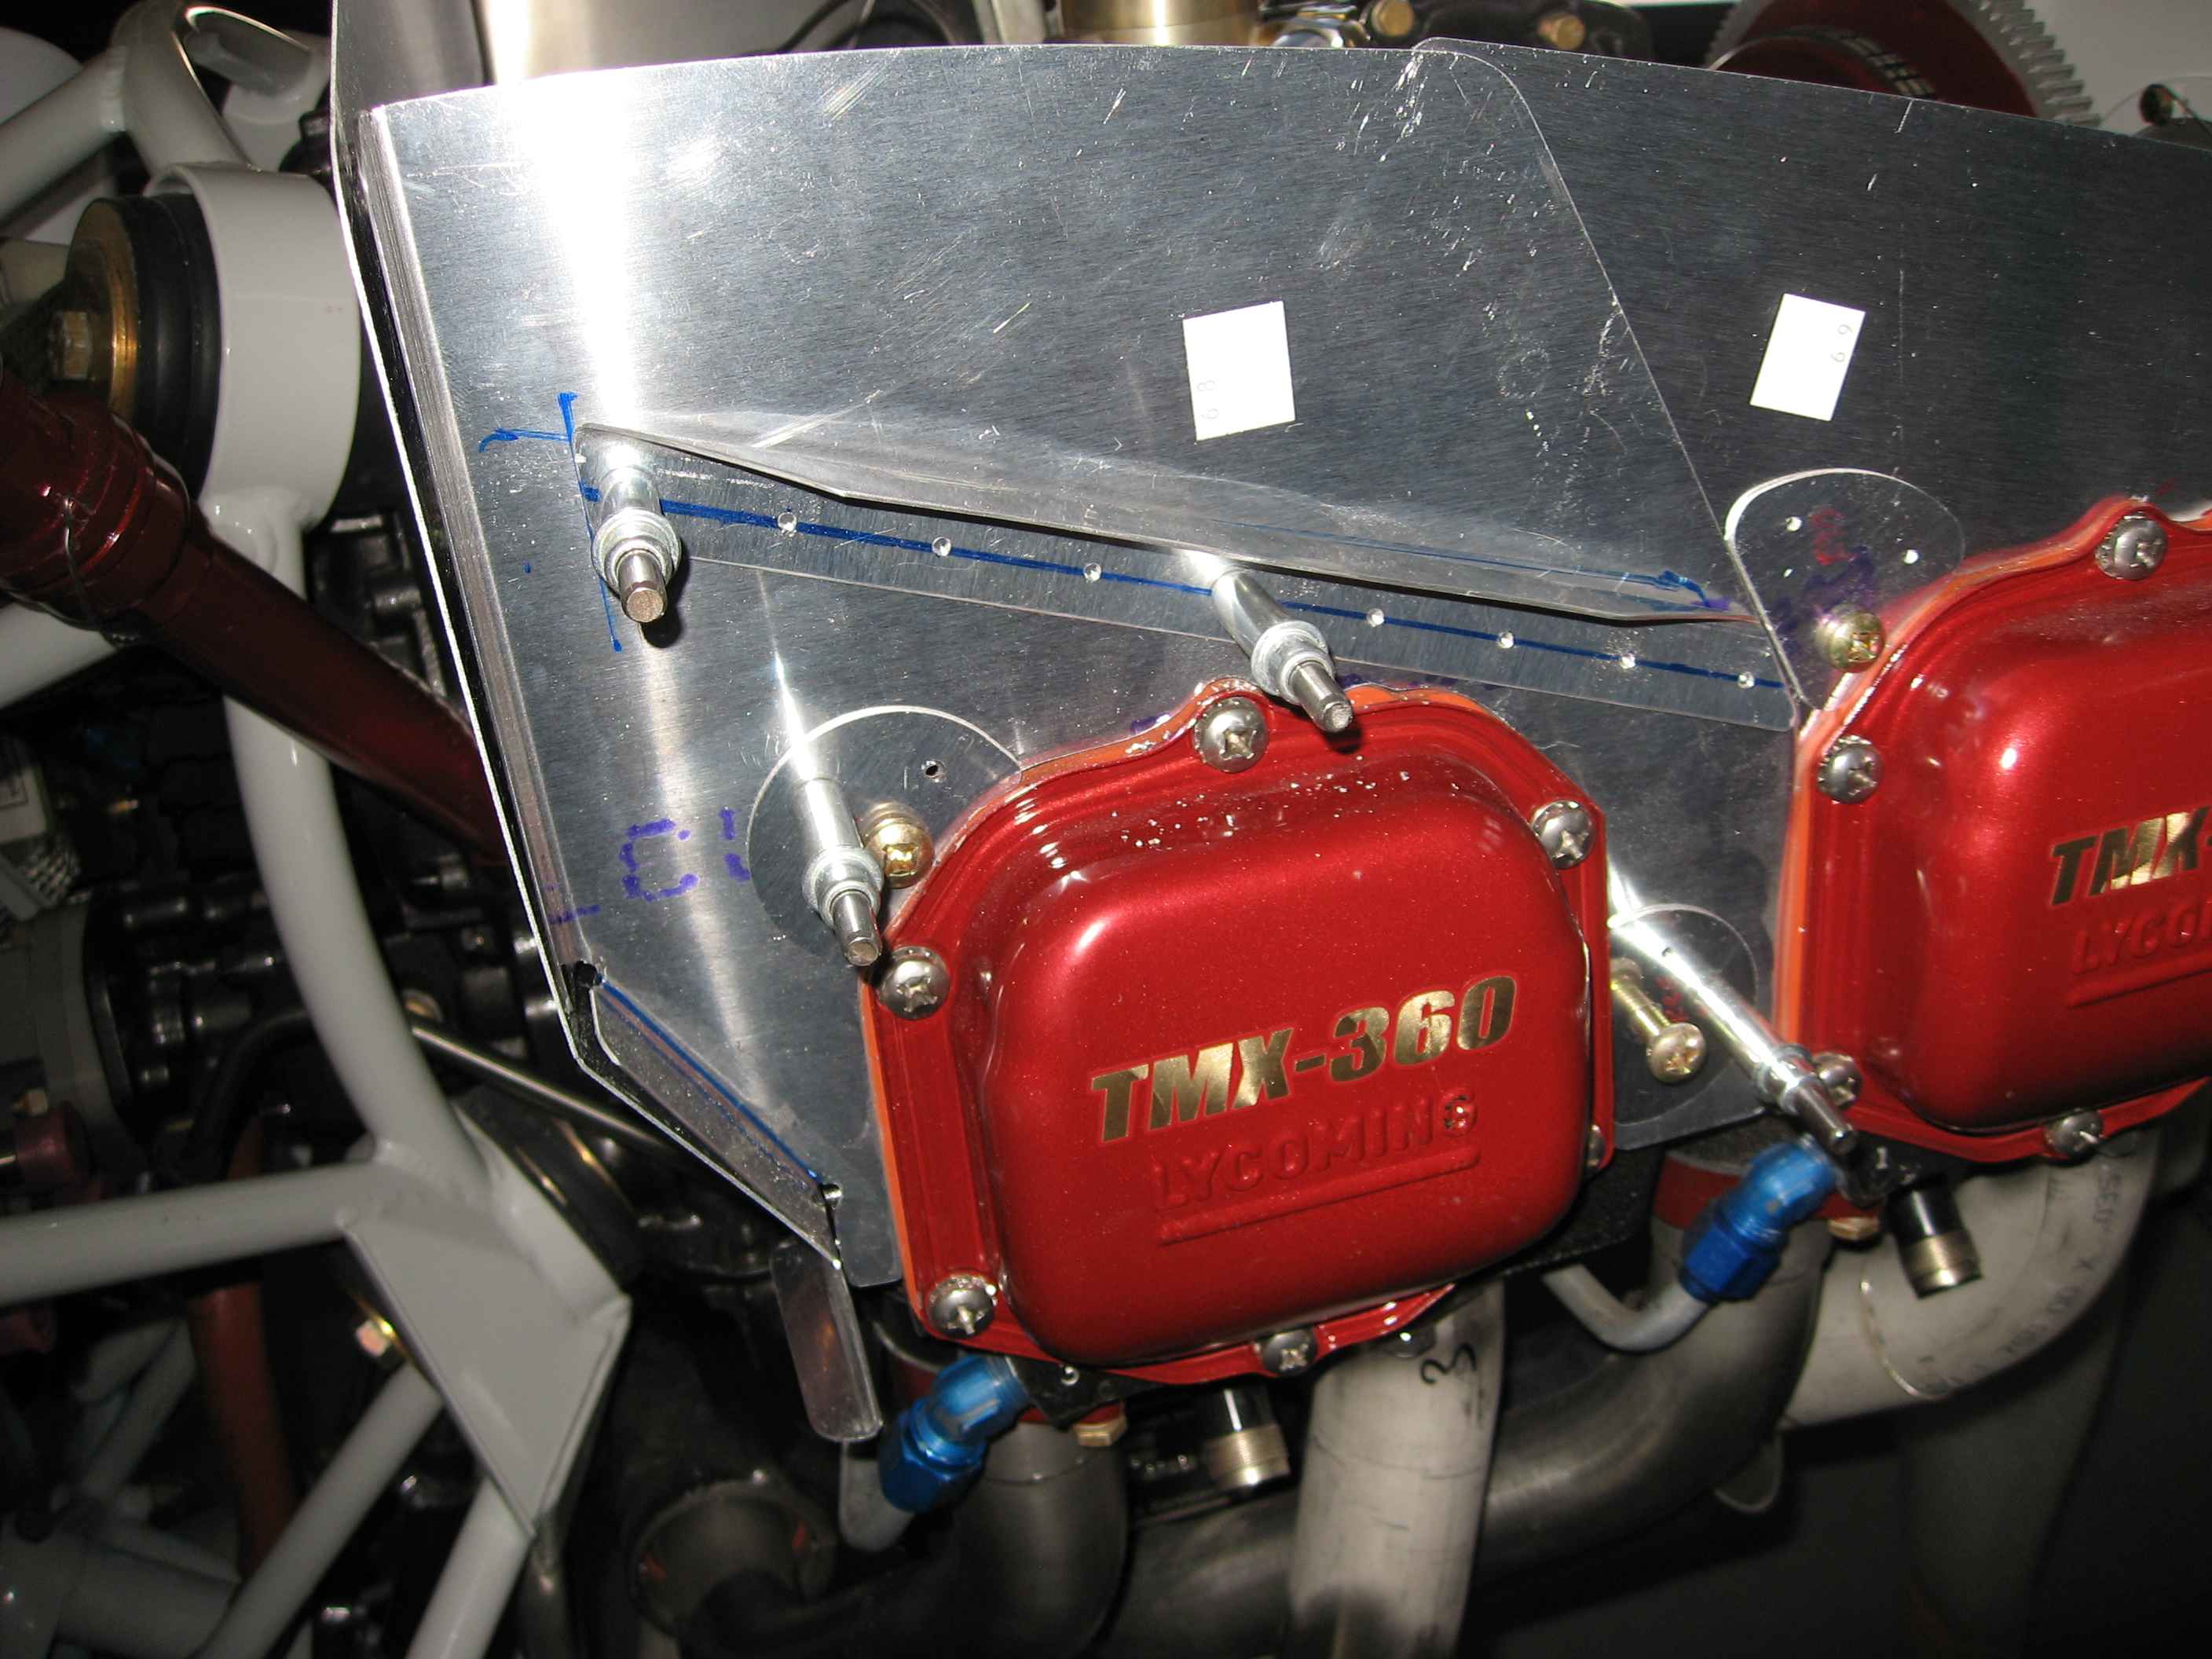
I started by installing the side baffles and the bolt hole attachment
doublers plates. Here the right side has been deburred, fitted,
and match drilled. The same was done for the left side |
 |
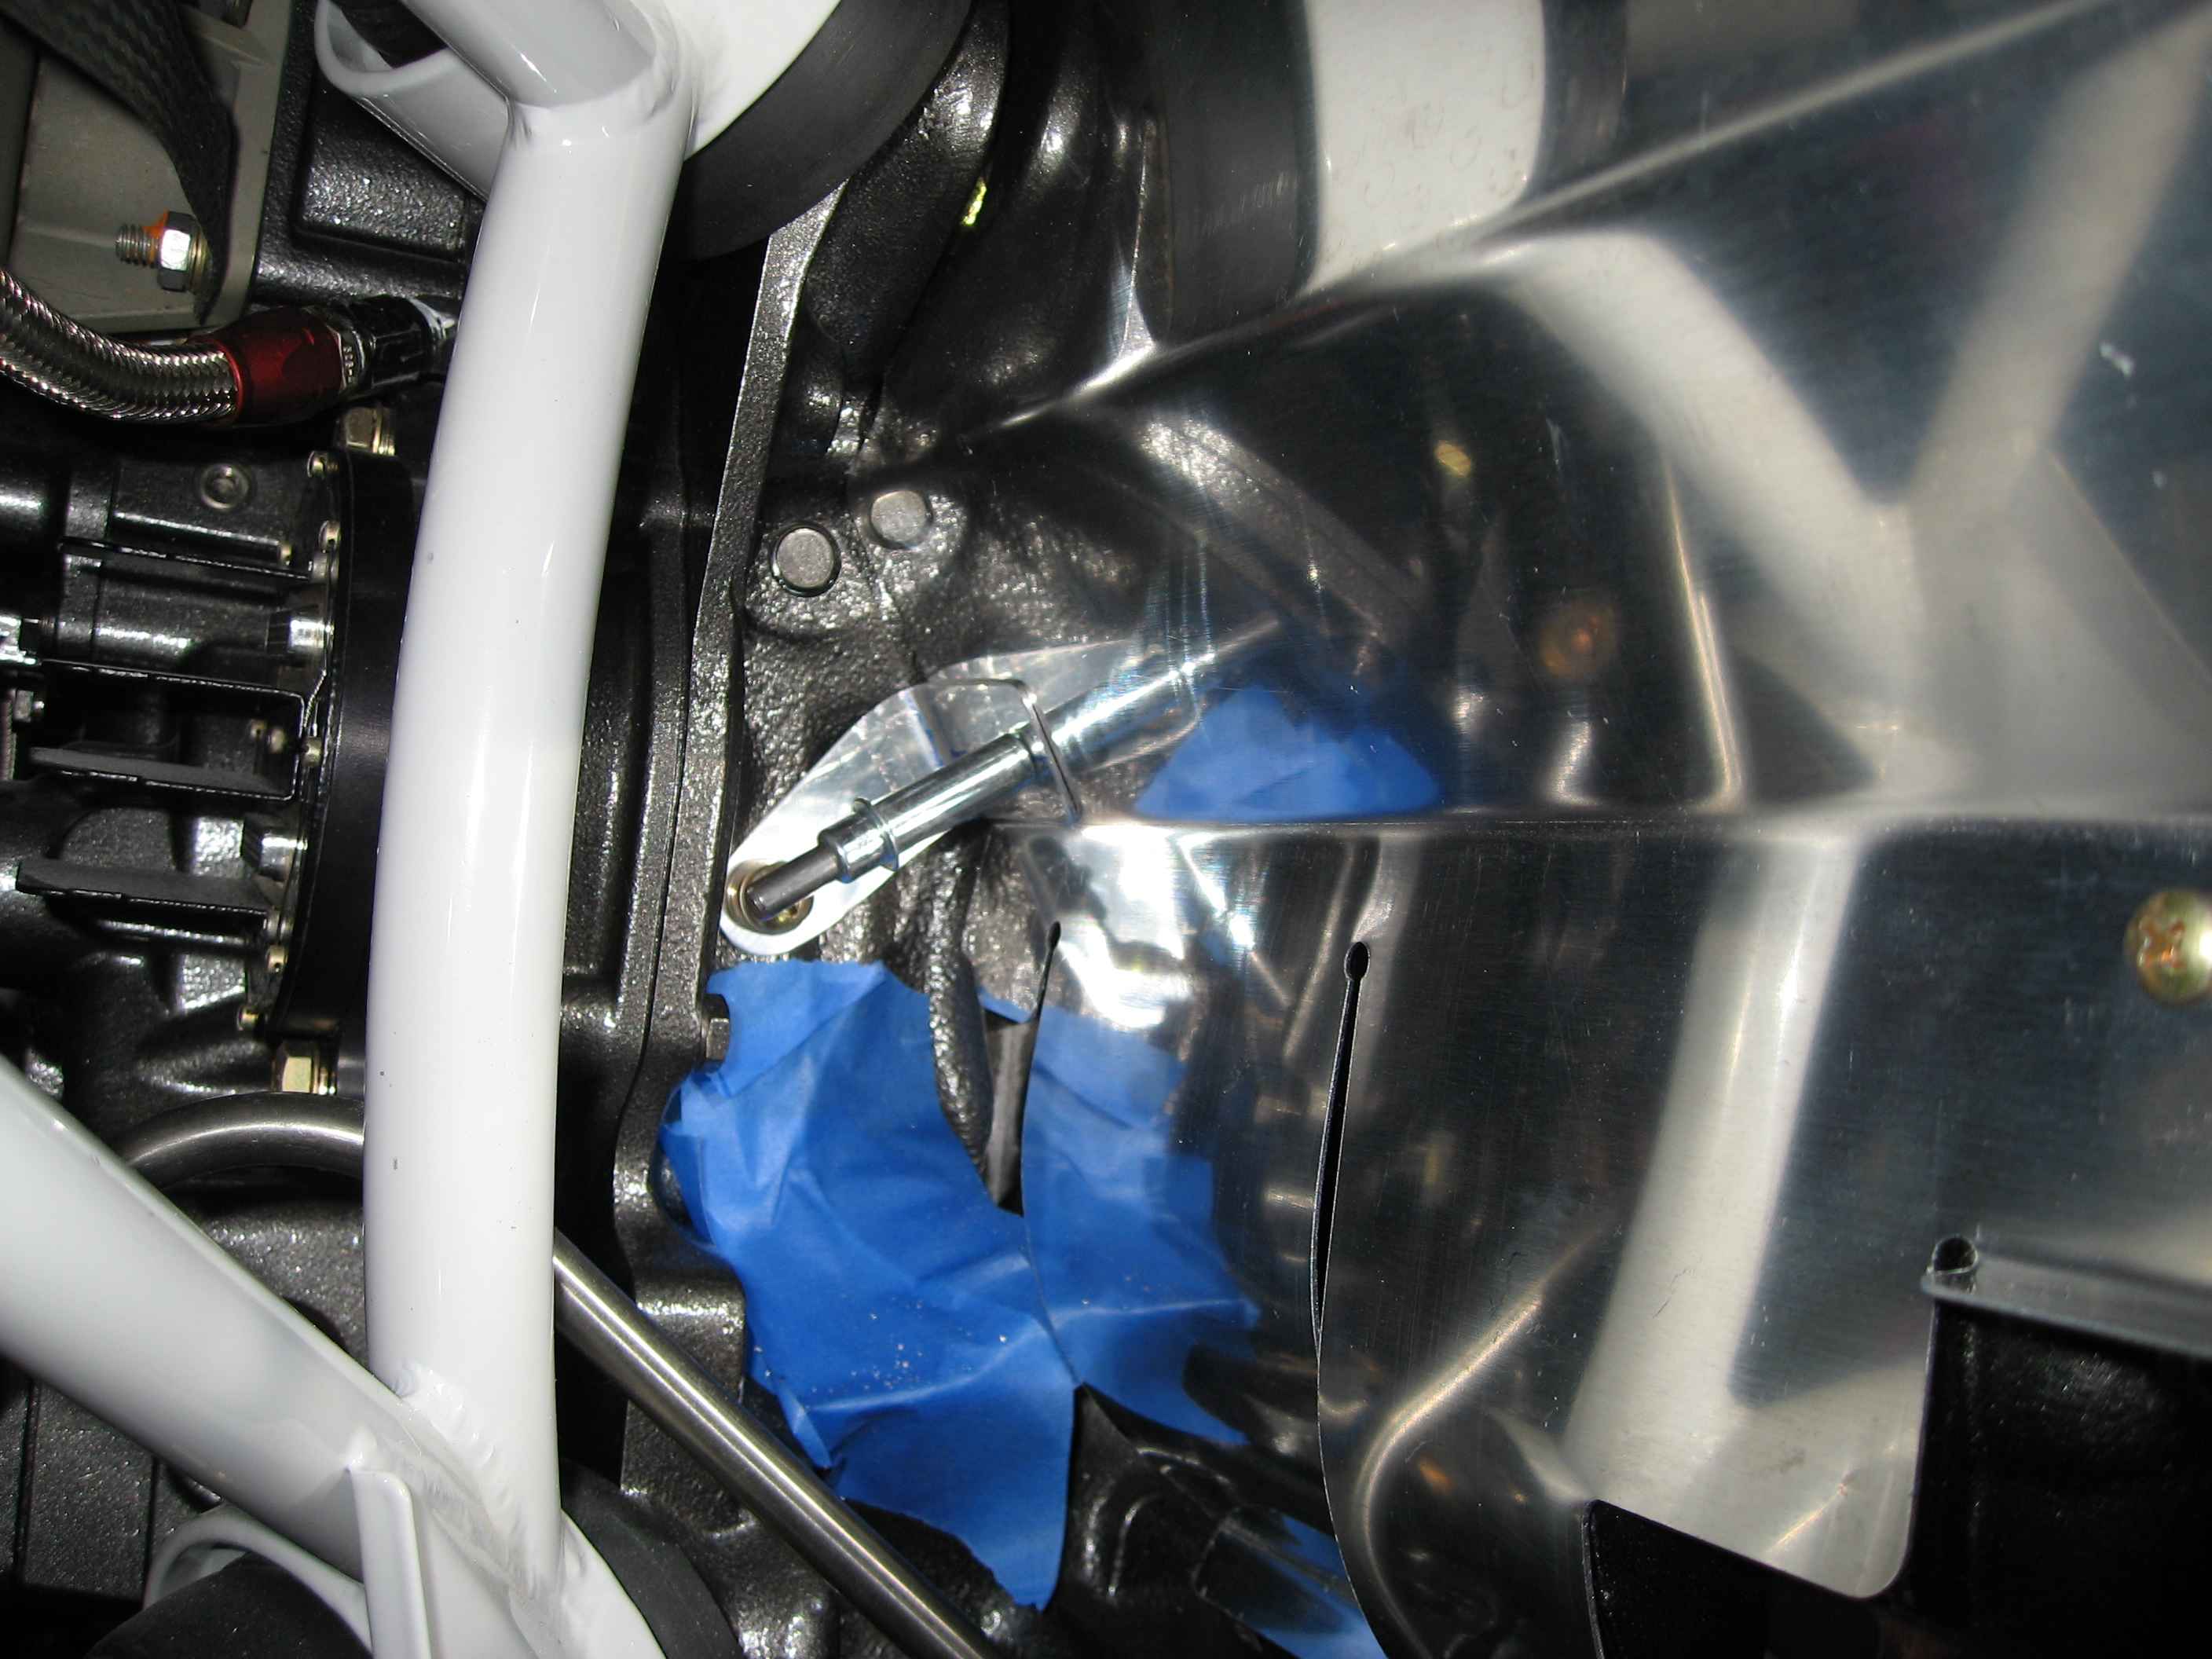
This is a picture of me fitting the back
right baffle. This sucker has proven to be pain. First, I
had to remove the oil dip stick to get better access to one of the
baffle attach points. The blue tape is covering the dipstick hole.
This baffle comes from Vans with a small bent tab to that is used to
attach the baffle to the engine case right near the dipstick. I
found this tab to be hindering my fit, so I cut it off. I then
built an attachment plate out of some .040 (that's what is cleco'd into
place in the picture). This seemed to work out pretty well. |
 |
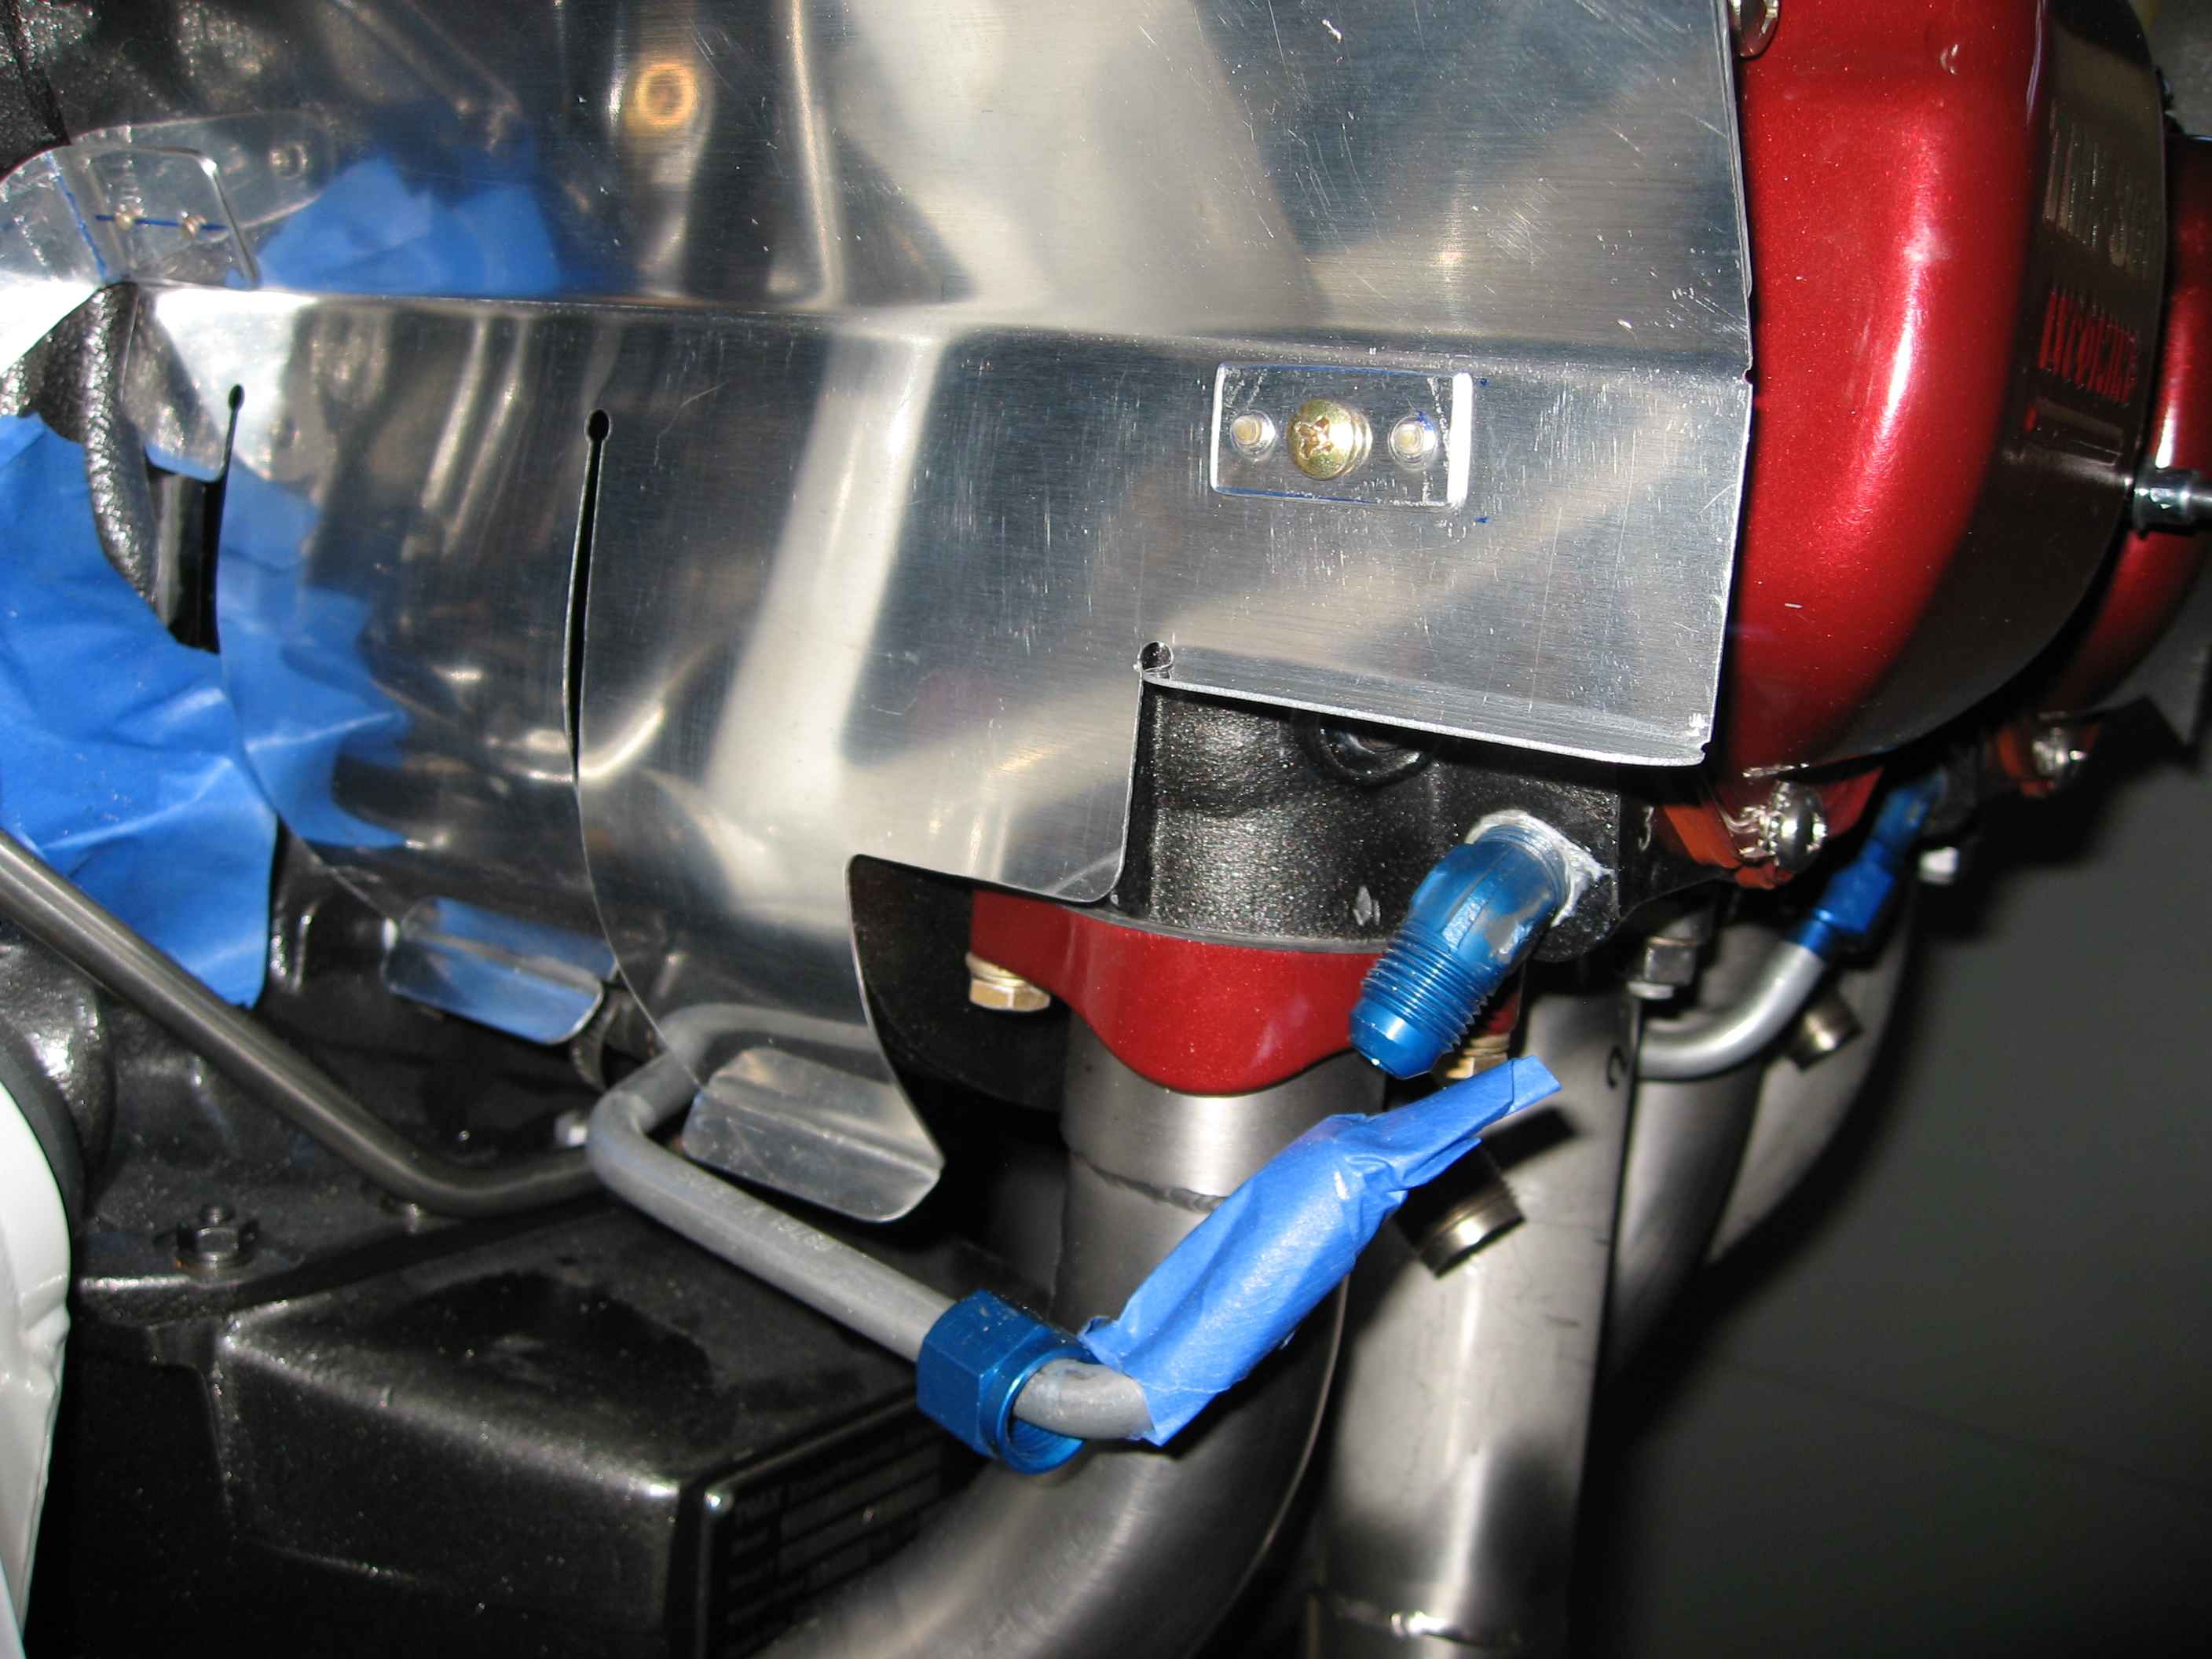
This is another shot of the right rear
baffle. I had to disconnect the oil line to the #3 cylinder to
make the fitting process easier. As it turns out, I ended up have
to trim a bit off the bottom tab that curves around the bottom of the
cylinder to provide clearance for the oil line.
Another thing to point out (arrow in the picture), is the doubler
plate I created for the attachment bolt hole. All the other
attachment bolt holes got these plates, so I thought I should also add
one here.
|
 |
Here I have fabricated this angle
stiffener for the right side baffles. Something similar will be
done on the left side, but much beefier because it needs to help support
an oil cooler that is mounted on the baffles. |