 |
February 16-18,
2008:
(8.0 hrs.)
Even though I was sick this weekend, I did make
some progress on the plane. Mostly I stood around and stared in a
daze at the plane, baffled by the baffles. The directions
for the Van's baffle kit sucks. And the directions that come with
the Sam James Plenum also are terrible. I guess I will just have
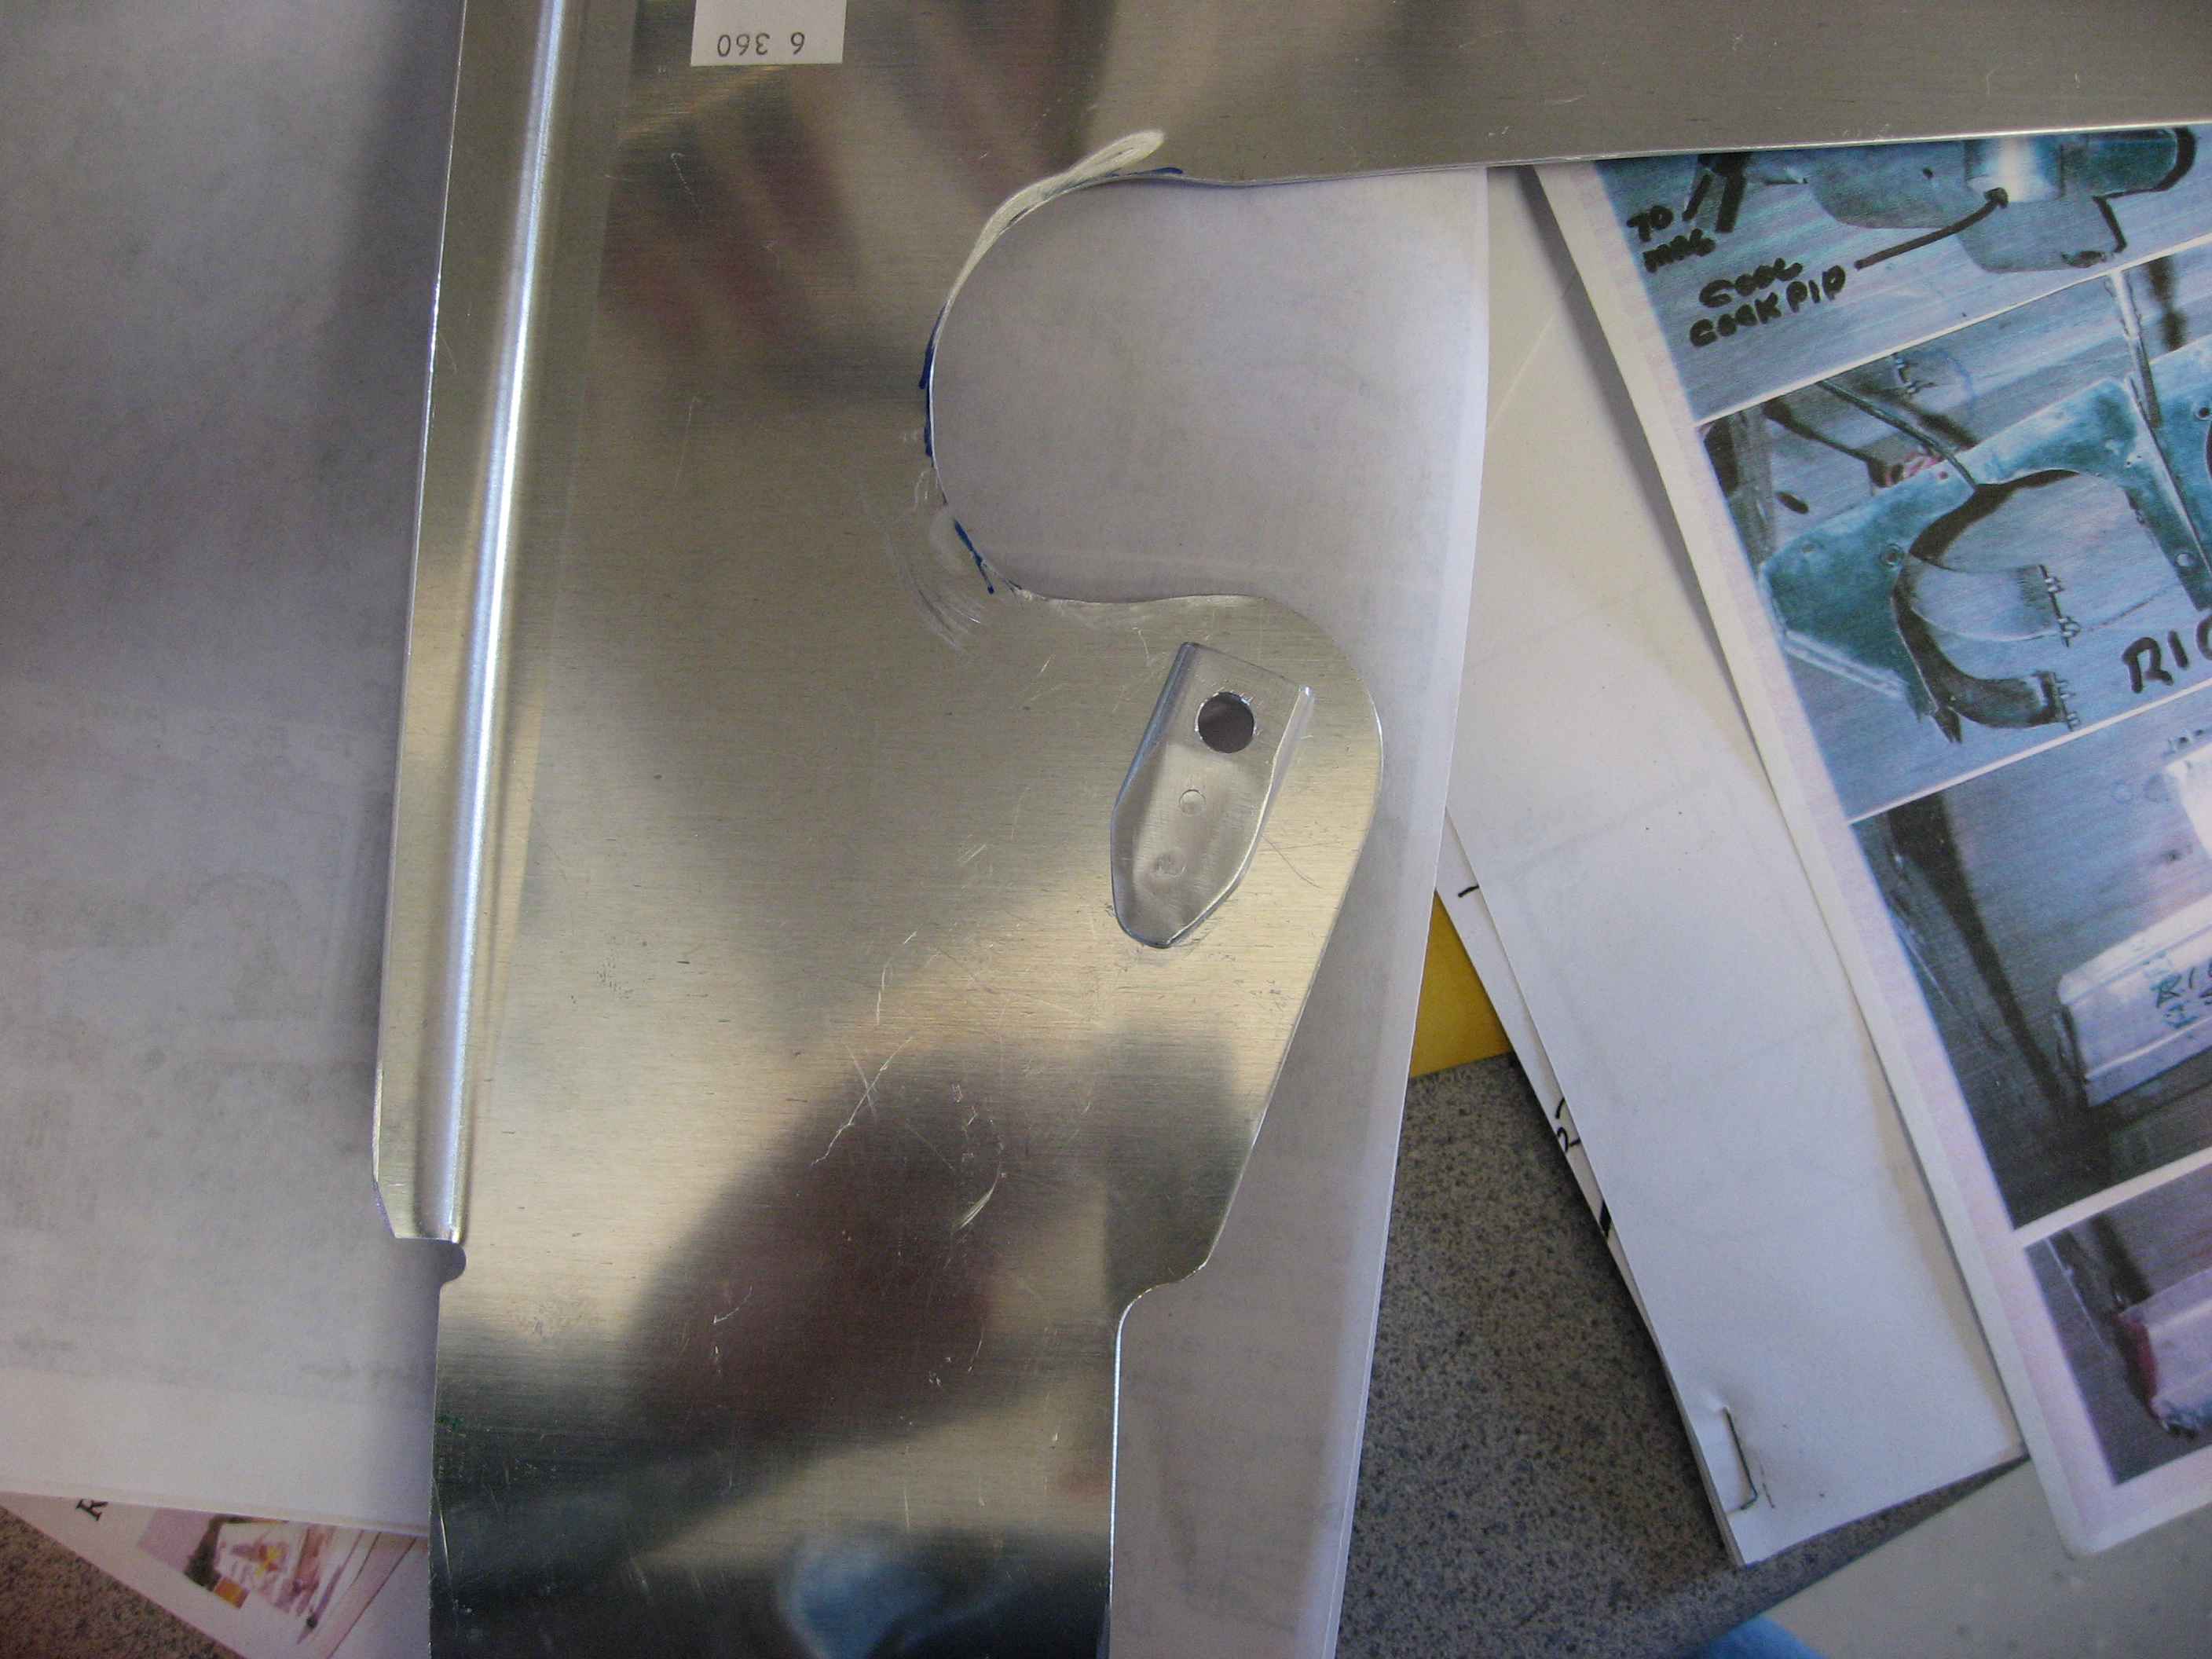
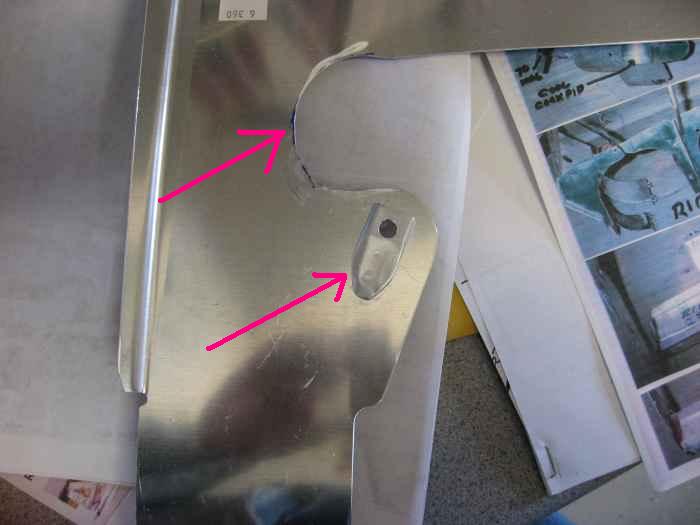
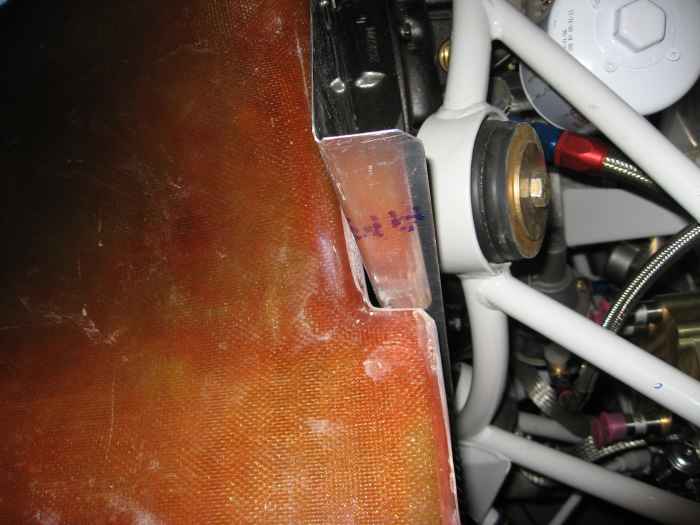
to figure this out on my own. Anyway, here
is the left rear baffle after some initial trimming for the motor mount
(top arrow) and the addition of a finger spacer I made (bottom arrow).
The finger spacer is used to fill a gap between the engine case and the
baffle where the attachment bolt goes. My spacer is about 1/4 inch
thick. I appears that this will not be thick enough. I will
probably make a new one. |
 |
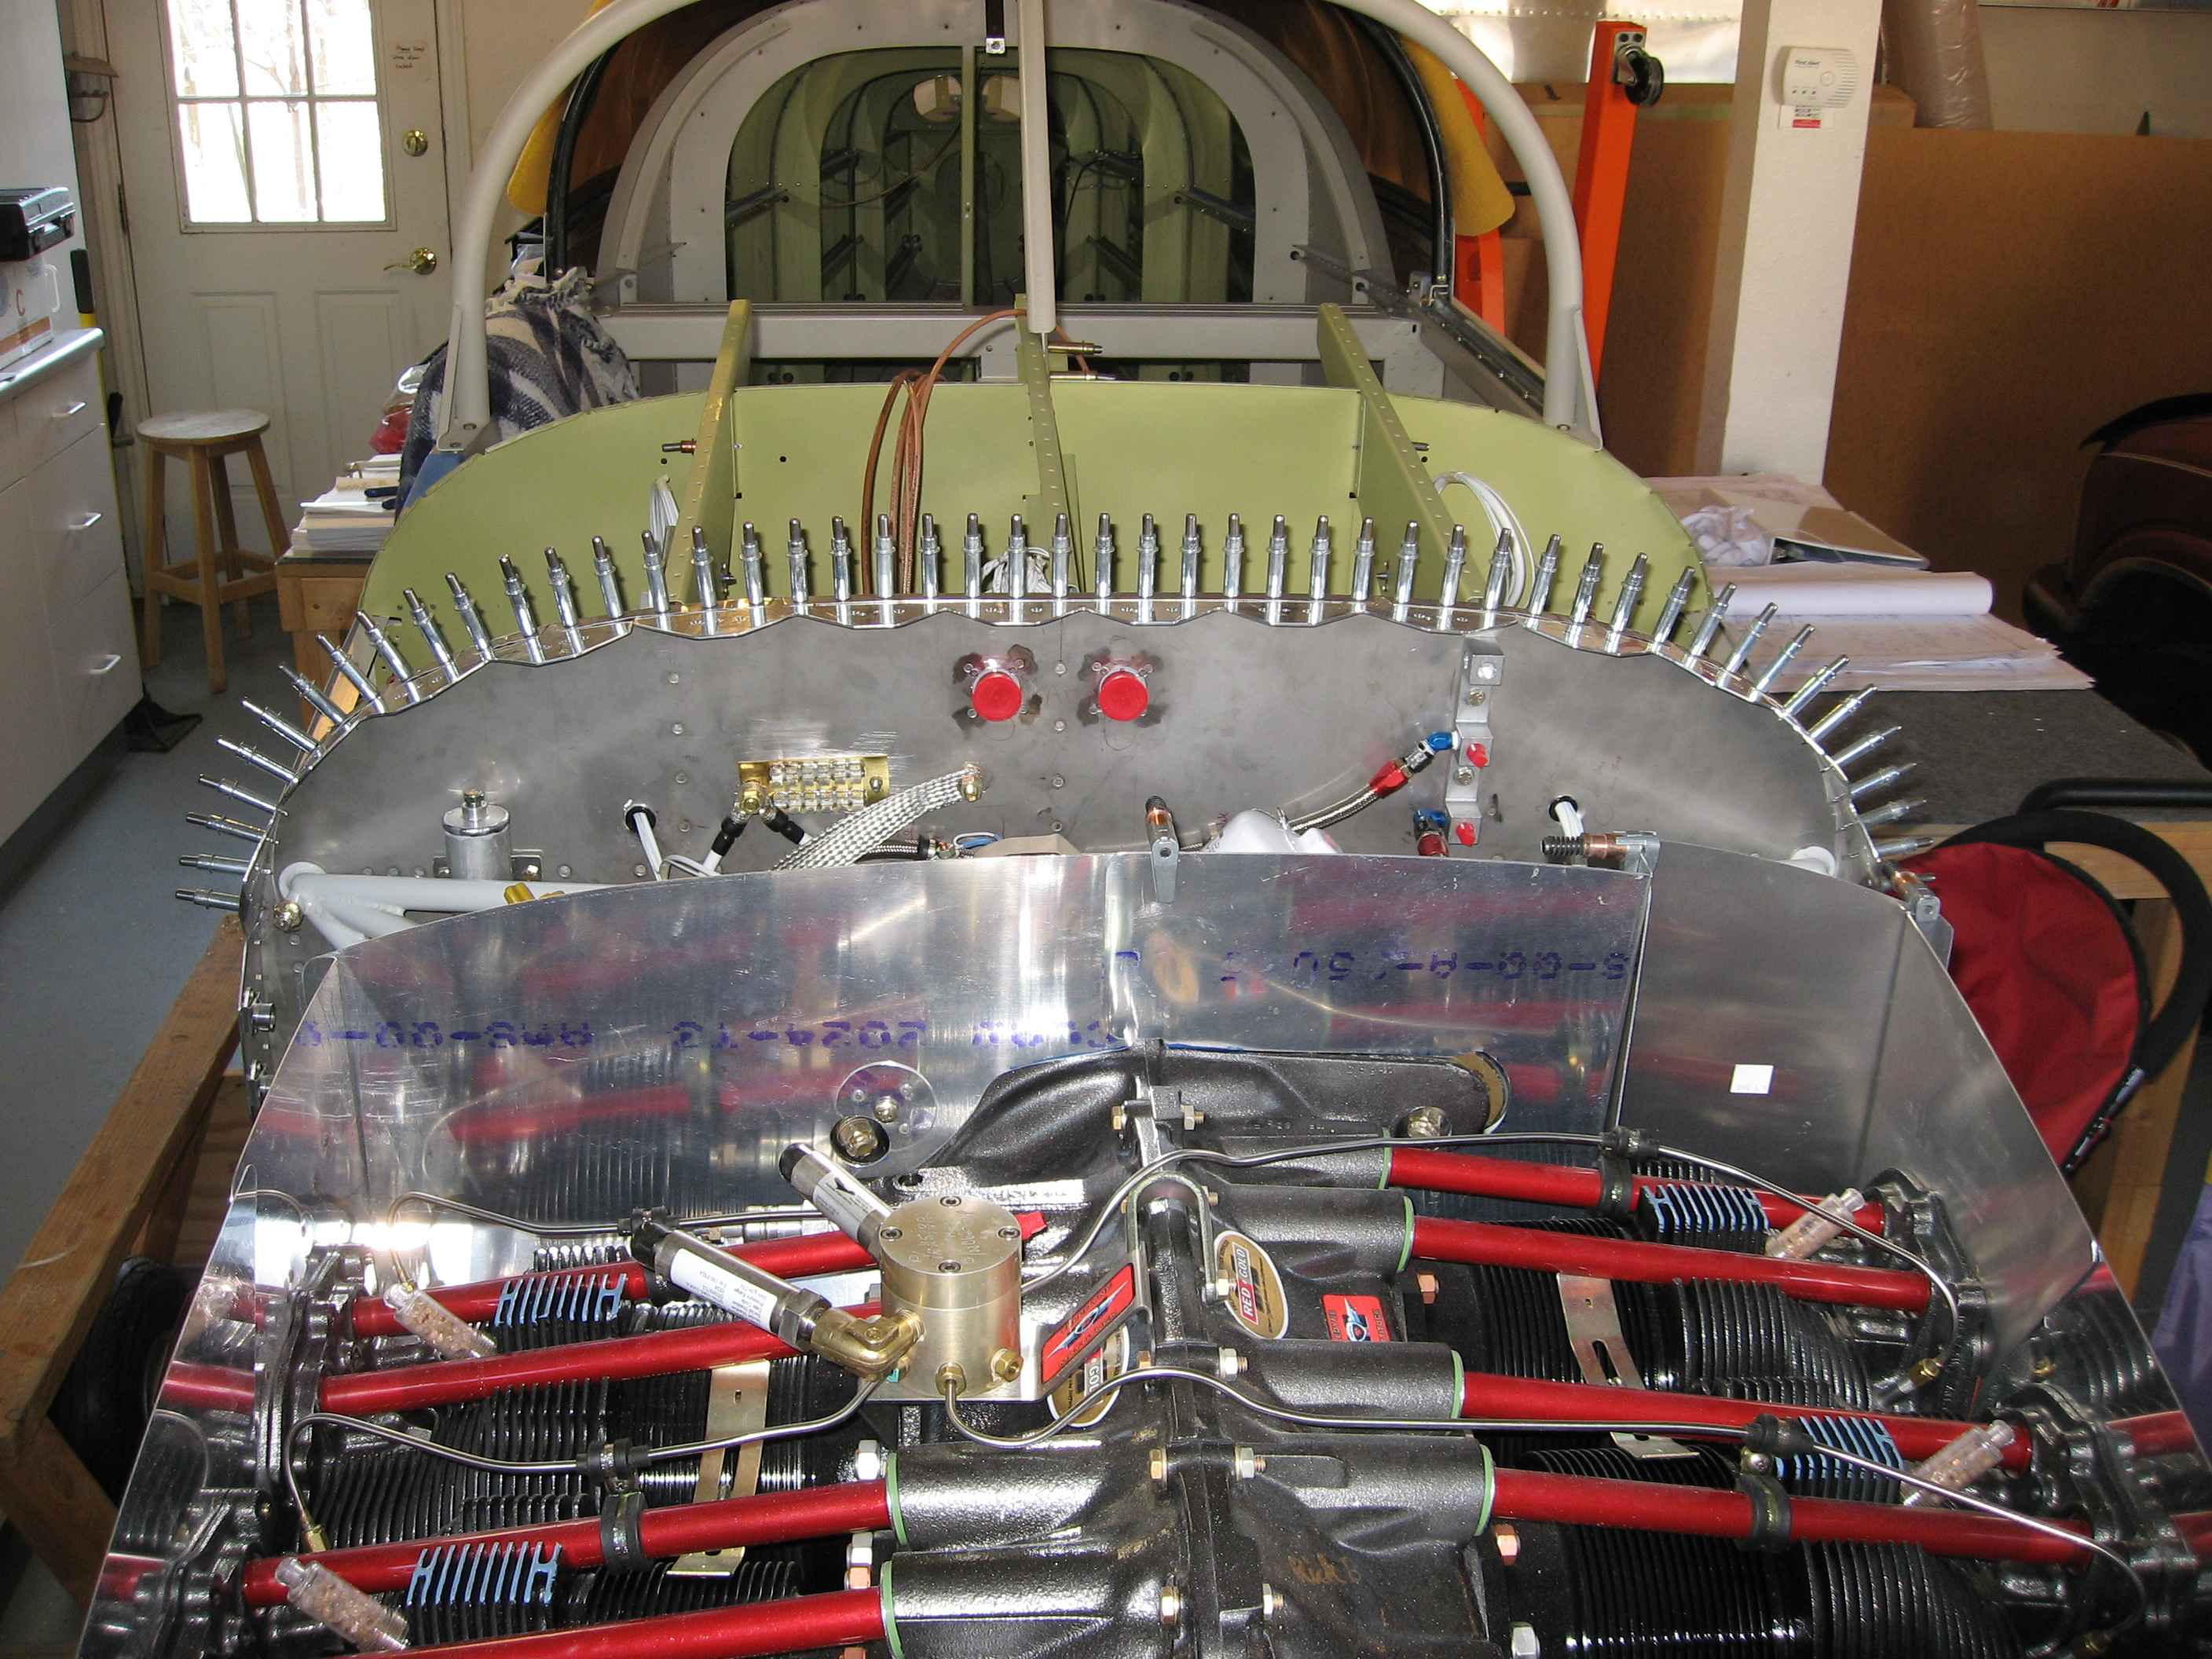
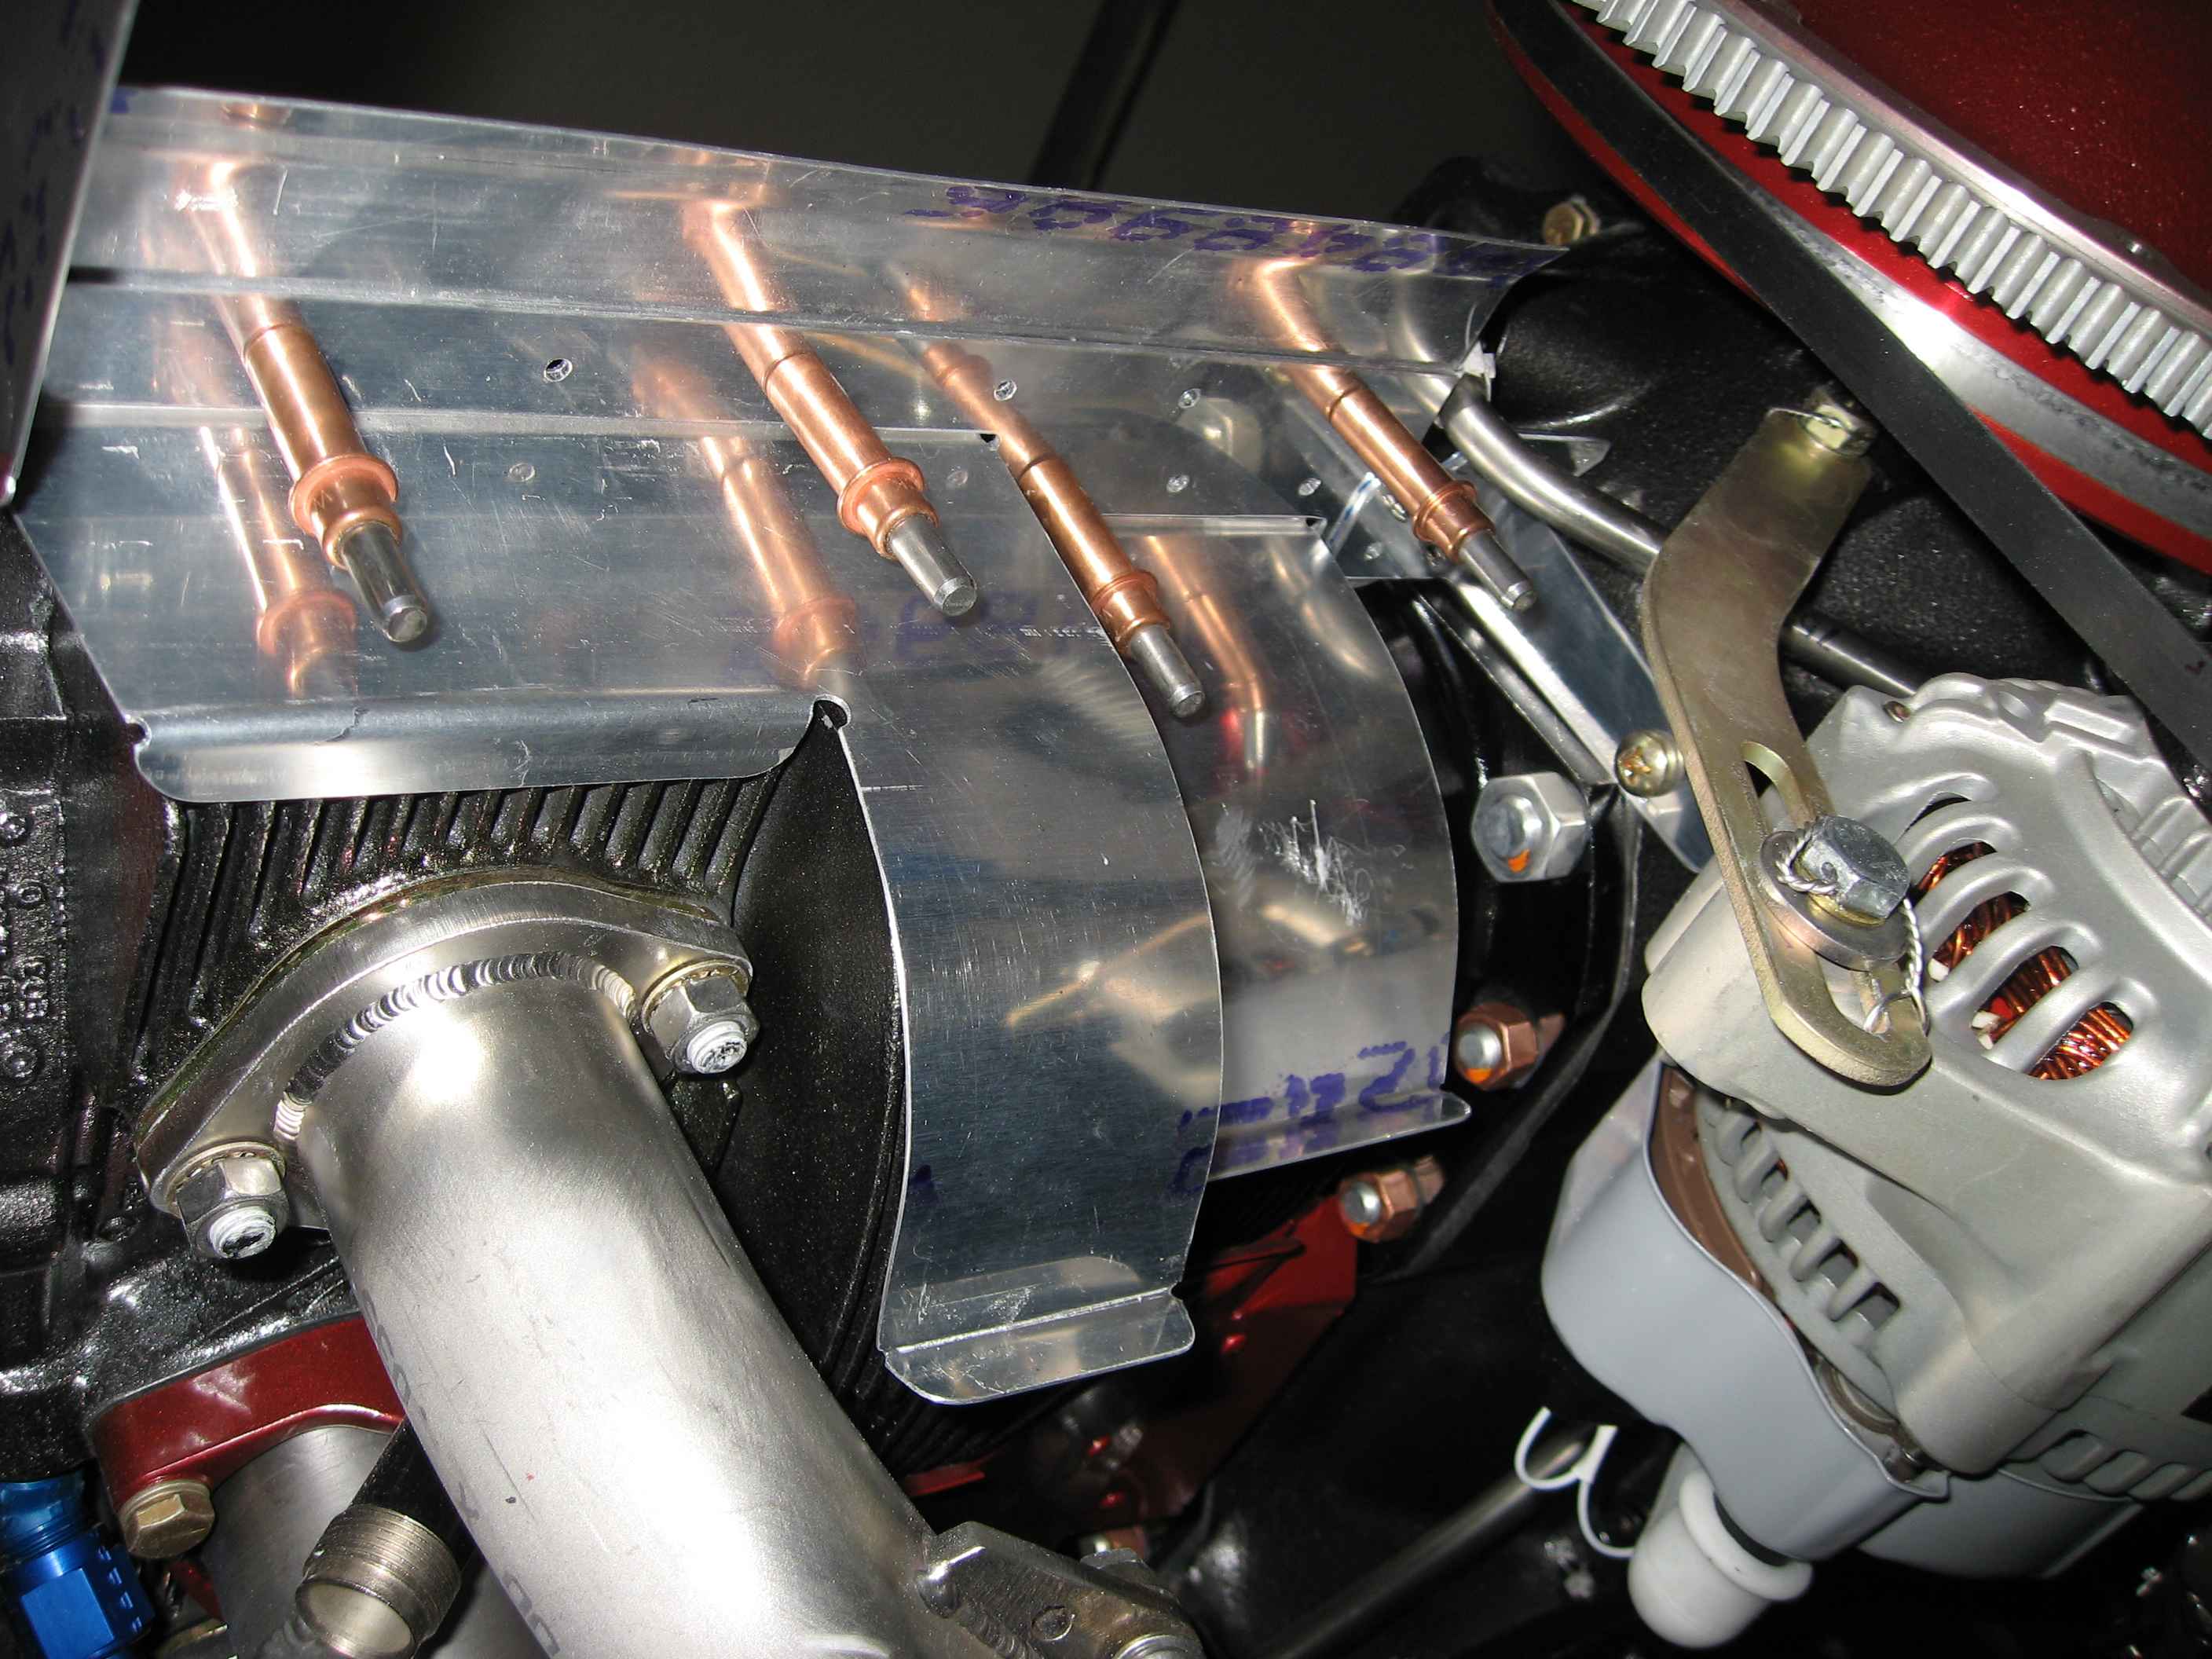
Here is a shot of the side and rear
baffles temporarily installed. |
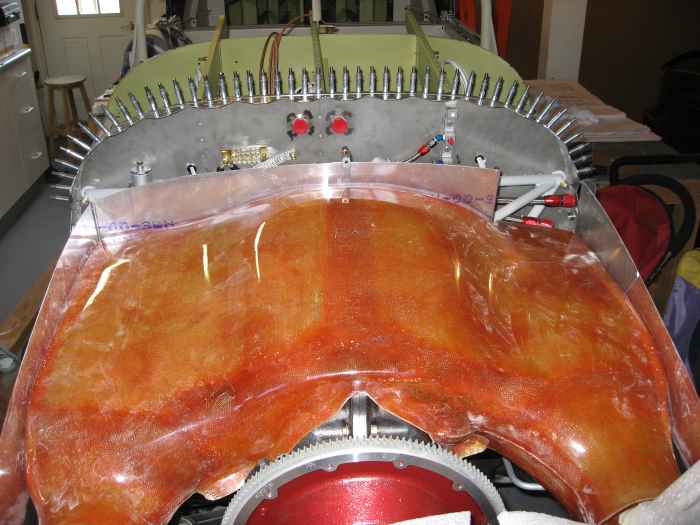 |
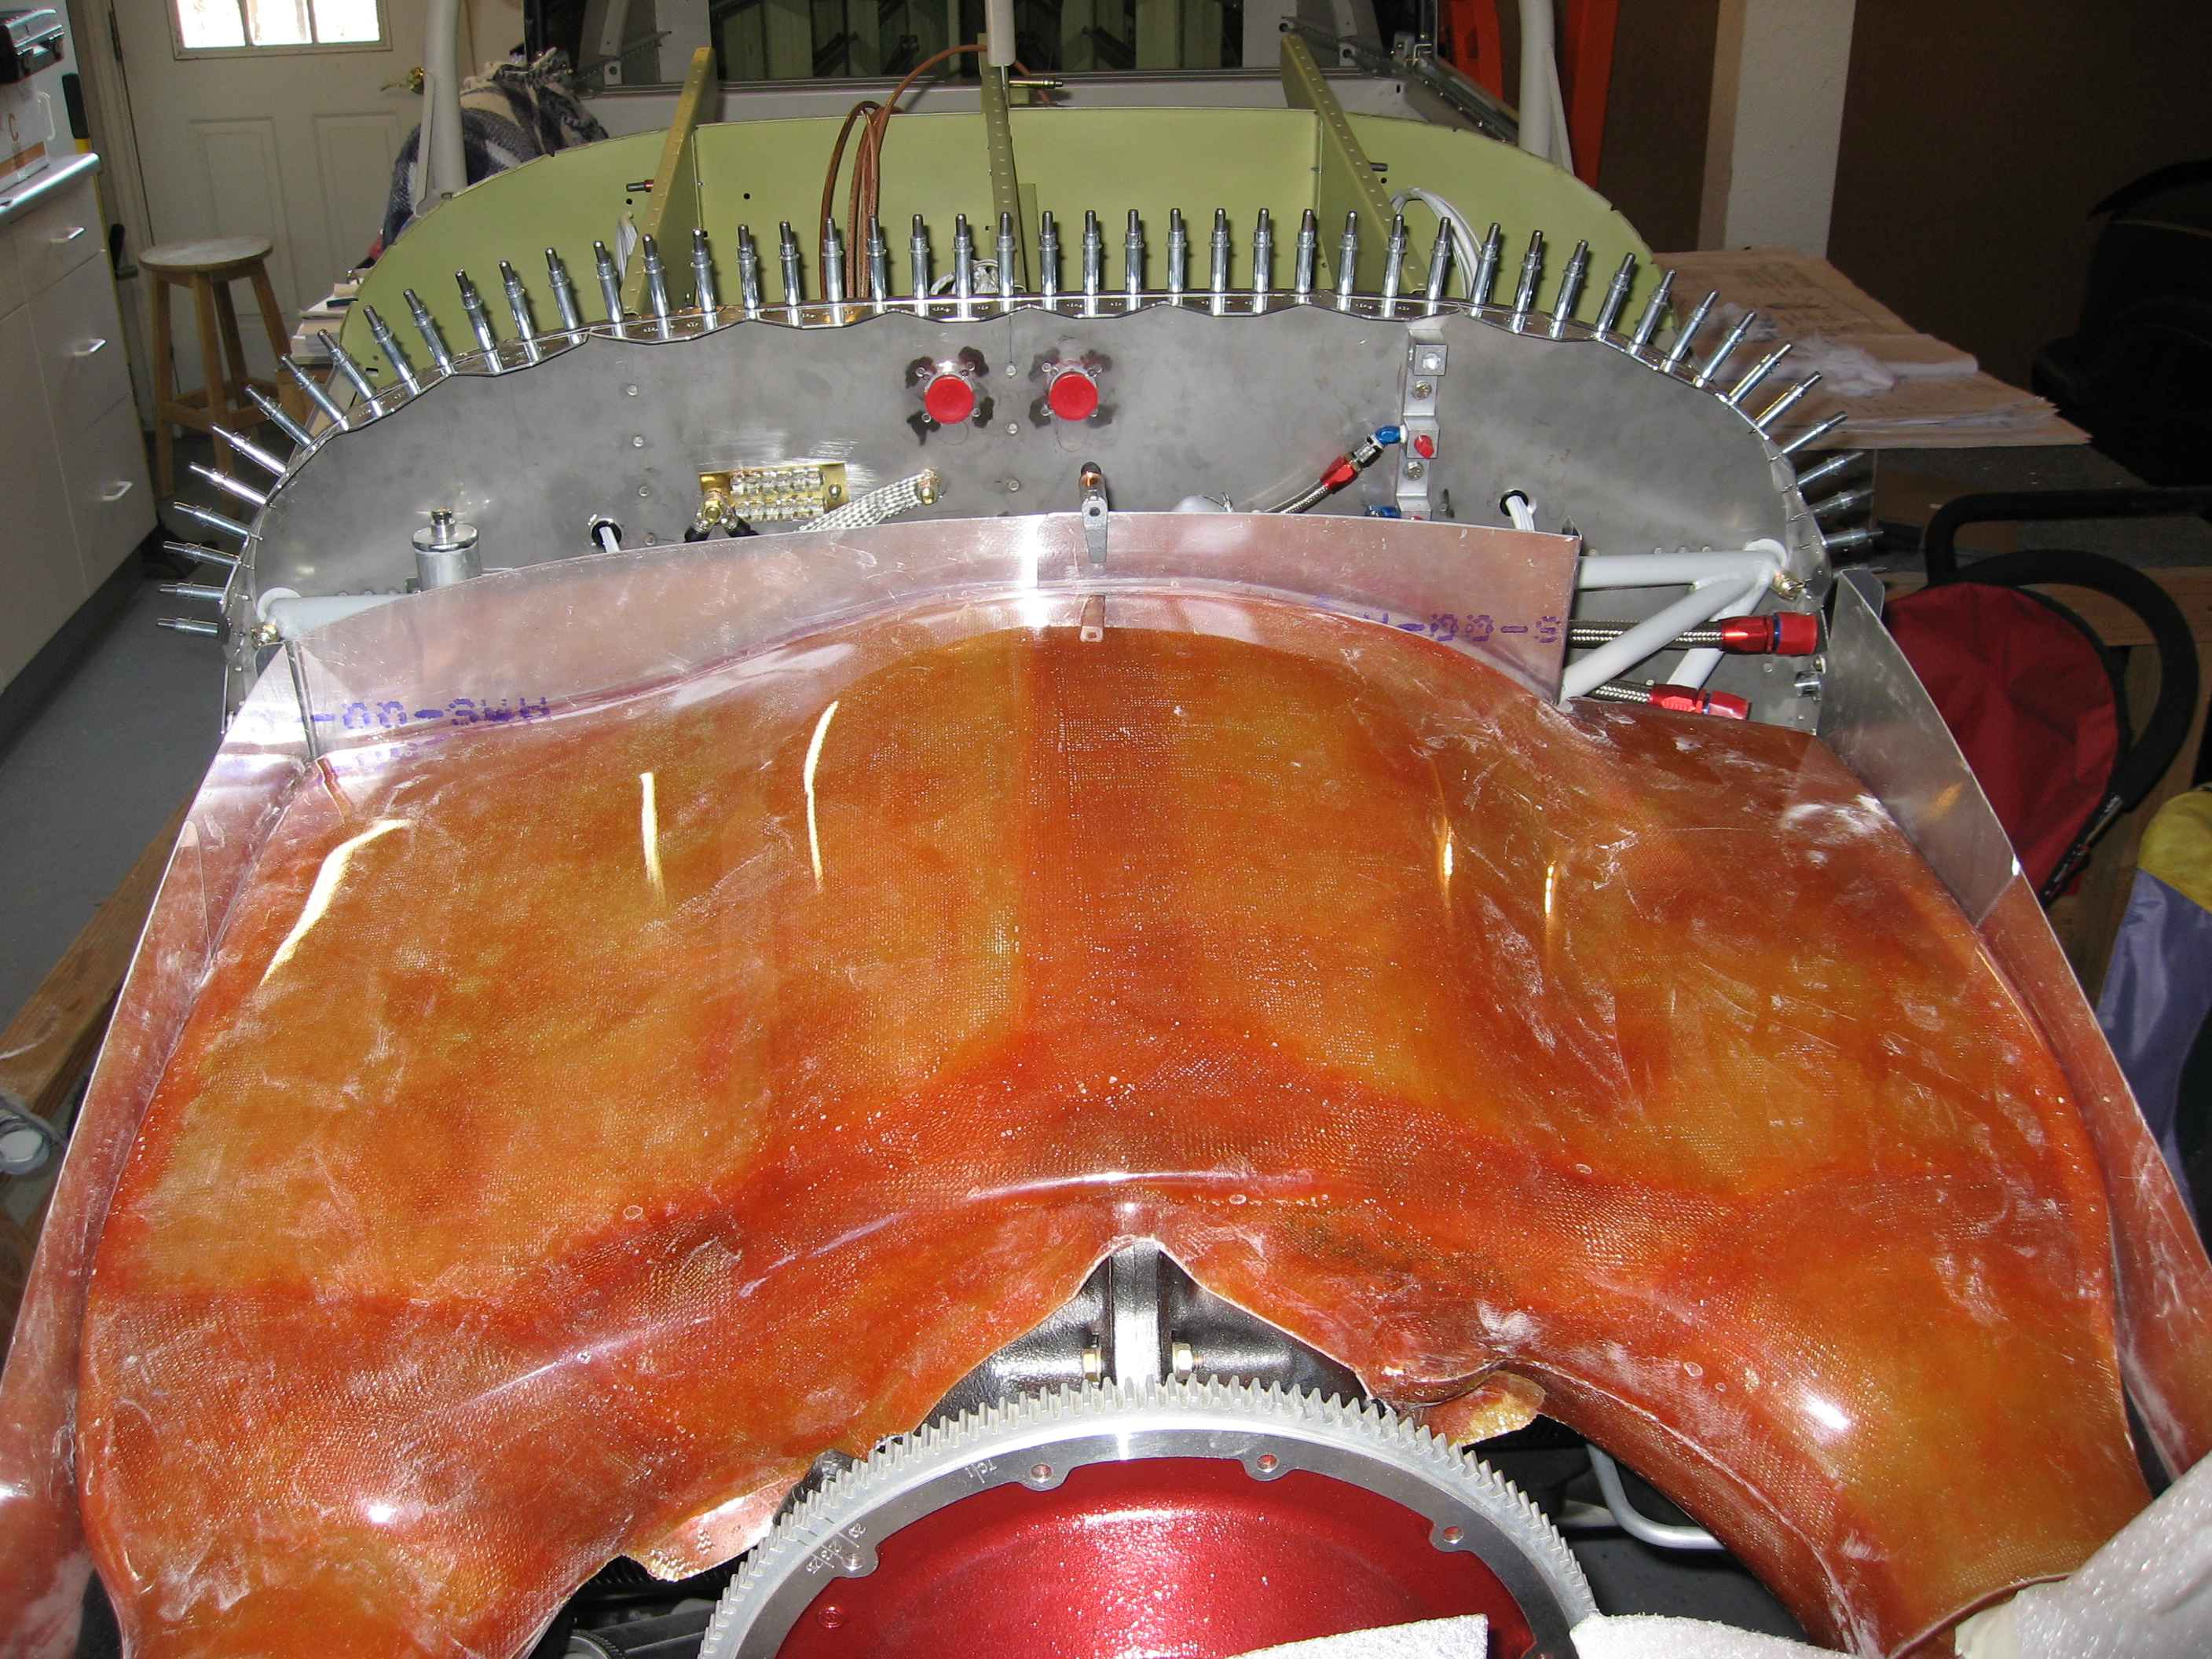
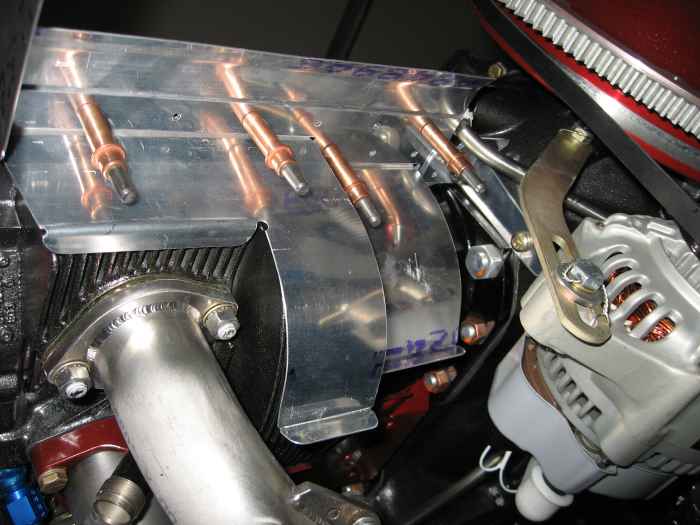
I then laid (forced is more like it) the
Sam James plenum in place to ascertain the fit. It looks like I
will have some issues to deal with on the back left where the oil cooler
is installed. It also looks like I will need to do something to
get a better fit around the engine case in the front. It seems
like there are some 1/8" gaps. |
 |
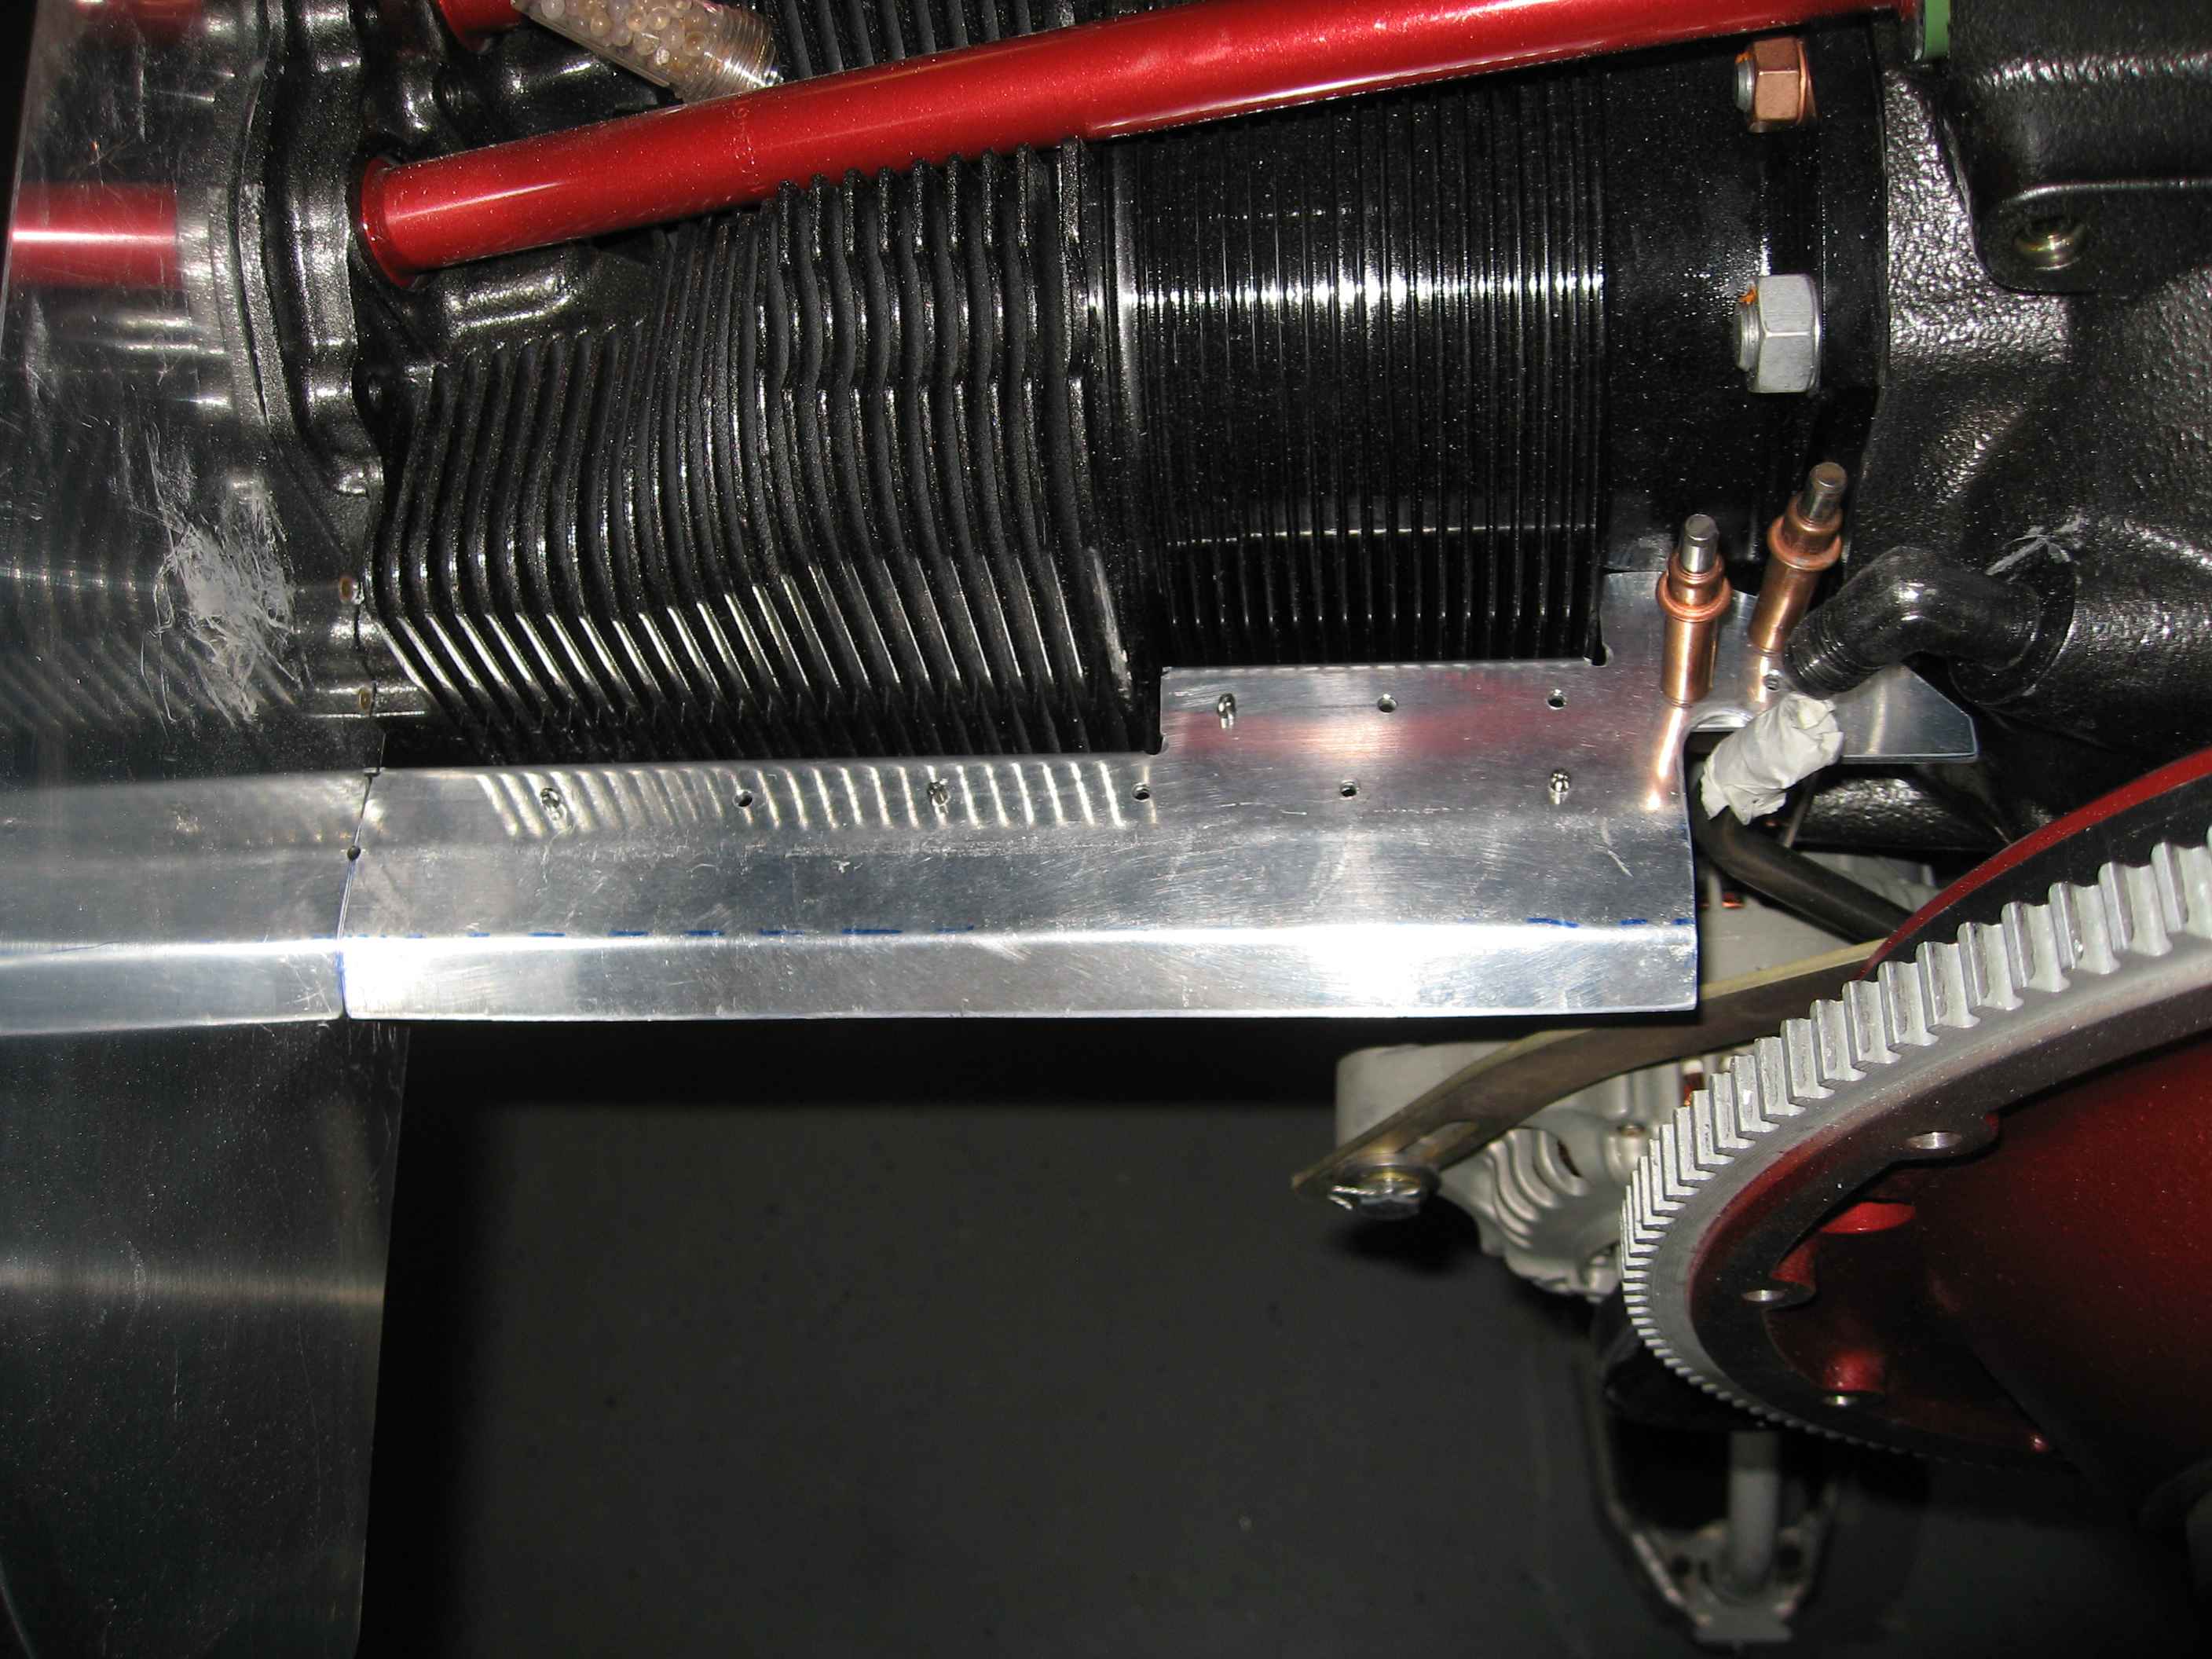
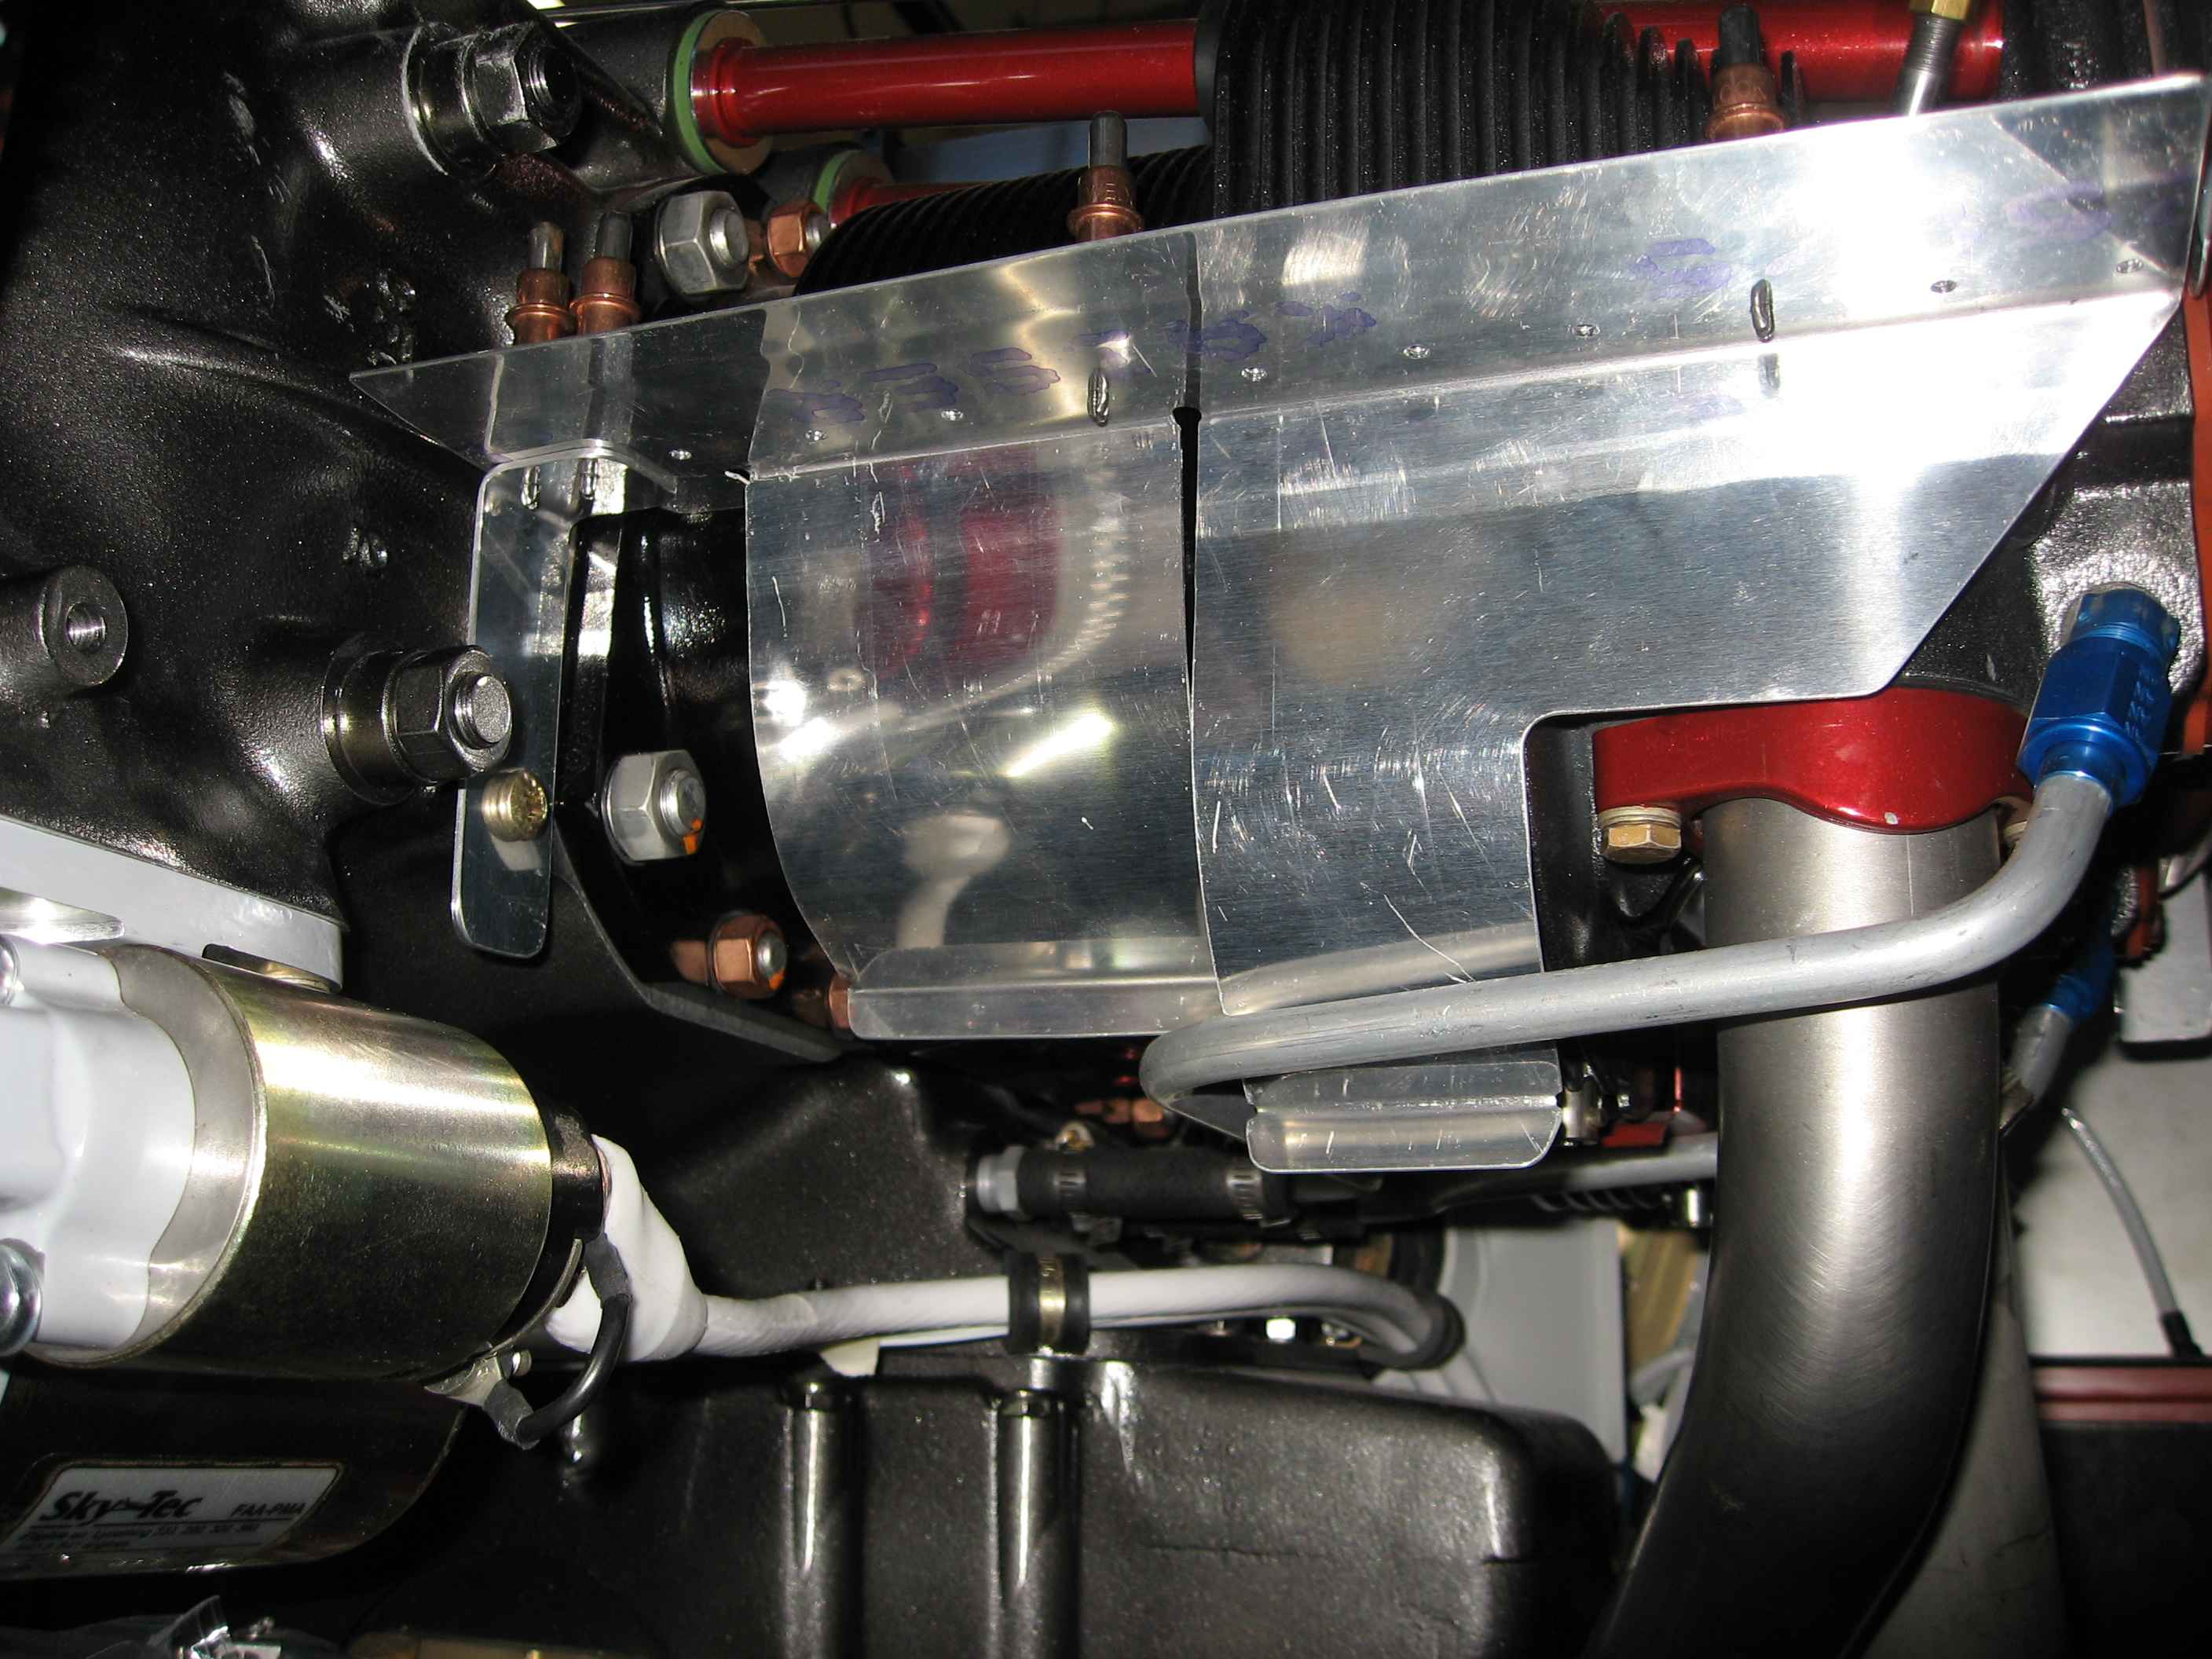
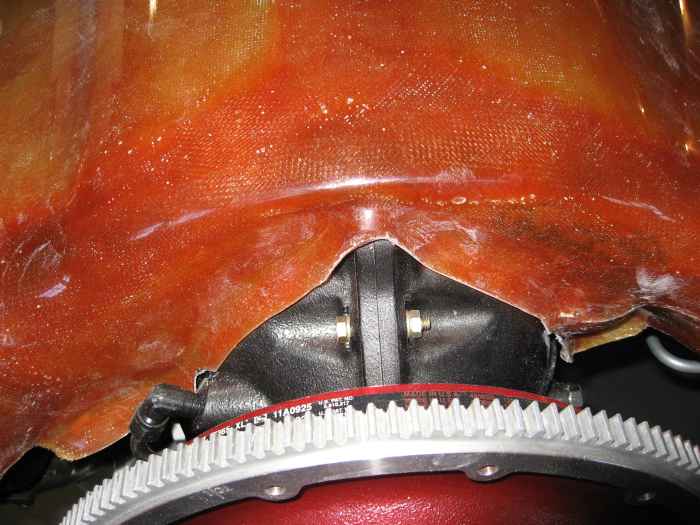
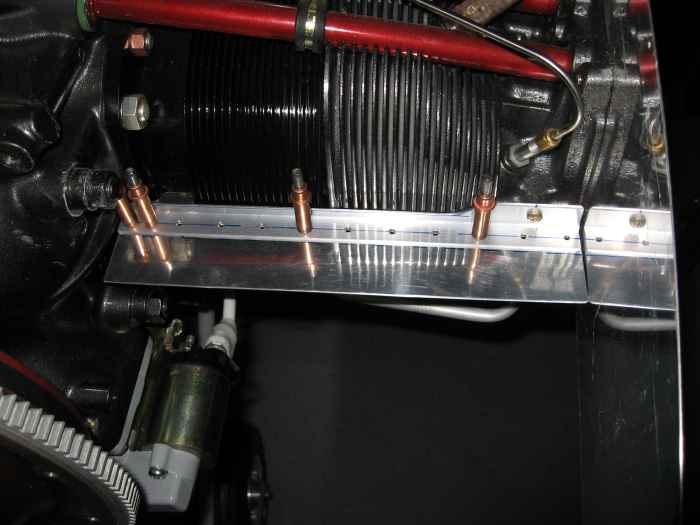
Here is a shot of the problem area in the
left rear where the oil cooler mounts. It is a tight fit 'without'
the oil cooler mount point in position. Additionally, it seems the
setback provided by the Van's baffle for the oil cooler is larger than
what was built into the plenum. |
 |
Here is a closer shot of how the front of
the plenum fits on the engine case. |
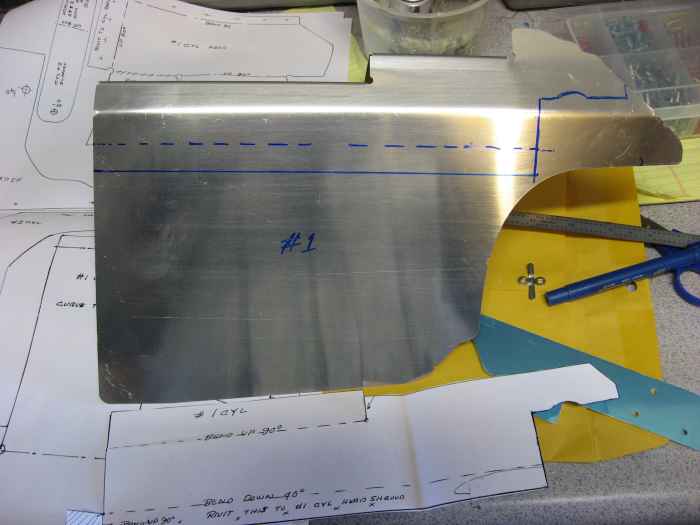 |
Now the hard part.... Figuring out how the
front baffle floors are supposed to be constructed.
I ended up cutting out the paper templates for the front floors
provided by Sam James and then laying those over the front floor pieces
provided in the Van's baffle kit and tracing the outline. In this
picture you can see a solid line, what needs to be cut, and a dashed
line, what needs to be bent. |
 |
After cutting, bending and deburring, this
is what the front right floor looks like. I had to cut a notch out
of the floor so my prop governor line could pass through. |
 |
Here is a shot of the front right floor
from the bottom. Here you can see the added doubler plate cleco'd
in place and the bracket that attaches the floor to the engine case. |
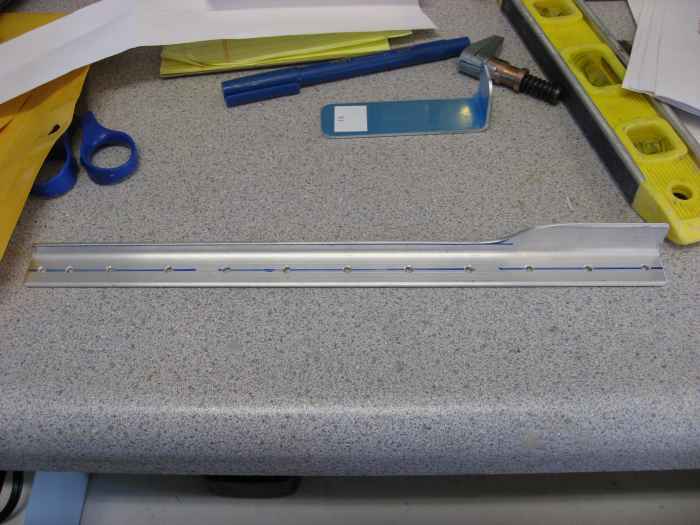 |
Now on to the left side. First, I
fabricated this floor doubler and attachment bracket out of some
aluminum angle per the Van's instructions. |
 |
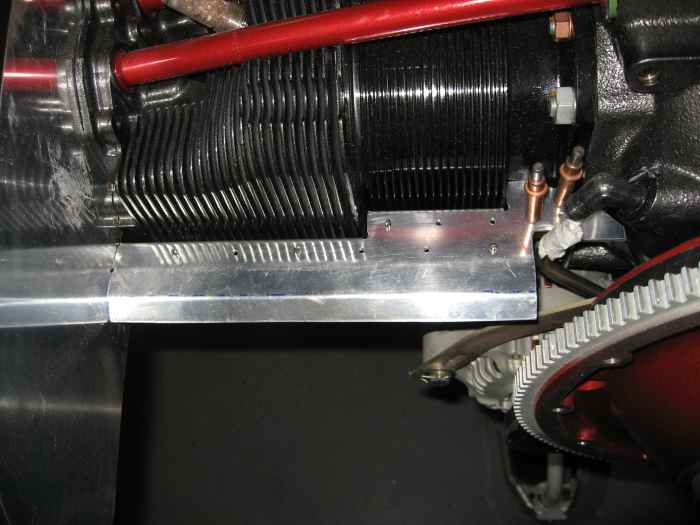
I did the same routine as was done on the
right floor baffle to determine the cut lines by using a paper template
from Sam James. Here is the left floor temporarily installed. I
did not yet add a downward bend in the floor because I did not trust the
information provided in the Sam James instructions. |
 |
Here is a shot of the left floors from the
bottom. You can also see the attachment bracket to the engine
case. |
|
|
|