![]()
![]()
![]()
![]()
![]()
![]()
![]()
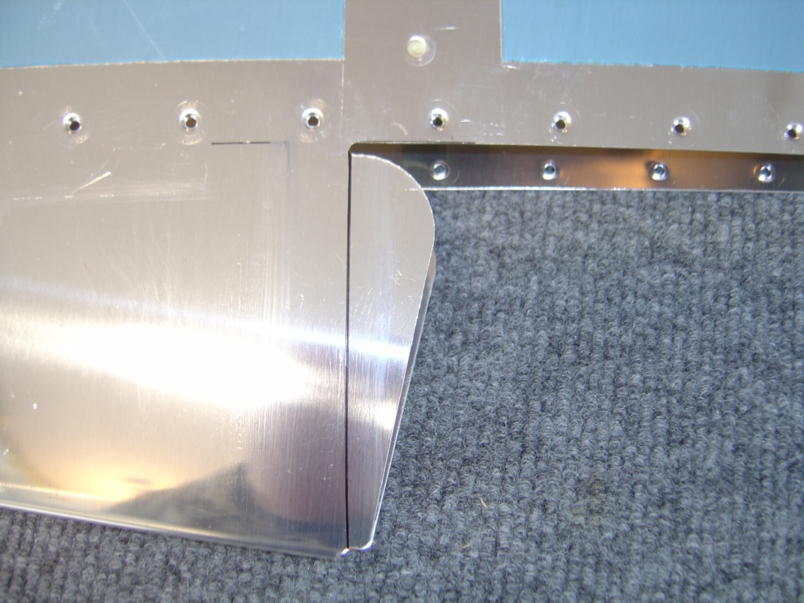 |
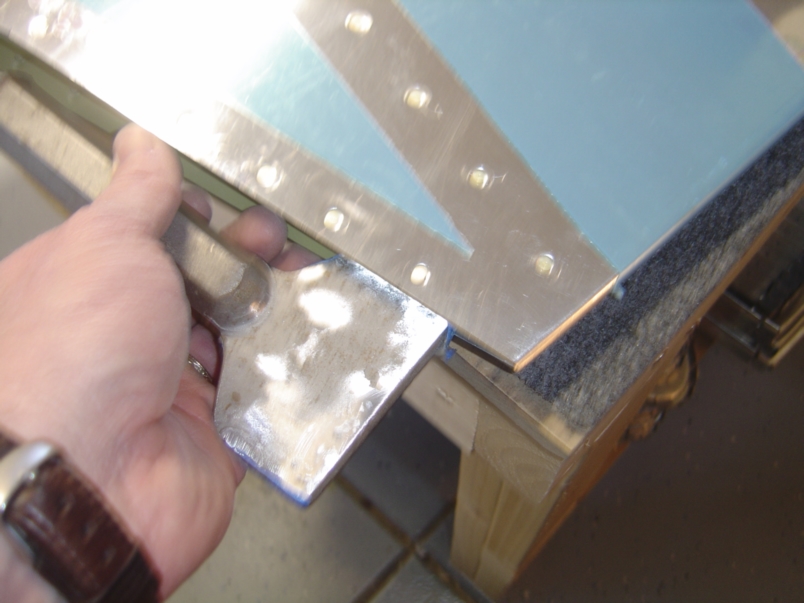
January 16, 2005: (3.5 hrs.) The first thing I wanted to tackle today was bending the skin tabs on the left elevator to close the outboard opening for the trim tab. |
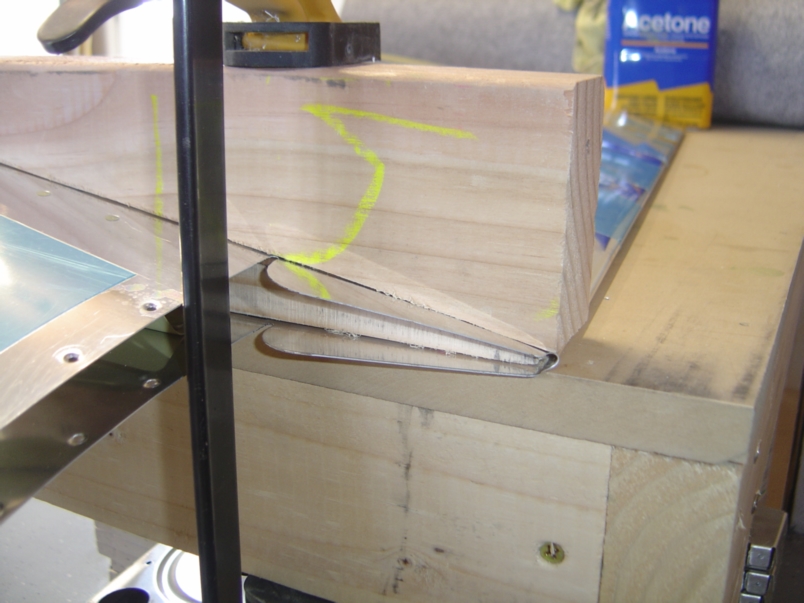 |
I cut a block of wood at the same angle of the opening and then clamped them together with the skin in between. |
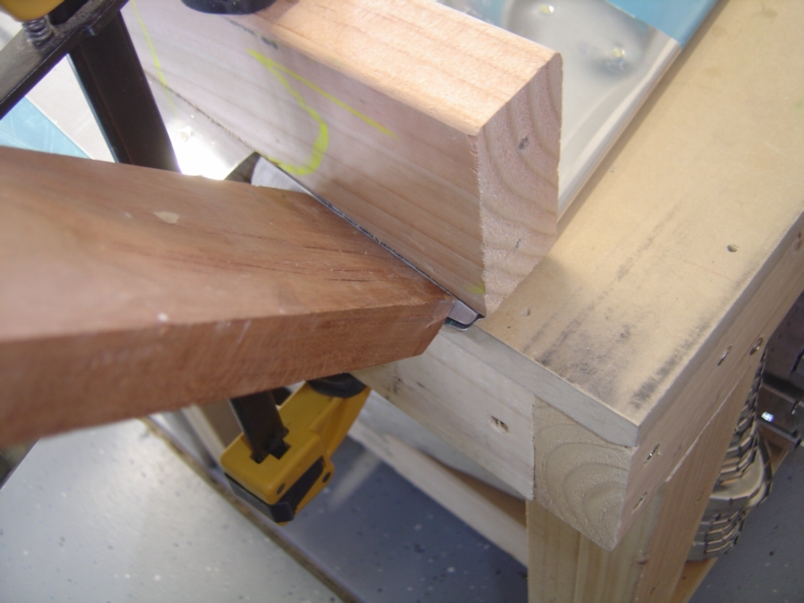 |
Next I began to bend the tabs using a piece of wood and a hammer. Slowly but surely the tabs bend over. It is important to bend the bottom tab first then the top tap. This will allow the assembly to shed water. After the tabs are bent over using a hammer and block of wood, the rivet gun with a flush set it used to finish off the bends. |
 |
After the tabs where bent, I proceeded to install the skeleton into the left elevator and cleco'd everything into place. I decided that I wanted to rivet the tabs together that I just bent. I used flush set blind rivets for this. These seemed to hold things together nicely (removing any gap between the tabs). |
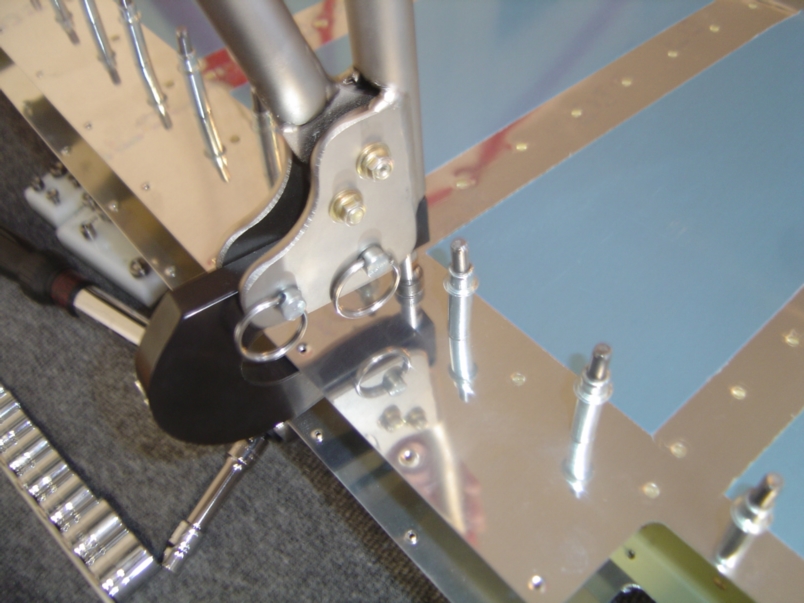 |
Next I used my hand squeezer to flush rivet both the left and right elevator skins into place. |
 |
The last two rivets near the trailing edge
on both elevators required me to use the rivet gun with flush set and a
chisel as the bucking bar. My hand squeezer could not fit
into these small spaces.
|
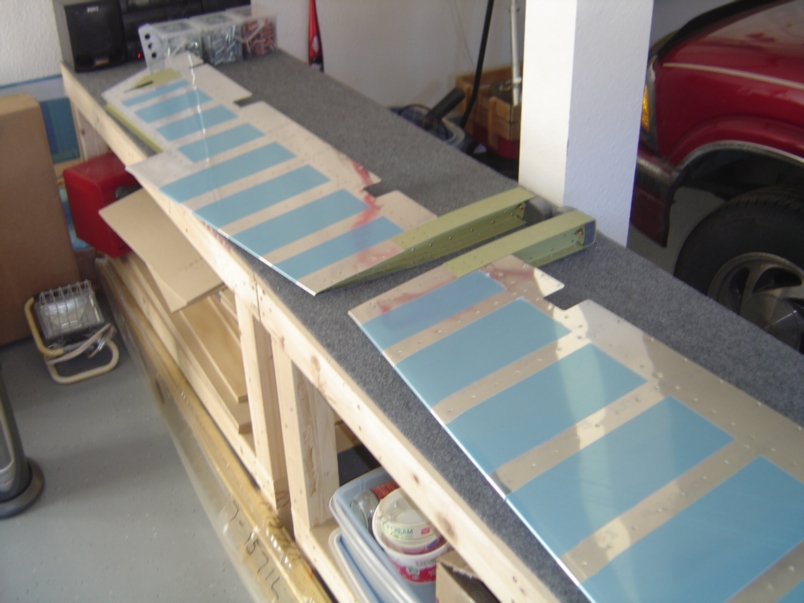 |
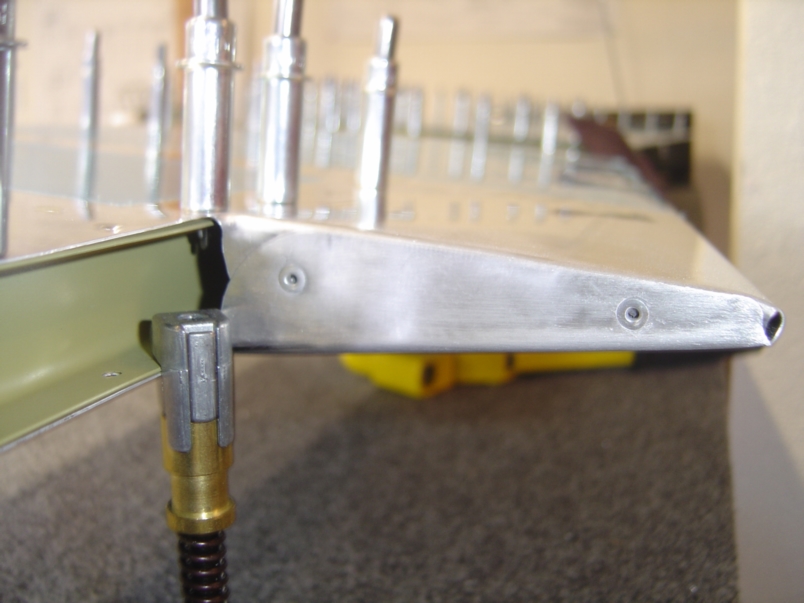
Elevators are almost complete! I just need to roll the leading edge and install the end rod bearings. |
![]()
![]()
![]()
![]()
![]()
![]()
![]()