 |
January 6, 2005: (1.5
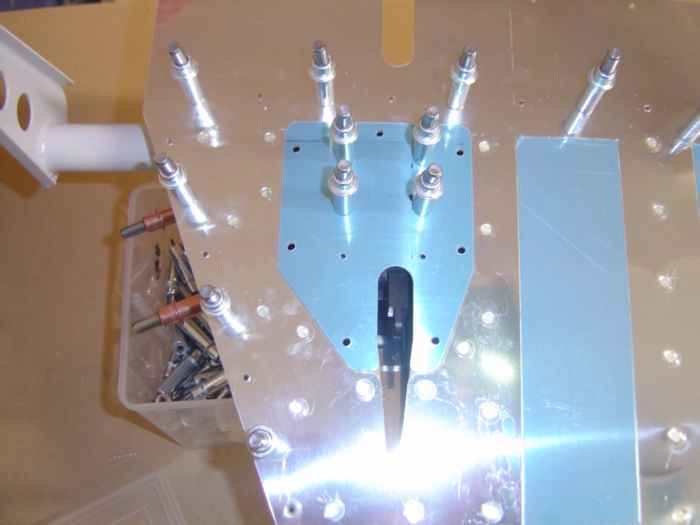
hrs.) This evening I attached the elevator trim tab servo to
the access plate so I could test its fit within the elevator. I
had a slight concern that there might be some interference caused by one
of the stiffeners on the top elevator skin (I installed the stiffeners
in the opposite direction as indicated on the plans). Here is the
servo temporarily mounted to the access cover. |
 |
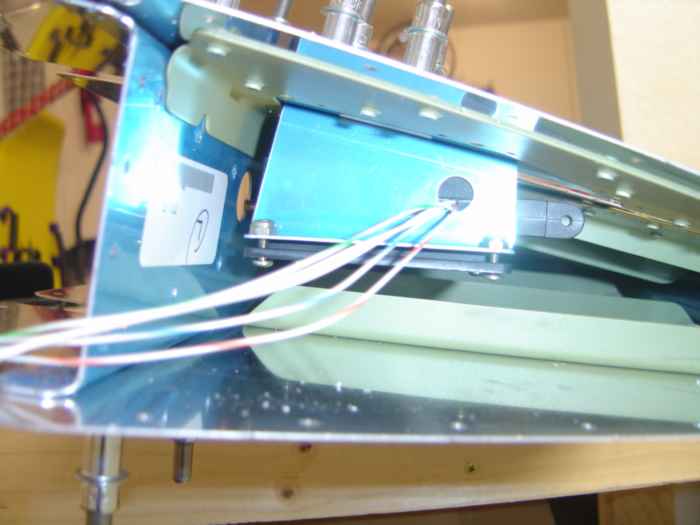
This is a picture from another angle. |
 |
Although it was a tight squeeze to get the
servo and access plate into position through the skin, it does fit. |
 |
I removed the end rib so that I could
check the clearance of the servo assembly and the stiffener. From
this picture you can see that there is no interference at all. I
will also gain about another 1/8" clearance once I tighten down the nuts
and bolts that attach the servo to the z brackets. |
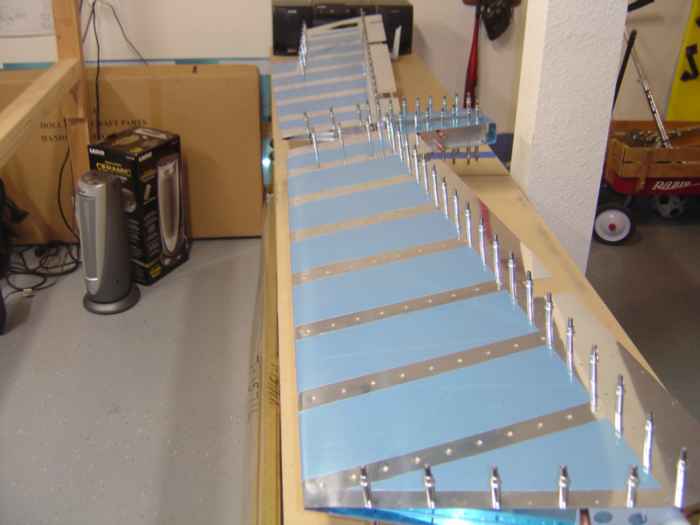 |
Next I proceeded to final drill the holes
of the left and right elevator skins to the under structure. Now
all that is left, is to disassemble both elevators, deburr the holes and
edges, dimple the parts, prep/paint the parts, and finally rivet them
back together. The left elevator will have an additional
procedures to close out the area where the trim tab will reside. |
 |
January 7, 2005: (1.5
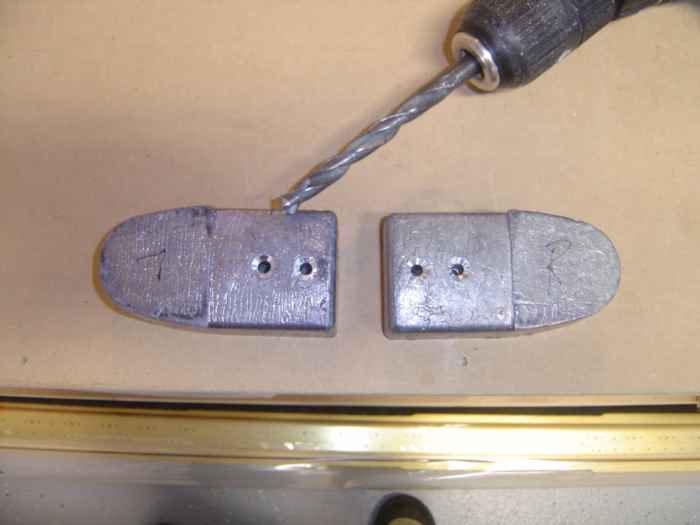
hrs.) Disassembled both elevators and began deburring all the holes.
Countersunk the counterweights using a 23/64" drill
bit on low speed. These countersinks will accept the dimples I
will make in the counterweight skins. |
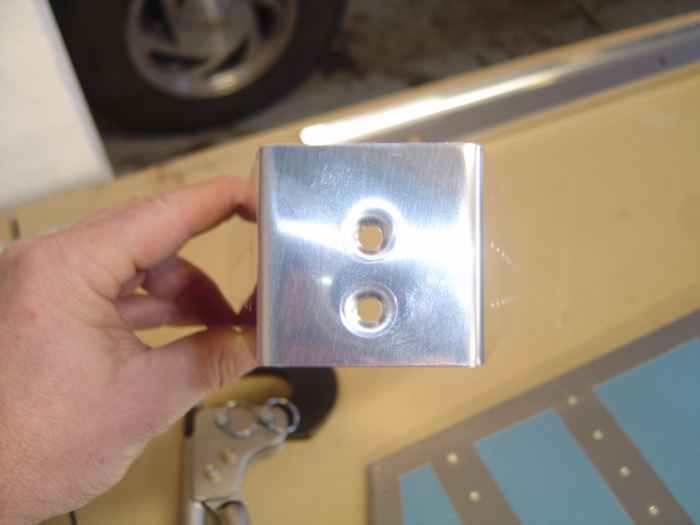 |
Here are the counterweight skins after
dimpling with the hand squeezer. One slight problem, the largest
dimple die set I got in my toolkit from Avery's was a #8. I
apparently need a #10 for the screw heads to seat properly. I had
the same issue on the counterweight skins for the rudder, but was able
to work around it by mickey-mousing my own die. It worked, but was
not optimal. I went ahead and ordered the #10 dimple die set from
Avery's. It should be hear by the end of next week and I will
re-dimple these skins then. |
 |
I moved on to finishing up the trim tab
server access cover. The reinforcement plate needs to have
nut-plates flush riveted to it. I used my hand squeezer to dimple
each nut plate. When dimpling nut-plates, you need to be careful
that the die does not smash the threaded protrusion of the nut-plate.
Many builders grind the female portion of the die down to allow room for
the nut-plate protrusion. To avoid this, use the specially
designed Avery die for just such an application. It is the
female die with a smaller radius. You can see it here in the
picture on the bottom of the nut-plate. |
 |
Next I needed to dimple the holes for the
nut-plates in the reinforcement plate. I wish I had done this
before I riveted it to the skin, because now I cannot reach the majority
of holes with my hand squeezer! I pulled out my c-frame and used
it to dimple the holes. |
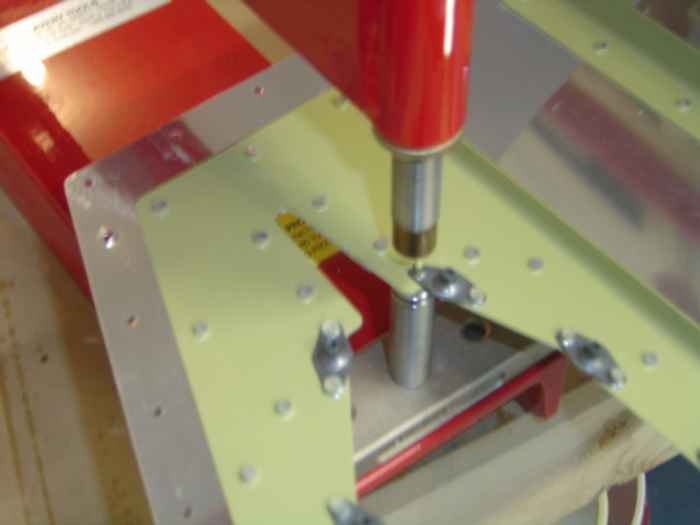 |
I also had to use the c-frame to rivet the
nut-plates to the reinforcement plate. This is the first time I
used the c-frame for riveting. It actually worked well. |