![]()
![]()
![]()
![]()
![]()
![]()
![]()
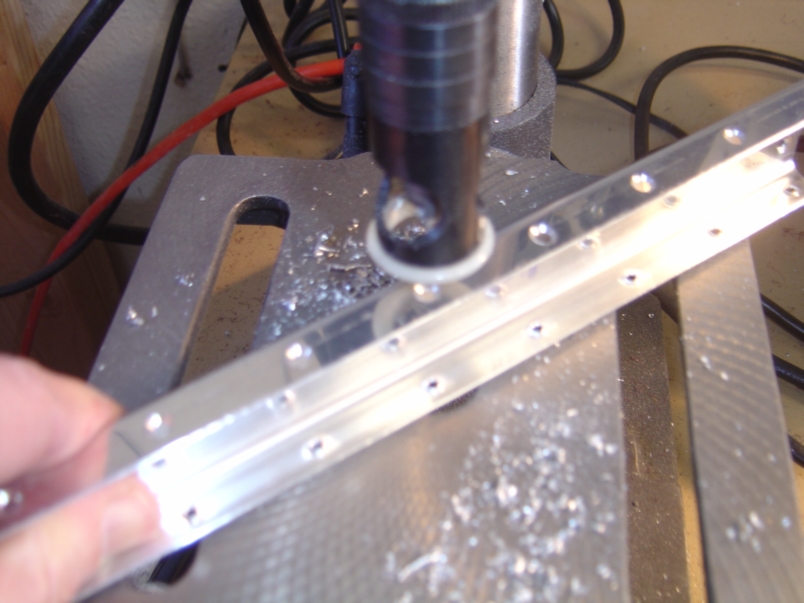 |
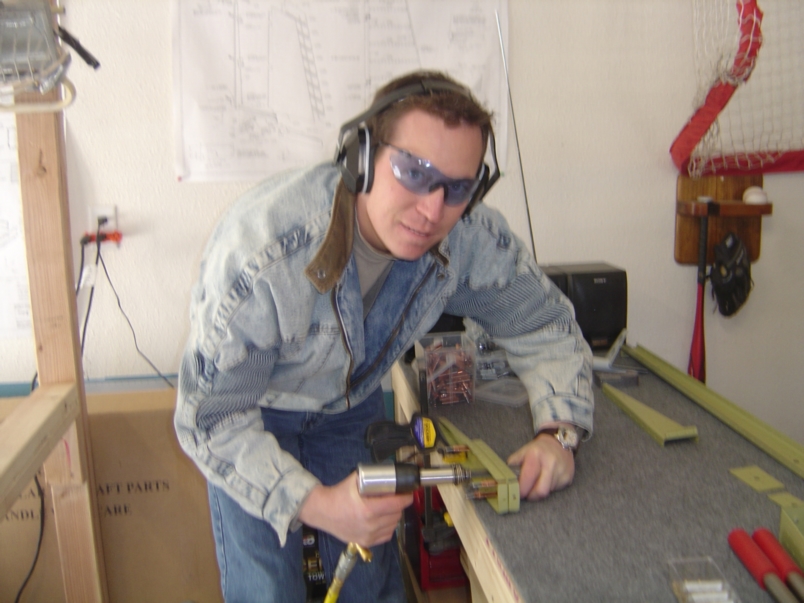
January 14, 2005: (2.0 hrs.) Had a bunch of deburring and dimpling to get done on both the left and right elevator skeletons. Here I am countersinking the hole in the upper side of the E606PP Trim Tab spar so that it can accept the dimples in the left elevator skin and trim tab hinge. |
 |
More dimpling... Here I am using the vise grip dimpler to get into the narrow portion of a rib. |
 |
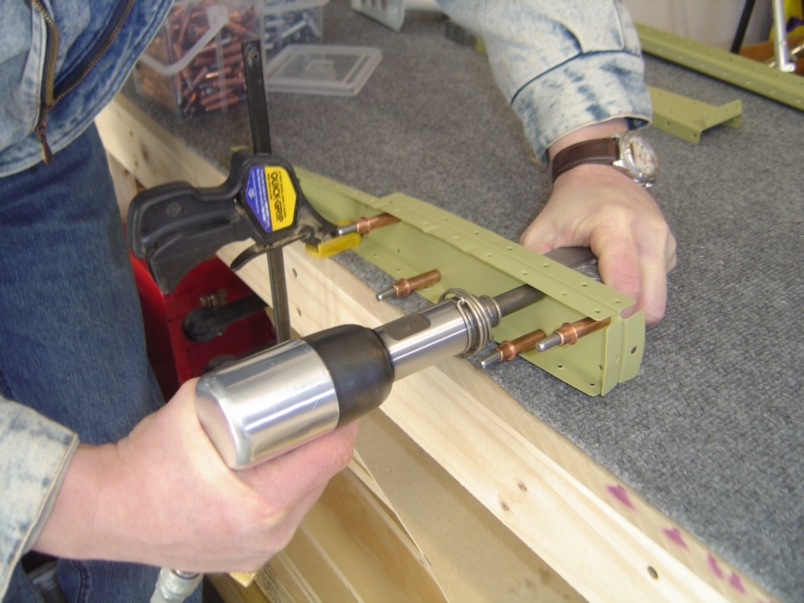
Had to use the blind riveter and a dimple set to dimple the outward holes in the left elevator skin that mate with the trim tab spar. |
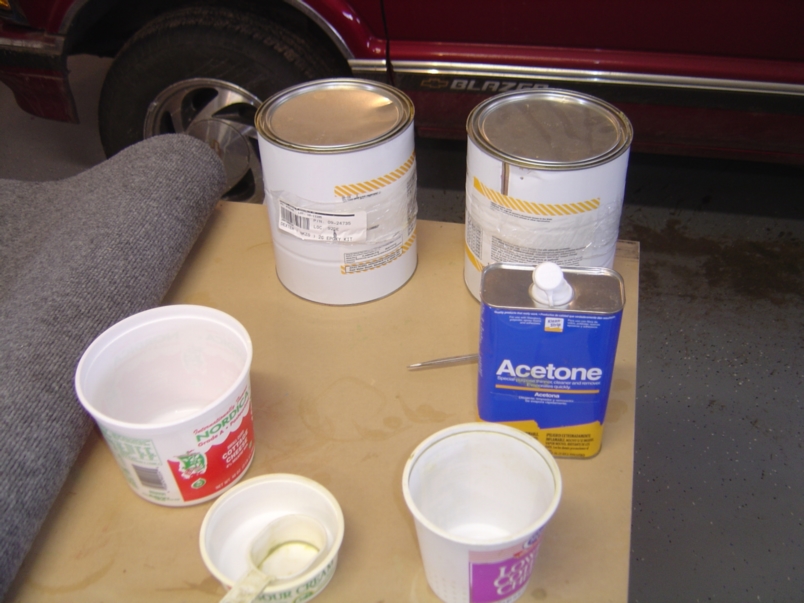 |
January 15, 2005: (5.0 hrs.) Time to prep and paint all the parts! I like this part because I know I am real close to putting the pieces back together for the last time. |
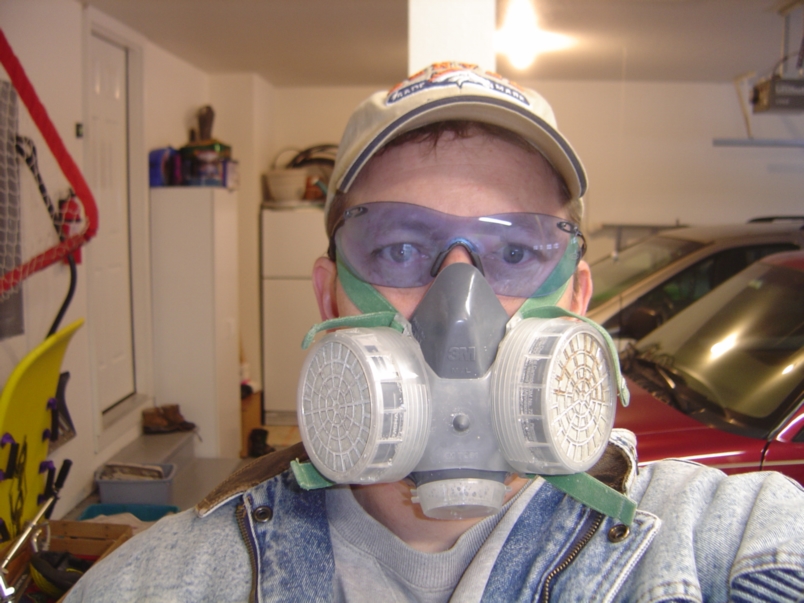 |
Here I am in my protective gear. Safety glasses, mask, and grungy clothes. I don't want any of the chemicals getting on my skin. |
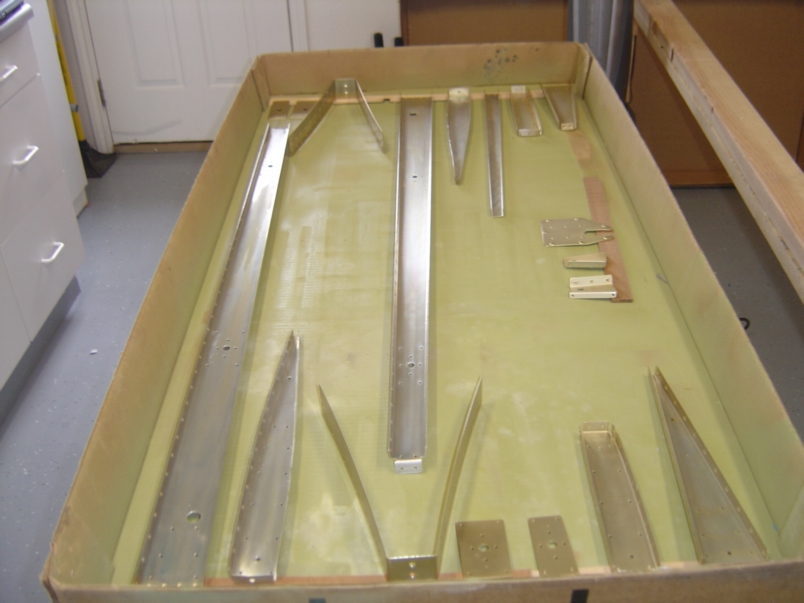 |
All the parts are cleaned, etched, alodined, and then laid up prior to painting. |
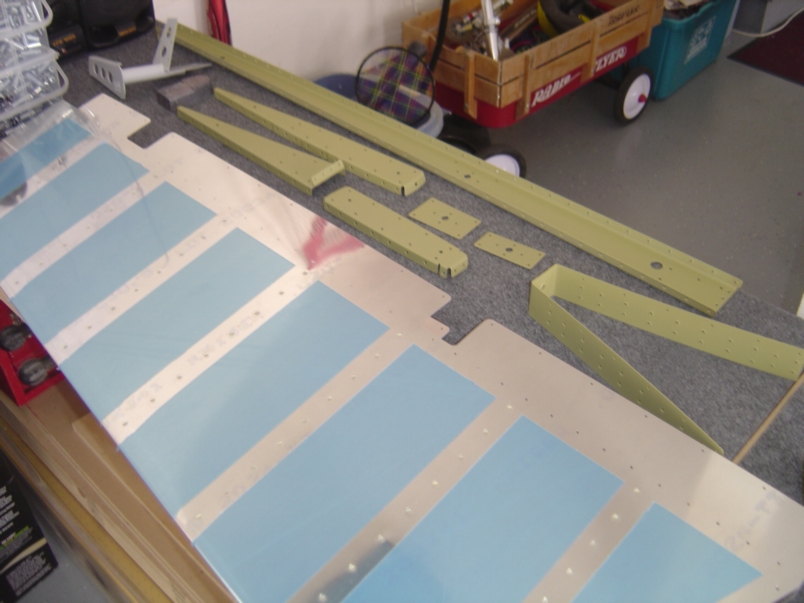 |
Painting is complete.
This is the right elevator skin and skeleton parts. |
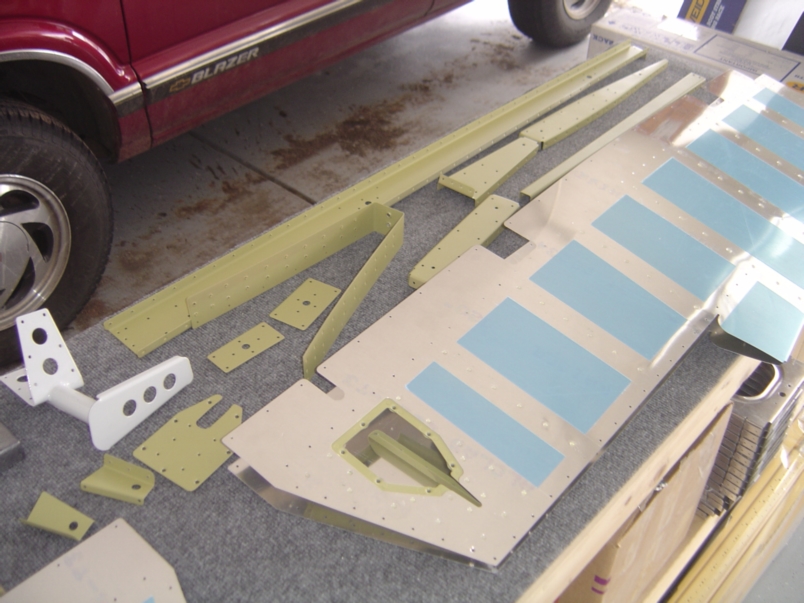 |
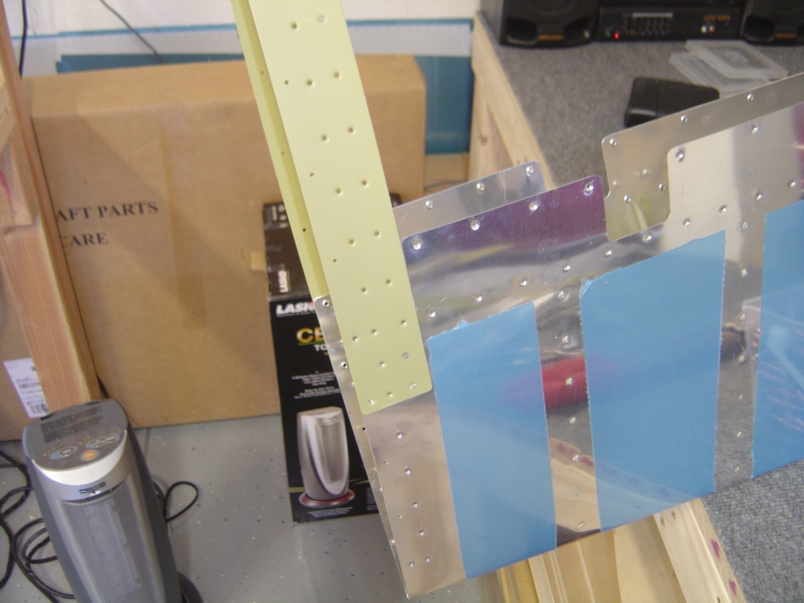
Here is the left elevator skin and skeleton. Note that the left has more parts. This is because the left elevator needs to house the trim tab. |
 |
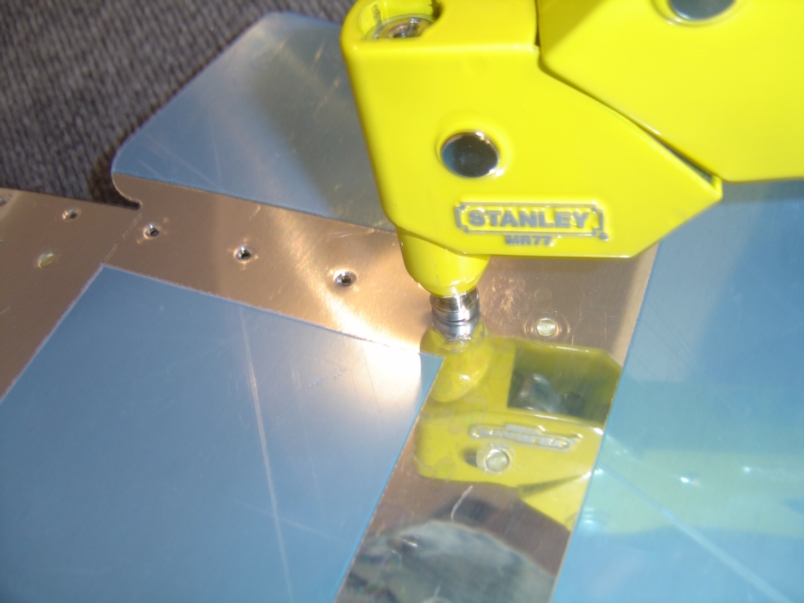
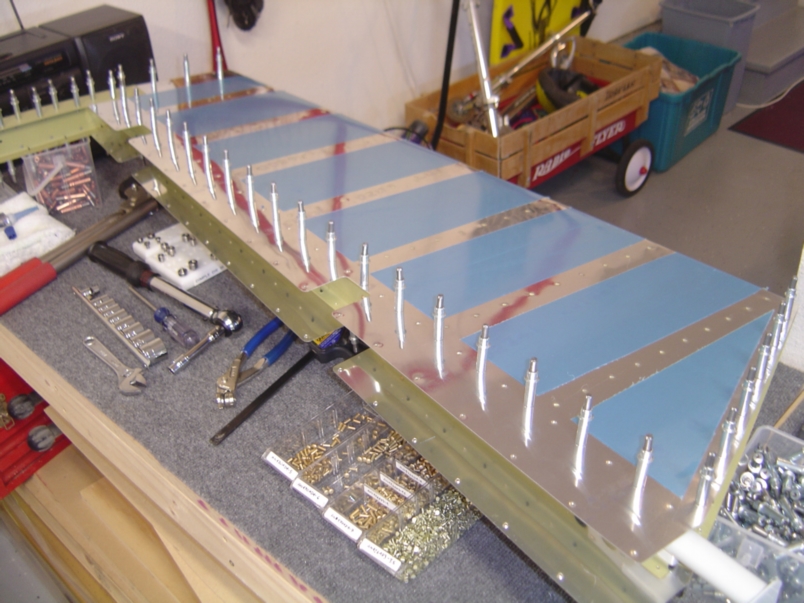
Time to rivet. I had to use the rivet gun to set the rivets in the end ribs. My hand squeezer did not have a wide enough yoke to for this job. The rest of the elevator was all hand squeezed. |
 |
Here is a close up. Notice I clamp the piece to the work surface while I rivet. If the piece is not secured, it may move around and the rivet gun set could slip, damaging the rivet or the the ribs. |
 |
There are two rivets that attach each side of the counterweight skin to the elevator skin. If you rivet them now, before the skeleton is inserted, flush rivets can be used instead of blind rivets. Here the counterweight skin has been attached. |
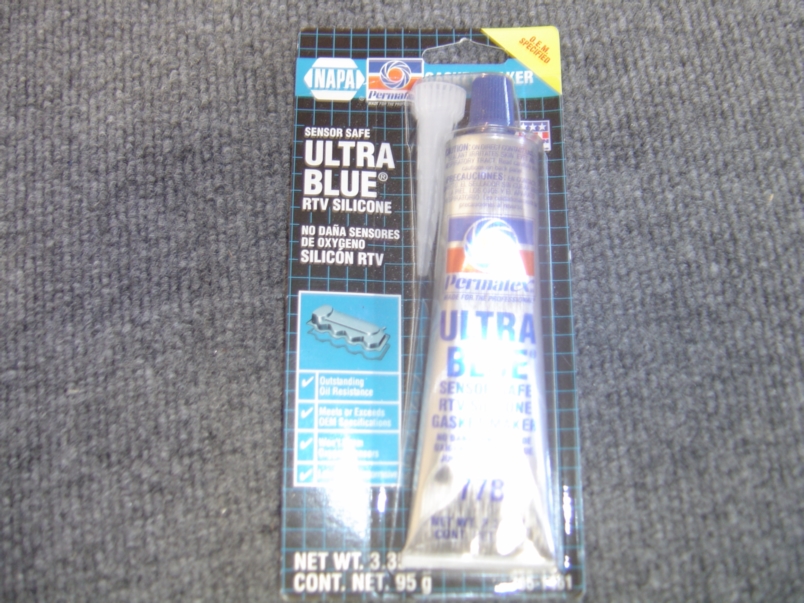 |
Vans recommends placing a blob of RTV
between the stiffeners on the trailing edge of the elevators prior to
riveting them closed. RTV is a gasket compound use by the auto
industry. I believe the logic is that the RTV will help reduce
vibrations that could lead to cracking on the the trailing edge.
I picked up this tube of Blue RTV from Napa Auto Parts. |
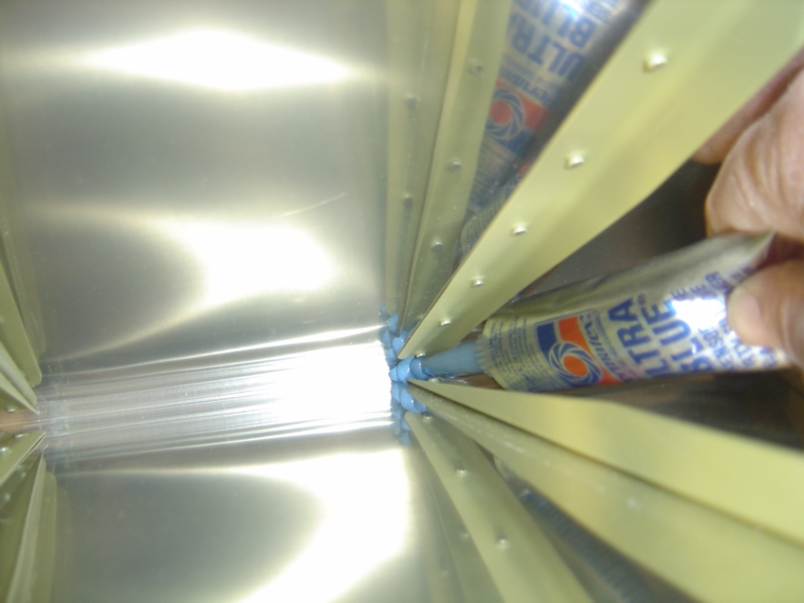 |
Here you can see me applying the RTV inside the elevator. |
 |
Once the RTV is applied, the skeleton is inserted and cleco'd into place. Next step is to squeeze the flush head rivets to close the right elevator. |
 |
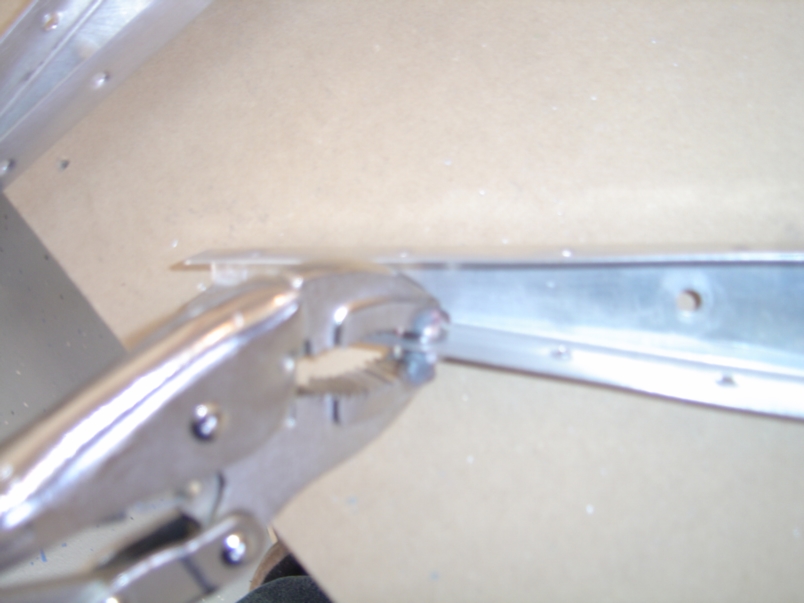
This is the left elevator skeleton. Before I can insert it into the skin, I need to bend a few tabs on the skin to close out the trim tab outward edge. That will require me to build a wood jig to hold the skin in place at the right angle. I will tackle that job tomorrow. |
![]()
![]()
![]()
![]()
![]()
![]()
![]()