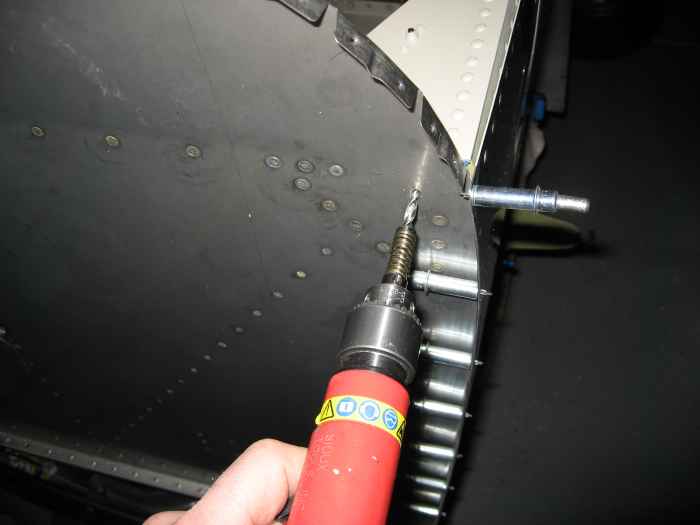
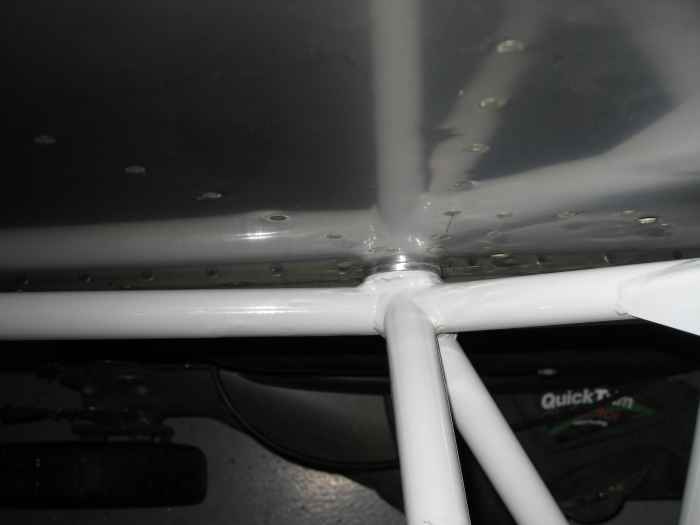
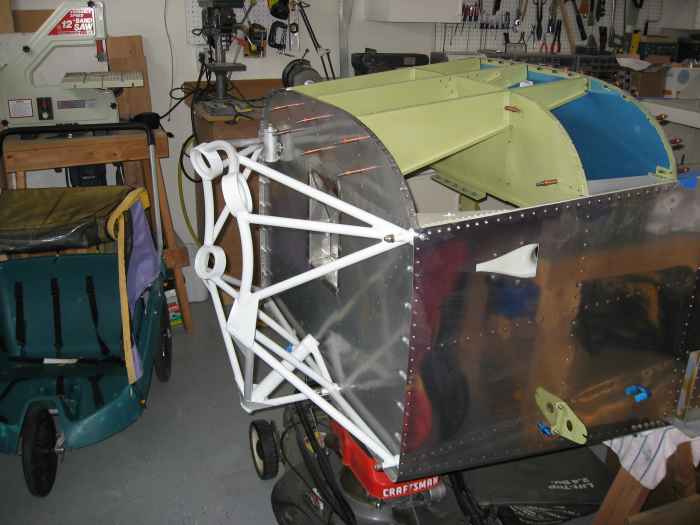
Decided it was time to get the engine mount hung. After closely checking that the engine mount attach holes matched the holes on the fuselage, I drilled the fuselage holes out to #21.
I then hung the mount with some undersized screws to hold it in position while I drill out the mount holes to the finished size of 3/8"
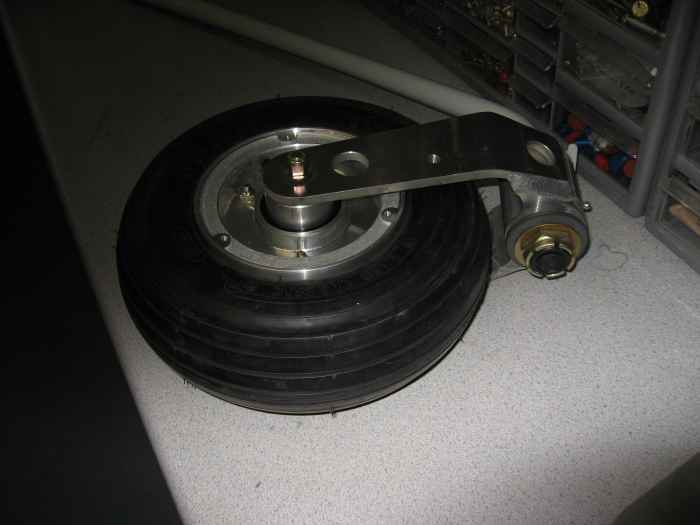
Finally got around to putting the nose-wheel assembly together. Part of the hold up was that I did not have any wheel bearing grease. After ordering and receiving the AeroShell #5 grease from Aircraft Spruce, I had everything I needed.
Here is the completed assembly. I still need to adjust the breakout force and then drill the cotter pin hole for castle nut on the gear leg. I need a fish scale to adjust the breakout force. I guess I will pick one up at Walmart.
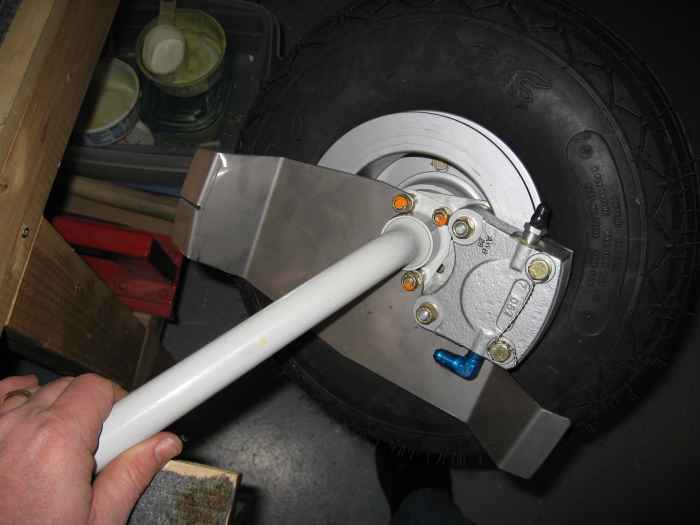
Here I have replaced one of the aluminum wheel pant brackets for the stainless setup.
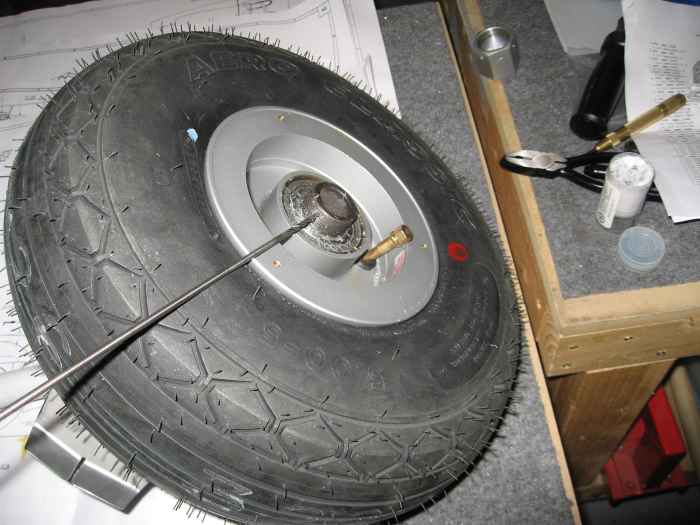
After tightening the wheel axel nut so there is no side play in the wheel and the wheel still spins freely, I used a #30 bit to start/mark the hole through the axel nut. I then removed the axel nut and drilled the hole completely through the axel.
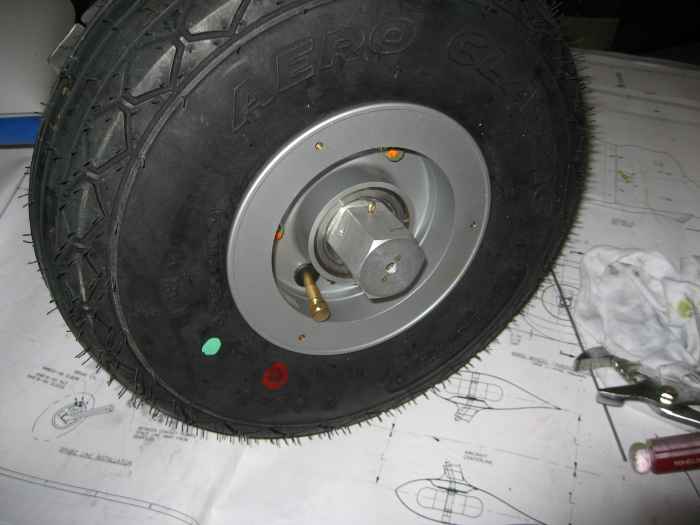
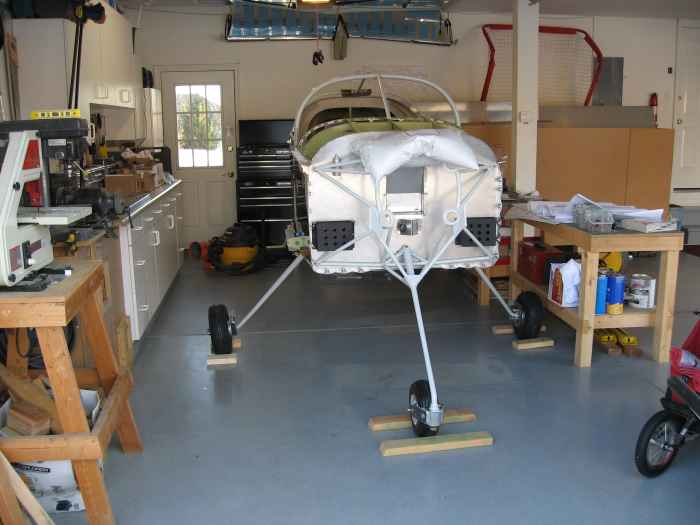
Sorry, I did not take any pictures of actually installing the landing gear. It basically amounted to lifting the front end up high enough, using adjustable saw horses, to allow room to slide the gear legs into place.
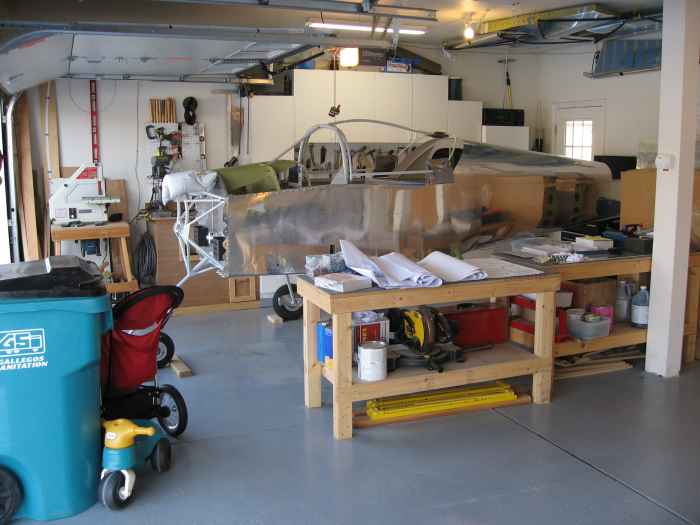
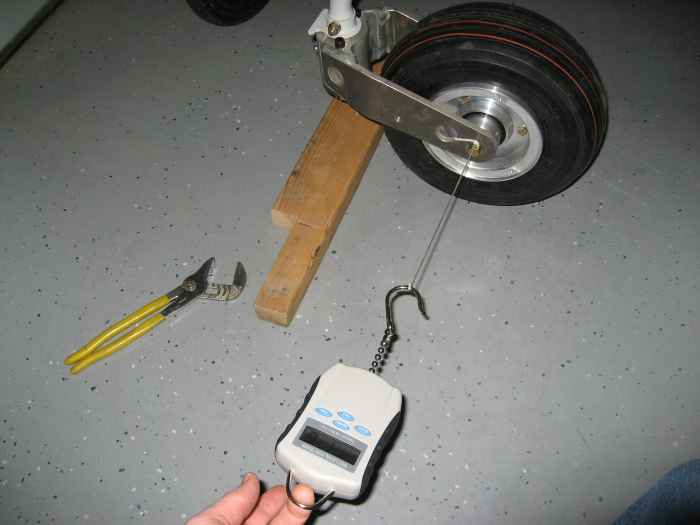
I picked up a digital fish scale at Harbor Freight to set the break-out force of the nose gear.
It does not look like it in this picture, but the wheel is raised about an inch off the ground while setting the break-out force . Using the fish scale and pulling in line with the wheel axel, the directions tell you set the break-out force to 22 lbs (measured on both sides). The break-out force is increased and decreased by tightening or loosening the main nose strut to wheel fork castle nut. Once the right break-out force is attained, holes are drilled through in the nose strut for a cotter pin.
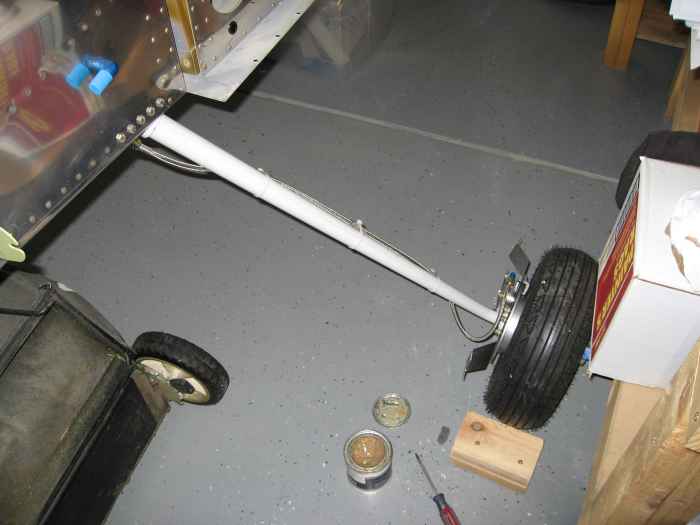
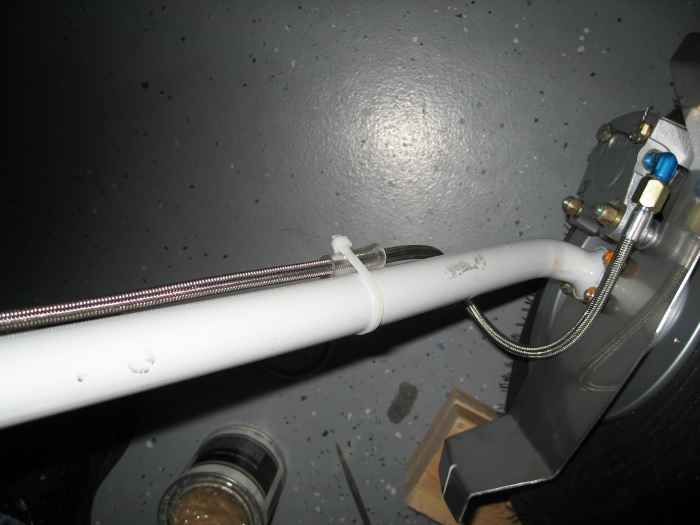
I decided to use high pressure stainless braided brake lines from the fuselage down to the brakes instead of the standard aluminum tubing. I had heard of some people having problems with the aluminum tubing cracking down near the calipers and just thought that this would be easy.
