 |
March 1 -
2, 2008:
(10.0 hrs.)
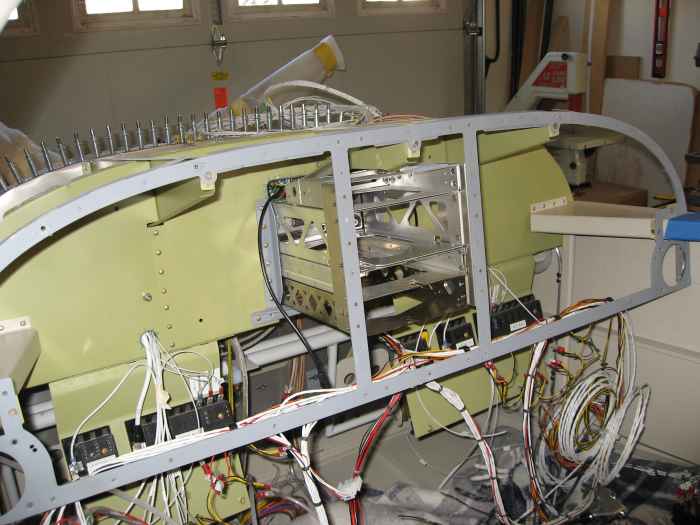
After getting the radio stack opening cut and reinforced in the sub
panel, I installed the modular panel frame and radio stack. The
fit is really nice.
|
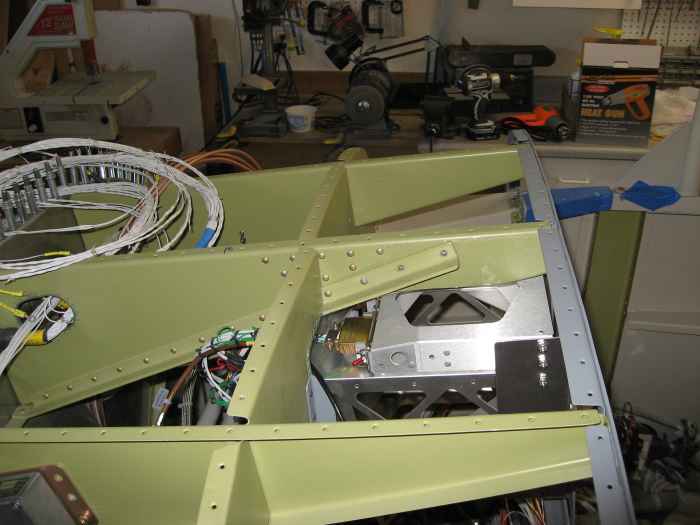 |
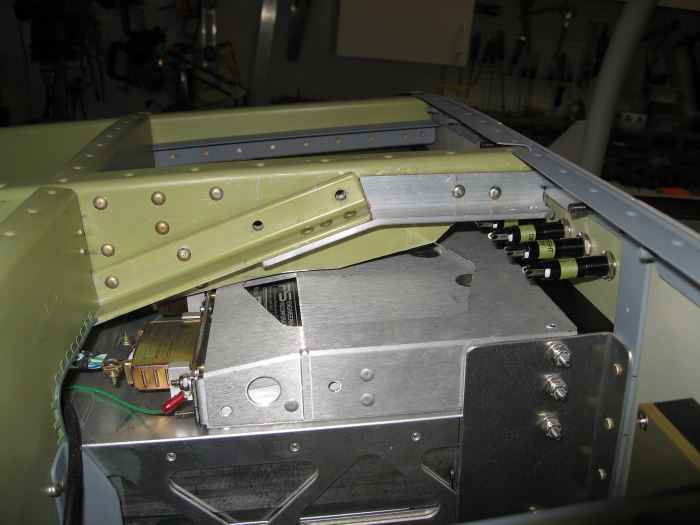
Here is a shot from the top and side. |
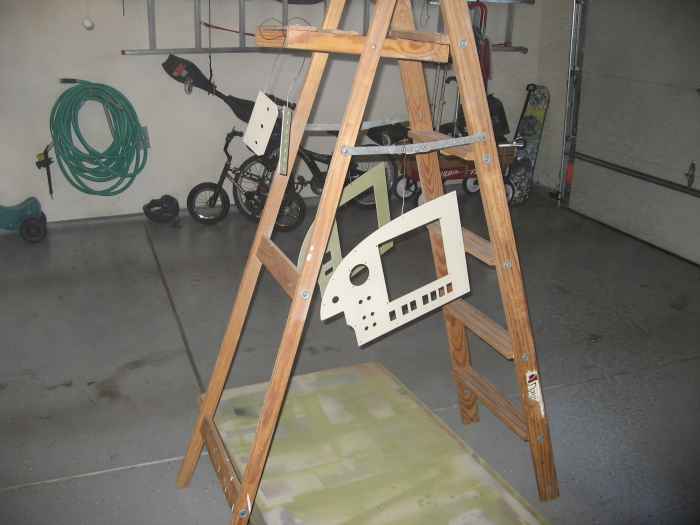 |
I spent a fair bit of time cleaning,
priming, and painting my panel. |
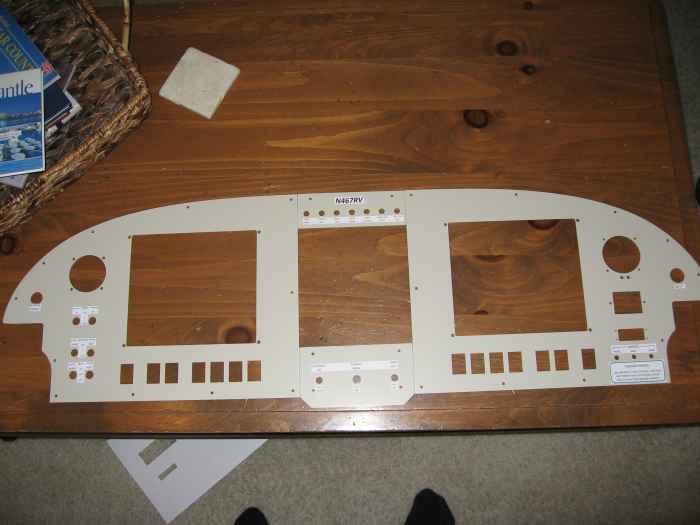 |
I used MS Word to create some labels for
my panel. Here I have printed out the labels on plane paper, cut them
out, and placed them on the panel to check for fit, form, function, etc. |
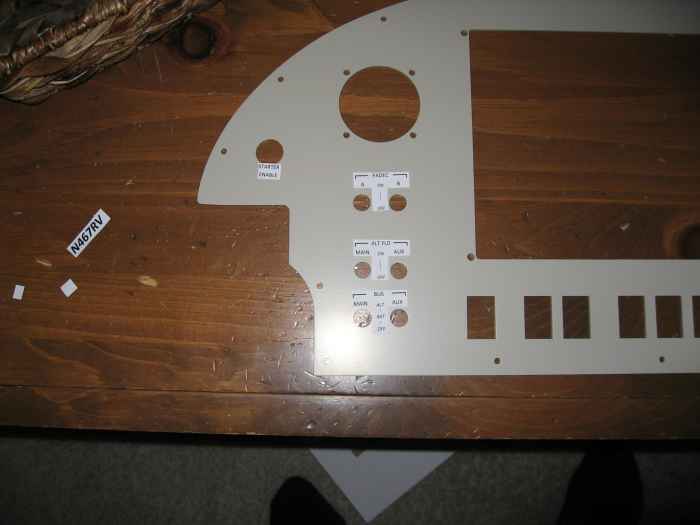 |
Left side of panel with label mock-ups |
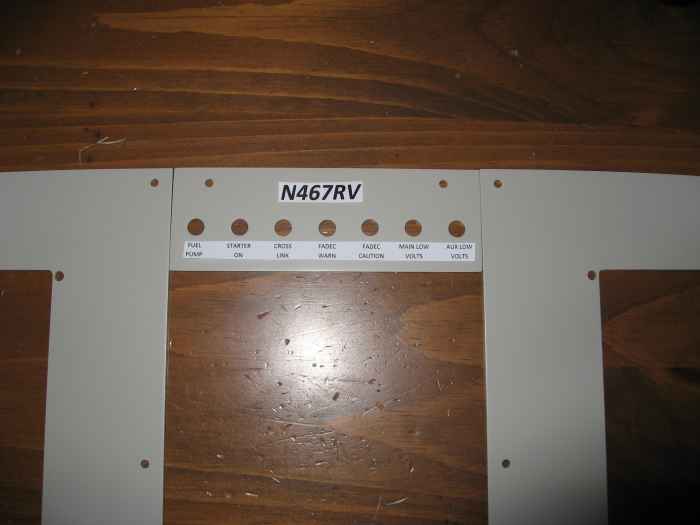 |
Warning lights
|
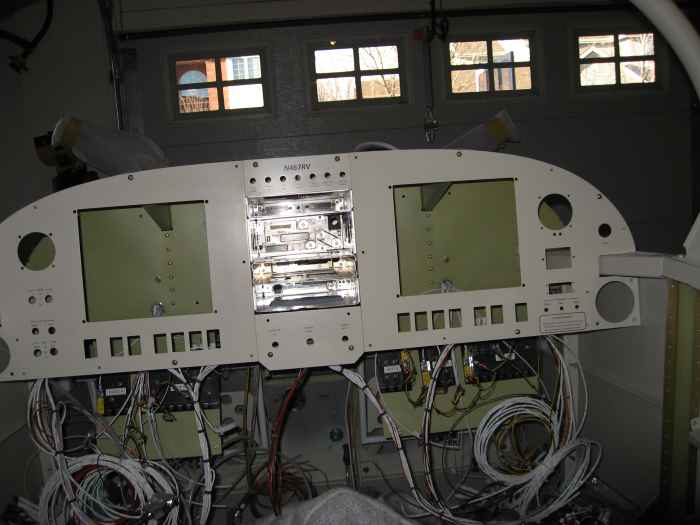 |
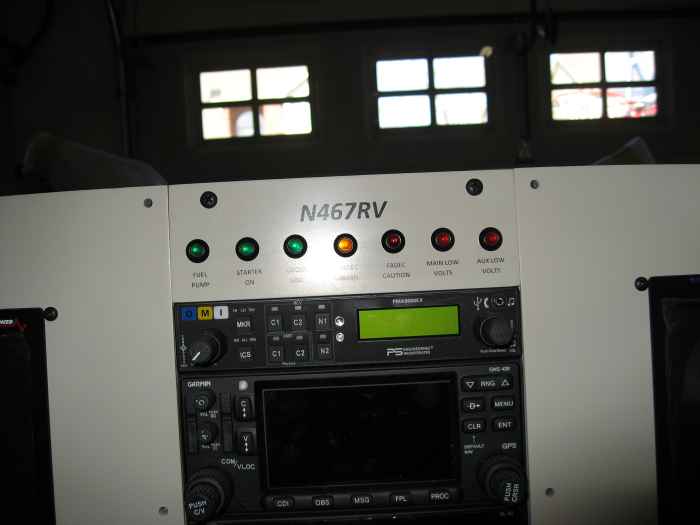
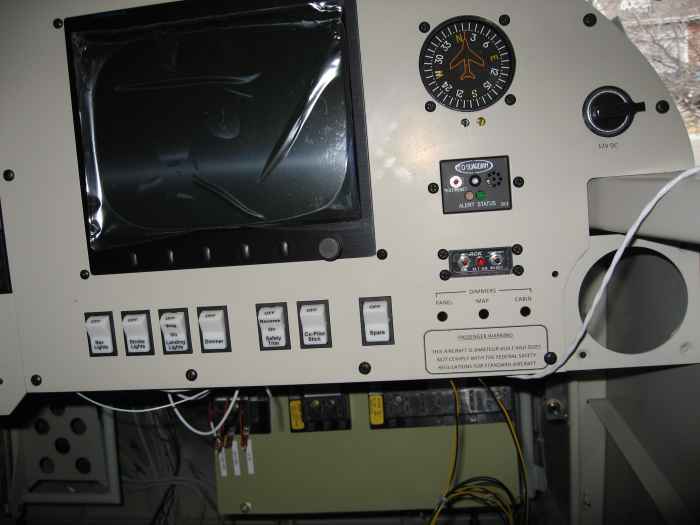
I did a lot of research on how to label my
panel and ended up going with a from DecalPro. It is a complicated
10 step process to create and lay down each label. Here is the
finished panel. |
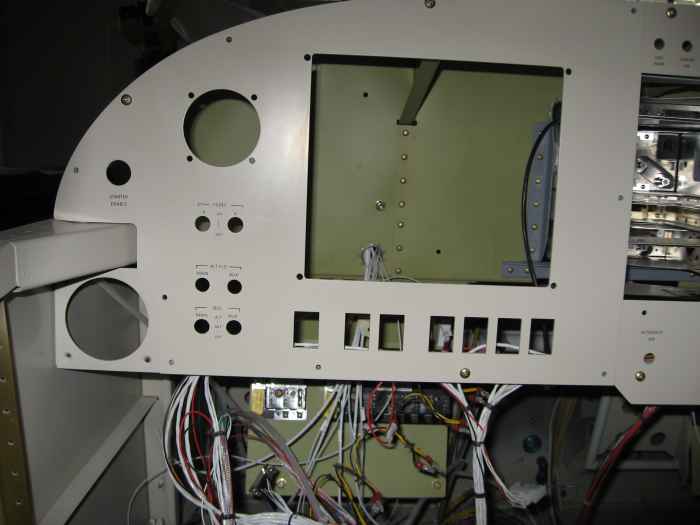 |
Left side labels |
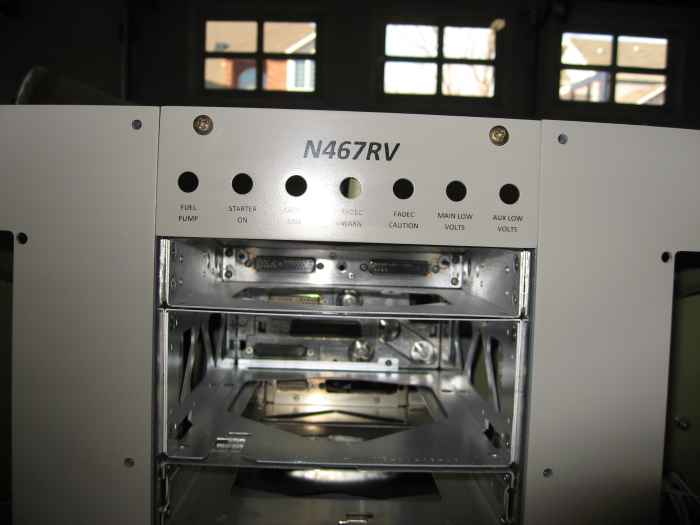 |
Warning light labels |
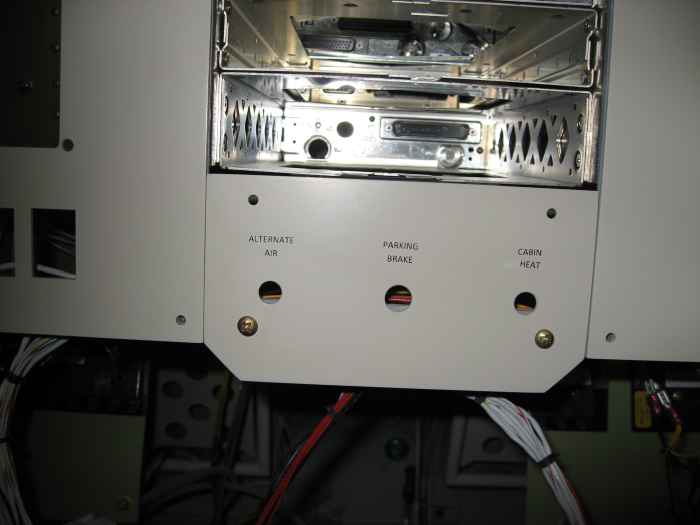 |
Bottom panel labels |
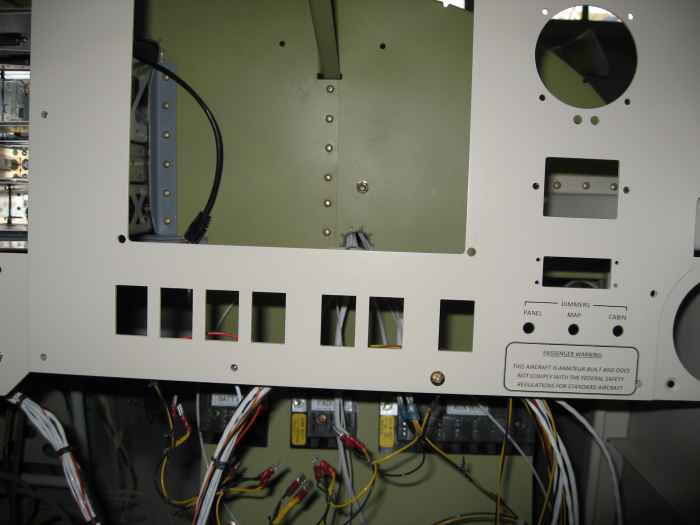 |
Right side panel labels |
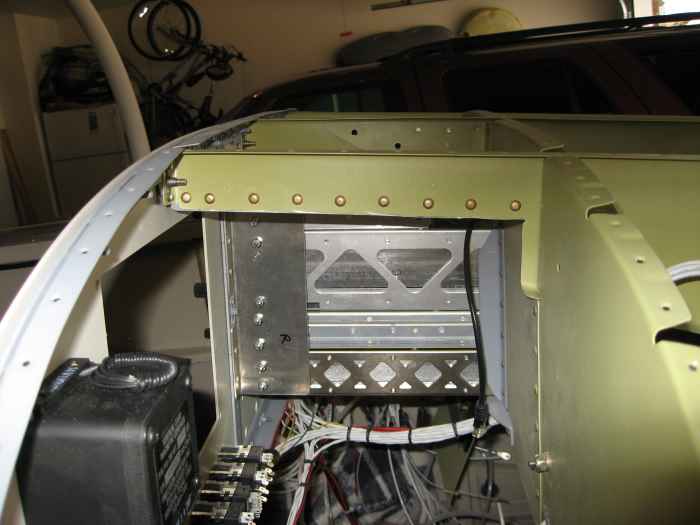 |
My positioning of the AFS 3500 units ended
up getting in the way of the outside sub-panel ribs. I had to cut
these ribs way down. I then riveted in some aluminum angle to add
some strength |
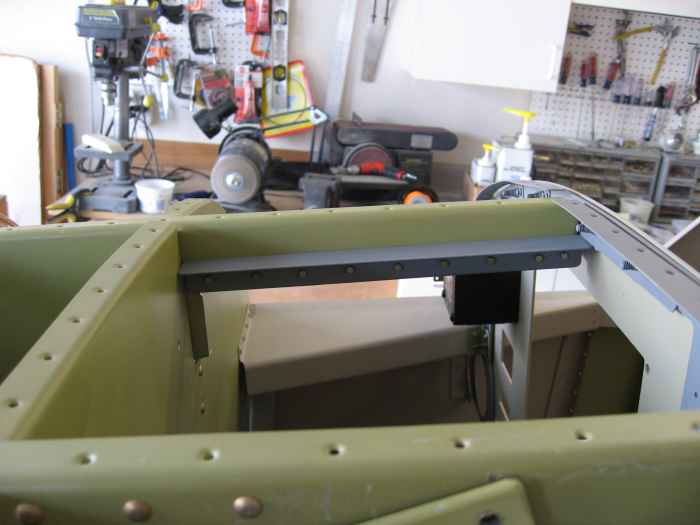 |
Here is the aluminum angle on the
passenger side sub-panel rib. The pilot side looks the same. |
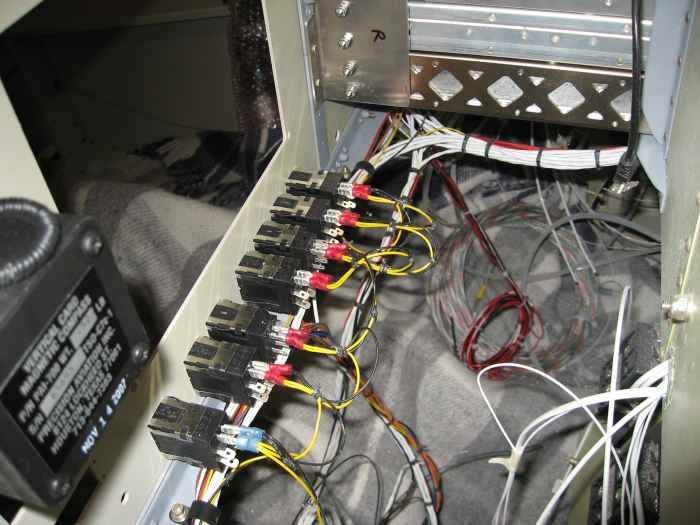 |
Worked on wiring some of the switches... |
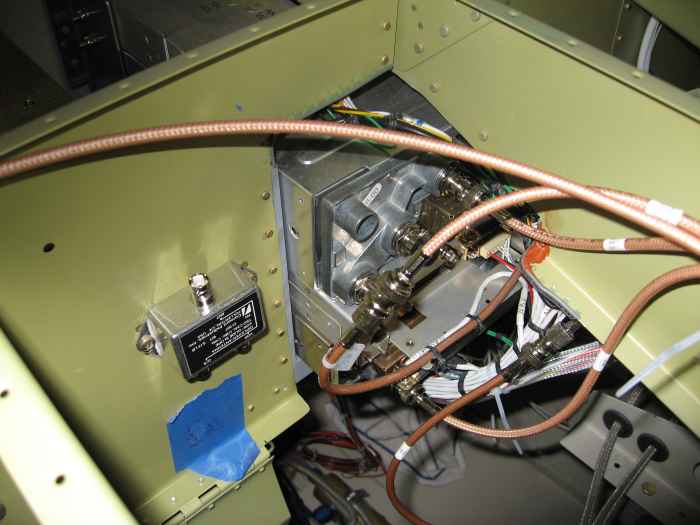 |
Wired up the antennas. I also
installed a splitter for my navigation antenna. This splits the
signal into Glideslope and VOR for my GNS 430 |
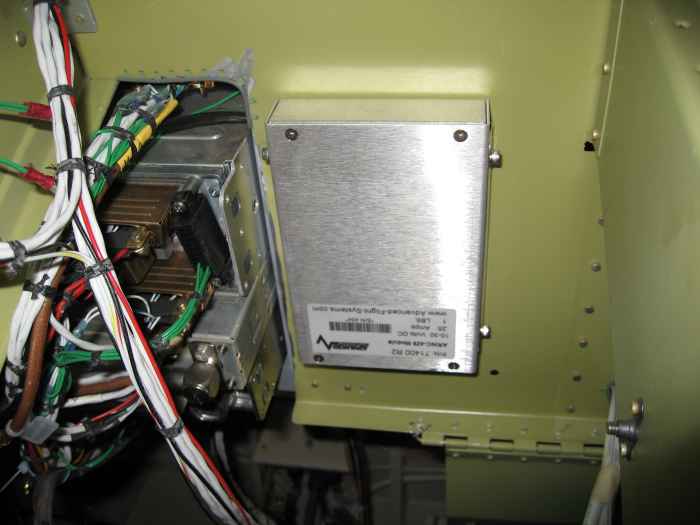 |
Installed the AFS ARINC unit. I am
not really sure of the purpose of this unit, other than it is required
to get the optimal integration between my EFIS systems and the avionics |
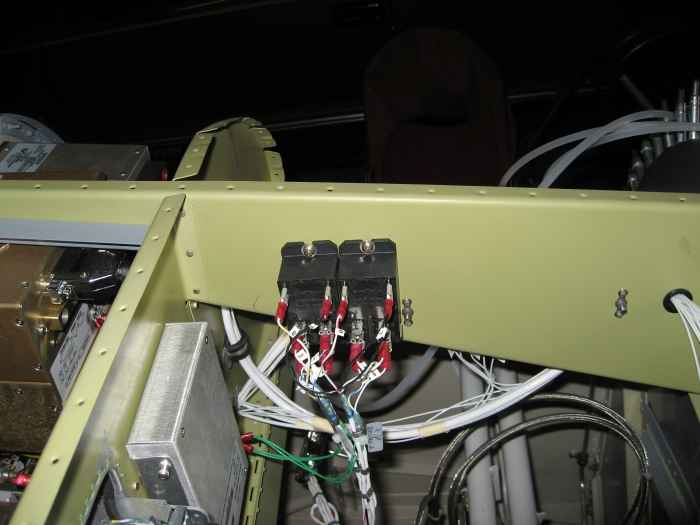 |
Installed some relays required for my auto
pilot source selection switch. |
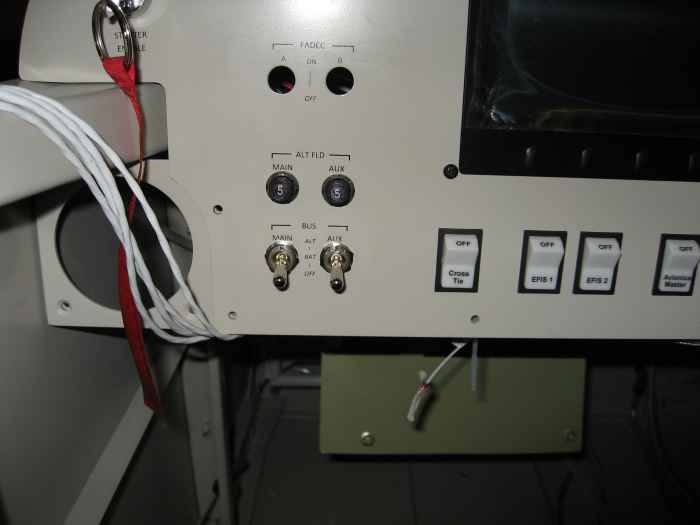 |
Installed and wired the main and auxiliary
bus switches (for both batteryies and alternators). I also
installed and wired the pullable breakers for the alternator fields. |
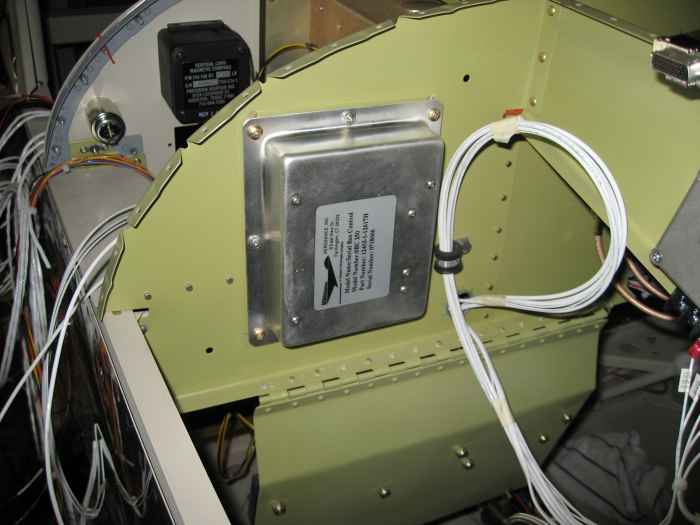 |
Installed the FADEC serial bus controller.
This is required for communication with the EFIS |
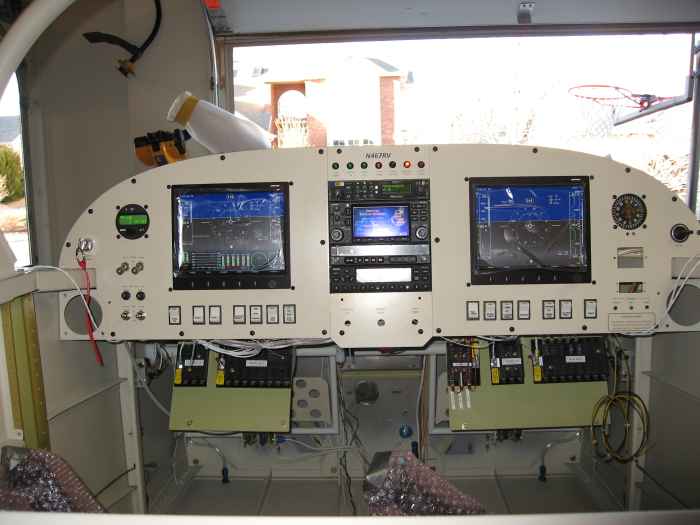    |
|


