 |
February 3, 2006:
(2.0 hrs.) My father-in-law was coming into town in a week,
so that meant I needed to get the aft fuselage painted if I wanted to
make use of a riveting partner.
I had already primed the bulkheads, so I only
needed to focus on the J-channels and skins. Yes, I said skins.
I decided that I would prime the inside of the bottom skins for good
measure.
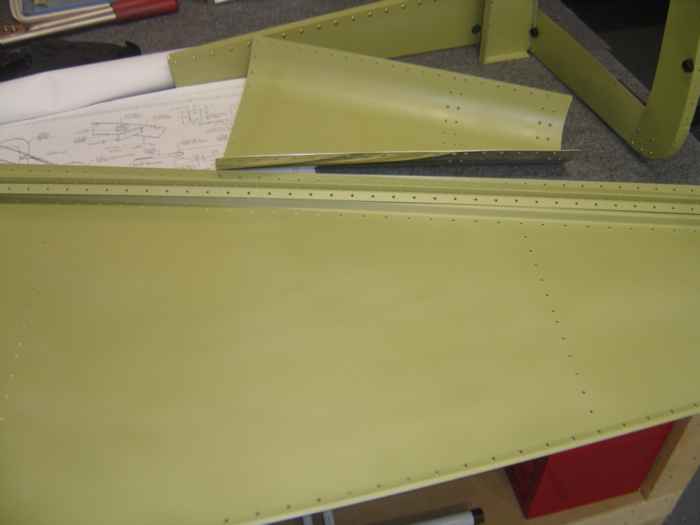
Here is the aft bottom skin and tail-cone skin
primed.
|
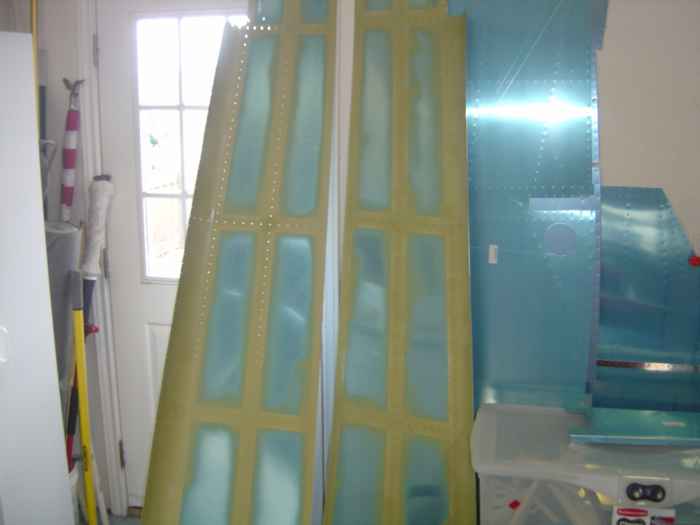 |
I had some extra primer mixed up, so I
went ahead and primed the rivet lines of the side skins. The blue
plastic film made a good painters mask. |
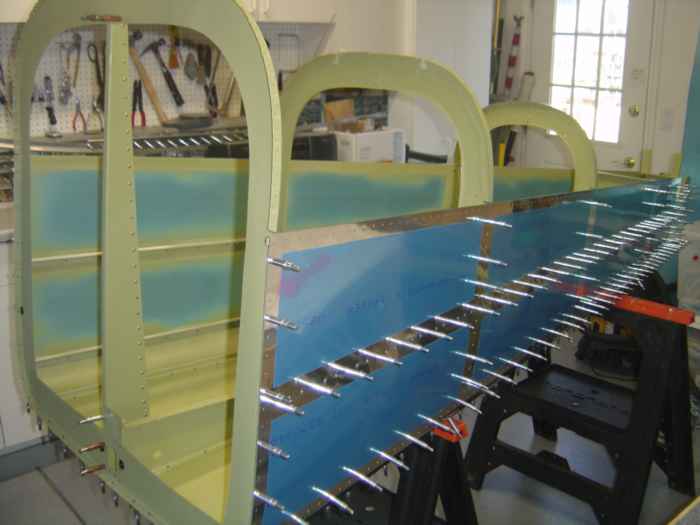 |
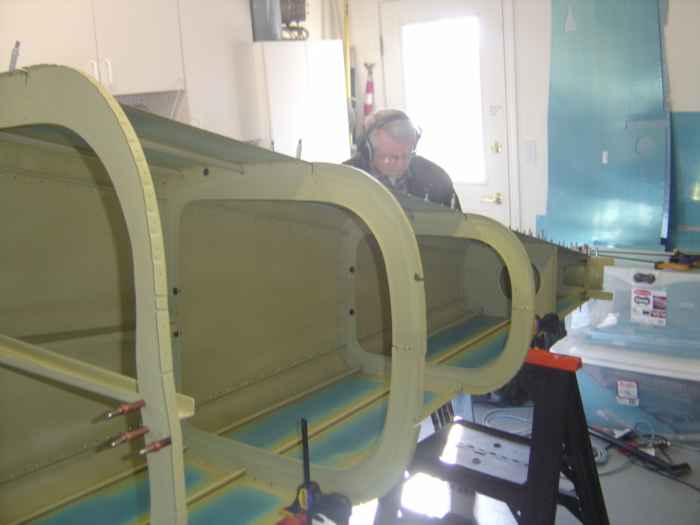
Next, the whole aft section was cleco'd
back together. |
 |
February 11, 2006:
(5.0 hrs.) I turned the aft section on its side to rivet
the bottom skins to the bulk-heads. That is Max on the other side
of the assembly. |
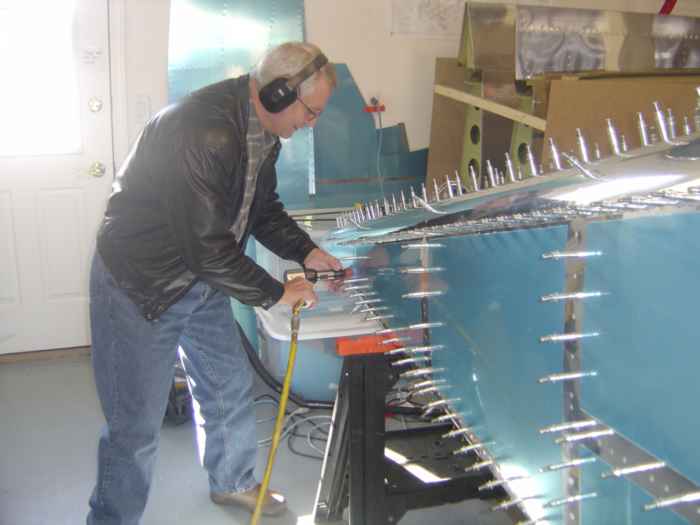 |
Max shot rivets while I bucked from the
other side. This configuration worked really well. |
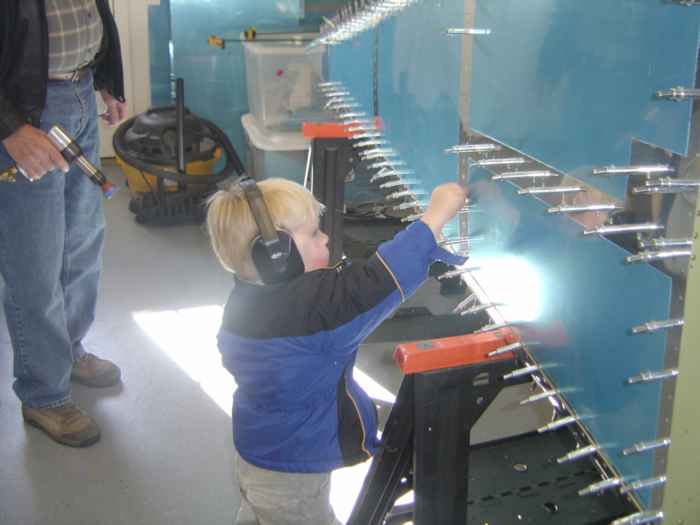 |
Here is my youngest son Joshua helping out
by placing rivets in the holes to be shot. |
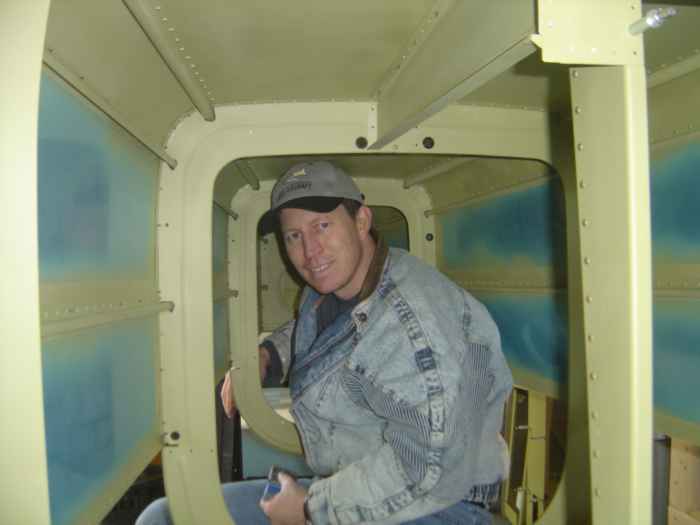 |
Next, the assembly was rolled upside down
to rivet the side skins. I crawled inside to do the bucking.
This worked great for all the rivets except the tail cone sides.
Those were riveted last and with the aft fuselage sitting upright. |
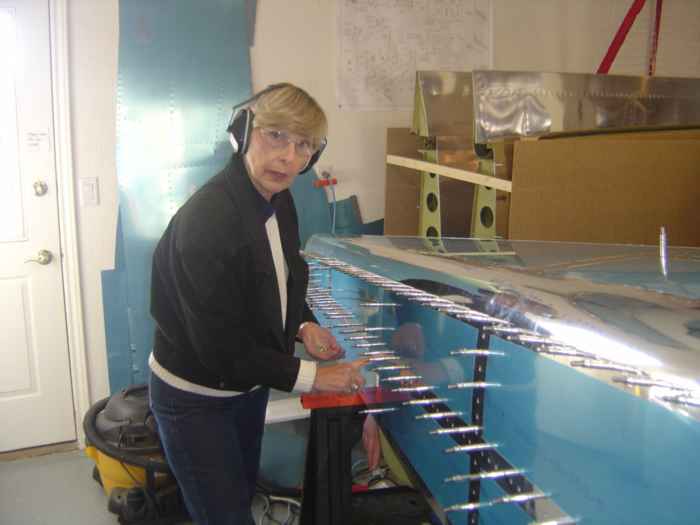 |
Look here. My mother-in-law even
helped out. She placed rivets while Max worked the rivet gun and I
bucked. |
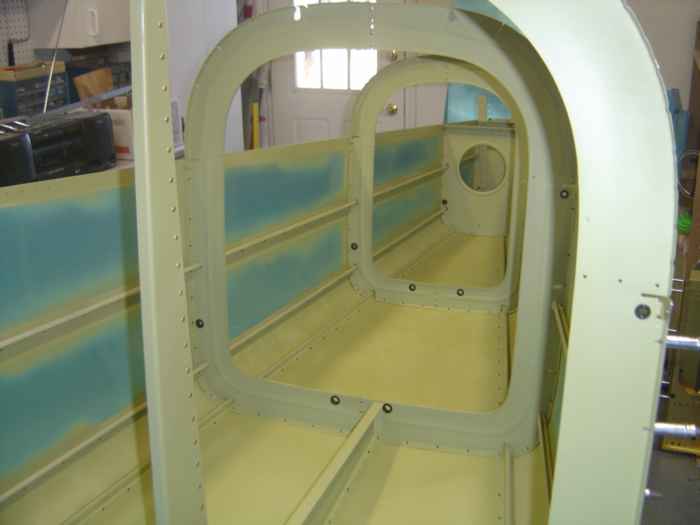 |
Aft fuselage back upright after
riveting... You only rivet up to, and including, the top J-Channel. This
allows you to flex the sides skins away to insert the longerons when the
time comes. |
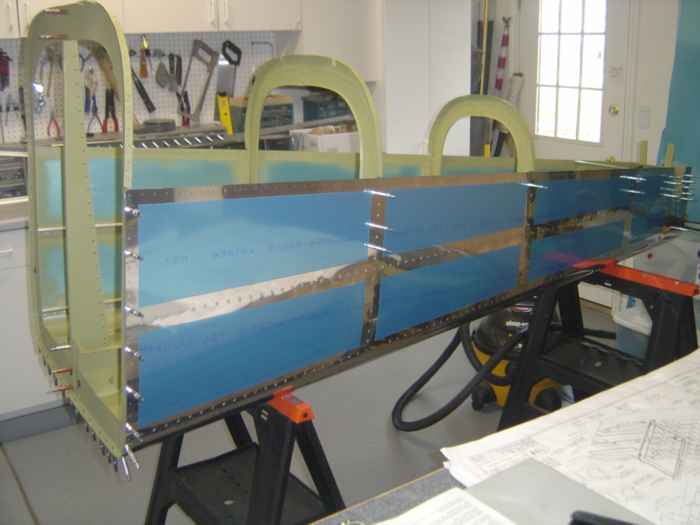 |
A shot of the outside after riveting. |
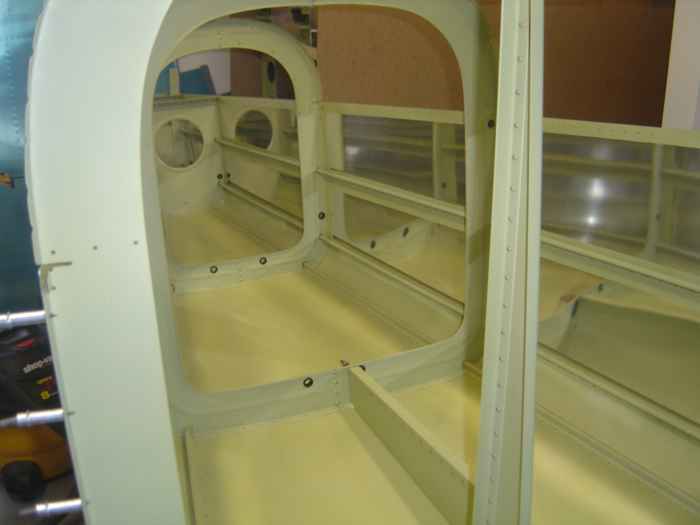 |
Pealed away the blue plastic film from the
inside. |


