 |
September 21, 2004:
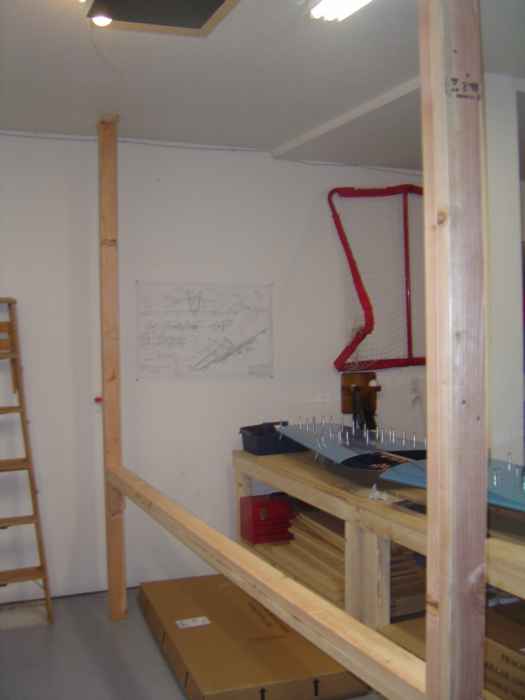
(2 hrs.) Tonight I spent the time to build a wing jig. I
had read that many builders felt that jigging for the HS is no longer
required with the punched hole kits. Seeing how nicely mine has
been coming together, I tend to agree. However, it does seem like
it would be useful to be able to hold the HS steady while the skin is
being riveted into place. I knew that I would need to build a jig
for the wings eventually, so I decided I would just build it now and see
how it worked for the HS. I screwed together
2x4s and used them as the horizontal and vertical components of the H
frame. I think this will work out better than just using 4x4s
because it will resist warping. The base of the upright posts have
been drilled out and set over a 5/8" concrete anchor bolt that I set
into the garage floor. The top of the posts are screwed into a 2x4
wood block that is attached via screws to the ceiling joists. I
still plan to add a couple right angle steel reinforcement brackets to
the tops to make sure the posts do not twist. I have an inside
edge to edge distance between the posts of 114". The horizontal
member was added at about 32" above the floor to allow for mounting the
HS. When I build the wings, this cross member will be lowered all
the way to the floor (it is an important component that prevents the
posts from twisting so I want to keep it attached)
A lot of time was spent checking, and rechecking,
everything for level and plumb.
|
 |
September 24, 2004:
(3 hrs) Slid the HS 405 and 404 ribs into the HS, marked the
location of the holes by poking the tip of my sharpie through skin.
I then removed the ribs and fluted them between the hole marks.
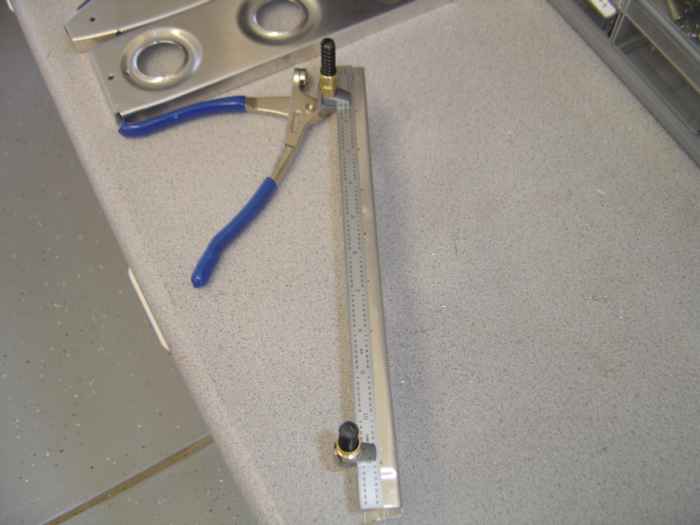
Here you can see how I clamped a steel ruler to the rib to mark the
centerline along the flange. I then reinserted the ribs and made
sure the centerline I drew was seen through the holes in the skin.
Everything was clamped into place. The HS 405 and 404 ribs where
final drilled to the HS 702 and the skins. I started to use my
angle drill attachment for drilling the holes where the ribs attach to
the front spar but quickly realized I still did not have enough room to
hold the drill perpendicular to the 702. I then use my 12" long
bits and just flexed them as I drilled. This seemed to work well.
Next, I final drilled all the holes for the HS skin
and the underlying skeleton. |
 |
September 26, 2004:
(5 hrs) After dis-assembling the entire HS structure, I proceeded to
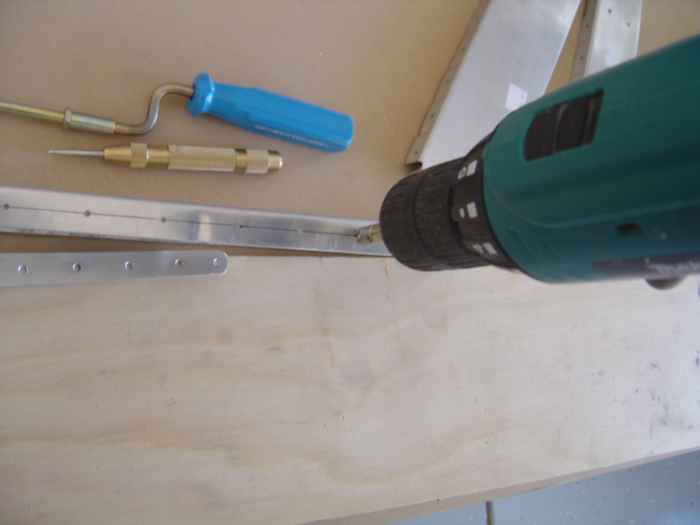
deburr all the holes. I used hex deburr tool attachment (from
Avery's) in my cordless drill for the majority of the holes. This saves
a lot of time. You just need to be sure you do not over deburr!
I set my drill to low speed and try to only let the deburr bit make about
2 revolutions.
|
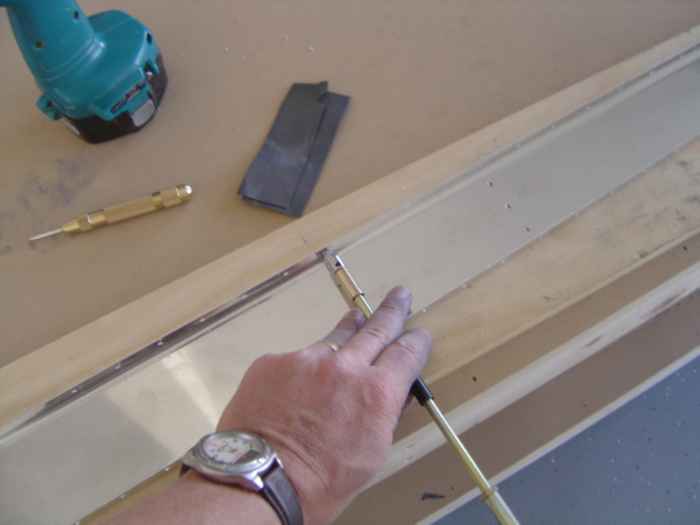 |
For those hard to reach
spots, I use the hand deburr tool from Avery's. |
 |
Next, I proceeded to
smoothing all the edges. This is a lot of work. The method I
found to work best is: First, I use a double sided deburr tool
(shaped like a V, part of the Avery kit) to chamfer all the edges
Second, I use the Royal mulit-burr tool (the blade swivels, has
several different blades, part of the Avery kit) to take down the edge
on those spots I could not get to with the double sided tool (flange
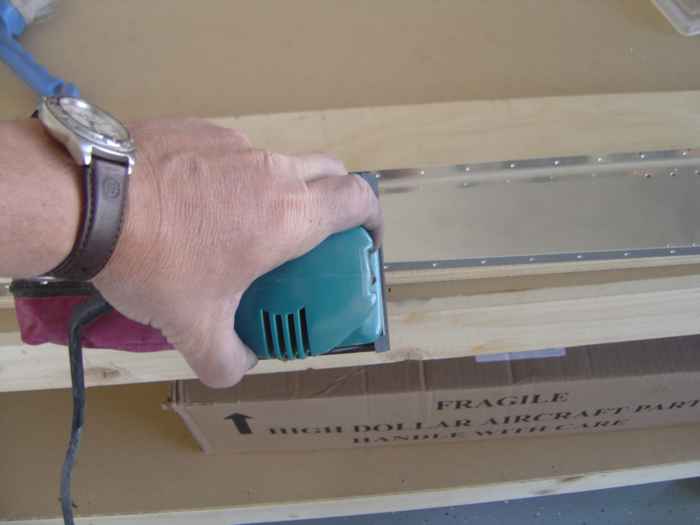
edges, bend relief radius's, etc.). Lastly, I sand all the edges
down with 400 grit in my finishing sander, making sure all the cutting and milling marks are
removed and the edges have a nice smooth radius. |
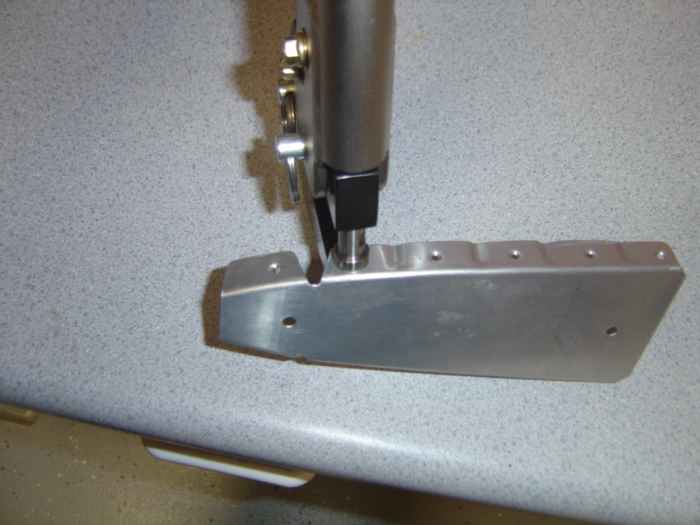 |
I used the Avery
squeezer to dimple all the HS parts. This was a lot easier than I
expected and went pretty quickly. |
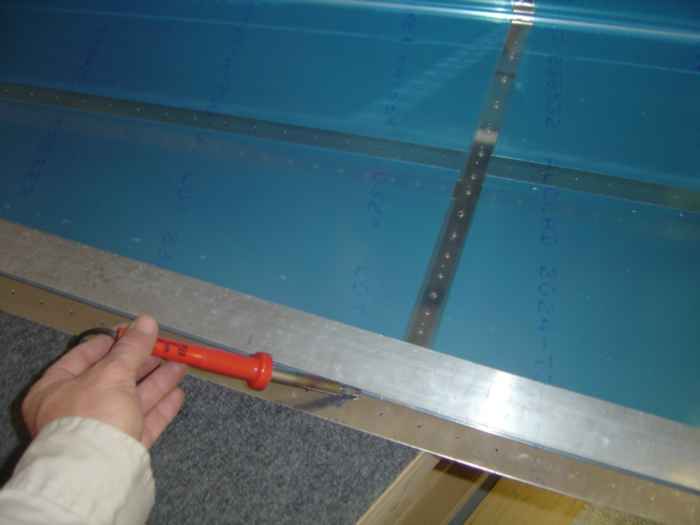 |
Used my soldering iron
(I rounded and polished the tip), to remove the plastic coating on both
the inside and outside of the skins along the rivet lines. Next I
deburred all the holes and then used my c-frame to dimple the skins.
|
| |
September 28, 2004:
(0.5 hrs.) Only had time to work a little bit on the project this
evening. Spent about 30 minutes deburring all the holes in the HS
skins. |