 |
August 4, 2005:
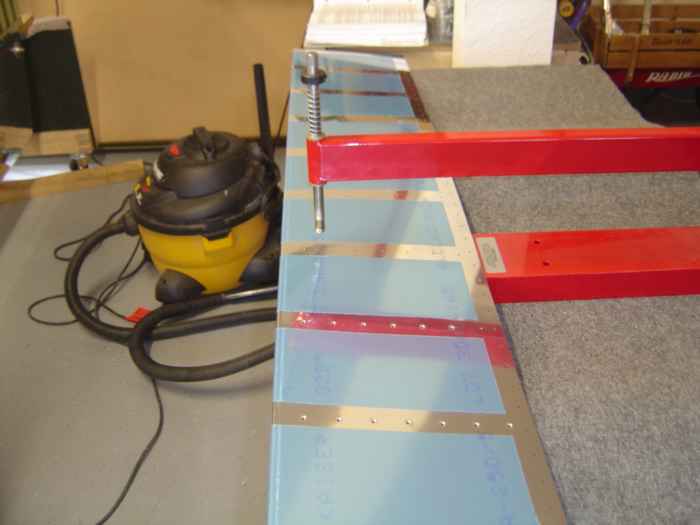
(3.0 hrs.) Removed the blue plastic from the rivet lines on
both ailerons and then used the C-Frame to dimple the rivet holes. |
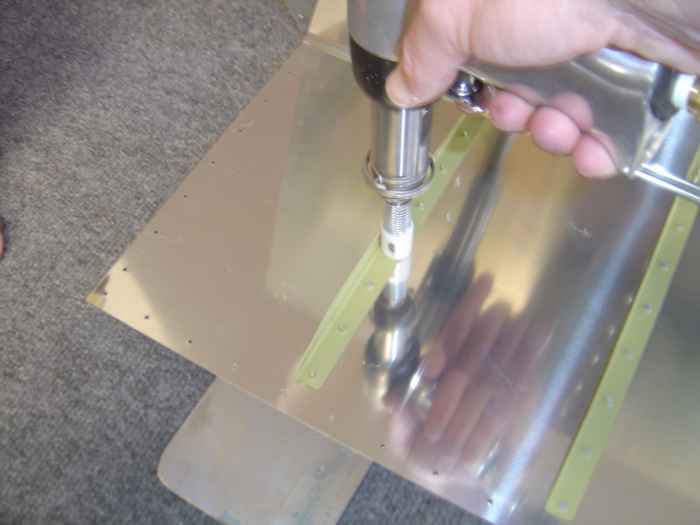 |
Back riveted each stiffener to both the
top and bottom of the aileron skins. |
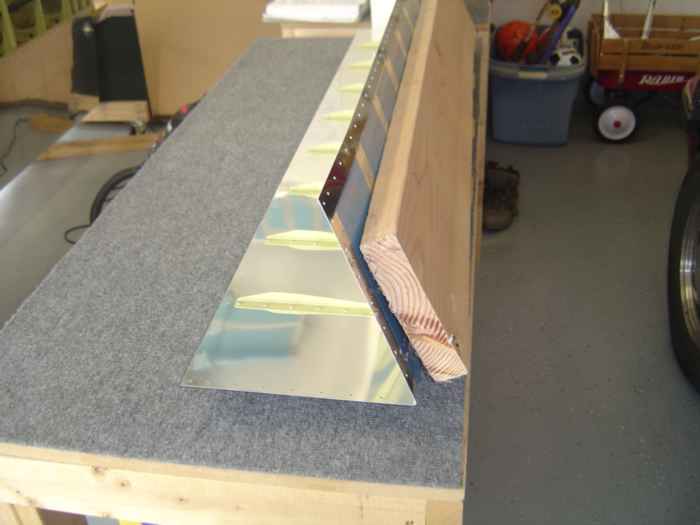 |
Pulled out the home made brake used on the
empennage and bent the ailerons to the proper angle. |
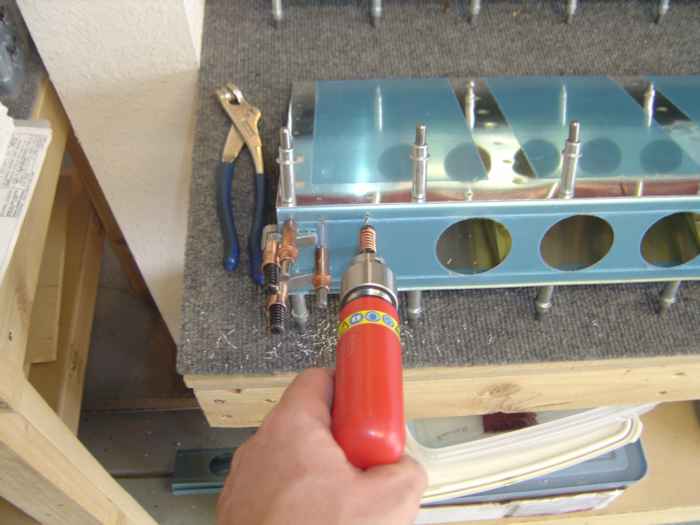 |
Match drilling the hinge bracket
reinforcement plates to the aileron spars. |
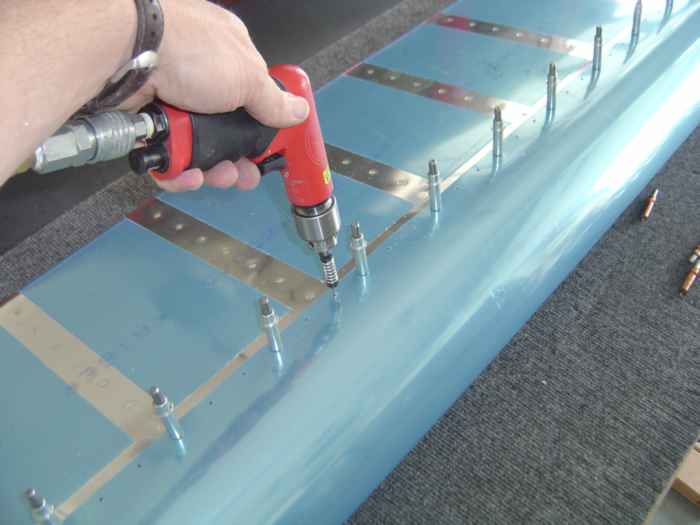 |
Match drilled the aileron leading edge
skin to the trailing edge skin and spar. The aileron end ribs are
also match drilled at this time. |
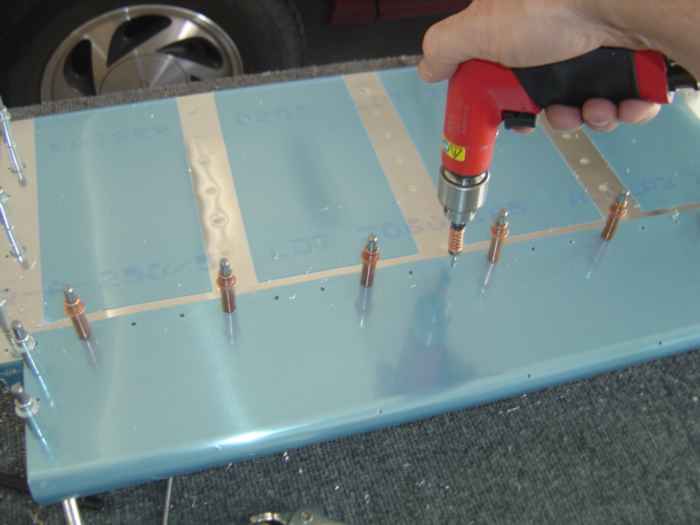 |
The leading edge to trailing edge joint on
the bottom of the aileron get drilled out to a #30. This portion
of the aileron will be the last section that gets closed so larger blind
rivets will be required.
Not shown: Match drilled the aileron counter weight to the leading
edge skin.
Both ailerons were then disassembled. Next step will be to
debur, dimple, countersink, prep, paint all the parts. |
 |
August 5, 2005:
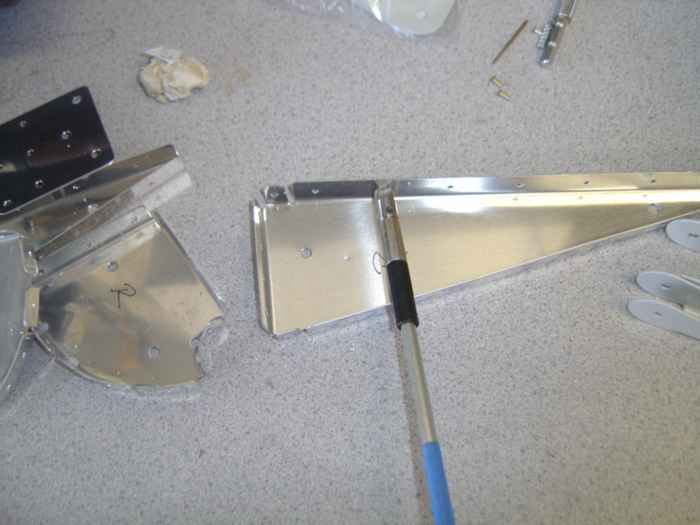
(3.0 hrs.) Deburred all the matched drilled rivet holes
Here I am using the speed deburring bit on the
aileron end rib. |
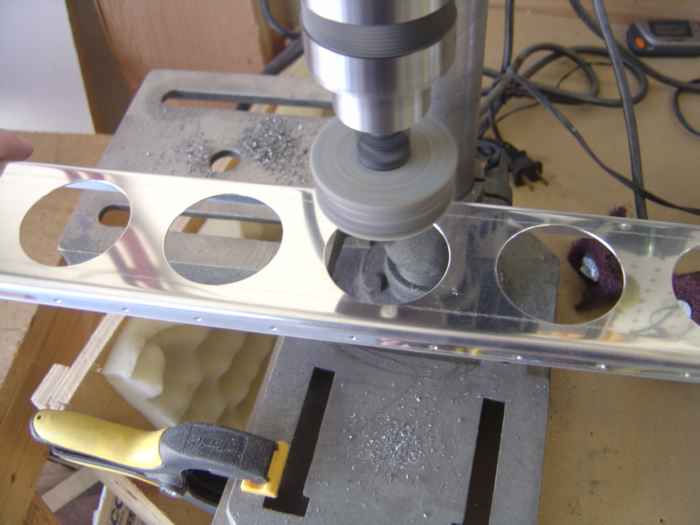 |
Deburred all the edges of the spars,
skins, and end ribs. Here I am using a Scotchbrite wheel in my
drill press to debur the lightening holes in the aileron spar.
This really makes things move fast. |
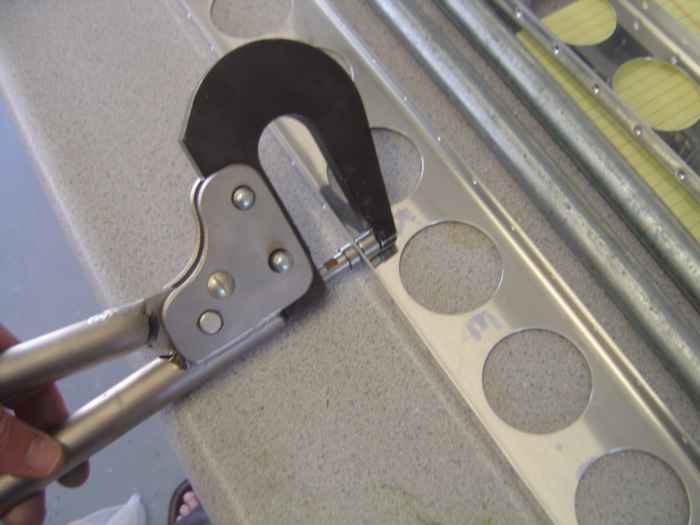 |
Next came dimpling of the spars, end ribs,
and skins. |
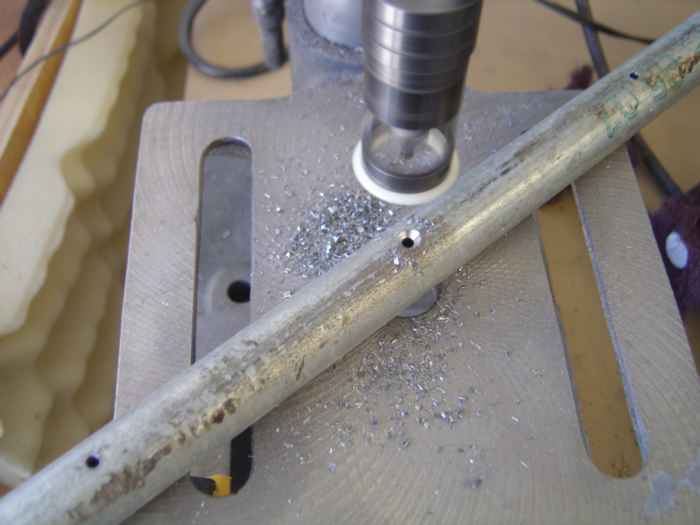 |
The rivet holes in the counterbalance
weight get countersunk. I used the micro-stop cutter in my drill
press for this job. |
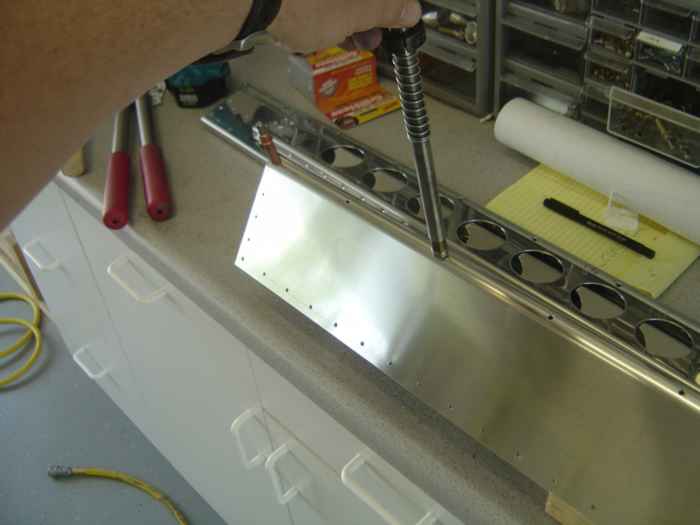 |
Dimpling the rivet to counter balance
holes in the leading edge requires a special technique. There bend
in the skin does not allow the placement of the c-frame dimpler without
denting the skins. I cleco'd the skins the countersunk
counterbalance weight and then hammered a dimple die on the leading edge
rivet holes. I had to prop the leading edge up on some 2x4s to get
the skins off the work table. |


