|
|
October 29, 2004:
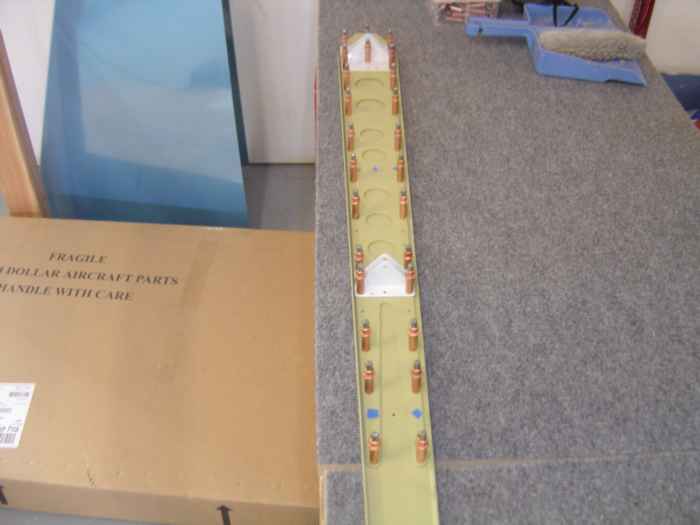
(1 hrs.) Did some edge cleanup work on the rear VS spar stiffner.
I used a file to take down all the edges then I used a small Scothbrite
wheel on my die grinder to smooth the file marks out. I noticed
that using my die grinder tends to keep my compressor running, which in
turn really heats up the sound proofing cabinet. I think I am
going to have to soon install a ventilation fan to keep the enclosure
cooler. I finished up the evening hand dimpling all the spars and
ribs. |
 |
October 31, 2004:
(2 hrs.) Finished up some edge deburring on the front and rear
VS spars. I picked up a wheel from Sears that is made out of that
red Scotchbrite hand pad material. I just chuck it up in my drill
press or die grinder and use it to finish smooth all the edges.
This really works well and is a great time saver. It is especially
useful for taking off of the Alcad coating on the spars prior to my prep
and Alodine process.
Next I prepped and primed all the skeletal parts.
Priming went much better this time. Evidently I did not have the
catalyst mixed well enough when I primed my horizontal stabilizer.
This led to an inconstancy in the paint and its adhesion. This
time painting was a piece of cake and the pieces came out perfect.
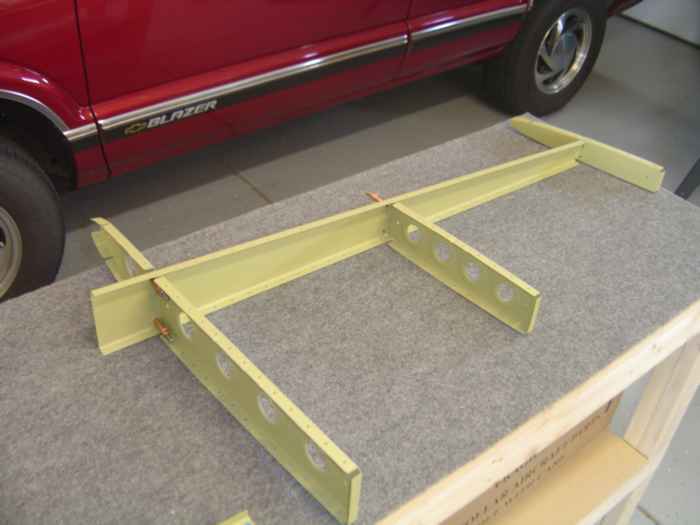
I cleco'ed together the
front and rear VS spars and preparation for riveting. |
 |
November 1, 2004:
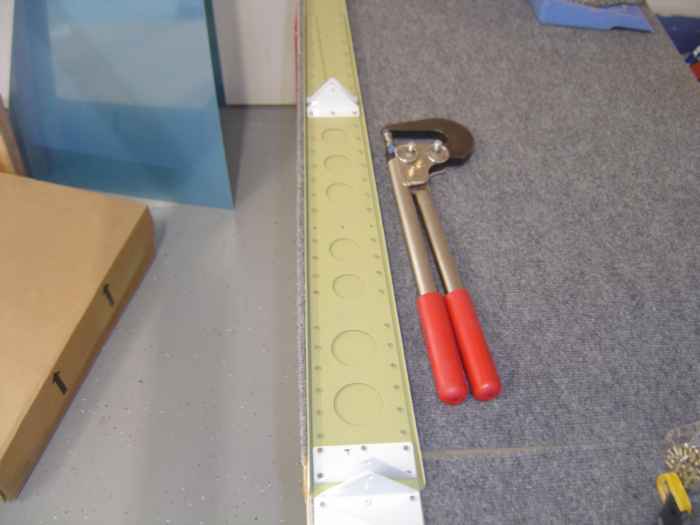
(2 hrs.) Riveted the ribs to the VS front spar |
 |
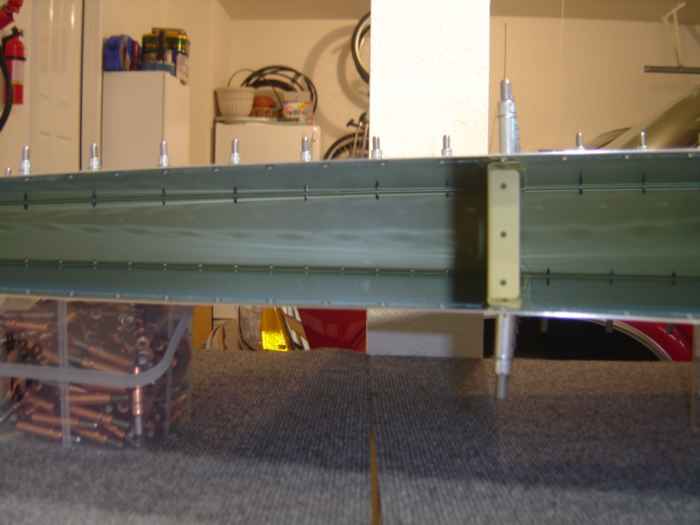
Here is the VS rear
spar completely riveted. |
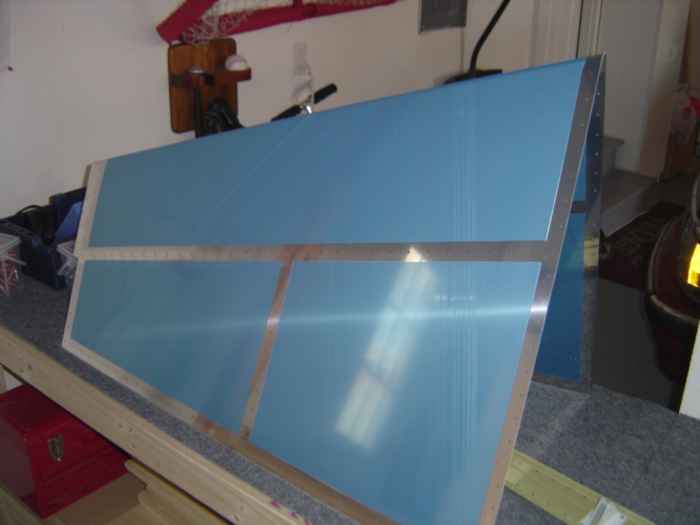 |
Removed the plastic
from the rivet lines on the VS skin. Tomorrow I will deburr and
dimple the skin |
|
|
November 5, 2004:
(0.5 hrs.): Deburred and dimpled the VS skin. Hopefully tomorrow I
will rivet the skin on. |
 |
November 6, 2004:
(2 hrs.): I was not able to find an extra set of hands to help with
riveting so I proceeded to buck and rivet myself. There was
plenty of room to get one arm in the VS to hold the bucking bar while I
held the rivet gun in my other hand.
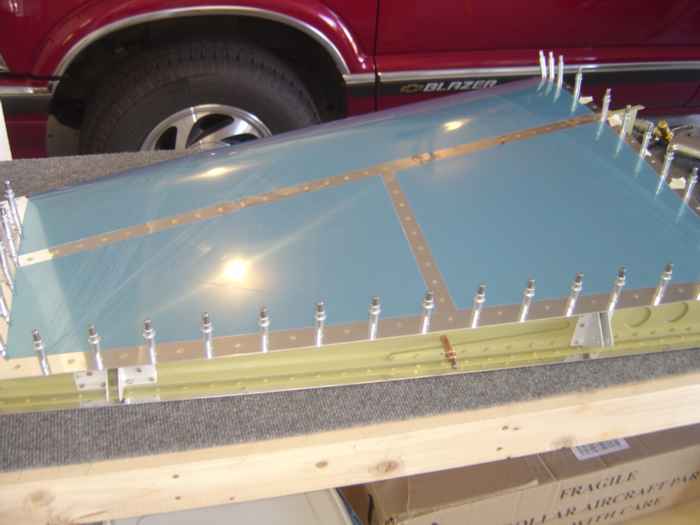
Here is a picture of the VS with the rear spar
removed to provide access for riveting. You can see there is
plenty of room to get an arm in there. |
 |
The is the VS with all
the rivets completed in the forward spar and center rib. The rear
spar has been cleco'd into place for riveting with the hand squeezer. |
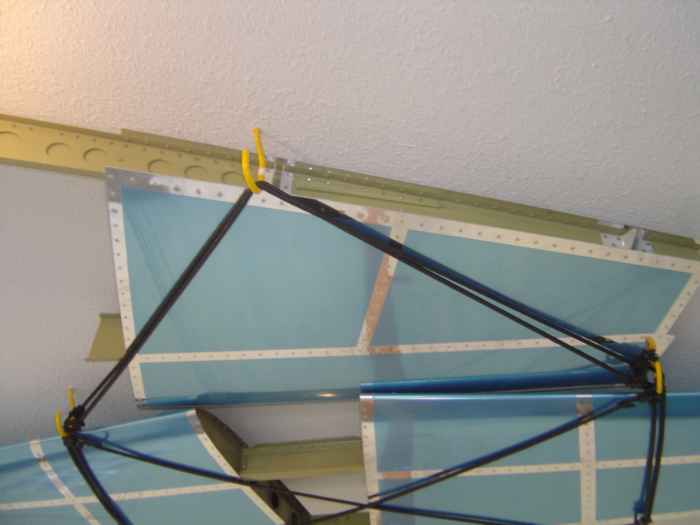 |
The completed VS
hanging from the ceiling next to the HS. |