 |
September 3, 2004: Ordered my empennage and
Avery Toolkit today! Now I better think about getting the shop ready... or
should I say hanger.
September 5, 2004: Prepared my workshop for the arrival of the empennage and
tools. My shop is the third car bay in a three car garage. I already
had the white cabinets installed, but I needed some additional work bench area
for laying parts out. I was not sure what to use for additional work bench
area because I was concerned about taking up too much space in my small shop.
I needed leave room for the wing jig. I then looked on-line to see what
other builders were using.
|
 |
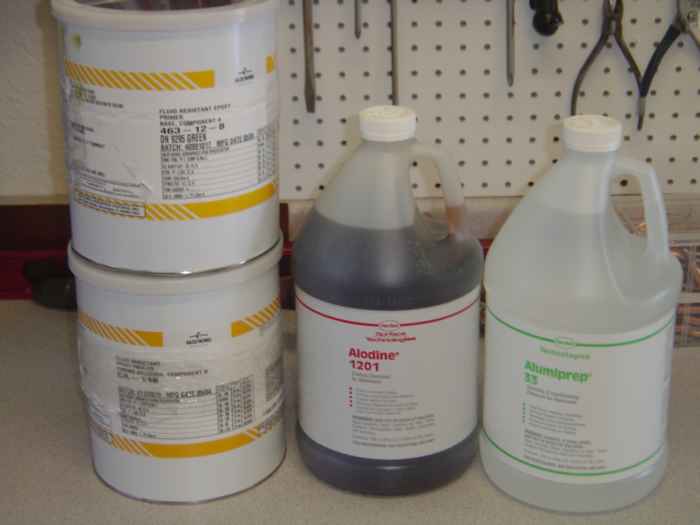
I also received my hazard materials order from Aircraft
Spruce. This is the Alumiprep, Alodine, and Epoxy Primer |
 |
September
6, 2004: My search online turned up the idea to create two smaller tables
(5' x 2'). In the
picture on the left you can see the two
EAA Chapter
1000 Standardized Work Tables I built. These are great. I can
place them end to end for a long 10' working surface, or place them side-by-side
for handling very wide objects. I plan on adding adjustable feet to the
tables so I can get them nice and level. I used 3/4" MDF for the work
surface and added some indoor outdoor carpeting to the top (not shown).
The purpose of the carpeting is to help protect the skins when I work with them.
The carpet is not permently attached. This give me the option to remove it
when it is in the way. |
 |
September 7, 2004: Completed a soundproofing enclosure
for my compressor. I have a 5 HP 20 gallon oiless, and boy is it loud.
This enclosure was made from 3/4" material (left over plywood, MDF, and cherry
veneer). I mated the enclosure right up next to my work bench, thus giving
me additional work area. On the front of the enclosure I create two access
panels, one for the pressure regulator (top left), and one for the drain (bottom
right). The enclosure is lined with a foam mattress pad (egg crate style).
The left panel where my air hose is hanging is a double walled with an air gap
for ventilation. This panel is held on with four screws for easy removal
if I every want to take the compressor out. I still may install a small
bathroom fan in the enclosure to help keep the compressor cool. I have
installed a digital thermometer so that I can easily monitor the temperature of
the interior. |
 |
September 9, 2004: My Avery Toolkit arrived. It was kind of like
Christmas unpacking all the bit and pieces. I checked out all the tool
manufactures tool kit offerings and it came down to Avery and Cleveland due to
all the good things I heard from other builders about these companies. I
decided to go with Avery because they seemed more responsive to my email
inquiries.
September 11, 2004: My shop was in desperate
need of more lighting. I picked up a couple of 4' fluorescent lights from
Home Depot. They provide
great light compared to what I used to have (a single 60W bulb).
|
  |
September 12, 2004: Stowed all my new tools nicely
away. Wonder how long I can keep them this organized? I also
positioned my grinder, drill press, and 12" band saw for the soon to be building
action.
|
 |
Handy cleco storage. I picked up these containers
at Harbor Frieght.
September 13, 2004: I used the
FAA on-line
form to reserve my N number today. N36RX. The 36 is my age at the
start of this project, the R is for my last name, the X is for experimental. |


